

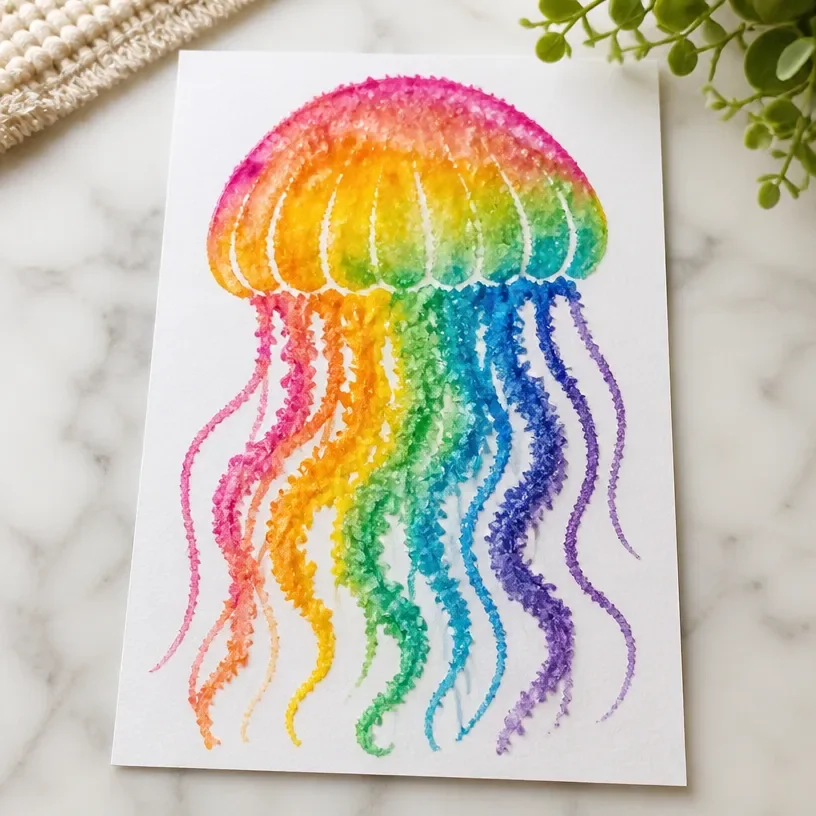
Vibrant Ocean Art Tutorial: Rainbow Jellyfish Salt Painting
Creating a vibrant rainbow jellyfish salt painting is a delightful way to explore art with your kids. This project combines science and creativity, allowing children to experience the fascinating reaction of salt with watercolor paint. It offers not only a fun artistic experience but also a beautiful piece of art to display at home! You may also find Rainbow Salt Painting Jellyfish Craft useful.
Why You’ll Love This Project
- Educational Value: Kids will learn about color mixing and the fascinating properties of salt when applied to watercolor.
- Encourages Creativity: Each child can personalize their jellyfish, leading to unique creations that showcase their personality.
- Easy Clean-Up: The materials are simple and the clean-up can be managed quickly, making it ideal for crafting times.
- Sensory Exploration: The texture of the salt and the fluidity of the paint create a sensory experience that can be very engaging.
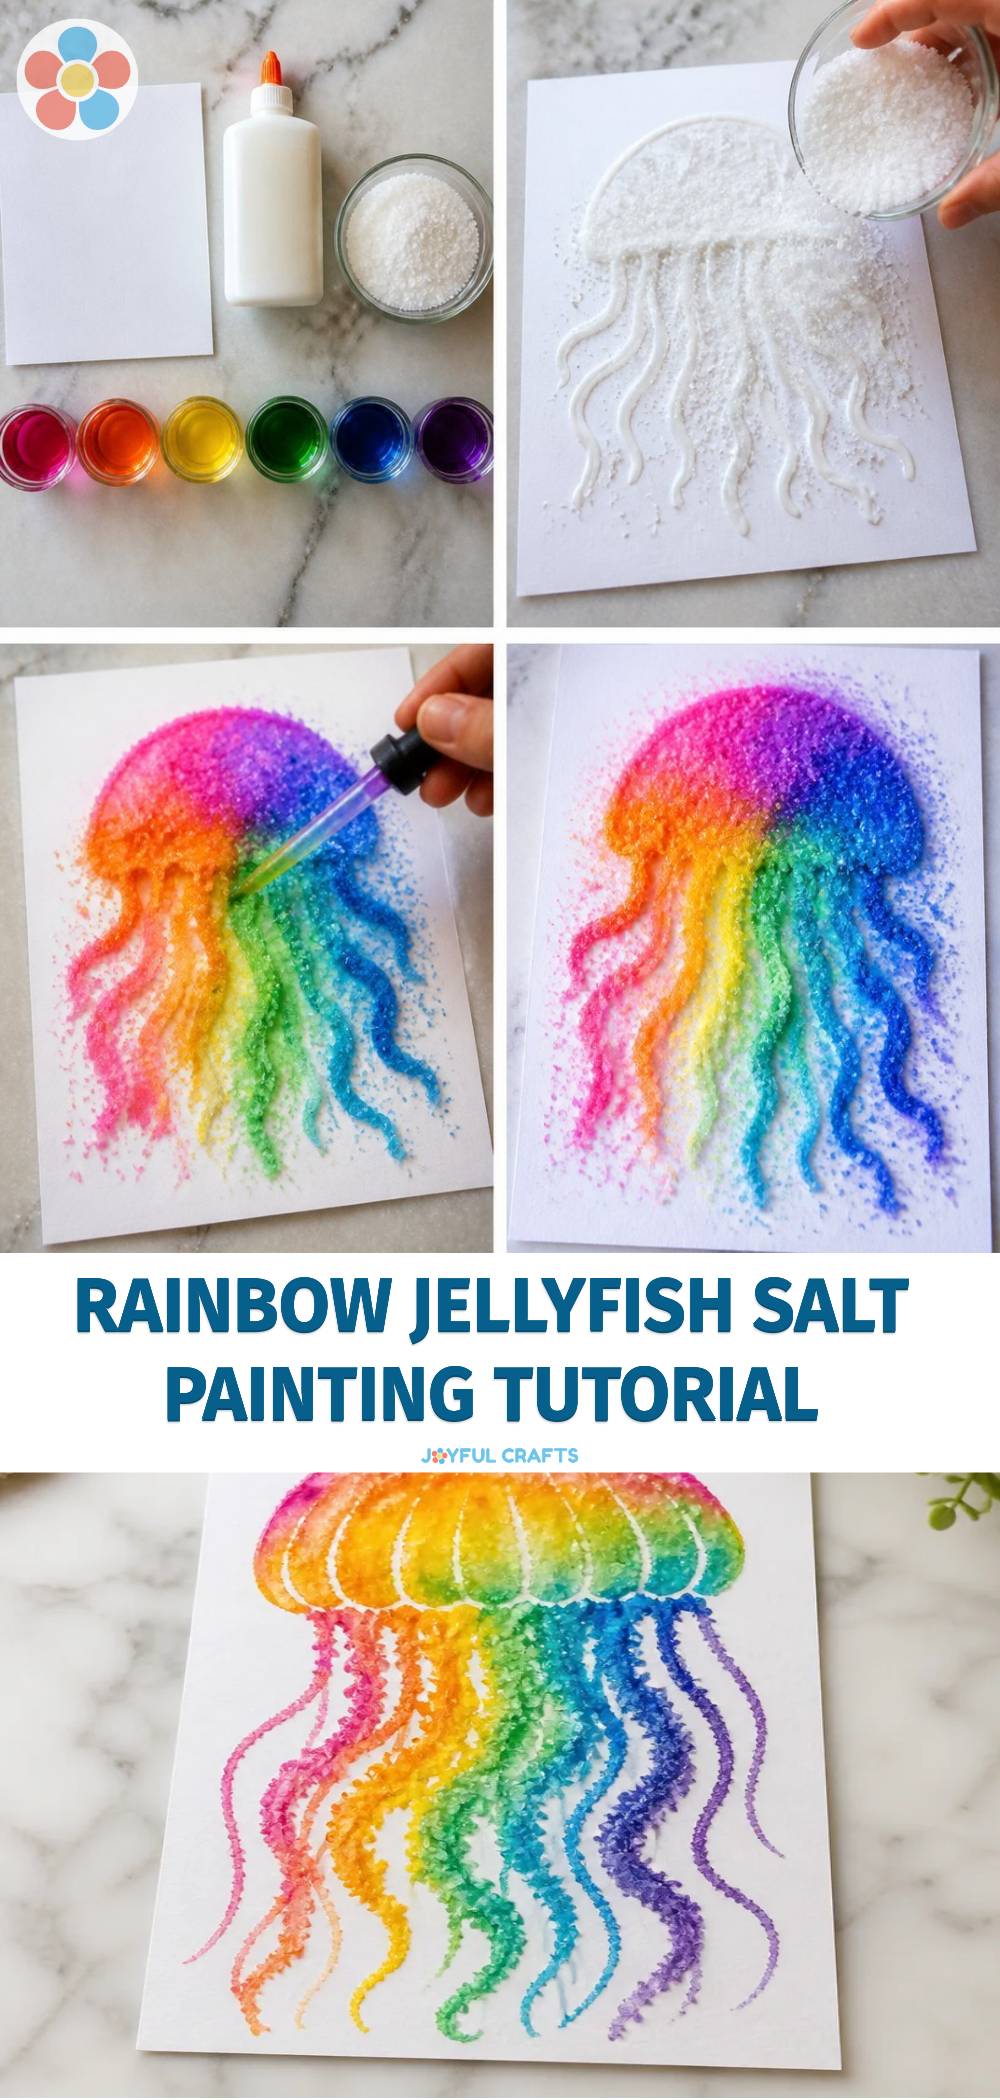
You may also find 3D Raised Salt Painting Colorful Artwork For Kids useful.
Materials You’ll Need
- White paper (watercolor paper works best)
- Salt
- Watercolors (or liquid watercolor paints)
- Glue
- Paintbrushes
- Water (for rinsing brushes)
- A container (for mixing colors)
How to Make Vibrant Ocean Art Tutorial: Rainbow Jellyfish Salt Painting
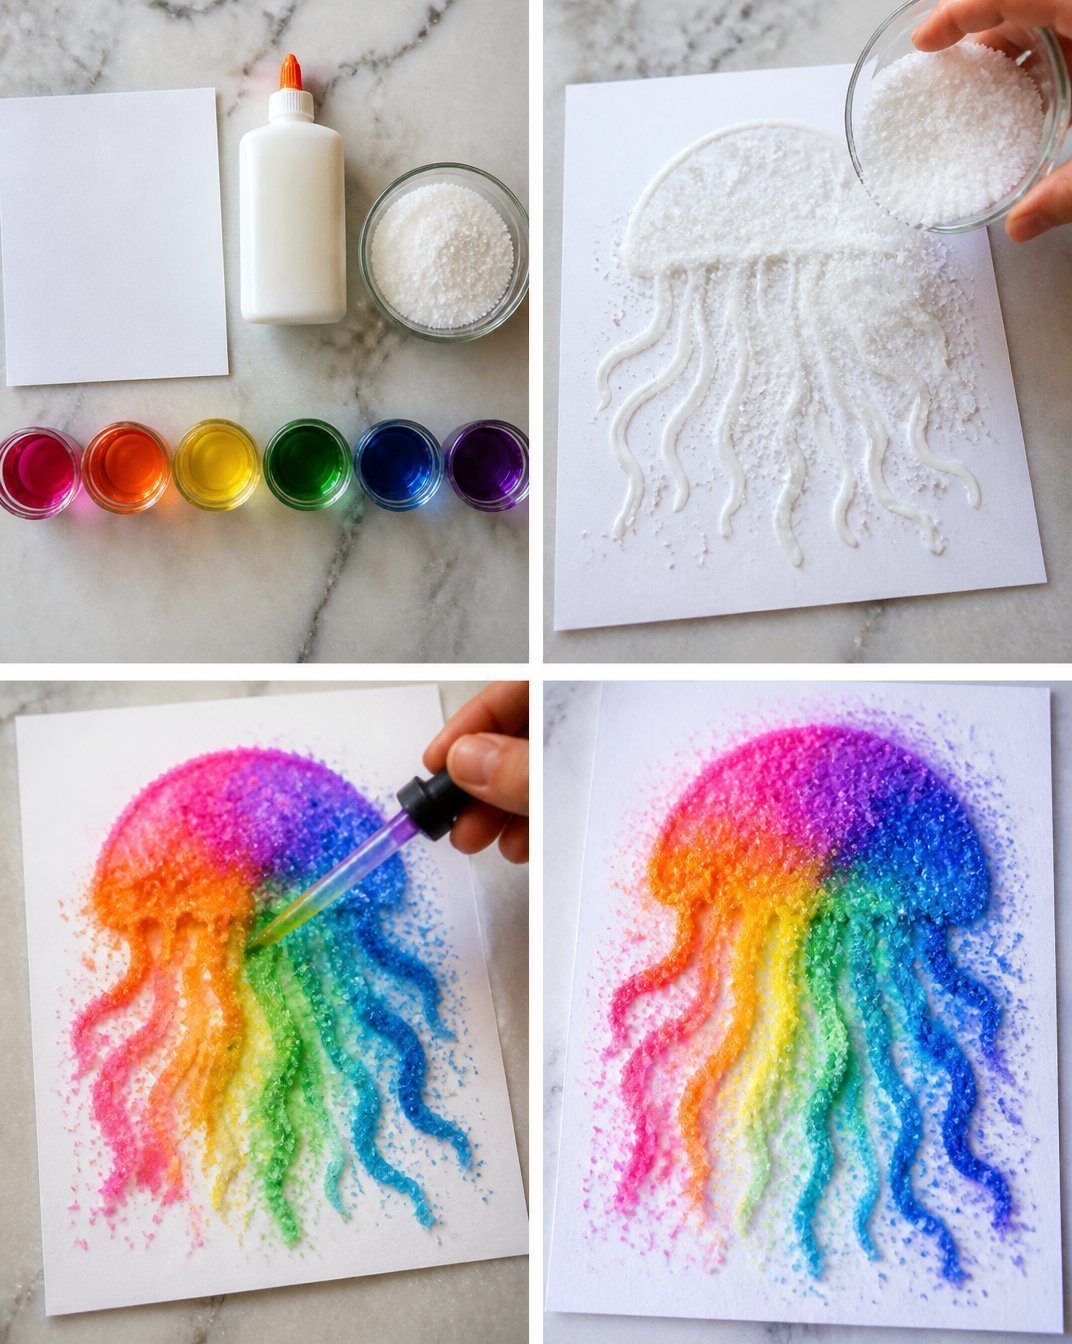
Create Your Jellyfish Outline: Using a pencil, sketch a jellyfish shape on the white paper. Make sure it has a rounded bell and trailing tentacles. You may also find Rainbow Ocean Painting Bubble Wrap Kids useful.
Apply Glue: Trace over your outline with glue, ensuring a nice thick line. This will help the salt stick to your design. You may also find Rainbow Puppy Paw Raised Salt Painting useful.
Sprinkle Salt: While the glue is still wet, generously sprinkle salt over the entire glued outline. Give it a gentle shake to remove excess salt.
Prepare Your Colors: In the container, mix water with your chosen watercolor paints to create vibrant, rich colors.
Add Color: Using a paintbrush, take the watercolor and drop it onto the salt. Watch as the color spreads through the salt, creating beautiful effects!
Let It Dry: Set your painting aside to dry completely. This may take a few hours, depending on how much paint was used.
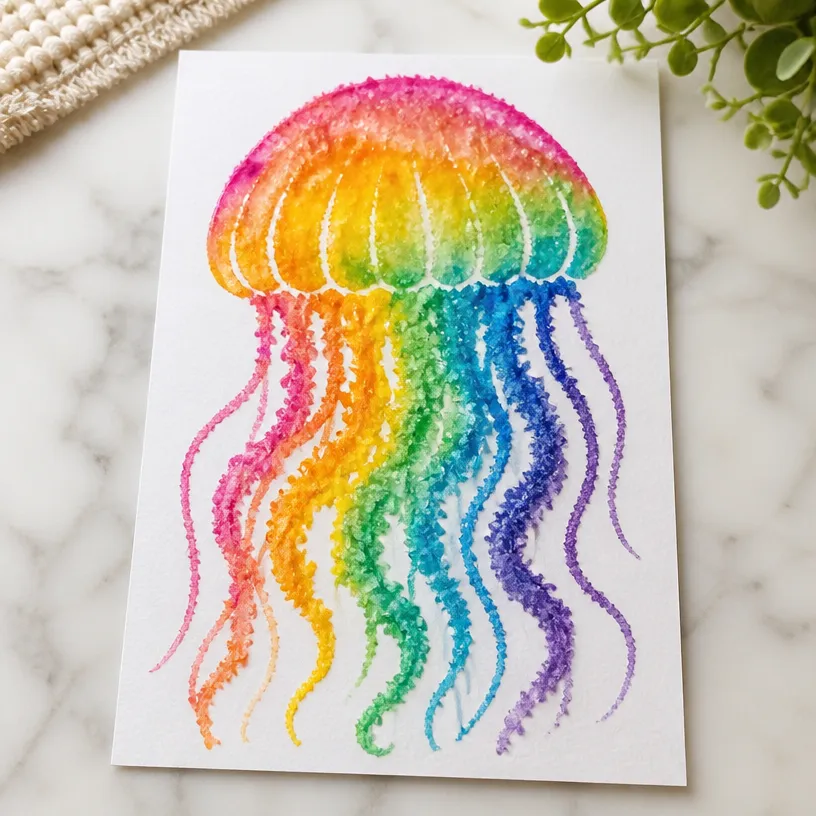
Display Your Art: Once dry, your vibrant jellyfish will be ready to hang on the wall or gift to someone special.
Helpful Tips
- When applying the glue, aim for even distribution, but don’t worry if it isn’t perfect; every jellyfish is unique!
- Use a variety of colors for a more interesting piece, and experiment by layering different paints.
- If you’re working with younger children, consider assisting with the glue application for safety.
Creative Variations
- Color Themes: Customize your jellyfish by making it monochromatic or using different shades of the same color.
- Size Adjustments: Alter the size of your jellyfish for different effects; larger jellyfish can serve as focal points, while smaller ones can be part of an overall ocean scene.
- Mixed Media: Try incorporating other materials like glitter or sequins for added sparkle.
Making It With Kids
This craft is perfect for kids of various ages, as long as there is adult supervision, especially with glue application. Ensure they understand not to eat the salt or paint, and help them with any step where fine motor skills might be a challenge.
How to Display, Use, or Gift It
Once your jellyfish painting is dry, it’s ready to be displayed! Consider framing it or hanging it in a sunny spot to catch the light. These colorful pieces also make wonderful gifts for family members or friends who appreciate handmade art.
Frequently Asked Questions
1. Can I use regular construction paper instead of watercolor paper?
While you can, watercolor paper provides better absorption and prevents warping, making it ideal for this project.
2. What should I do if the colors don’t spread well?
Ensure that your watercolors are diluted adequately with water; too thick of a paint will not interact with the salt effectively.
3. How can I prevent the salt from falling off?
Once the painting is dry, you can lightly spray it with a fixative or clear sealant spray to help lock in the salt.
4. Can I hang it outside?
It’s best to display your jellyfish artwork indoors, as moisture and humidity can affect the paint and salt.
5. What age is appropriate for this project?
This project is suitable for various ages, with adult supervision recommended for younger children during glue and paint application.
6. Can I use different adhesives?
White school glue works best, but you can experiment with other types like glue sticks just ensure they are thick enough to hold the salt.
Conclusion
Creating a vibrant ocean art piece like the rainbow jellyfish salt painting is an enjoyable and educational activity for children. It’s a perfect blend of creativity and science that results in unique artwork to treasure. For more fun ocean-themed craft ideas, check out these 30 Ocean Art for Kids That Are Easy and Fun to Make.