

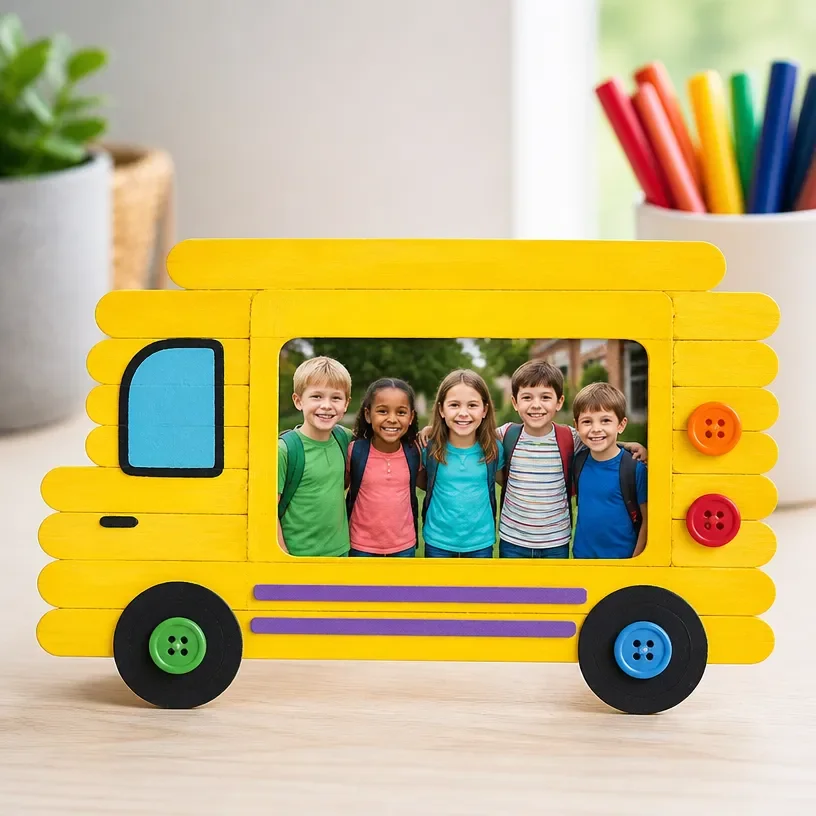
DIY Colorful School Bus Photo Frame Craft for Kids
Creating crafts can be an enjoyable and fulfilling experience, especially when it involves personalizing special memories. This DIY Colorful School Bus Photo Frame Craft is a delightful way for kids to showcase their favorite pictures while getting their creative juices flowing. It’s also a perfect project for back-to-school season! You may also find Colorful School Bus Photo Frame Craft For Kids useful.
Why You’ll Love This Project
- Fun and Engaging: Kids can unleash their creativity while crafting a vibrant school bus frame.
- Functional Art: It turns their artwork into a functional display piece for family photos.
- Easy to Make: The project uses simple materials and straightforward instructions that beginners can easily follow.
- Great for Offices or Playrooms: It can brighten up any space, making it a charming addition to a desk or a room.
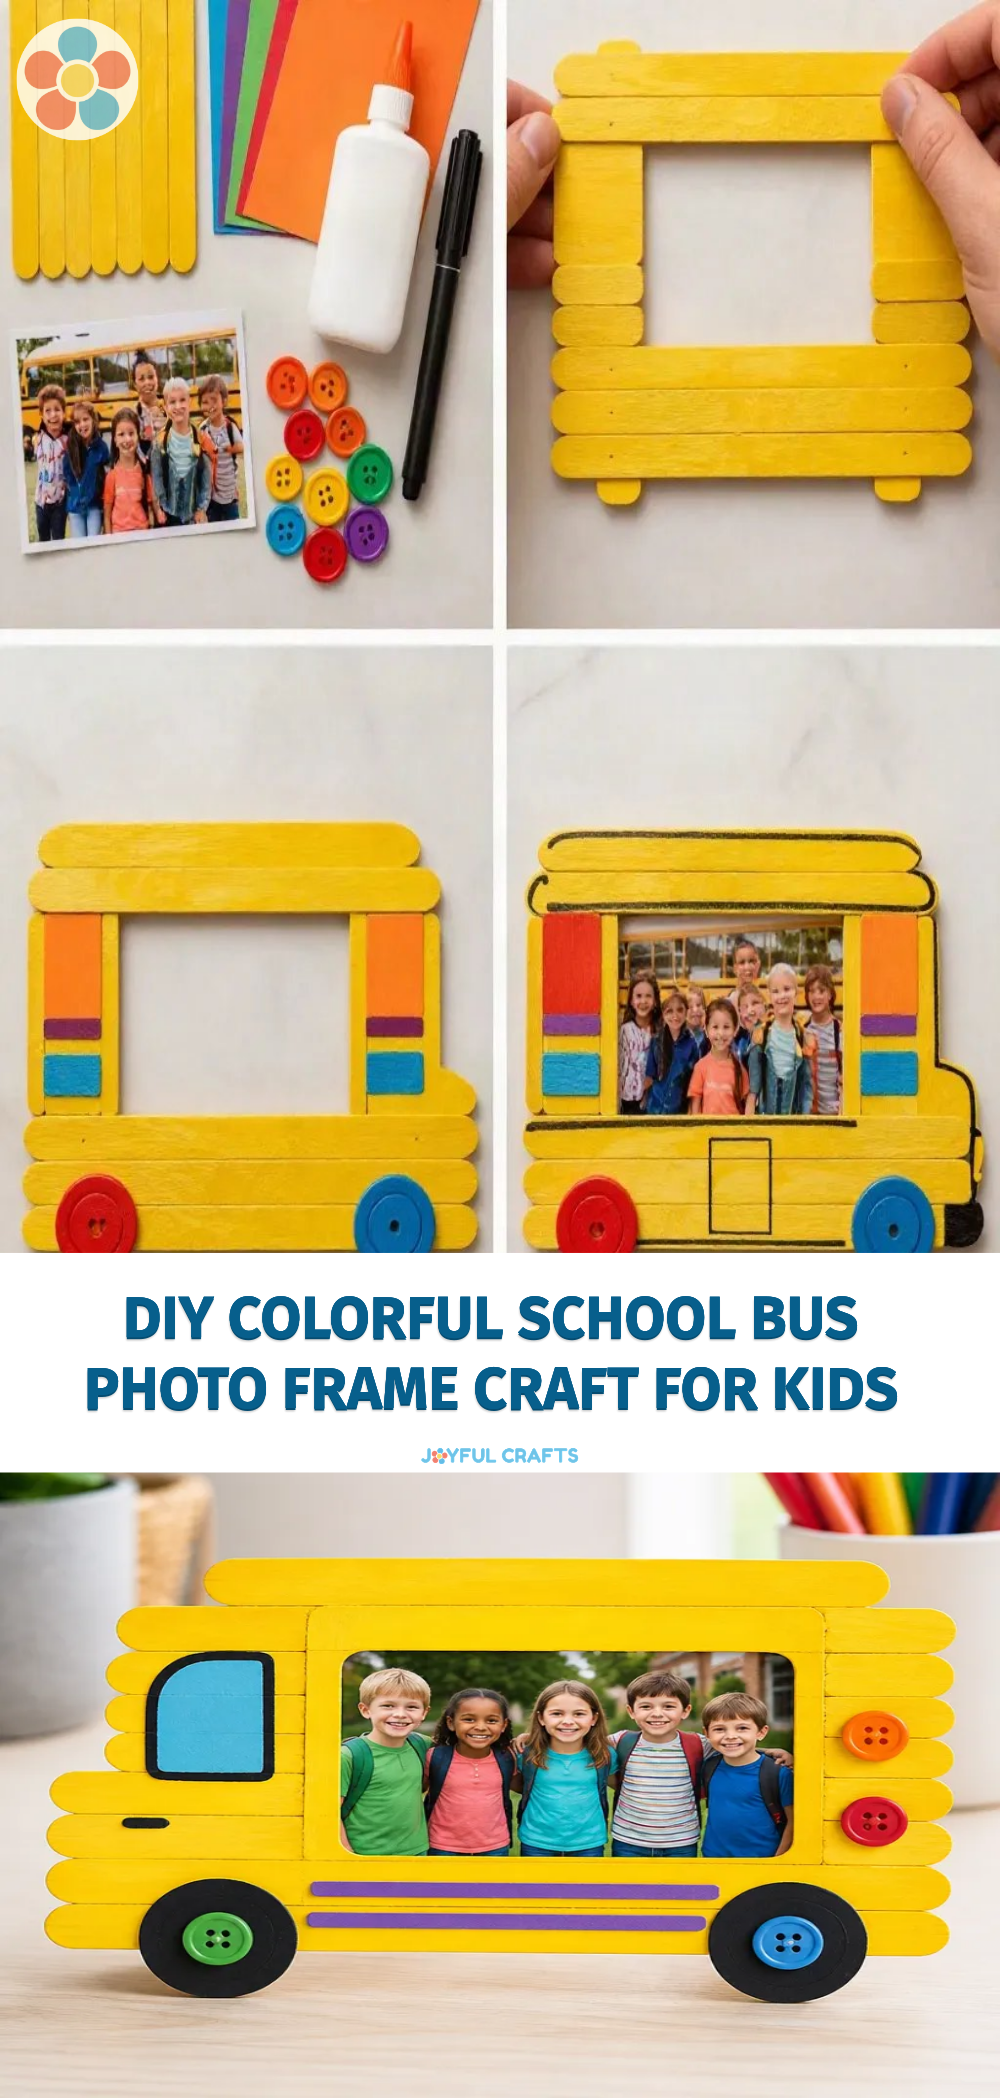
You may also find Colorful School Bus Organizer Kids Popsicle Sticks useful.
Materials You’ll Need
- A large piece of yellow cardstock
- Black construction paper (for the wheels)
- Colored markers or crayons
- Scissors
- Glue
- A rectangular photo (4” x 6” is ideal)
- Optional: Decorative elements like stickers or glitter
How to Make DIY Colorful School Bus Photo Frame Craft for Kids
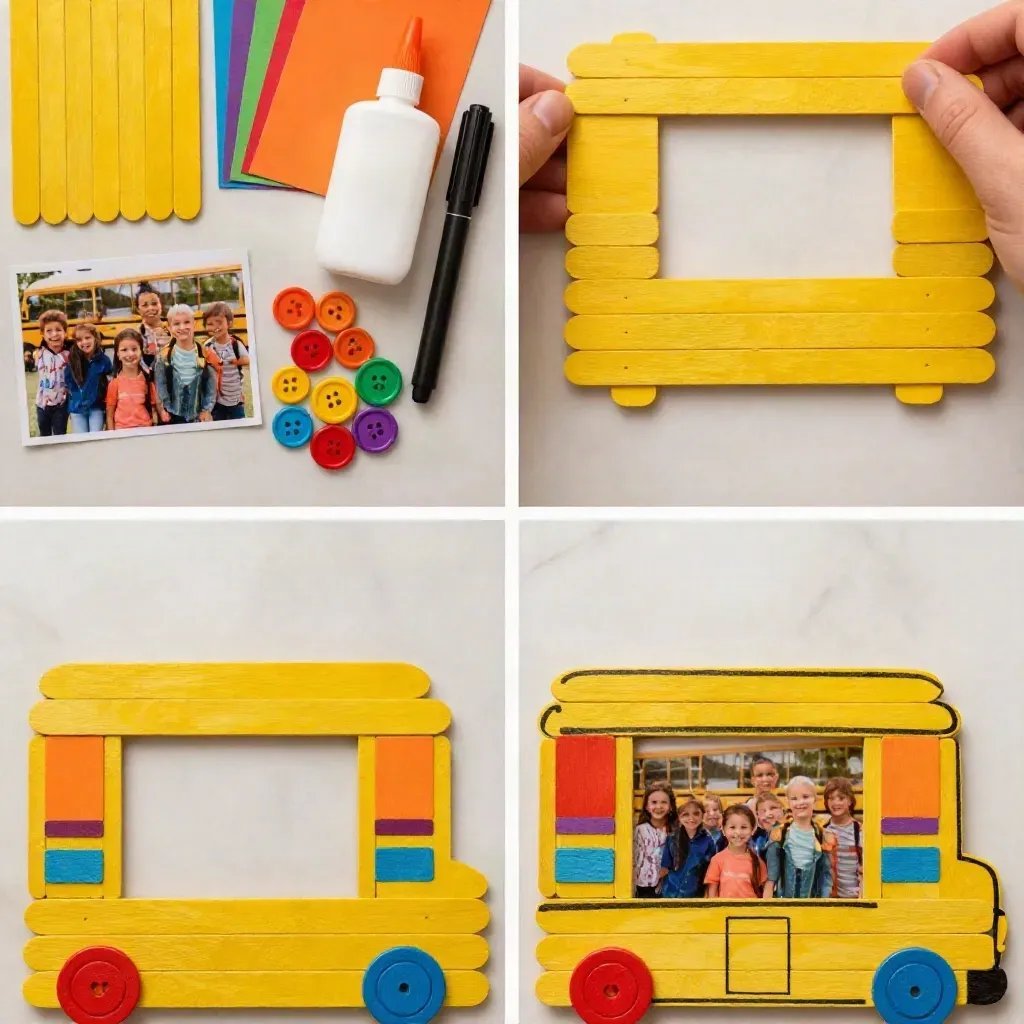
Create the Bus Shape: Start by cutting the yellow cardstock into a rectangular shape large enough to hold the photo. Leave some space at the top for the bus “windows.” You may also find Diy Bottle Cap Monster Crafts For Kids useful.
Cut Out Windows: On the upper part of the rectangle, cut out windows that resemble those on a school bus. This can be done by simply cutting rectangles or squares. You may also find Easy Clear School Glue Craft For Kids useful.
Add Wheels: Using the black construction paper, cut out two circles for the wheels. Glue these at the bottom of the bus frame.
Decorate the Bus: Let the kids use colored markers or crayons to decorate the bus. This can include bright colors, fun drawings, and even names.
Insert the Photo: Once the frame is decorated and the glue is dry, insert the photo behind the cut-out window section.
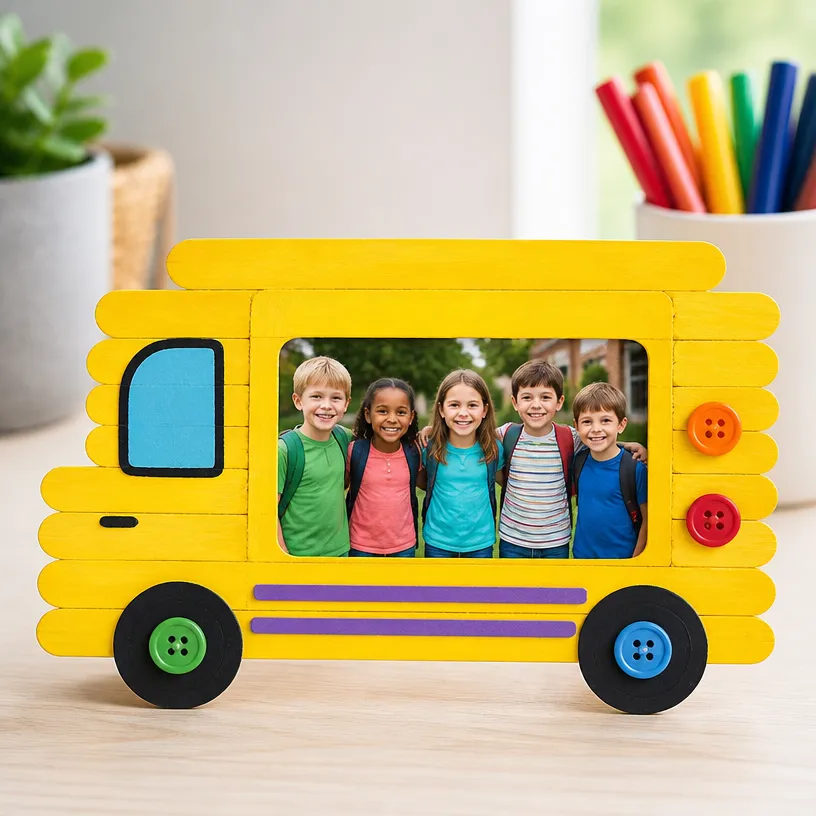
Display the Frame: Your colorful school bus photo frame is ready to be displayed! You can place it on a shelf or use it as a gift for a friend or family member.
Helpful Tips
- When cutting shapes, consider having an adult assist with scissors, especially for younger children.
- Allow enough drying time for glue if multiple layers or decorations are applied.
- Encourage kids to write their names or fun quotes on the bus to personalize it even more.
Creative Variations
- Color Choices: Let kids choose non-traditional colors for their bus, such as bright pink or blue.
- Themes: Adapt the project for different seasons by using seasonal stickers or decorations.
- Size Options: Vary the frame size to fit different pictures, making it a more versatile craft.
Making It With Kids
Ensure that children have fun while learning different crafting skills. Always supervise the use of scissors and glue. This is a wonderful opportunity to teach little ones about patience and creativity as they design their unique frames.
How to Display, Use, or Gift It
These colorful photo frames can be perfect for displaying at home or given as thoughtful gifts to grandparents or friends. They make cherished keepsakes that capture special moments in a fun, artistic way.
Frequently Asked Questions
1. Can I make this craft with younger children?
Yes, this craft is suitable for children of various ages, but younger kids may need help with cutting or using glue.
2. How long does this craft take to complete?
On average, expect to spend around 30-60 minutes, depending on the decorating process.
3. What type of photo is best for this frame?
A standard 4” x 6” photo works well, but you can adjust the frame size accordingly.
4. Can we use other materials besides cardstock?
While cardstock is ideal, you can also use foam sheets for a sturdier frame if desired.
Conclusion
This DIY Colorful School Bus Photo Frame Craft for Kids is not just a fun activity; it also helps kids express their creativity while crafting something useful. For additional school-themed crafts, check out this Back to School Bus Picture Frame Crafts Kit that could complement this project wonderfully!
Print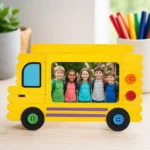
DIY Colorful School Bus Photo Frame Craft for Kids
- Total Time: 30 minutes
- Makes: 1 photo frame
Description
A fun and engaging craft project that allows kids to create a colorful school bus photo frame, perfect for displaying their favorite pictures.
Materials
- A large piece of yellow cardstock
- Black construction paper (for the wheels)
- Colored markers or crayons
- Scissors
- Glue
- A rectangular photo (4” x 6” is ideal)
- Optional: Decorative elements like stickers or glitter
Instructions
- Create the bus shape by cutting the yellow cardstock into a rectangle.
- Cut out windows resembling those on a school bus.
- Add wheels by cutting out two circles from black construction paper and gluing them to the bottom.
- Decorate the bus with colored markers or crayons.
- Insert the photo behind the cut-out window section.
- Display the finished frame on a shelf or gift it to someone special.
Notes
Encourage kids to write their names or fun quotes on the bus to personalize it even more.