

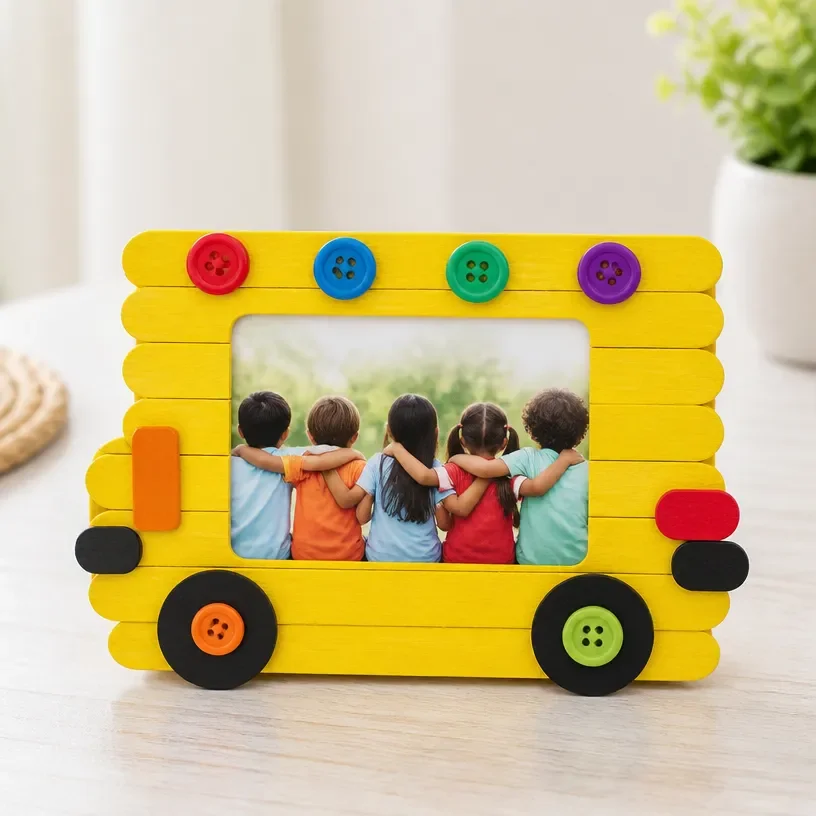
DIY Colorful School Bus Photo Frame Craft for Kids
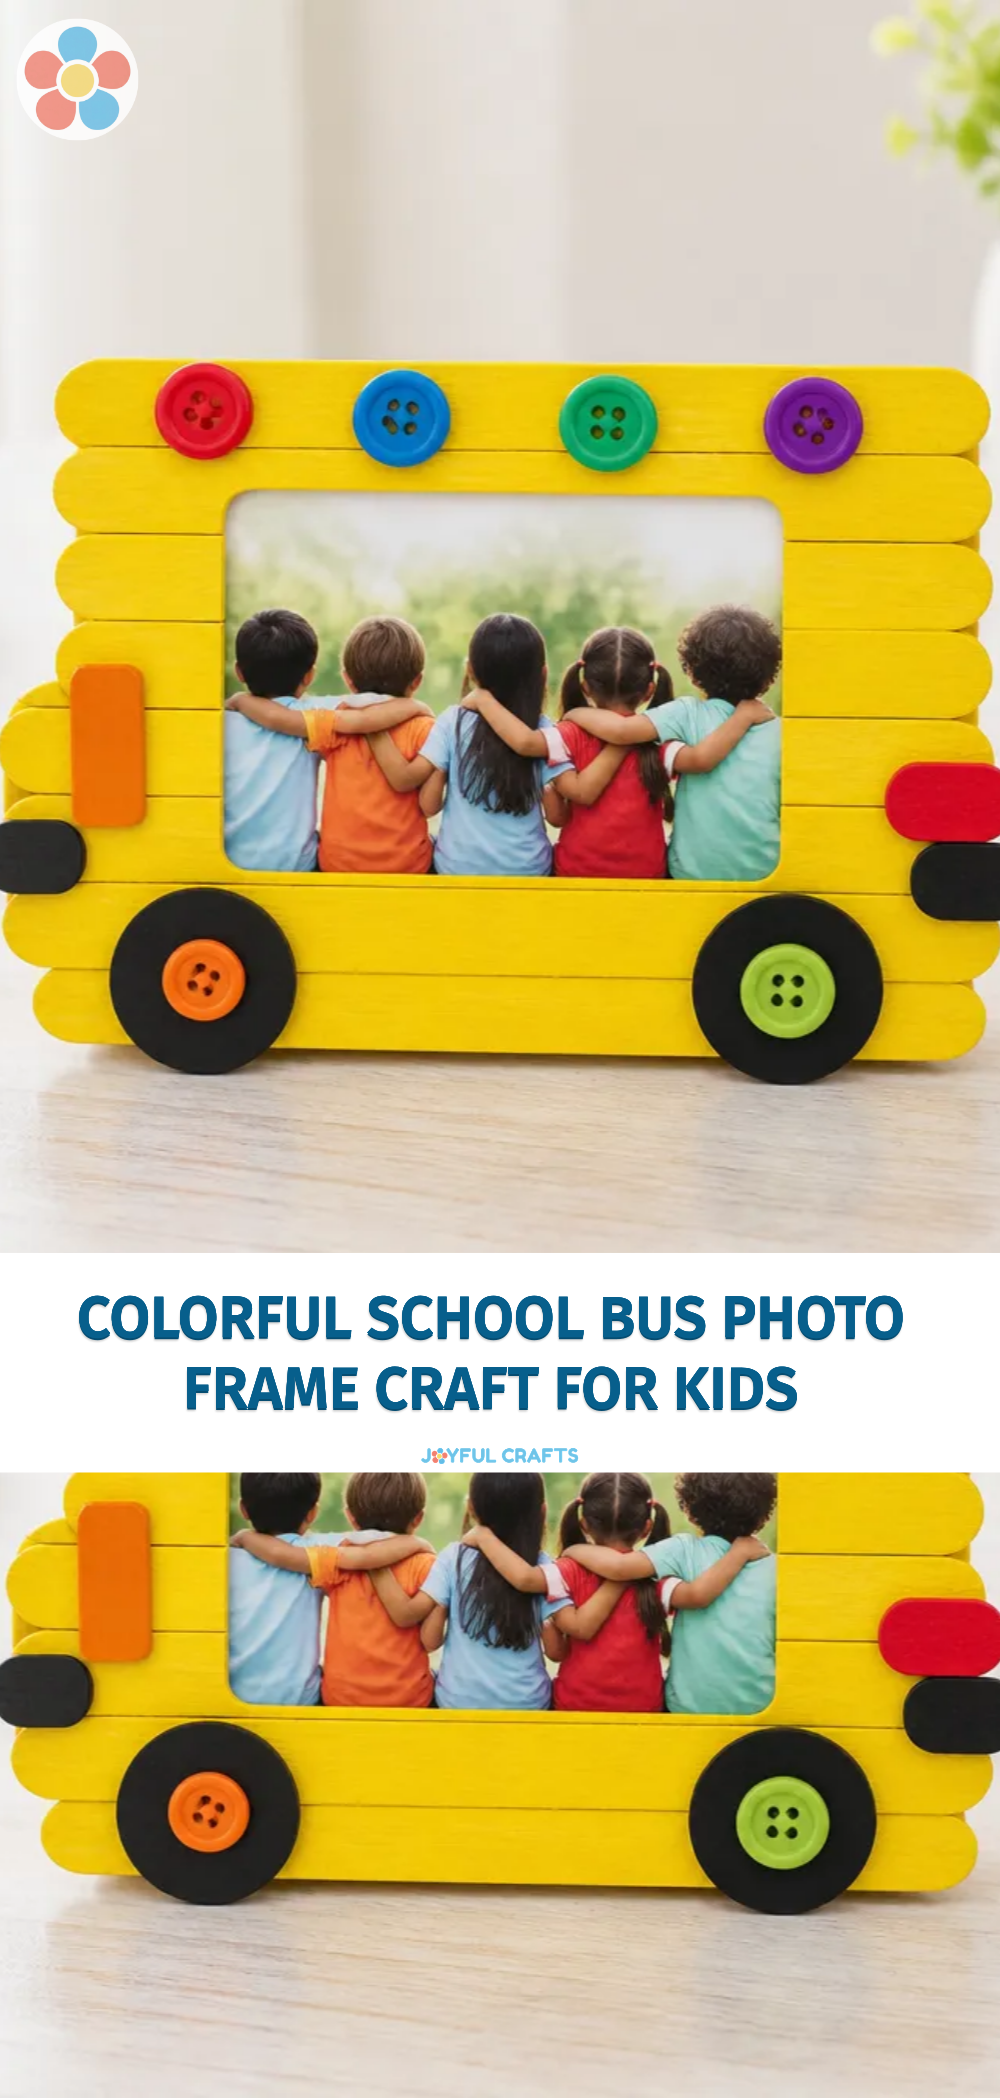
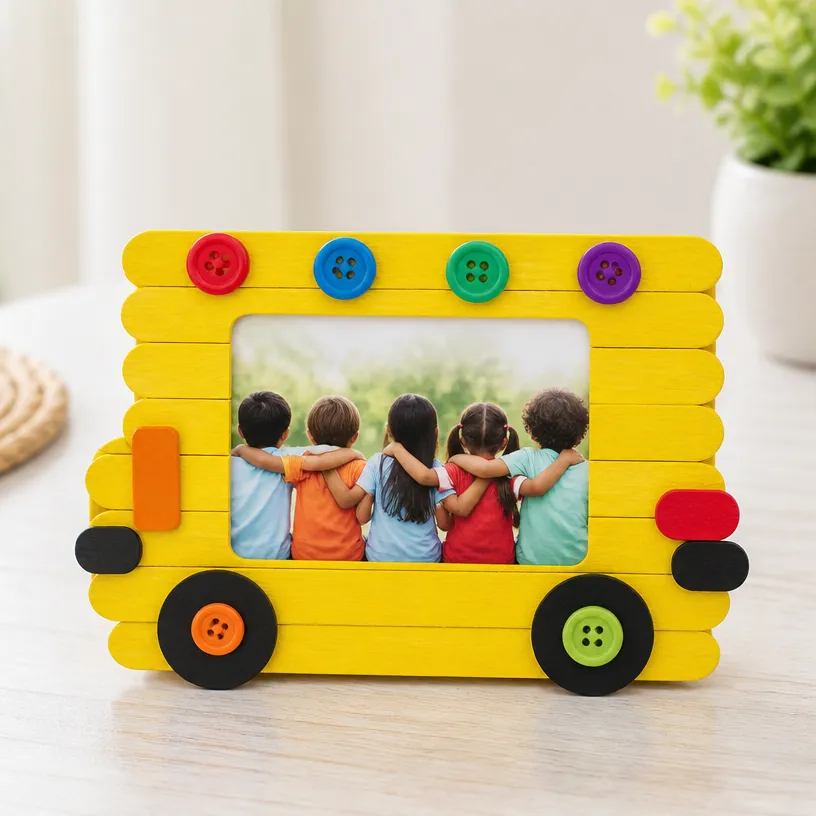
Crafting with kids is a delightful way to spend time together while exploring creativity and fun! This DIY Colorful School Bus Photo Frame Craft is not only a great keepsake to hold those cherished memories but also an exciting project that children will enjoy making. With colorful materials and simple steps, you’ll create a beautiful frame that showcases special moments. You may also find Rainbow Monster Pencil Holders Diy Craft For Kids useful.
Why You’ll Love This Project
- Creative Expression: Children can personalize their frames with their favorite colors and decorations, making each one unique.
- Fun for All Ages: This craft is suitable for various age groups, providing an opportunity for younger children to engage with adult supervision while giving older kids a chance to work independently.
- Memorable Gift: The finished photo frame makes for a thoughtful gift or decoration for children’s rooms.
- Easy and Affordable: Using common materials, this craft is budget-friendly and can be completed in a short amount of time.
You may also find Clear Rainbow Ghost Shaker Suncatcher Craft For Kids useful.
Materials You’ll Need
- Yellow construction paper
- Black construction paper
- Colorful embellishments (markers, stickers, glitter)
- Scissors
- Glue
- Photo or picture to insert
How to Make DIY Colorful School Bus Photo Frame Craft for Kids
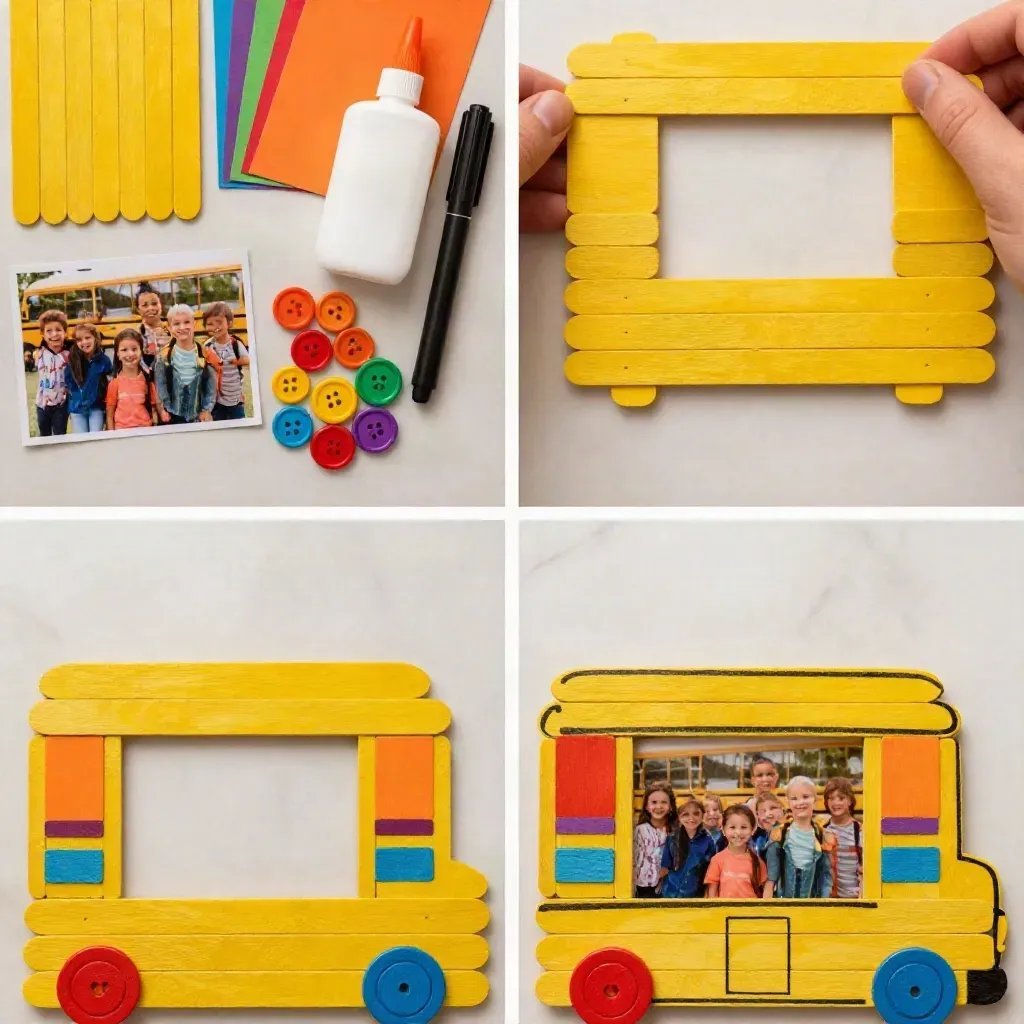
- Cut the Base: Start by cutting a rectangle from the yellow construction paper; this will serve as the main body of the bus.
- Create the Window: Cut out a window shape from the black construction paper and glue it to the center of your yellow rectangle, leaving enough space at the bottom for the photo.
- Add Details: Use markers or additional colored paper to draw or cut out wheels, headlights, and any other decorative elements you want. Stick them onto your bus.
- Insert the Photo: Once the frame is decorated, carefully glue your selected photo behind the opening you’ve created for the picture.
- Display the Frame: Let the frame dry completely. Once dry, it can be a beautiful addition to any desk or shelf!
Helpful Tips
- Encourage kids to think about their favorite school memories when choosing their photos to make it even more special.
- If using glitter or messy embellishments, lay down newspaper or a craft mat to catch the mess easily.
- Consider pre-cutting some shapes to help younger children complete their projects with more ease and confidence.
Creative Variations
- Instead of a classic school bus design, kids can transform the frame into a colorful rainbow bus or even a themed bus based on their favorite movie characters.
- Add seasonal decorations! For Halloween, they could attach ghosts, or for winter, they might want to create a snow-themed frame.
- Experiment with different frame sizes – larger frames can hold group pictures, while smaller frames can be used for individual snapshots.
Making It With Kids
When working with young crafters, it’s important to supervise the use of scissors and glue. You can help with cutting or provide template shapes for younger children to trace and cut out. Make this crafting time fun by prompting kids to share their stories behind each photo that will go into the frames. You may also find Colorful Rainbow Monster Pencil Holder For Kids useful.
How to Display, Use, or Gift It
The vibrant school bus photo frame can be proudly displayed on a desk, shelf, or even a doorway as a cheerful decoration. As a gift, it can be heartfelt and personal, especially if filled with treasured memories. This makes it an ideal present for parents, grandparents, or teachers, showcasing the creativity and love of your little ones. You may also find Cupcake Liner Sunflower Wreath Craft For Kids useful.
Frequently Asked Questions
1. What age is this craft suitable for?
This craft is generally suitable for children aged 4 and up, but younger kids can participate with adult guidance.
2. Can we use different colors for the bus?
Absolutely! Let the kids choose their favorite colors to make the project more personal and engaging.
3. Is it okay to add other embellishments?
Yes! Kids can use buttons, pom poms, or stickers to make their school bus frame even more unique and fun.
4. How can I make the frame more sturdy?
For a sturdier frame, consider using cardboard instead of construction paper as the base of the school bus.
Conclusion
Crafting this colorful school bus picture frame is a rewarding way to commemorate cherished moments. For additional crafting fun, you might want to check out this Back to School Bus Picture Frame Crafts Kit that provides even more creative ideas and materials. Happy crafting!
Print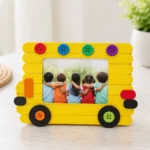
DIY Colorful School Bus Photo Frame Craft for Kids
- Total Time: 30 minutes
- Makes: 1 photo frame
Description
A fun and colorful craft project for kids to create their own school bus photo frame, perfect for showcasing cherished memories.
Materials
- Yellow construction paper
- Black construction paper
- Colorful embellishments (markers, stickers, glitter)
- Scissors
- Glue
- Photo or picture to insert
Instructions
- Cut the base by cutting a rectangle from the yellow construction paper; this will serve as the main body of the bus.
- Create the window by cutting out a window shape from the black construction paper and gluing it to the center of your yellow rectangle, leaving space at the bottom for the photo.
- Add details by using markers or colored paper to draw or cut out wheels, headlights, and decorative elements. Stick them onto your bus.
- Insert the photo by carefully gluing your selected photo behind the opening created for the picture.
- Display the frame and let it dry completely. Once dry, it can be displayed on any desk or shelf!
Notes
Encourage kids to personalize their frames and choose photos that remind them of special school memories.