
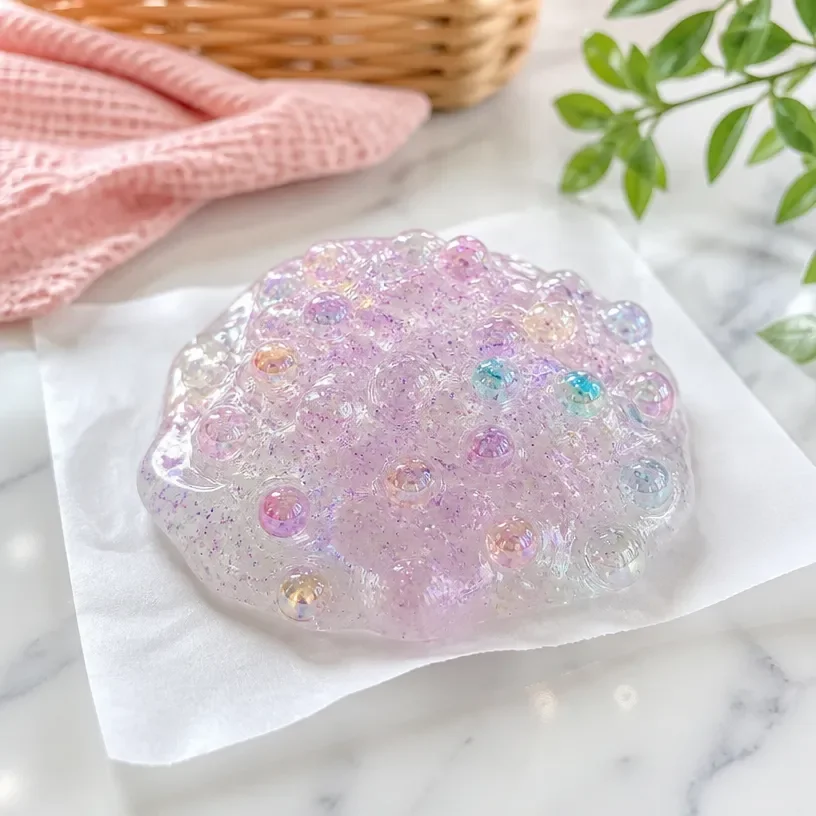
Easy DIY Craft with Clear School Glue
Creating crafts at home can be a delightful way to bond with family or to keep children engaged. One simple yet rewarding project is making fun decorations using clear school glue. This craft not only sparks imagination but also serves as a practical activity to improve fine motor skills. Plus, it’s a chance for kids to experiment with colors and shapes! You may also find Clear Rainbow Ghost Shaker Suncatcher Craft For Kids useful.
Why You’ll Love This Project
- Educational Fun: It encourages creativity and helps children learn about color mixing and design.
- Easy to Clean Up: The mess can be managed easily since glue can often be cleaned up with water.
- Versatile Projects: You can adapt this craft for different holidays or personal themes.
- Affordable Materials: Most supplies can be found easily in your craft box or at a local store.
- Quality Family Time: Creating together offers a chance for relaxed conversation and interaction.
You may also find Colorful School Bus Photo Frame Craft For Kids useful.
Materials You’ll Need
- Clear school glue
- Colored paper or cardstock
- Scissors
- Craft stick or brush for spreading glue
- Wax paper (for easy removal)
- Optional: glitter, beads, or sequins for decoration
How to Make Easy DIY Craft with Clear School Glue
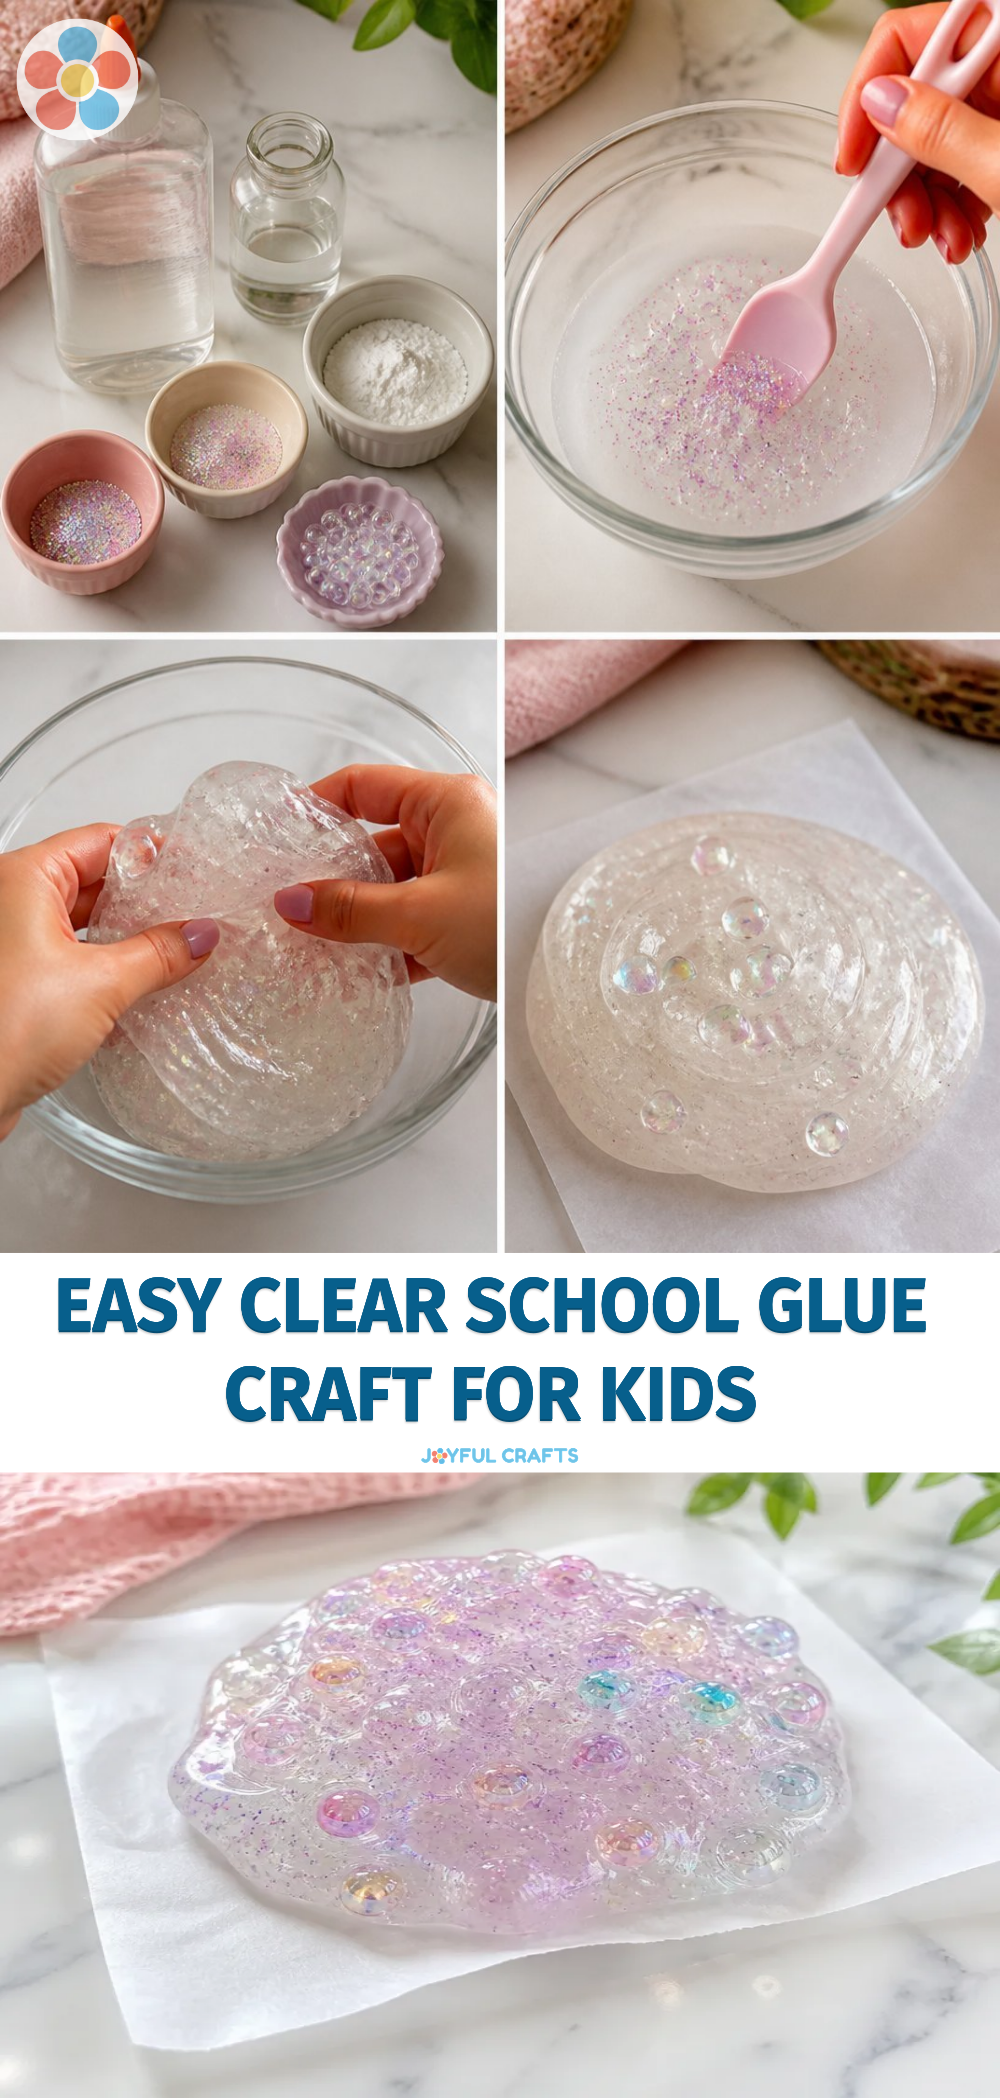
- Prepare Your Workspace: Lay down wax paper on your table for easy cleanup and to prevent sticking.
- Design Your Piece: On a piece of colored paper, sketch out your design or pattern lightly with a pencil.
- Apply the Glue: Use a craft stick or brush to spread a layer of clear glue over the areas you want to work on.
- Add Decorations: While the glue is still wet, sprinkle glitter or place beads and sequins onto the glue for added sparkle and texture.
- Let It Dry: Allow your creation to dry completely, which can take several hours depending on thickness. This step is essential to avoid smudging.
- Display Your Art: Once dry, carefully peel your creation off the wax paper. You can use it as a window decoration, bookmark, or gift it to a friend!
Helpful Tips
- Control the Mess: Encourage kids to complete their projects directly on wax paper to catch any drips or spills.
- Thicker Layers: For a bolder look, apply a thicker layer of glue but be mindful as it might take longer to dry.
- Storage: Keep any leftover glue in a sealed container to prevent it from drying out prematurely.
Creative Variations
- Theme-Based Crafts: Create holiday-themed designs, like hearts for Valentine’s Day or stars for the Fourth of July.
- Color Mixing: Experiment by mixing different colored glues to create unique shades for your crafts.
- Layering Effects: Try layering clear glue over dried glue art to add depth and dimension to your creations.
Making It With Kids
This project is a perfect activity for children, but adult supervision may be needed, especially when using scissors or for younger children who may need help with glue application. Have fun exploring different ways to make art and encourage kids to express themselves freely! You may also find Diy Bottle Cap Monster Crafts For Kids useful.
How to Display, Use, or Gift It
The finished product can brighten up your home by being displayed on windows or as part of a colorful gallery wall. They also make charming gifts for family members or friends. Consider adding a personal note to each piece for a heartfelt touch! You may also find Diy Rainbow Popsicle Stick Flower Wheel Craft useful.
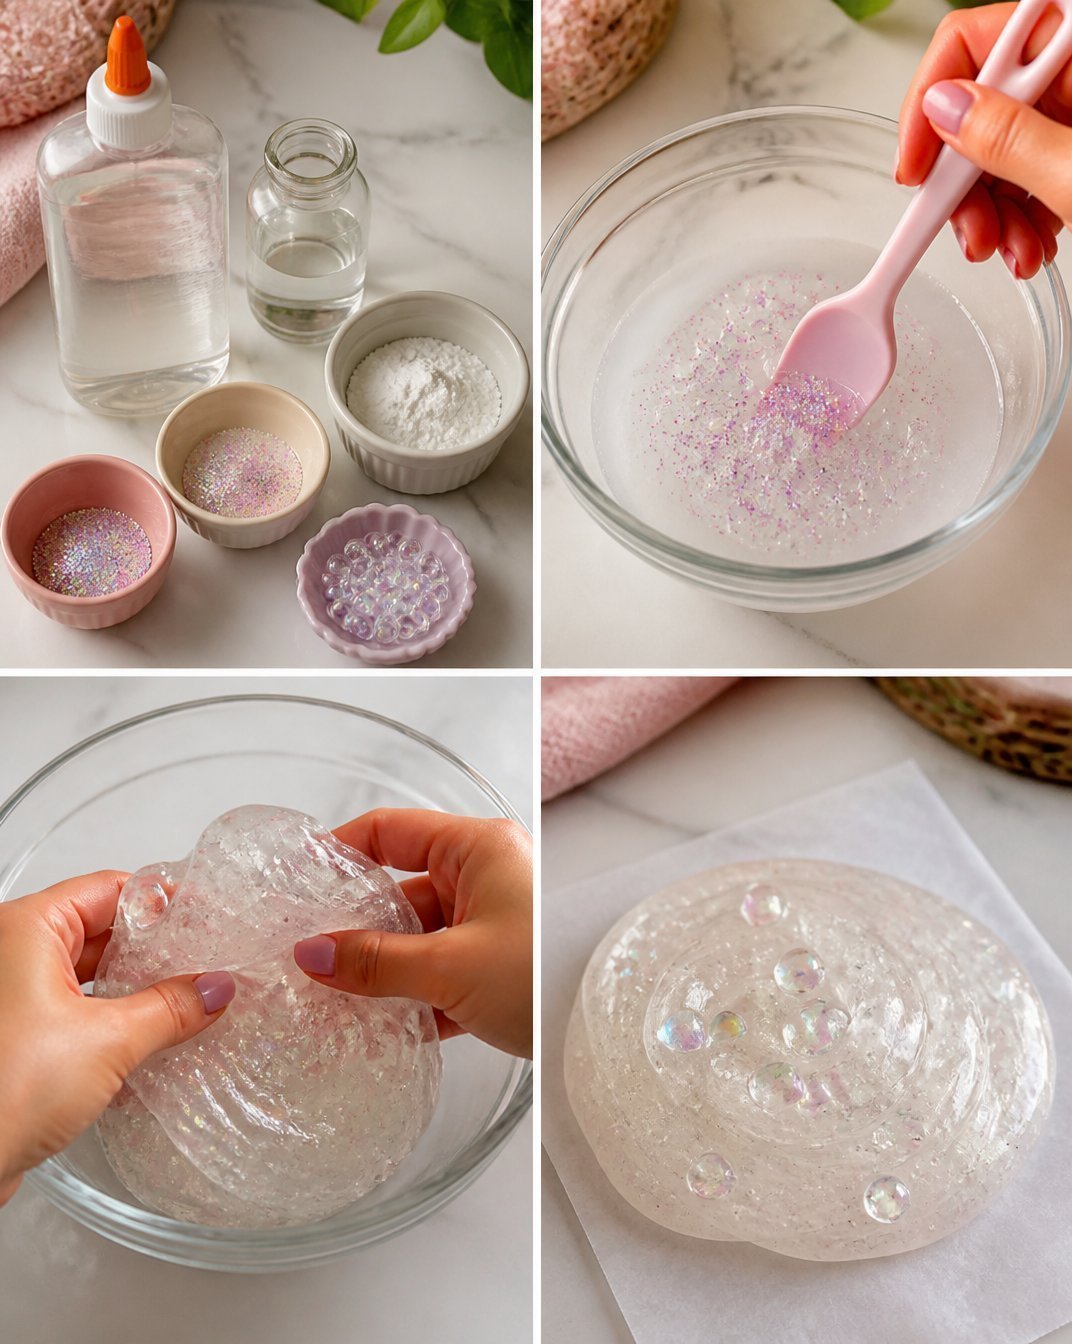
Frequently Asked Questions
1. How long does the glue take to dry?
Drying times can vary based on thickness and humidity. Generally, it takes a few hours for thin layers to dry fully.
2. Can I use different types of glue?
While clear school glue is best, experimenting with other types like glitter glue can yield fun results!
3. How do I clean up if glue spills?
Simply wipe up spills with a damp cloth while the glue is still wet.
4. Are certain craft themes better for younger kids?
Yes! Simple shapes and fewer materials may be easier for younger children to handle, keeping the process stress-free.
5. Can this project be made without wax paper?
If wax paper isn’t available, a non-stick baking mat can serve a similar purpose for easy removal.
Conclusion
Engaging in crafts like this one is a great way to foster creativity and skill development in children. For more ideas using clear school glue, you might enjoy exploring 2 Easy Clear Glue Crafts for Kids: DIY Bookmark & Suncatcher for additional fun activities!
Print
Easy DIY Craft with Clear School Glue
- Total Time: 250 minutes
- Makes: 1 craft
Description
Create fun and colorful decorations using clear school glue with this simple DIY craft, perfect for engaging children and fostering creativity.
Materials
- Clear school glue
- Colored paper or cardstock
- Scissors
- Craft stick or brush for spreading glue
- Wax paper (for easy removal)
- Optional: glitter, beads, or sequins for decoration
Instructions
- Prepare your workspace by laying down wax paper on your table for easy cleanup.
- Design your piece on a colored paper by sketching your design or pattern lightly with a pencil.
- Apply the glue using a craft stick or brush over the areas you want to work on.
- Add decorations while the glue is still wet by sprinkling glitter or placing beads and sequins onto the glue.
- Let it dry completely; this can take several hours depending on thickness.
- Display your art by carefully peeling it off the wax paper, and use it as a decoration, bookmark, or gift.
Notes
Encourage kids to work on wax paper to control mess and experiment with different designs for various holidays.