

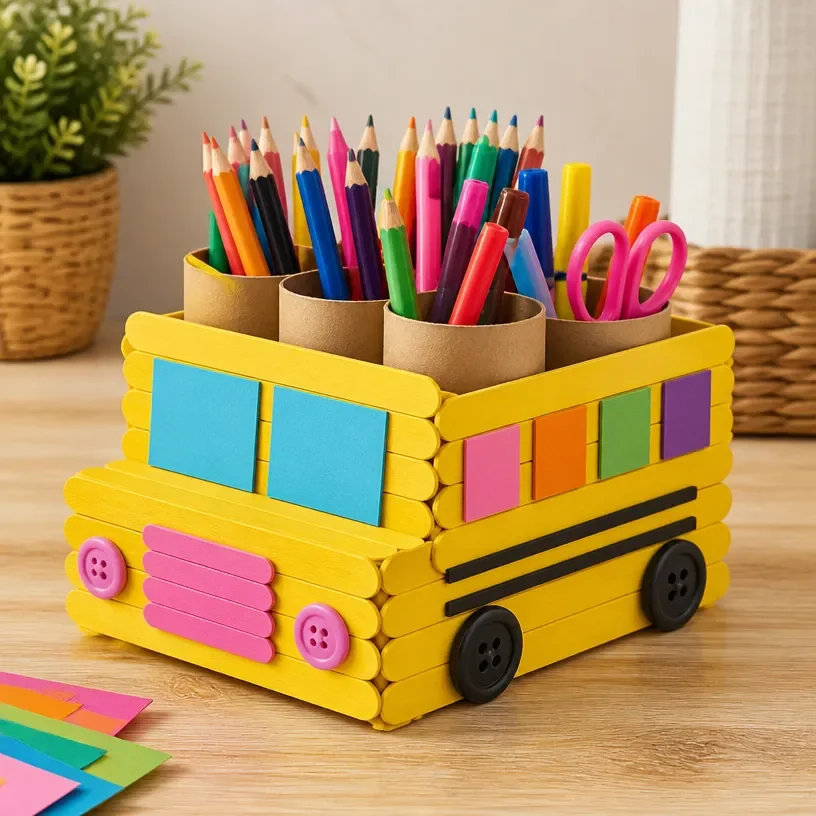
Colorful School Bus Organizer for Kids Using Popsicle Sticks
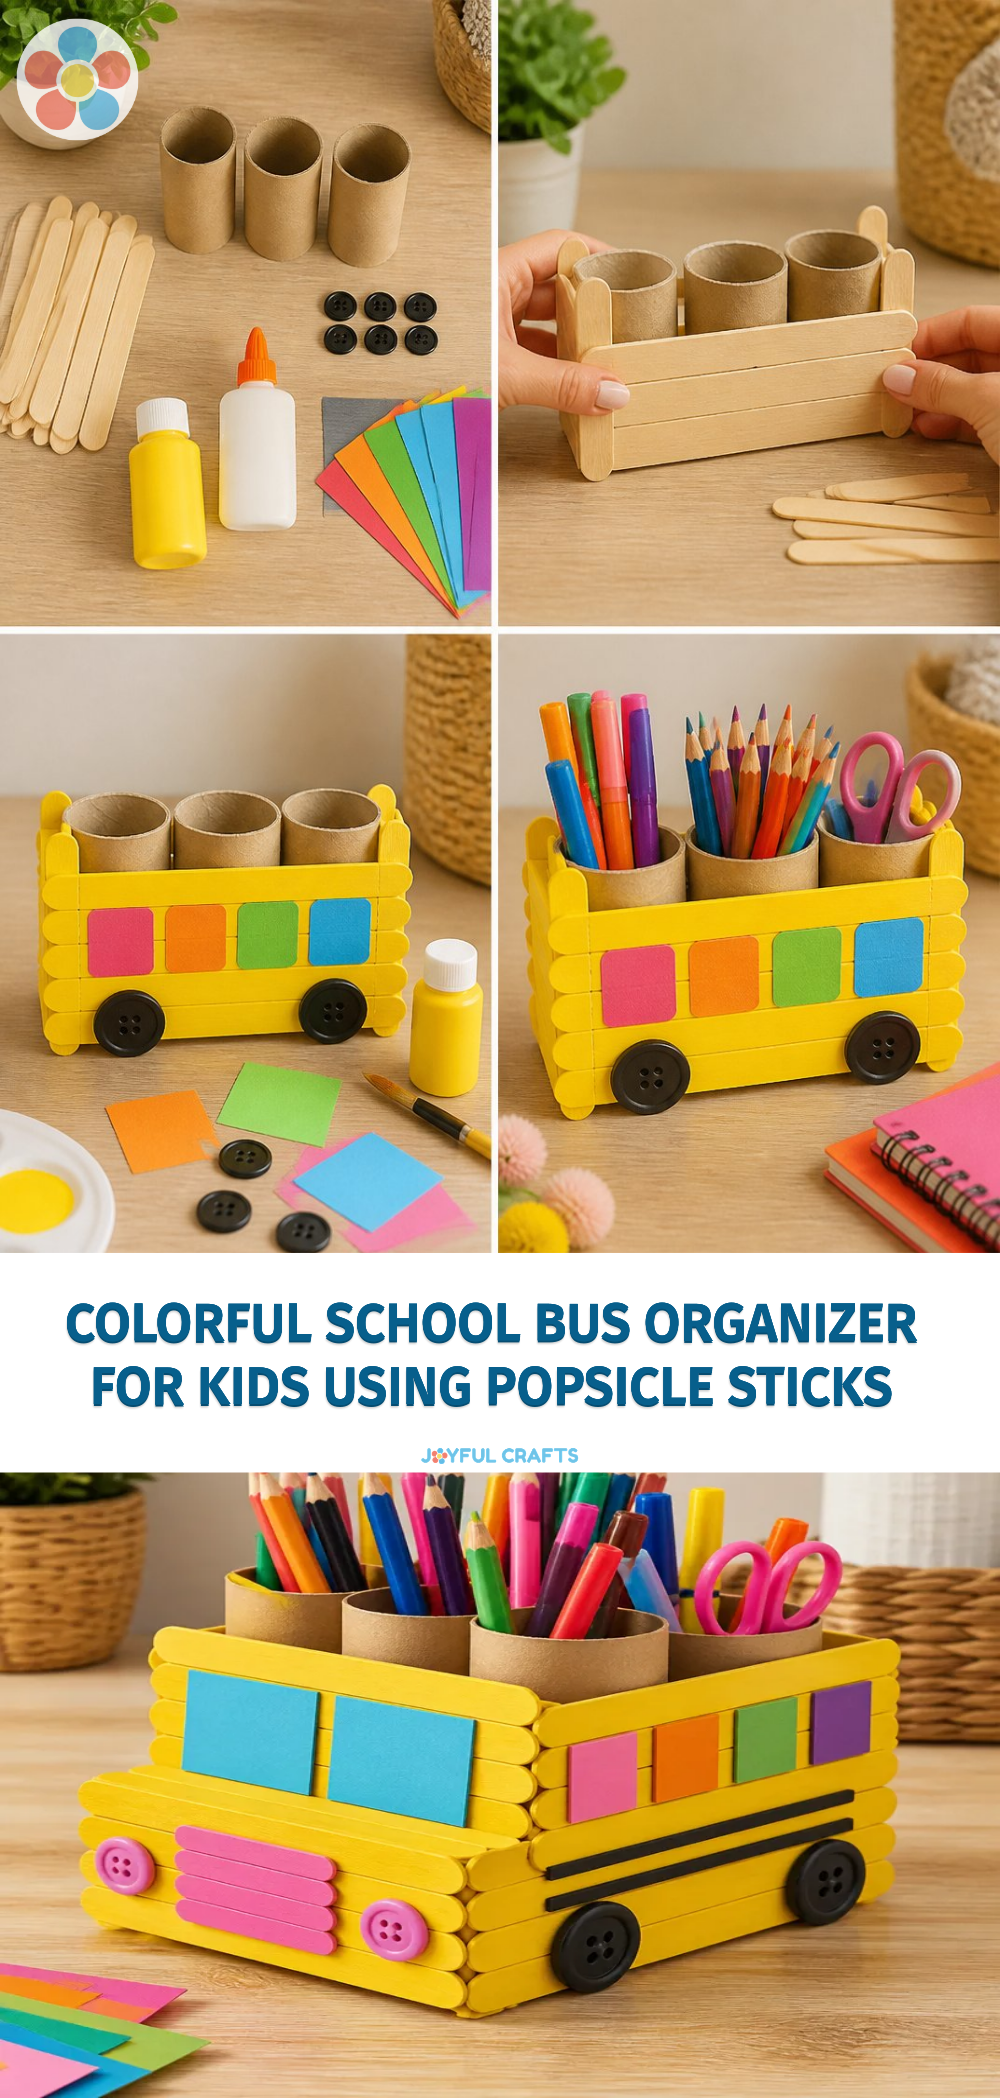
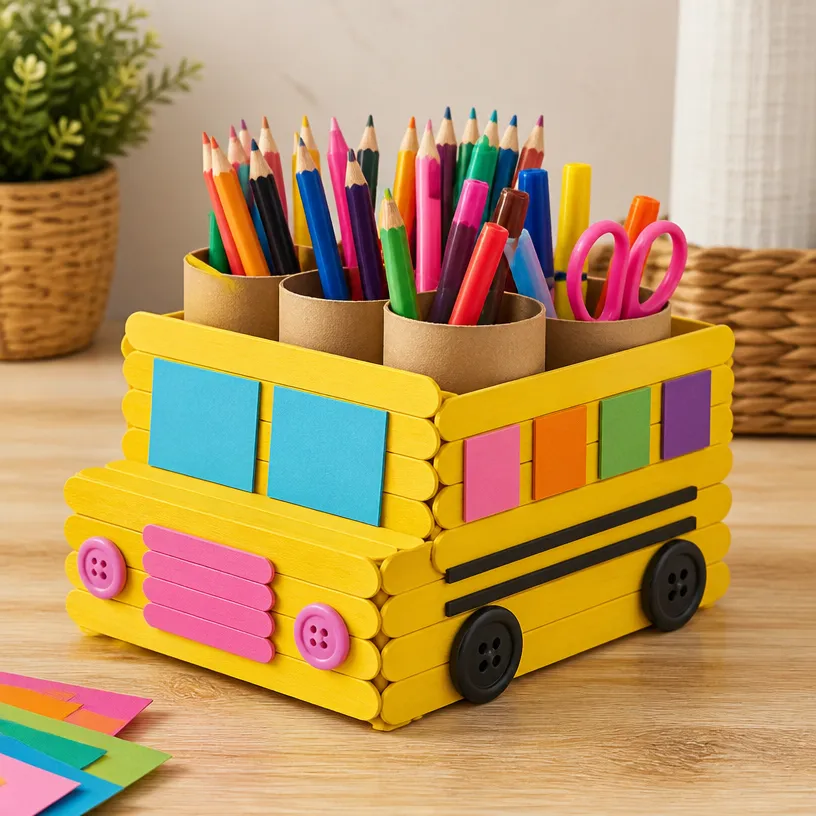
Create a fun and functional school bus organizer using popsicle sticks! This cheerful craft provides a great way for kids to organize their school supplies while expressing their creativity. Not only is it easy to make, but it also reinforces fine motor skills and can be a lively addition to any desk or workspace. You may also find Colorful School Bus Photo Frame Craft For Kids useful.
Why You’ll Love This Project
- Promotes Organization: This handy bus-shaped organizer helps kids keep their pencils, crayons, and markers neatly stored.
- Encourages Creativity: Kids can paint and decorate their bus as they choose, making it uniquely their own.
- Easy to Make: The project is simple enough for children to help with or even take the lead, fostering independence.
- Great for Play: Once finished, the bus can even be part of imaginative play!
You may also find Popsicle Stick Organizer Kids Rainbow Puppy Bus Craft useful.
Materials You’ll Need
- Wooden popsicle sticks
- Non-toxic paint (yellow for the bus, additional colors for details)
- Paint brushes
- Hot glue gun (adult supervision required)
- Black construction paper (for wheels)
- Scissors
- Clear sealant (optional)
How to Make Colorful School Bus Organizer for Kids Using Popsicle Sticks
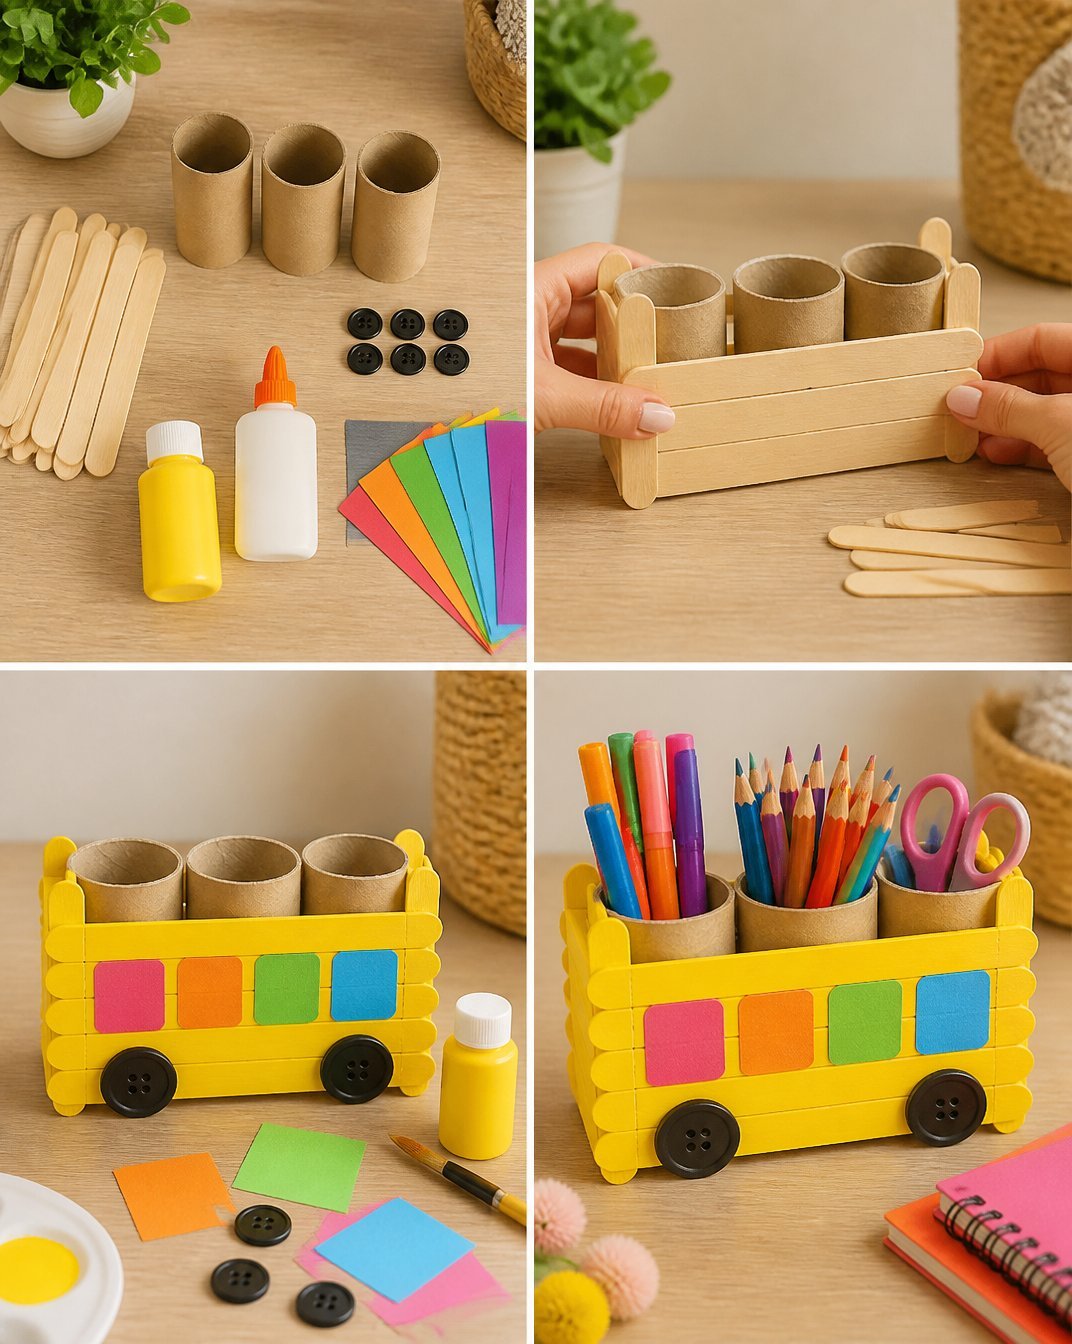
- Prepare the Popsicle Sticks: Gather a handful of popsicle sticks. You’ll need about 15 to make the bus body. If you’re looking for extra creativity, consider using colored sticks for a vibrant touch.
- Form the Base: Start by laying out four popsicle sticks side by side to form the bottom of the bus. Use a hot glue gun to secure them together.
- Create the Walls: Glue six popsicle sticks vertically onto the base, leaving some space for the bus windows. These will serve as the bus’s walls.
- Add the Front and Back: Attach two additional sticks horizontally at the front and back of the bus for a solid structure.
- Decorate the Bus: Let your kids paint the entire bus yellow. You might want to leave the wheels black for contrast, which can be cut out from the construction paper and glued on later.
- Finishing Touches: Allow the paint to dry completely, and consider applying a clear sealant to protect the paint.
- Insert Organizers: The inside of the bus will be perfect for holding pencils, erasers, and other school supplies!
Helpful Tips
- Use Different Colors: Encourage kids to paint the bus in vibrant colors, perhaps adding stripes or dots for a fun design.
- Mess Management: Lay down newspaper or an old sheet to protect your workspace from paint splatters.
- Adult Supervision: Make sure an adult is on hand to assist with the hot glue gun and any sharp scissors as needed.
Creative Variations
- Seasonal Themes: Change the colors and decorations according to seasons or holidays, like adding autumn leaves or festive lights.
- Size Adjustments: Create a larger bus for a more significant storage option or a smaller one for desk space.
- Themed Decor: Arrange mini figurines or stickers on the bus for a themed organizer like cartoon characters or animals.
Making It With Kids
This project is perfect for a family craft day! Just ensure that an adult is present to assist with tasks requiring glue or cutting. You can also let kids choose what they want to paint and design, encouraging their personal preferences and style. You may also find Bright Colorful Alphabet Garland For Kids useful.
How to Display, Use, or Gift It
Once completed, this colorful school bus organizer can take its place on a desk to keep supplies handy or even be gifted to friends or family members. It’s a functional piece that adds cheer to any study area! You may also find Colorful Rainbow Monster Pencil Holder For Kids useful.
Frequently Asked Questions
1. Can I use non-toxic spray paint instead of brush painting?
Yes, spray paint can be an option, but make sure to do it in a well-ventilated area and let children assist only with adult supervision.
2. How can I make the bus more durable?
Using a clear sealant after painting can help protect the wood from wear and tear.
3. Is this project suitable for younger children?
While younger children can help with painting, adult supervision is recommended for steps involving hot glue and scissors.
4. What if I don’t have popsicle sticks?
You can substitute with other wooden craft sticks or even cardboard if you need to.
5. How can I personalize the bus?
Kids can add their names, stickers, or any other decorations that reflect their personality.
6. Can we make multiple buses?
Absolutely! This could make for a fun party activity or classroom project where each child can create their own unique design.
Conclusion
Crafting a colorful school bus organizer with your kids can be an enjoyable and rewarding experience. If you’re looking for more popsicle stick inspiration, check out these creative ideas at Popsicle Stick Craft Ideas | ThriftyFun. Encouraging creativity while building organization skills is a win-win for any rainy day!
Print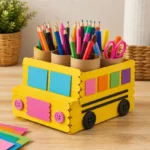
Colorful School Bus Organizer for Kids Using Popsicle Sticks
- Total Time: 15 minutes
- Makes: 1 organizer
Description
Create a fun and functional school bus organizer using popsicle sticks to help kids organize their school supplies while expressing their creativity.
Materials
- Wooden popsicle sticks
- Non-toxic paint (yellow for the bus, additional colors for details)
- Paint brushes
- Hot glue gun (adult supervision required)
- Black construction paper (for wheels)
- Scissors
- Clear sealant (optional)
Instructions
- Prepare the popsicle sticks: Gather about 15 sticks for the bus body.
- Form the base: Lay out four popsicle sticks side by side and secure them together with glue.
- Create the walls: Glue six sticks vertically onto the base for the bus walls.
- Add the front and back: Attach two additional sticks horizontally at both ends for structure.
- Decorate the bus: Let kids paint it yellow and use construction paper for wheels.
- Finishing touches: Let paint dry and apply sealant if desired.
- Insert organizers: Use the inside of the bus for holding school supplies.
Notes
Encourage kids to get creative with colors and decorations. Always supervise when using hot glue and scissors.