

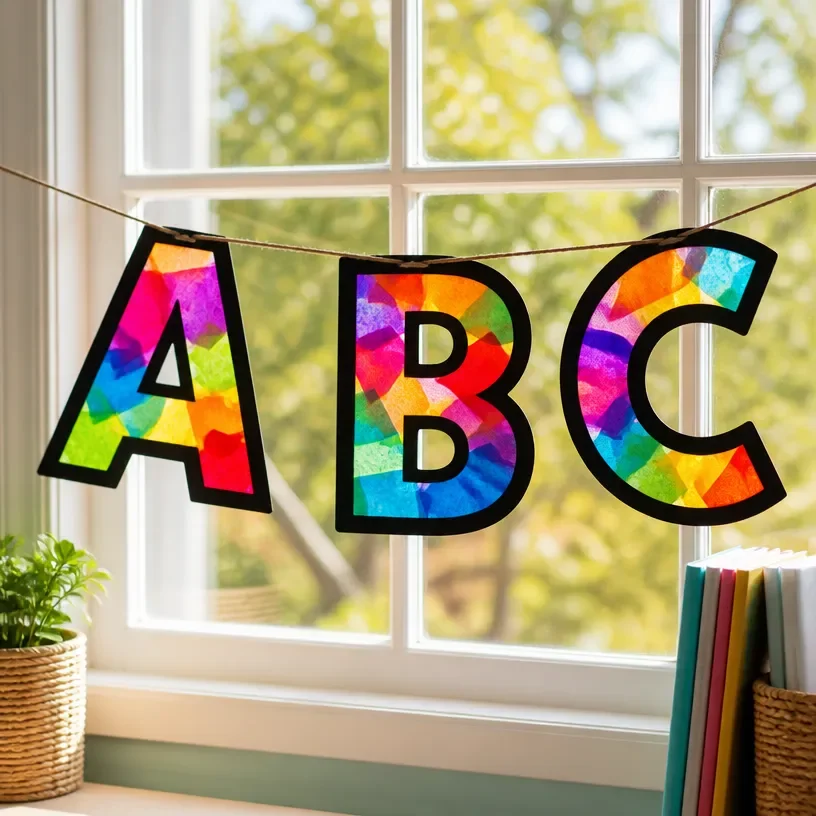
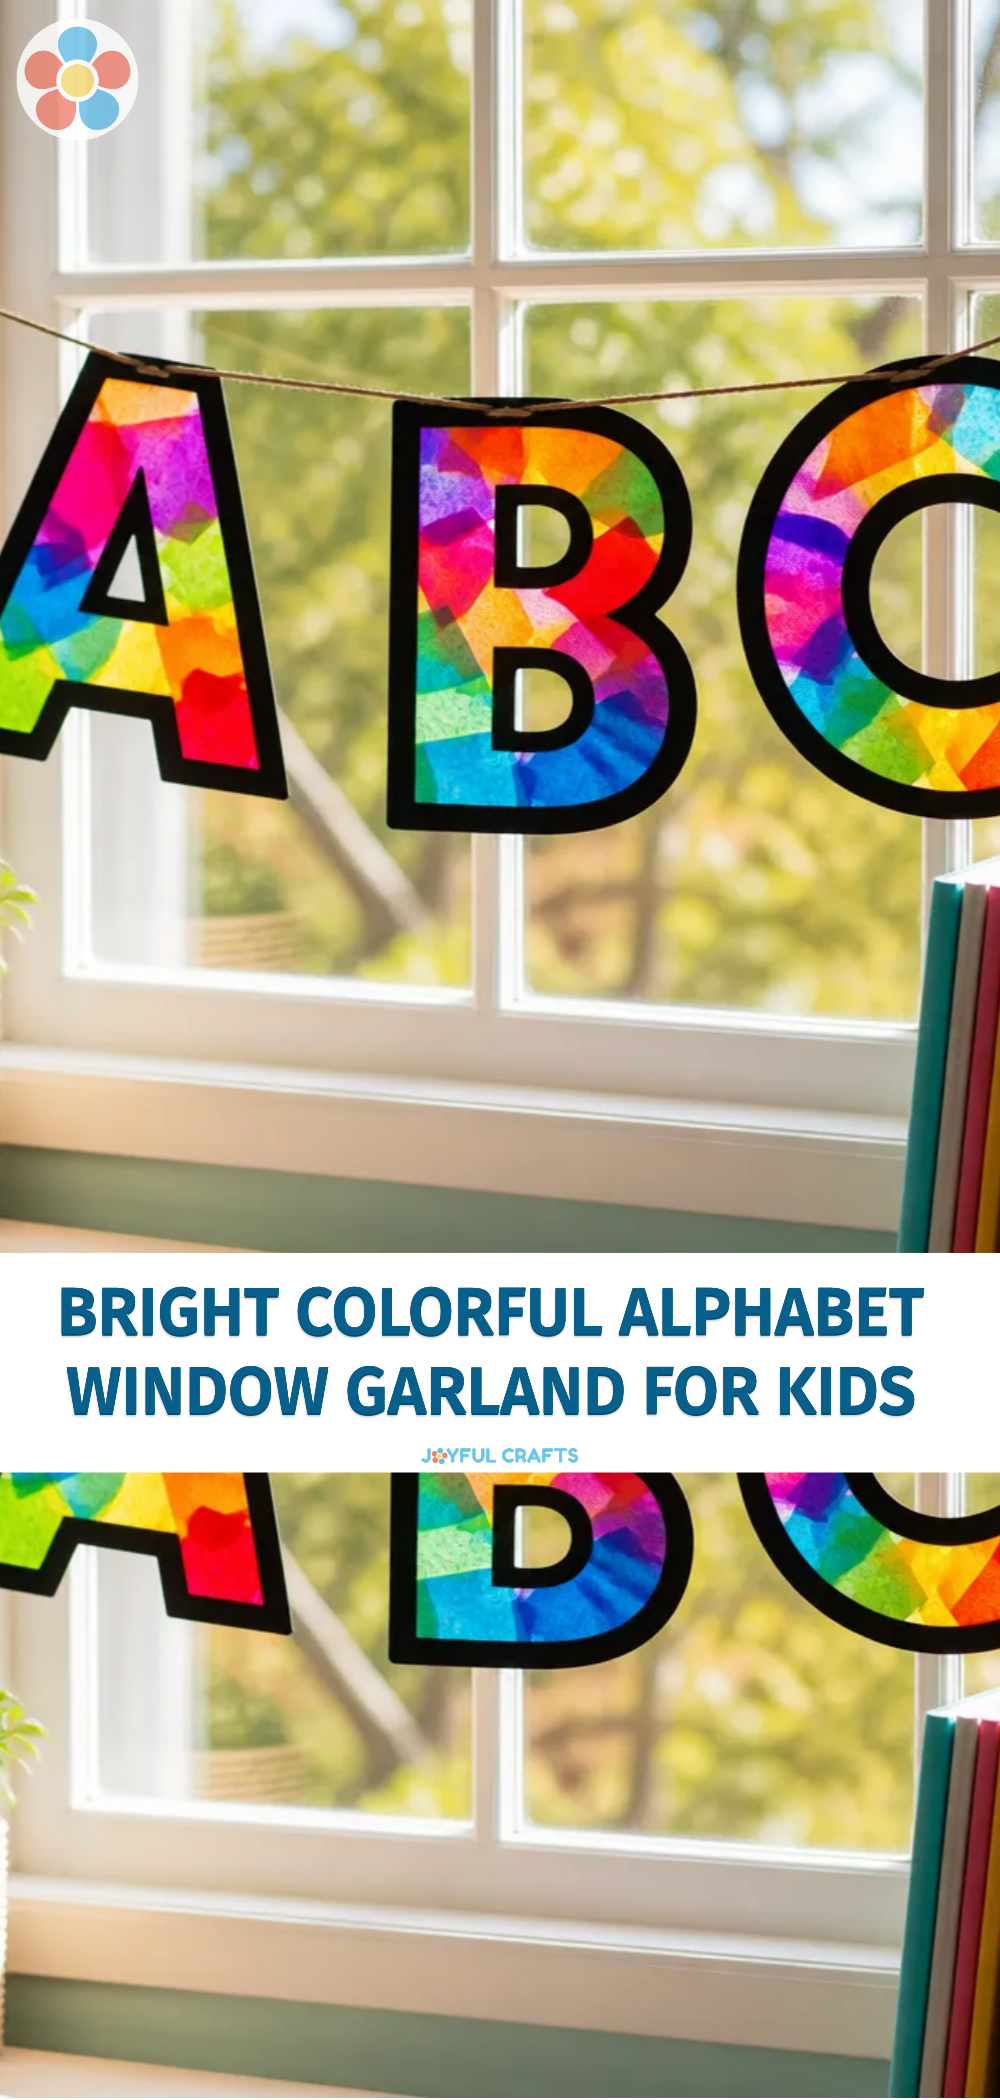
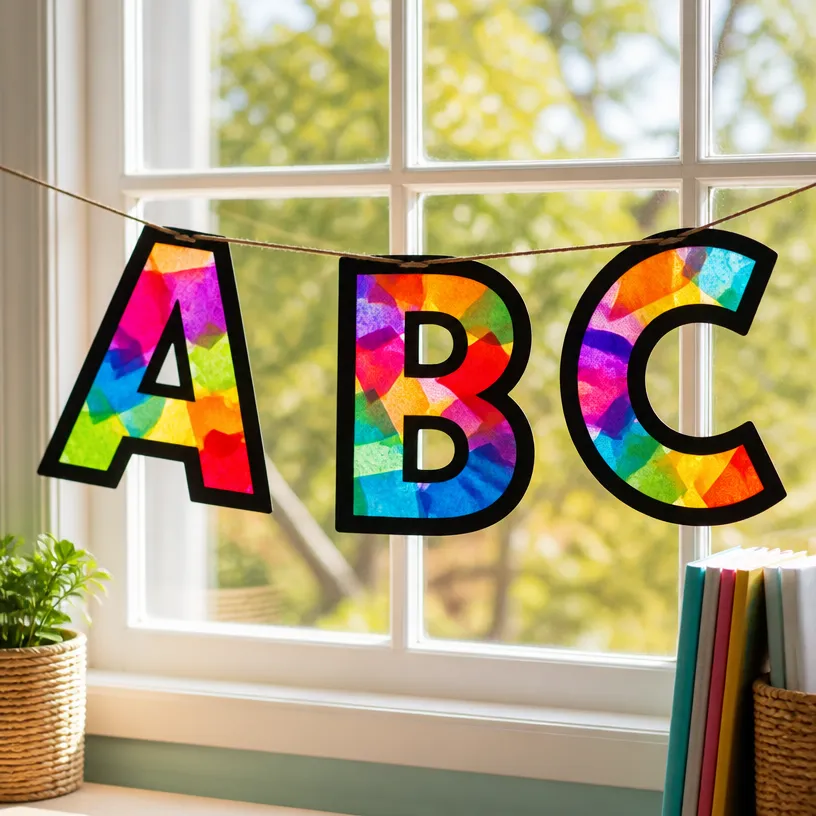
Bright Colorful Alphabet Window Garland – ABC Banner for Kids
Creating a bright and colorful alphabet window garland is a delightful way to add educational fun and vibrant decor to any space. This project not only helps children learn their ABCs, but it also encourages creativity and hands-on skills. Whether you’re preparing for a birthday party or simply sprucing up a playroom, this garland will make a cheerful statement. You may also find Colorful Rainbow Monster Pencil Holder For Kids useful.
Why You’ll Love This Project
- Educational Fun: This craft helps kids learn their letters while they engage in the fun process of making it.
- Customization: Children can choose their favorite colors and patterns, making each garland unique.
- Easy to Assemble: With simple materials and steps, this project is suitable for beginners and can be completed in a short time.
- Great for Any Occasion: From birthdays to everyday decor, this garland fits into various settings beautifully.
You may also find Clear Rainbow Ghost Shaker Suncatcher Craft For Kids useful.
Materials You’ll Need
- Colored cardstock or construction paper
- Scissors
- String or yarn
- Glue or tape
- Hole punch (optional)
- Markers or stickers for decoration
How to Make Bright Colorful Alphabet Window Garland – ABC Banner for Kids
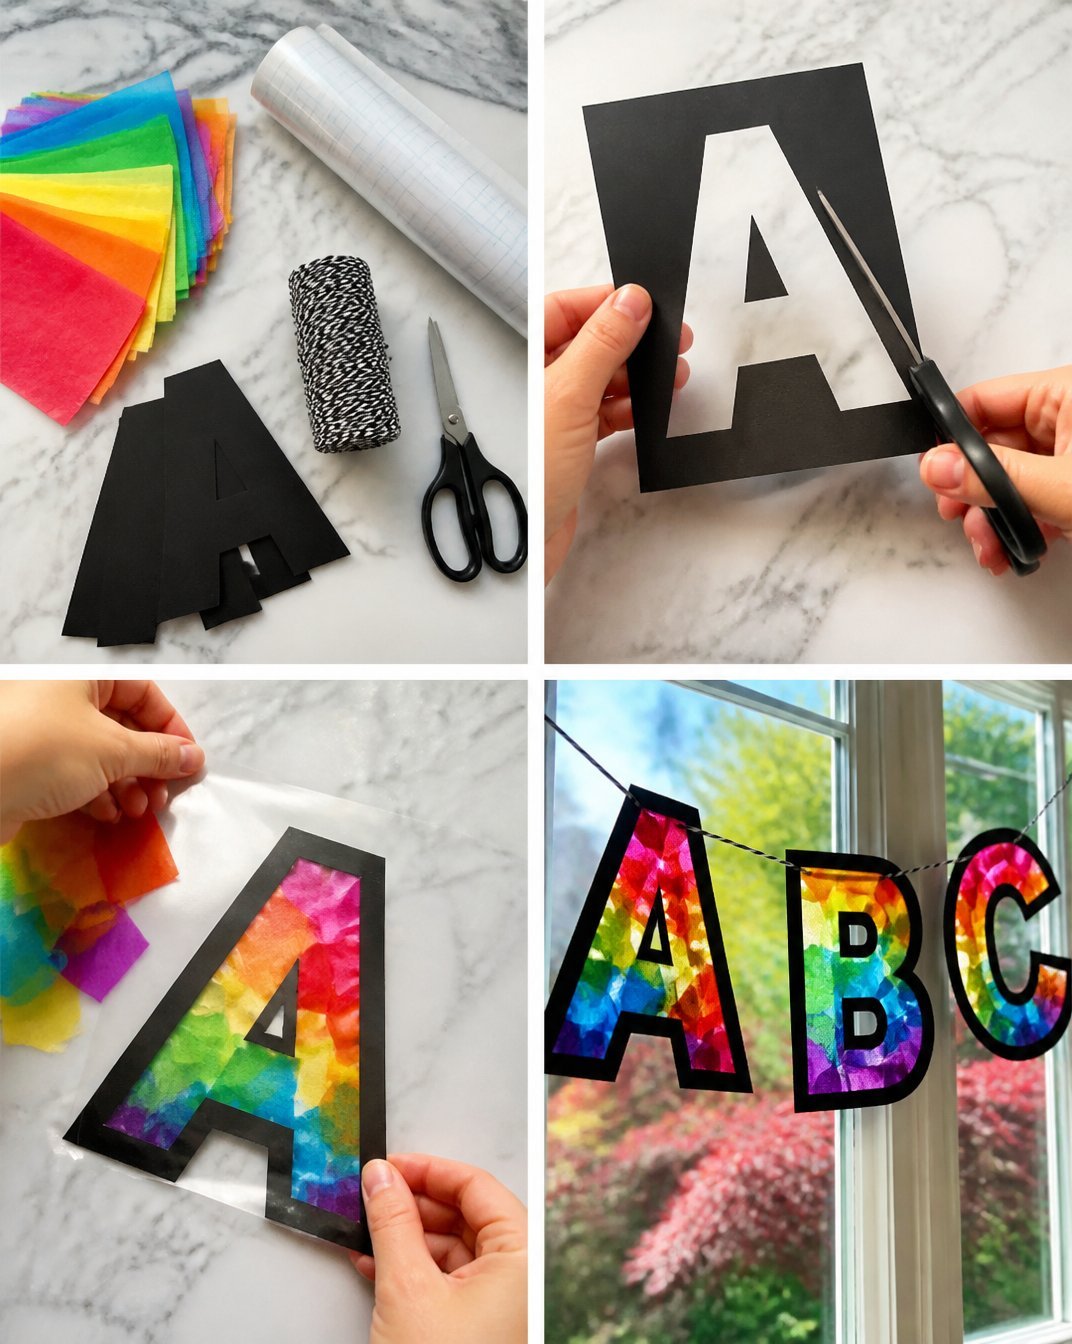
- Prepare the Letters: Start by cutting out each letter of the alphabet from the colored cardstock. Each letter can be different colors to create a vibrant look.
- Decorate the Letters: Use markers or stickers to add some extra flair to each letter. This is a great time for kids to express their creativity!
- Punch Holes: If you are using a hole punch, create two holes at the top of each letter. This will allow for easy stringing later on. Alternatively, you can simply attach letters directly to the string with glue or tape.
- String the Letters: Cut a length of string or yarn to your desired garland length. Begin threading the letters onto the string, spacing them as you wish.
- Hang Your Garland: Once you have strung all the letters, find a suitable place to display your garland. This could be across a window, along a wall, or even as part of a party backdrop.
Helpful Tips
- Work in Sections: If making the entire alphabet at once seems daunting, consider breaking it down into sections (like A-M and N-Z) to make it more manageable.
- Use Bright Colors: Encourage kids to use a variety of bright colors for a more eye-catching display.
- Involve Kids in Planning: Let them choose their favorite colors and patterns; this will boost their excitement and engagement in the project.
Creative Variations
- Seasonal Themes: Change the colors with the seasons – pastels for spring, warm colors for fall, or dark colors for Halloween.
- Additional Decorations: Attach small pom-poms, glitter, or other embellishments for extra fun!
- Personalization: Include each child’s name as part of the garland for a personalized touch.
Making It With Kids
This project is an excellent opportunity for bonding time with children. While cutting out letters may require adult supervision, especially with scissors, kids can take charge of decorating the letters. Just ensure they have assistance when dealing with any potentially sharp materials. You may also find Cotton Ball Squishies For Kids useful.
How to Display, Use, or Gift It
Your finished ABC banner can be used as a decorative element in playrooms or classrooms. It also makes a thoughtful gift for friends or family members who could use a little playful decor in their child’s space. You may also find Cupcake Liner Sunflower Wreath Craft For Kids useful.
Frequently Asked Questions
1. What age group is this craft suitable for?
This project can be enjoyed by children as young as four, with adult assistance for cutting and using glue.
2. Can we use different letter designs?
Absolutely! Kids can experiment with different fonts and styles when cutting their letters out to make the banner more unique.
3. How can I store the garland after use?
Store it flat to prevent any wrinkles or bending. You can also hang it on a wall to keep it displayed year-round!
4. What if I don’t have a hole punch?
No worries! You can simply glue or tape the letters directly to the string without needing holes.
5. Can we incorporate other shapes into the garland?
Yes! Adding stars, hearts, or other shapes in between the letters can enhance the visual appeal of your garland.
Conclusion
This bright colorful alphabet window garland is a fantastic craft project that blends fun and education. It opens up opportunities for creativity while providing a decorative touch to your space. If you’re looking for additional craft materials to complement your project, consider checking out this multicolored pennant bunting banner for even more color and cheer!
Print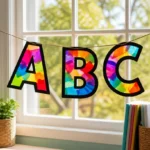
Bright Colorful Alphabet Window Garland – ABC Banner for Kids
- Total Time: 15 minutes
- Makes: 1 garland
Description
Create a vibrant and educational alphabet garland that enhances decor while teaching kids their ABCs.
Materials
- Colored cardstock or construction paper
- Scissors
- String or yarn
- Glue or tape
- Hole punch (optional)
- Markers or stickers for decoration
Instructions
- Prepare the letters: Start by cutting out each letter of the alphabet from the colored cardstock.
- Decorate the letters: Use markers or stickers to add extra flair to each letter.
- Punch holes: If using a hole punch, create two holes at the top of each letter.
- String the letters: Cut a length of string or yarn, then begin threading the letters onto the string.
- Hang your garland: Find a suitable place to display your garland across a window or along a wall.
Notes
Encourage kids to use a variety of colors and consider seasonal themes for the decoration.