

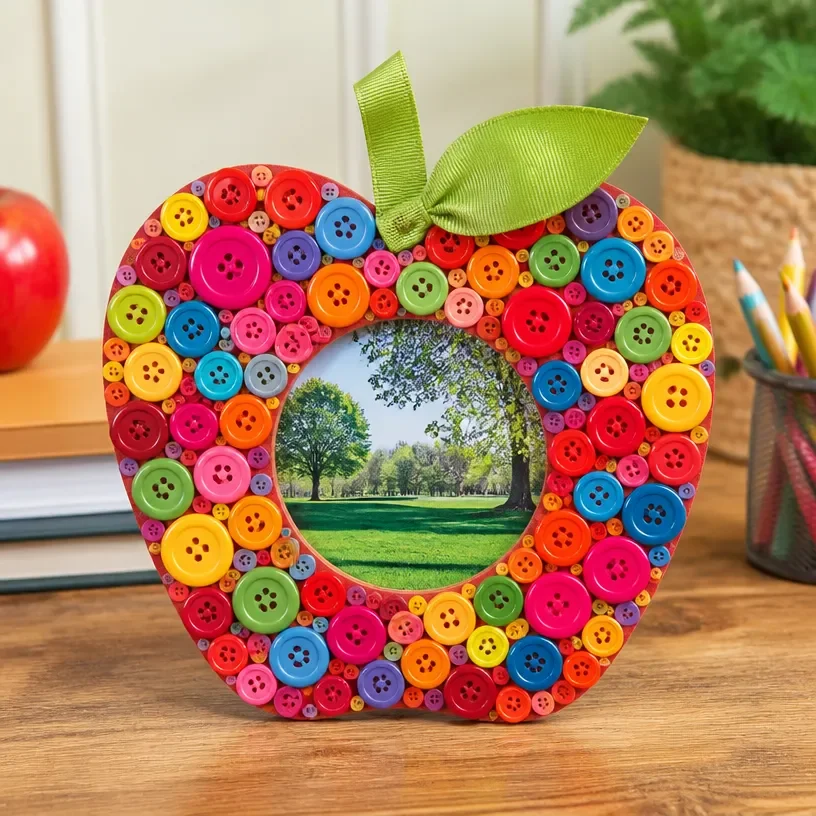
Colorful Apple-Themed Classroom Frame for Teachers
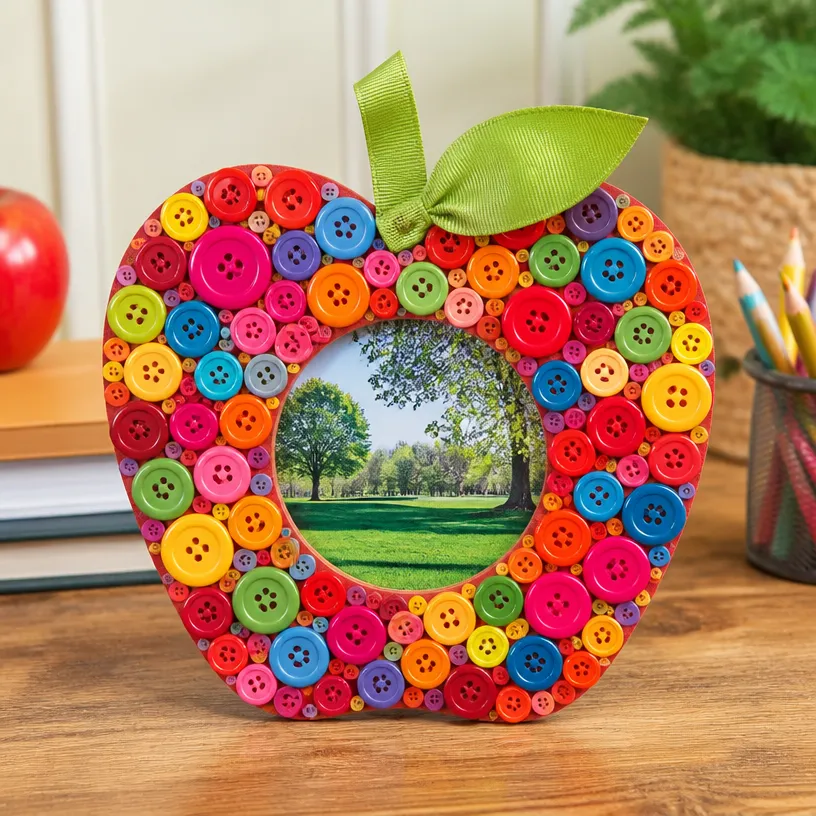
Creating a vibrant apple-themed classroom frame is a delightful project that not only personalizes your classroom but also fosters creativity and engagement among students. This craft serves as a fantastic way to celebrate the back-to-school season, making it a useful addition to any classroom or learning environment. Plus, the finished product is a wonderful display of student work, family photos, or inspiring quotes! You may also find Colorful School Bus Photo Frame Craft For Kids useful.
Why You’ll Love This Project
- Engaging for Children: Kids love bright colors and fun shapes, making this project a hit in any classroom.
- Easy to Customize: The design can easily be adapted to fit different themes or color schemes.
- Value in Display: Once completed, these frames can hold student artwork, making it a proud display for their efforts.
- Perfect for Teacher Appreciation: This thoughtful craft can be gifted to teachers during appreciation weeks.
- Skill Development: It encourages fine motor skills while working with scissors and glue.
You may also find Colorful Rainbow Monster Pencil Holder For Kids useful.
Materials You’ll Need
Gather the following materials for your colorful apple-themed classroom frame: You may also find Clear Rainbow Ghost Shaker Suncatcher Craft For Kids useful.
- Colorful cardstock or construction paper (red, green, yellow)
- Scissors
- Glue stick or liquid glue
- Pencil
- Ruler
- Decorative items (stickers, markers, glitter)
- A photo or artwork to frame
How to Make Colorful Apple-Themed Classroom Frame for Teachers
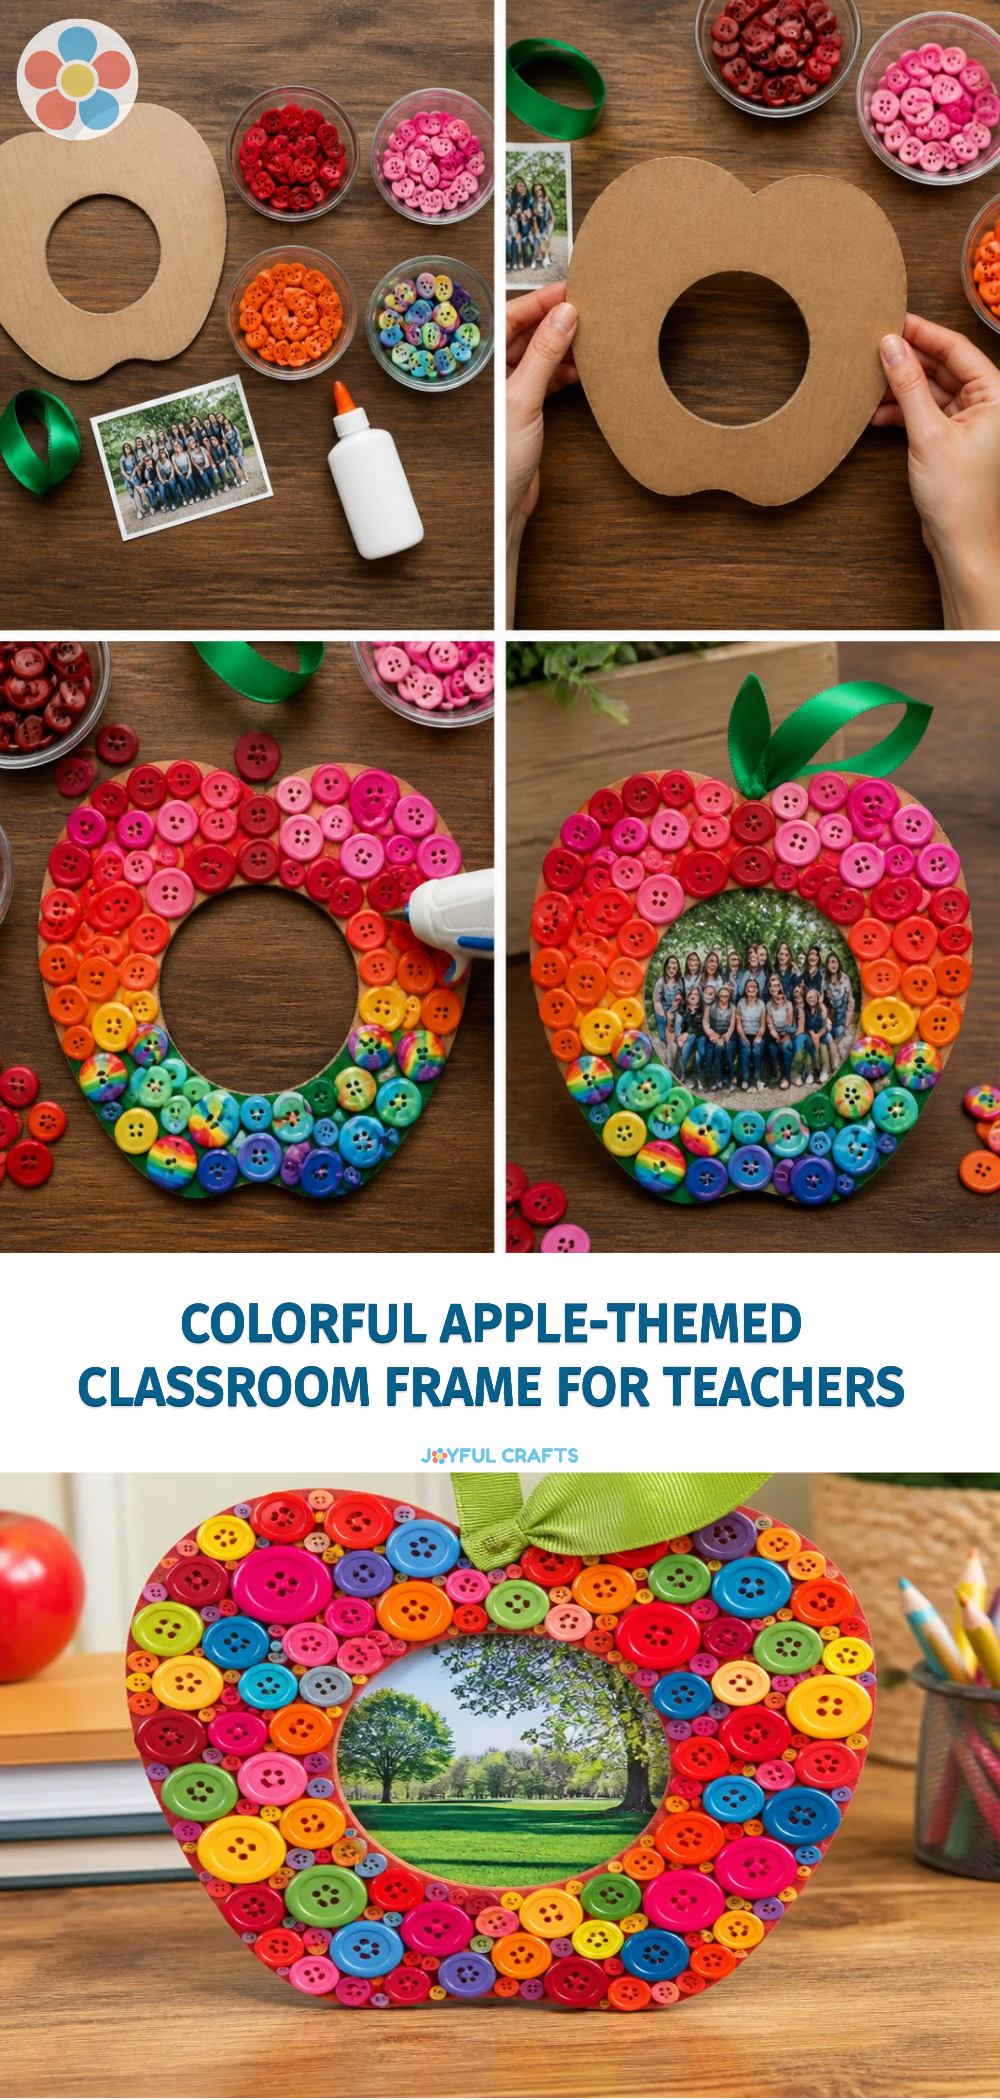
- Cut the Base: Start by cutting a rectangle from the colorful cardstock. This will form the base of your frame. A good size is approximately 8×10 inches.
- Create the Apple Shape: On another piece of paper, draw an apple outline that fits inside the rectangle. Cut it out carefully this will be your frame’s front.
- Make a Hole for the Picture: Using your apple cutout, trace the inner apple shape onto your base to mark where to cut out the picture opening. Cut this out so your photo can fit behind the frame.
- Attach the Apple Shape: Glue the apple shape onto the base, making sure the cut-out section is centered.
- Add Decorations: Personalize your frame! Use decorative items like stickers or markers. You could also create a colorful garland around the frame’s edges using scraps. If you’re looking for more decorative ideas, a bright colorful alphabet garland could complement your frame beautifully.
- Insert the Photo: Place your chosen photo or artwork behind the apple frame and secure it with a little glue if needed.
- Let it Dry: Allow your frame to dry completely before handling or displaying it.
Helpful Tips
- Select Sturdy Materials: Using thicker cardstock can provide greater durability for classroom use.
- Use Non-toxic Supplies: If children are involved, ensure that any paint or glue is safe and easy to clean.
- Mess Management: Lay down some newspaper or an old tablecloth to catch any glue or paint splatter.
- Display Ideas: Consider attaching a magnetic strip to the back so it can adorn a whiteboard, or use a small easel for a table display.
Creative Variations
- Theme Adaptations: Change the color scheme for different seasons, like using oranges and browns for fall.
- Add Textures: Incorporate fabric or felt for a tactile experience along with traditional paper.
- Using Mod Podge: For a glossy finish, try sealing your frame with Mod Podge after decorating.
- Different Frame Shapes: Instead of just an apple, experiment with pears or books to enhance your classroom theme.
Making It With Kids
This craft is a fantastic group activity, ideal for classrooms or home settings. Young children may need supervision with scissors, so be sure to have adults help with cutting. Encourage kids to express their creativity and personal style when decorating their frames.
How to Display, Use, or Gift It
Once you’ve completed the frame, it’s perfect for displaying in a classroom, home office, or gifting to a teacher. Encourage kids to make multiple frames, showcasing different pieces of their artwork or memorable moments.

Frequently Asked Questions
1. Can I use regular paper instead of cardstock?
While you can use regular paper, cardstock is sturdier and will hold up better in a classroom setting.
2. What adhesive works best for this project?
A glue stick or liquid glue is optimal for sticking paper together, but consider using double-sided tape for quick application and less mess.
3. Is there a way to add a personal touch for a teacher?
Absolutely! You might include a handwritten note or a photo of the class inside the frame as a special surprise.
4. How long will this project take?
This craft can typically be completed in about an hour, including decorating time.
5. What age group is this craft suitable for?
This project is suitable for all age groups, with adult supervision recommended for younger children when using scissors.
Conclusion
Creating a colorful apple-themed classroom frame is a wonderful way to enhance your learning environment while encouraging creativity among students. To further assist you in setting up your apple-related classroom theme, check out this comprehensive guide for tips and inspirations. Happy crafting!
Print
Colorful Apple-Themed Classroom Frame for Teachers
- Total Time: 60 minutes
- Makes: 1 colorful frame
Description
Create a vibrant apple-themed classroom frame to personalize your space and showcase student artwork.
Materials
- Colorful cardstock or construction paper (red, green, yellow)
- Scissors
- Glue stick or liquid glue
- Pencil
- Ruler
- Decorative items (stickers, markers, glitter)
- A photo or artwork to frame
Instructions
- Cut the base: Start by cutting a rectangle from the colorful cardstock, approximately 8×10 inches.
- Create the apple shape: On another piece of paper, draw an apple outline and cut it out.
- Make a hole for the picture: Trace the inner apple shape onto your base to mark where to cut out the picture opening.
- Attach the apple shape: Glue the apple shape onto the base, centering the cut-out section.
- Add decorations: Personalize your frame with decorative items and consider creating a colorful garland.
- Insert the photo: Place your chosen photo behind the apple frame and secure if needed.
- Let it dry: Allow your frame to dry completely before handling.
Notes
Use sturdy materials and non-toxic supplies, especially with children involved. Consider displaying with magnets or small easels.