

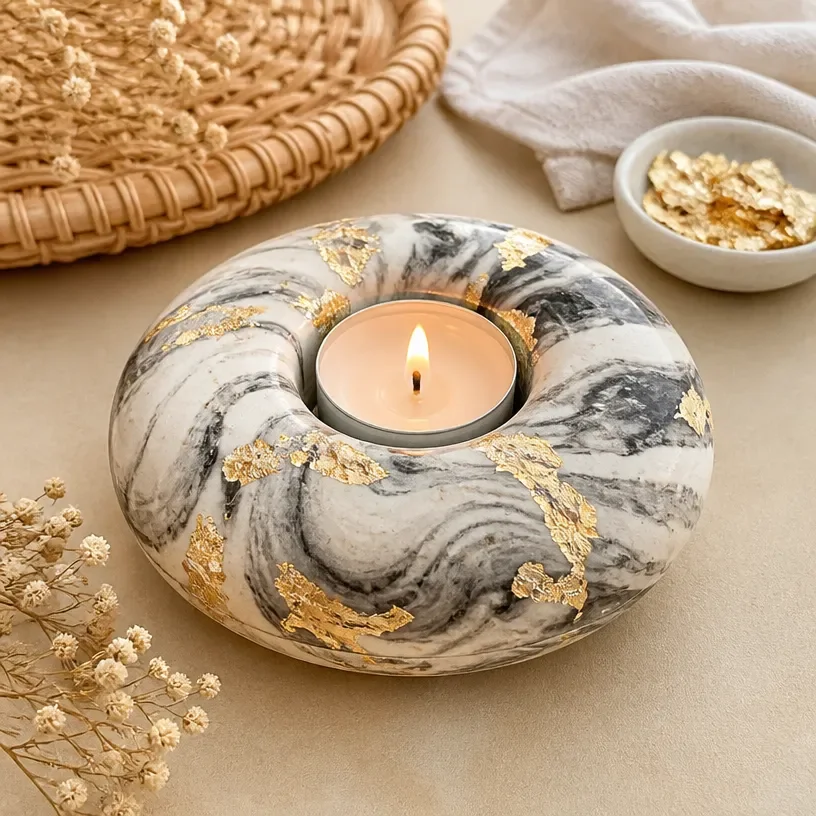
Marbled Air Dry Clay: Quick, Easy Family Projects
Creating beautiful marbled air dry clay projects is a delightful and engaging activity for families. Not only does it encourage creativity, but it also results in unique pieces that can be displayed or gifted. This project is perfect for all ages and provides a wonderful opportunity to bond while getting a little messy! You may also find Easy Clear School Glue Craft For Kids useful.
Why You’ll Love This Project
- Easy to Use: Air dry clay is straightforward to work with and requires no baking.
- Creative Expression: The marbling technique allows for endless color combinations and designs, letting everyone’s creativity shine.
- Fun for All Ages: Children and adults alike can join in the fun, making it a fantastic family activity.
- Versatile: Use your creations as decorations, gifts, or functional items around the house.
You may also find Easy Colorful Pipe Cleaner Butterflies useful.
Materials You’ll Need
- Air dry clay (white works best for marbling)
- Acrylic paint or food coloring
- Rolling pin
- Wax paper (for easy cleanup)
- Craft knife or shape cutters
- Bowl of water (to keep hands moist)
How to Make Marbled Air Dry Clay: Quick, Easy Family Projects
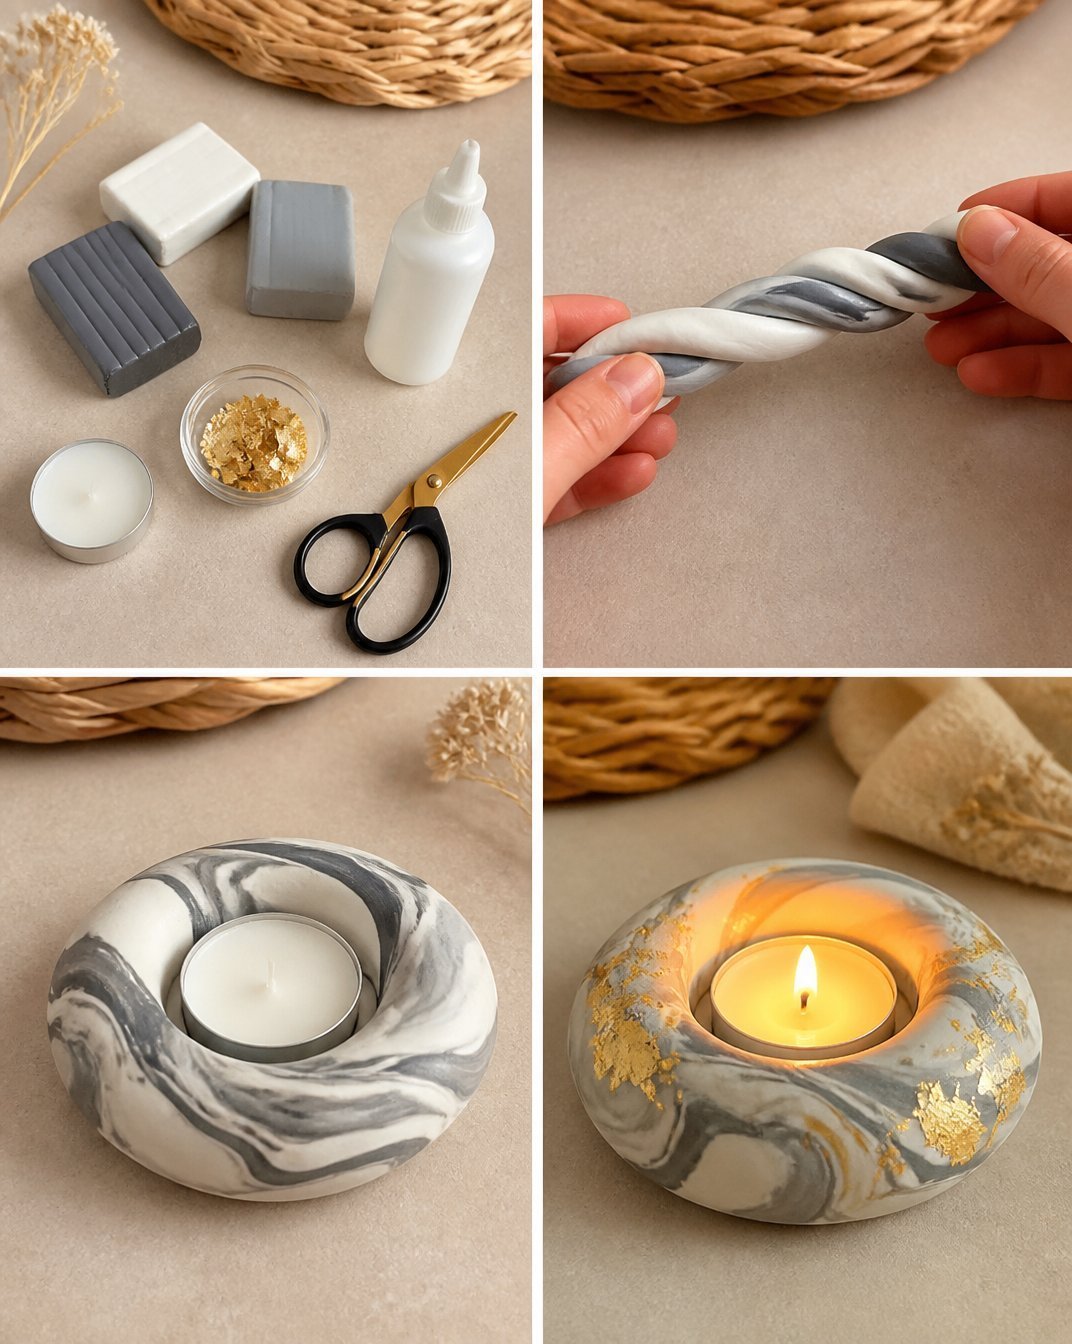
- Prepare Your Workspace: Lay out wax paper on your table to catch any mess. This makes cleanup easier later!
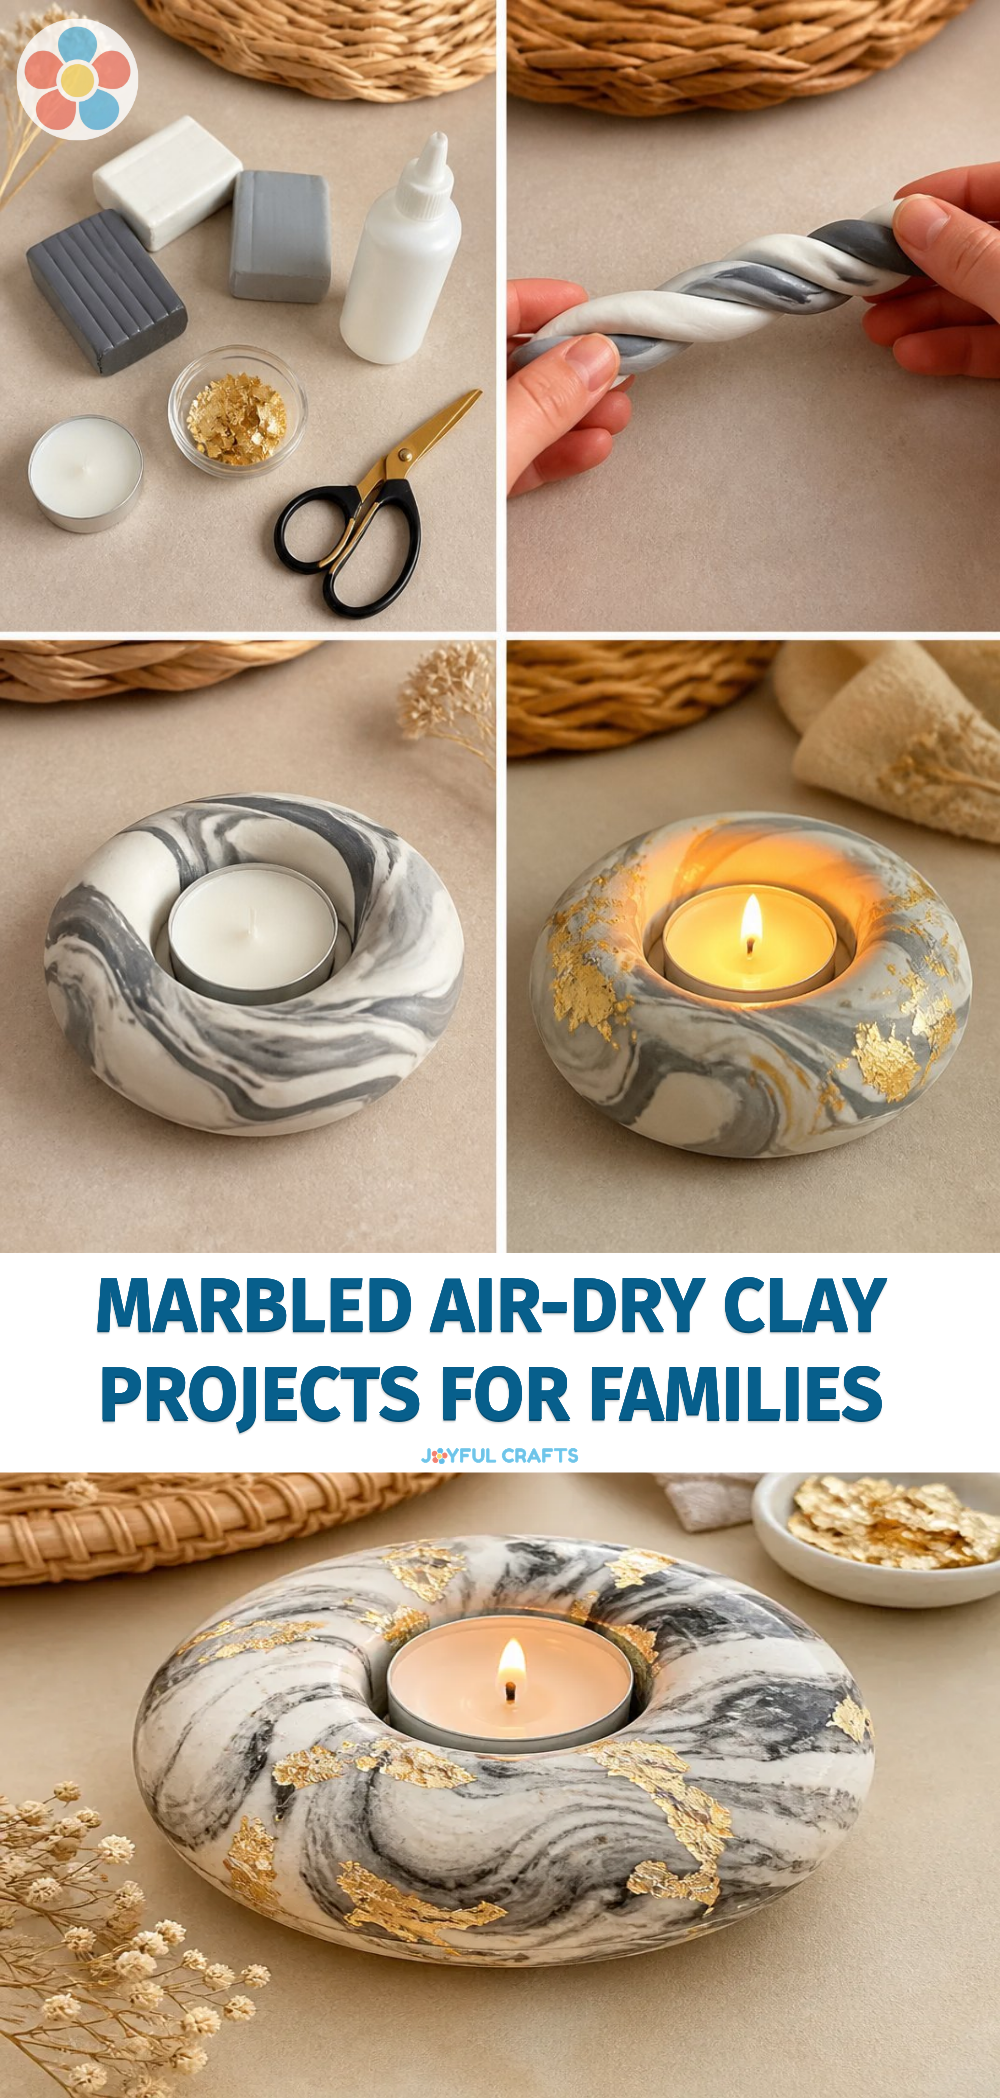
- Color Your Clay: Divide the air dry clay into small portions. Add acrylic paint or food coloring to each portion and knead until the colors are well blended yet still streaky for that marbled effect.
- Form the Base: Take a lump of the marbled clay and roll it into a ball. Use the rolling pin to flatten it to your desired thickness, keeping in mind that thinner pieces tend to dry faster.
- Shape Your Creation: Use a craft knife or shape cutters to create various forms. Whether you want to make coasters, ornaments, or decorative figures, the choice is yours!
- Drying Time: Place your pieces on a drying rack or a flat surface. Allow the clay to dry completely, which may take 24-48 hours depending on the thickness.
Helpful Tips
- Keep your hands slightly damp while working with clay to prevent it from sticking.
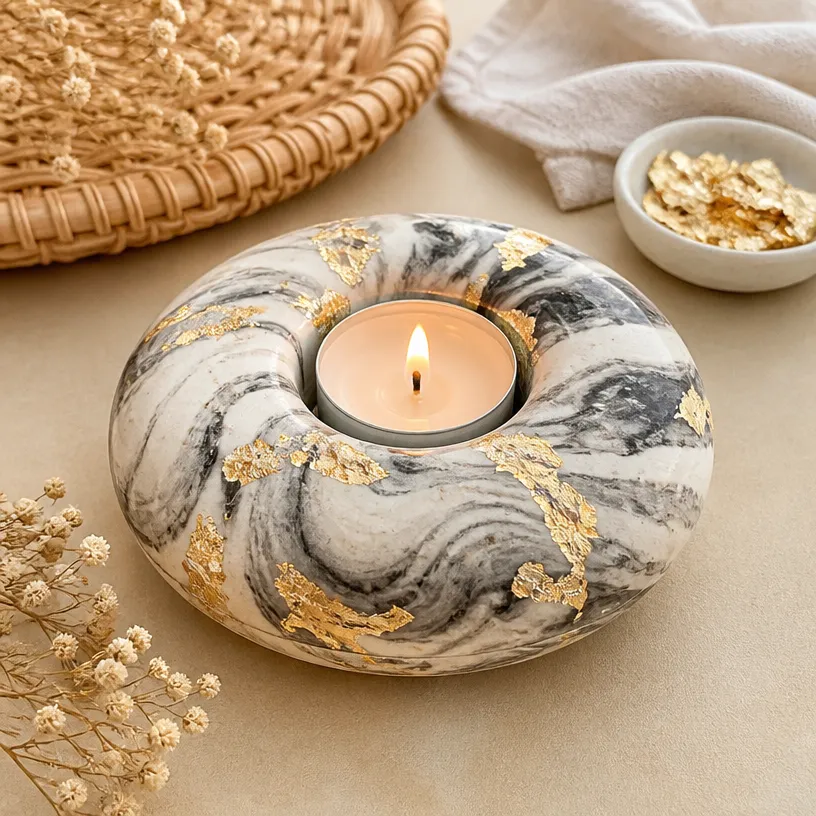
- If you prefer a glossy finish, consider applying a clear acrylic sealer once your project is dry.
- Experiment with different color combinations to create vibrant marbled designs.
Creative Variations
- Add textures by pressing leaves or fabric into the clay before it dries.
- Use cookie cutters to create seasonal shapes like leaves for fall or hearts for Valentine’s Day.
- Consider making a matching set of coasters by rolling similar colors for cohesive designs.
Making It With Kids
This project is perfect for family fun, but young children may need some adult supervision when using sharp tools like craft knives. Ensure they understand the importance of safety and offer assistance when needed. Be prepared for a messy, joyful workspace! You may also find Easy Cornstarch Glass Floral Hearts Flowers useful.
How to Display, Use, or Gift It
Once your creations are fully dry, you can display them around your home, use them as unique gifts, or even incorporate them into seasonal decorations. Marbled clay pieces also make excellent handmade gifts for friends and family! You may also find Easy Pool Noodle Bee Garden Stakes useful.
Frequently Asked Questions
1. Can I use regular paint with air dry clay?
It’s best to use acrylic paint, as it adheres well to air dry clay and offers vibrant colors.
2. How do I store my air dry clay?
Keep unused clay in an airtight container or plastic wrap to prevent it from drying out.
3. What if my clay cracks while drying?
If cracks appear, you can often repair them by kneading in a little water and reshaping the area.
4. Can I stack wet pieces together?
Avoid stacking them while they are still wet, as this can cause distortion or sticking.
Conclusion
Marbling air dry clay is a fantastic way to explore creativity while making one-of-a-kind items. For more ideas on what to do with air dry clay, check out this article featuring 30 air dry clay ideas to try!
Print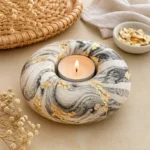
Marbled Air Dry Clay
- Total Time: 30 minutes
- Makes: Several creations
Description
Engage in a delightful family activity by creating beautiful marbled air dry clay projects that encourage creativity and result in unique, displayable pieces.
Materials
- Air dry clay (white works best for marbling)
- Acrylic paint or food coloring
- Rolling pin
- Wax paper (for easy cleanup)
- Craft knife or shape cutters
- Bowl of water (to keep hands moist)
Instructions
- Prepare Your Workspace: Lay out wax paper on your table to catch any mess.
- Color Your Clay: Divide the air dry clay into small portions, add paint or food coloring, and knead.
- Form the Base: Roll marbled clay into a ball and flatten it to your desired thickness.
- Shape Your Creation: Use cutters or knives to create different forms like coasters or ornaments.
- Drying Time: Allow pieces to dry completely for 24-48 hours depending on thickness.
Notes
Keep hands moist while working to prevent sticking. Apply a clear acrylic sealer for a glossy finish.