

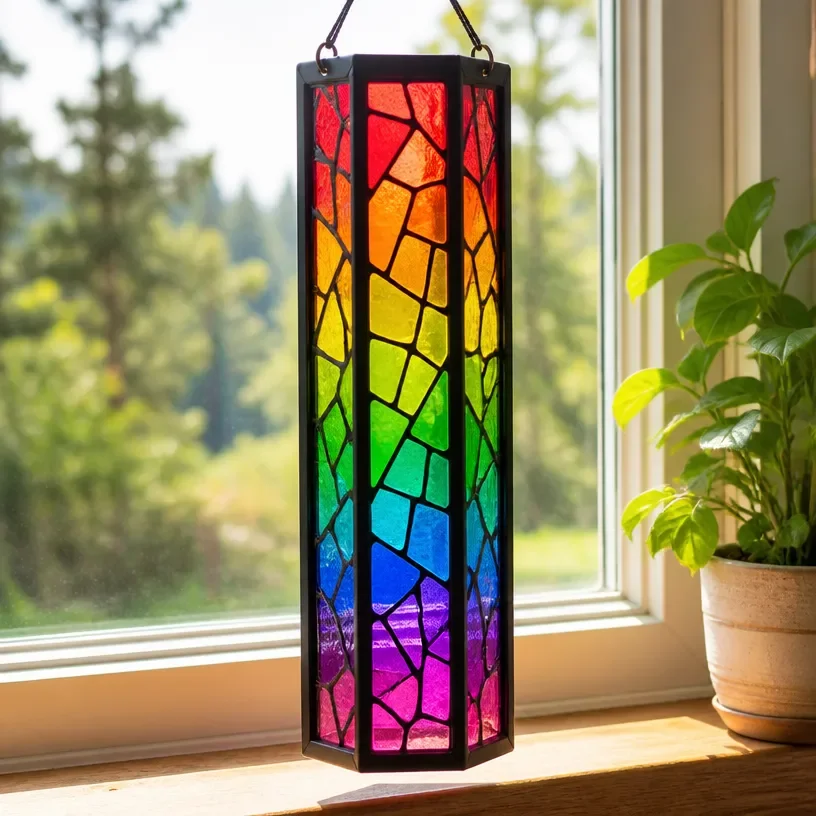
Rainbow Pencil Suncatcher for School Windows – Colorful Classroom Decor
Creating a bright and cheerful atmosphere in the classroom is essential, especially with the vibrant colors of a rainbow pencil suncatcher! This delightful craft not only adds an artistic touch to school windows but also introduces children to the joy of DIY projects. It’s an enjoyable way to celebrate creativity and brighten up any learning space. You may also find Colorful Rainbow Monster Pencil Holder For Kids useful.
Why You’ll Love This Project
- Simple and Fun: This craft is easy enough for kids to help with, promoting teamwork and creativity.
- Colorful Decor: The suncatcher will cast pretty light patterns when hung in windows, adding a lively touch to the classroom.
- Educational Value: It’s a great way to teach kids about colors and light while they create something beautiful.
- Affordable Materials: Most materials can be found at home or school, making it easy to get started.
You may also find Clear Rainbow Ghost Shaker Suncatcher Craft For Kids useful.
Materials You’ll Need
- Clear contact paper
- Colorful tissue paper (red, orange, yellow, green, blue, purple)
- Scissors
- Pencil
- Template for pencil shape (you can draw this yourself)
- Ribbon or string for hanging
How to Make Rainbow Pencil Suncatcher for School Windows – Colorful Classroom Decor
Prepare Your Template: Draw a pencil shape on a piece of paper. This will serve as your template for the suncatcher. You may also find Colorful Apple Themed Classroom Frame For Teachers useful.
Cut Out the Contact Paper: Cut a piece of clear contact paper that matches the size of your pencil template. Make sure to leave enough extra around the edges to seal the tissue paper. You may also find Colorful School Bus Photo Frame Craft For Kids useful.
Add Tissue Paper: Peel off the backing of the contact paper. Using the colorful tissue paper, cut or tear small shapes and place them on the sticky side of the contact paper, filling in the pencil shape with bright colors.
Seal It Up: Cut another piece of clear contact paper to the same size and place it over the top of the tissue paper layer, sealing it between the two pieces of contact paper.
Cut Out the Pencil: Carefully cut out the pencil shape, trimming around the edges and being careful not to cut too close to the tissue paper.
Make a Hanging Loop: Use a hole punch or cut a small slit in the top of your pencil suncatcher to attach a ribbon or string.
Display Your Craft: Hang the suncatcher in a sunny window to catch the light and enjoy the colorful display it creates!
Helpful Tips
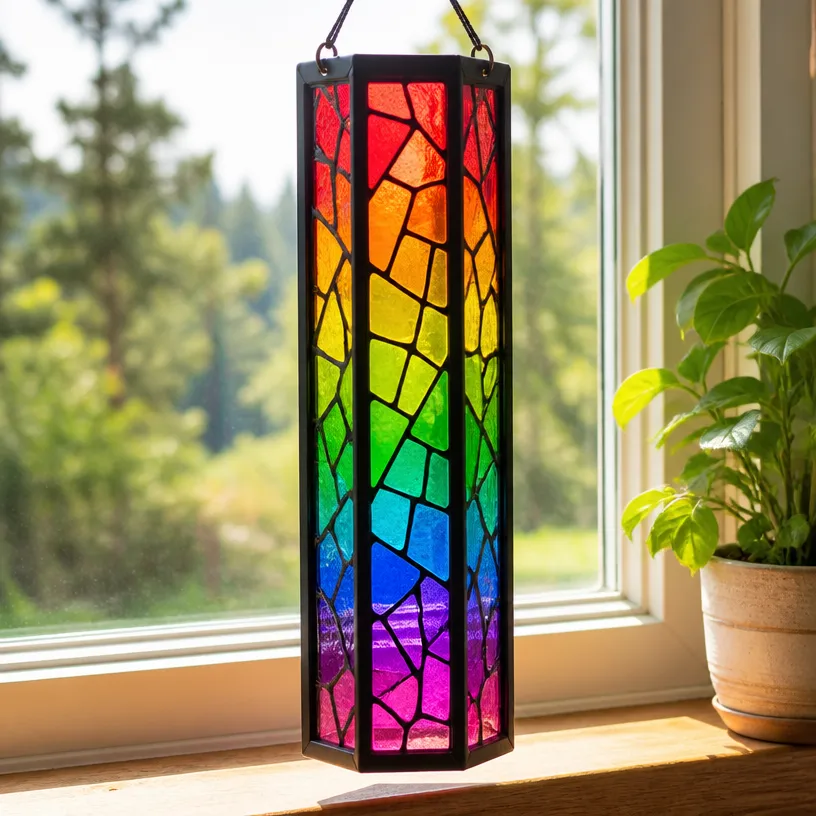
- Mess Management: To keep things tidy, lay down newspaper or a plastic sheet while working on your project.
- Cutting with Kids: For younger children, it might be best for an adult to handle the cutting while kids can focus on placing the tissue paper.
- Color Combinations: Encourage kids to experiment with different color combinations for their pencils, making each suncatcher unique.
Creative Variations
Consider personalizing the suncatcher further by adding decorations like glitter on the pencil or using other shapes like crayons or markers. You can also adjust the size of the pencil to make smaller or larger suncatchers suitable for different window sizes.
Making It With Kids
Engaging children in this craft provides not just a beautiful piece of decor, but it also offers an opportunity to discuss color theory and light. Supervise them when using scissors, ensuring they have the safety needed while being creative.
How to Display, Use, or Gift It
Once completed, these suncatchers can be enjoyed in school windows, home studies, or even as gifts for teachers or friends. They serve as a great reminder of the fun creativity shared during the craft-making process.
Frequently Asked Questions
Can I use regular paper instead of tissue paper?
While tissue paper is great for its thinness and translucency, regular colored paper will also work, though it won’t be as light-catching.
How do I hang my suncatcher?
You can use tape if you prefer not to use a string or ribbon. Just adhere the top of the suncatcher directly to the window.
What should I do if my contact paper is wrinkled?
If you notice wrinkles, gently peel back the contact paper and reapply it, smoothing it from the center out to the edges.
Can older kids create more complex designs?
Absolutely! Older kids can develop their own designs, like incorporating other shapes or patterns into their suncatchers.
How do I clean the suncatcher?
Clean the suncatcher with a damp cloth to remove dust without damaging the tissue paper.
Can I make this craft for a different season?
Yes! Use different colored tissues or templates to represent seasons or holidays, enhancing the fun!
Conclusion
Crafting with children can be a wonderful way to teach them about creativity while spending quality time together. If you’re looking to expand your crafting repertoire, consider checking out this Spring Insect Suncatchers Craft Kit for even more crafting fun!
Print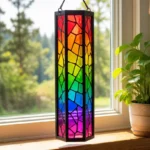
Rainbow Pencil Suncatcher for School Windows
- Total Time: 15 minutes
- Makes: 1 suncatcher
Description
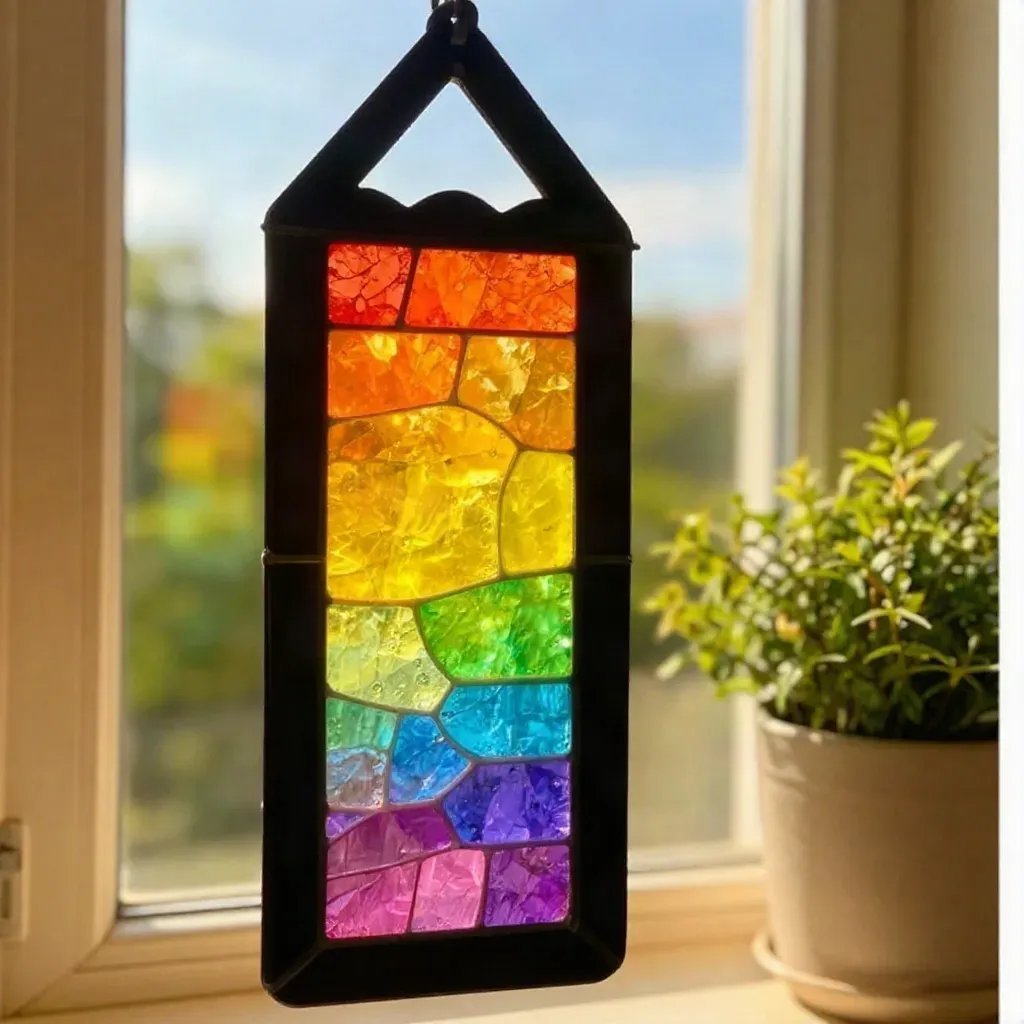
Create a vibrant and cheerful rainbow pencil suncatcher that brightens up any classroom window with colorful patterns and DIY creativity.
Materials
- Clear contact paper
- Colorful tissue paper (red, orange, yellow, green, blue, purple)
- Scissors
- Pencil
- Template for pencil shape
- Ribbon or string for hanging
Instructions
- Prepare your template by drawing a pencil shape on a piece of paper.
- Cut out a piece of clear contact paper that matches the size of your pencil template.
- Add colorful tissue paper by cutting or tearing small shapes and placing them on the sticky side of the contact paper.
- Seal it up by cutting another piece of clear contact paper and placing it over the tissue paper layer.
- Cut out the pencil shape, trimming around the edges.
- Make a hanging loop using a hole punch or a small slit at the top of your suncatcher.
- Display your craft by hanging the suncatcher in a sunny window.
Notes
Encourage experimentation with color combinations and supervise cutting tasks for younger children.