

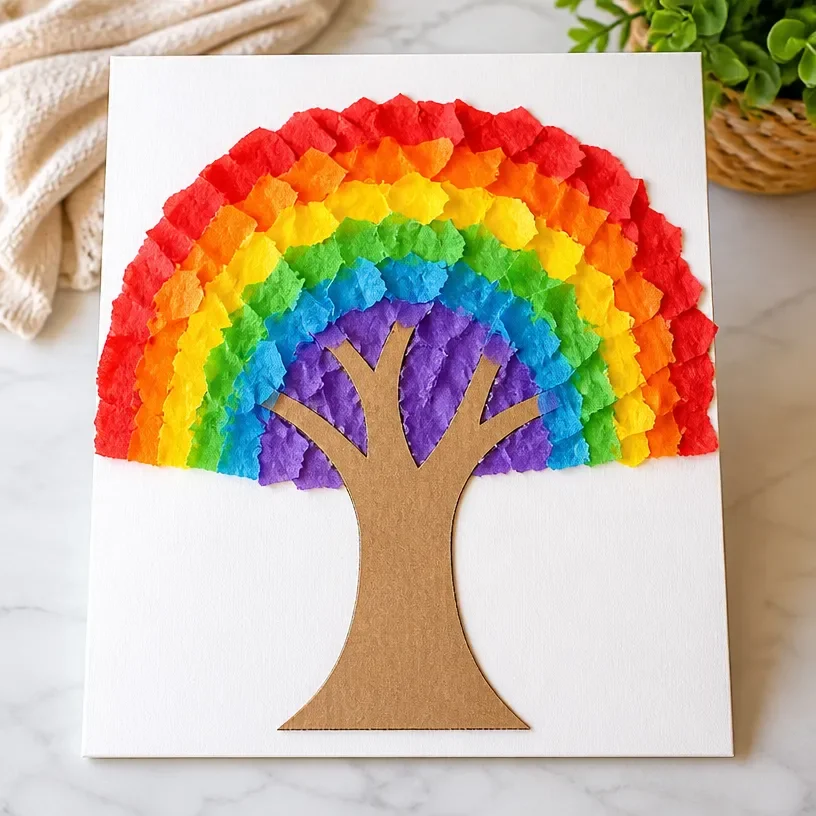
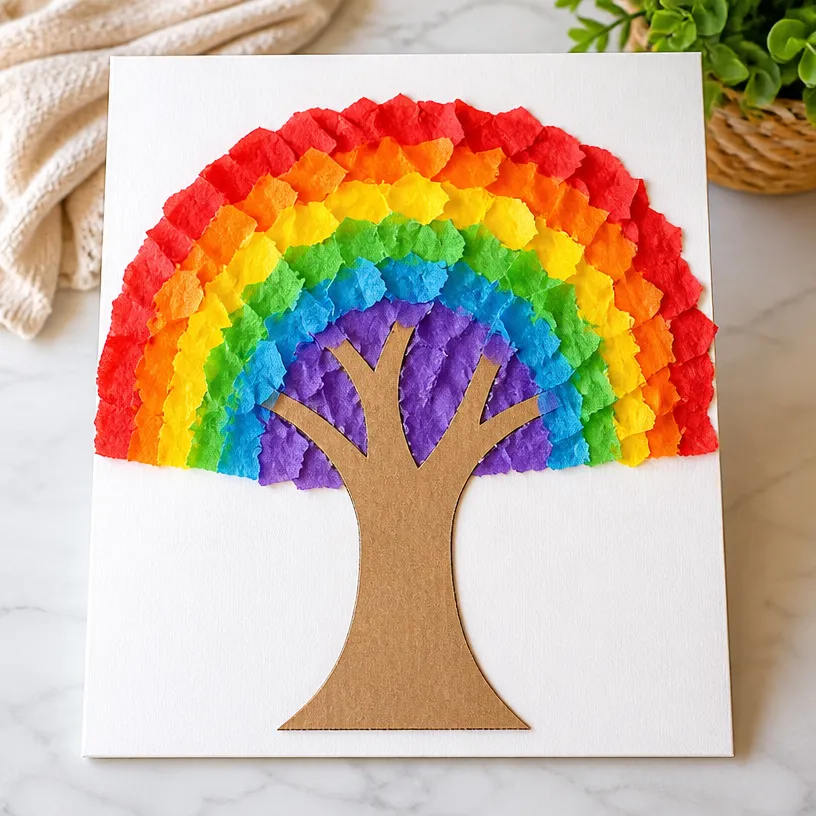
How to Make a Rainbow Paper Tree
Creating a cheerful rainbow paper tree is a delightful craft project that both kids and adults can enjoy together. This craft not only adds a splash of color to any room but also encourages creativity and fine motor skills when making it. Plus, it’s a great way to decorate for various occasions or as a gift for a loved one! You may also find Diy Rainbow Tissue Paper Balloons For Kids useful.
Why You’ll Love This Project
- Colorful Decoration: The vibrant colors in the rainbow paper tree brighten any space, making it great for parties or as a cheerful everyday display.
- Easy and Fun: This project is simple enough for children to participate, making it a fantastic activity for family bonding.
- Personalization: There are countless ways to add personal touches, allowing each tree to be unique.
- Educational Value: This craft helps improve scissor skills and encourages following directions, enhancing learning through play.
You may also find How To Make Witch Hat Flowers Cupcake Liners useful.
Materials You’ll Need
To create your rainbow paper tree, gather the following materials: You may also find Rainbow First Day Photo Frame Baby Keepsake Gift useful.
- Colored paper (red, orange, yellow, green, blue, and purple)
- Scissors
- Glue stick
- Pencil
- Cardboard for the base
How to Make a Rainbow Paper Tree
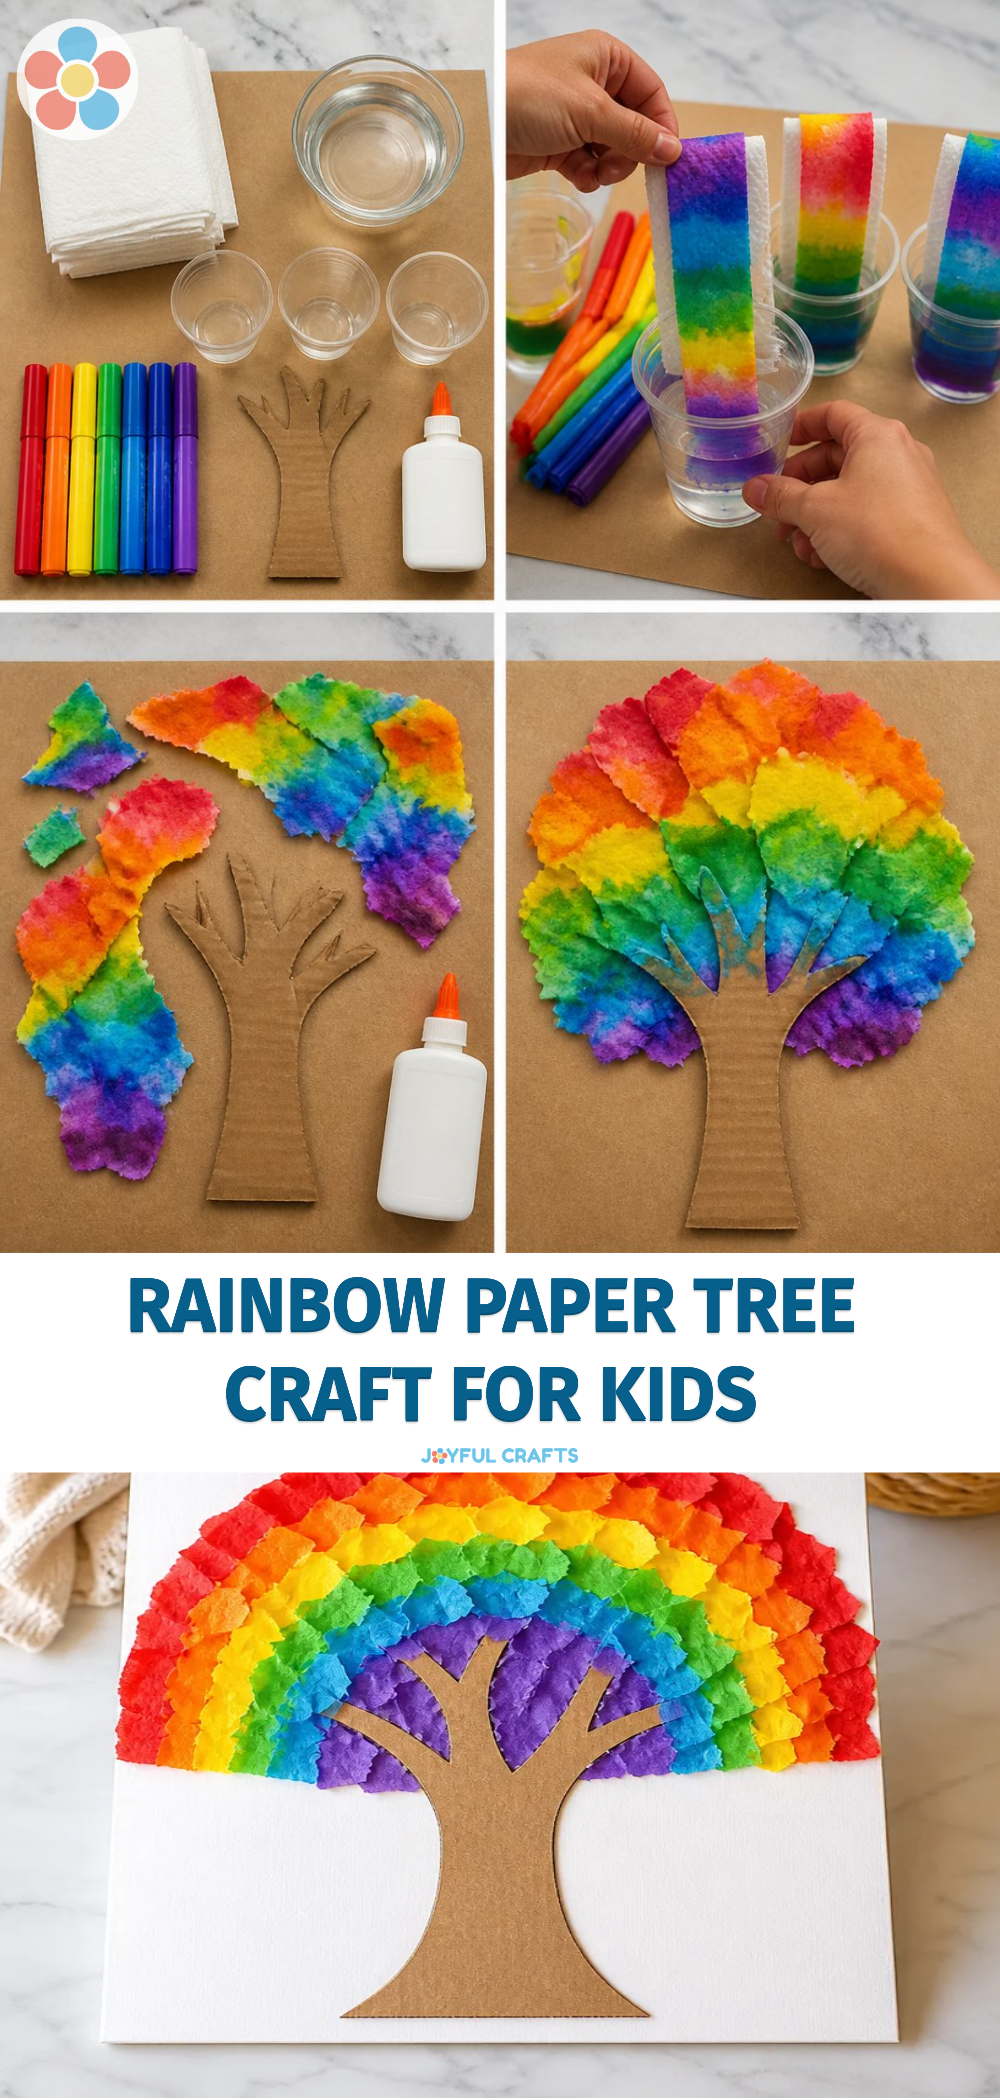
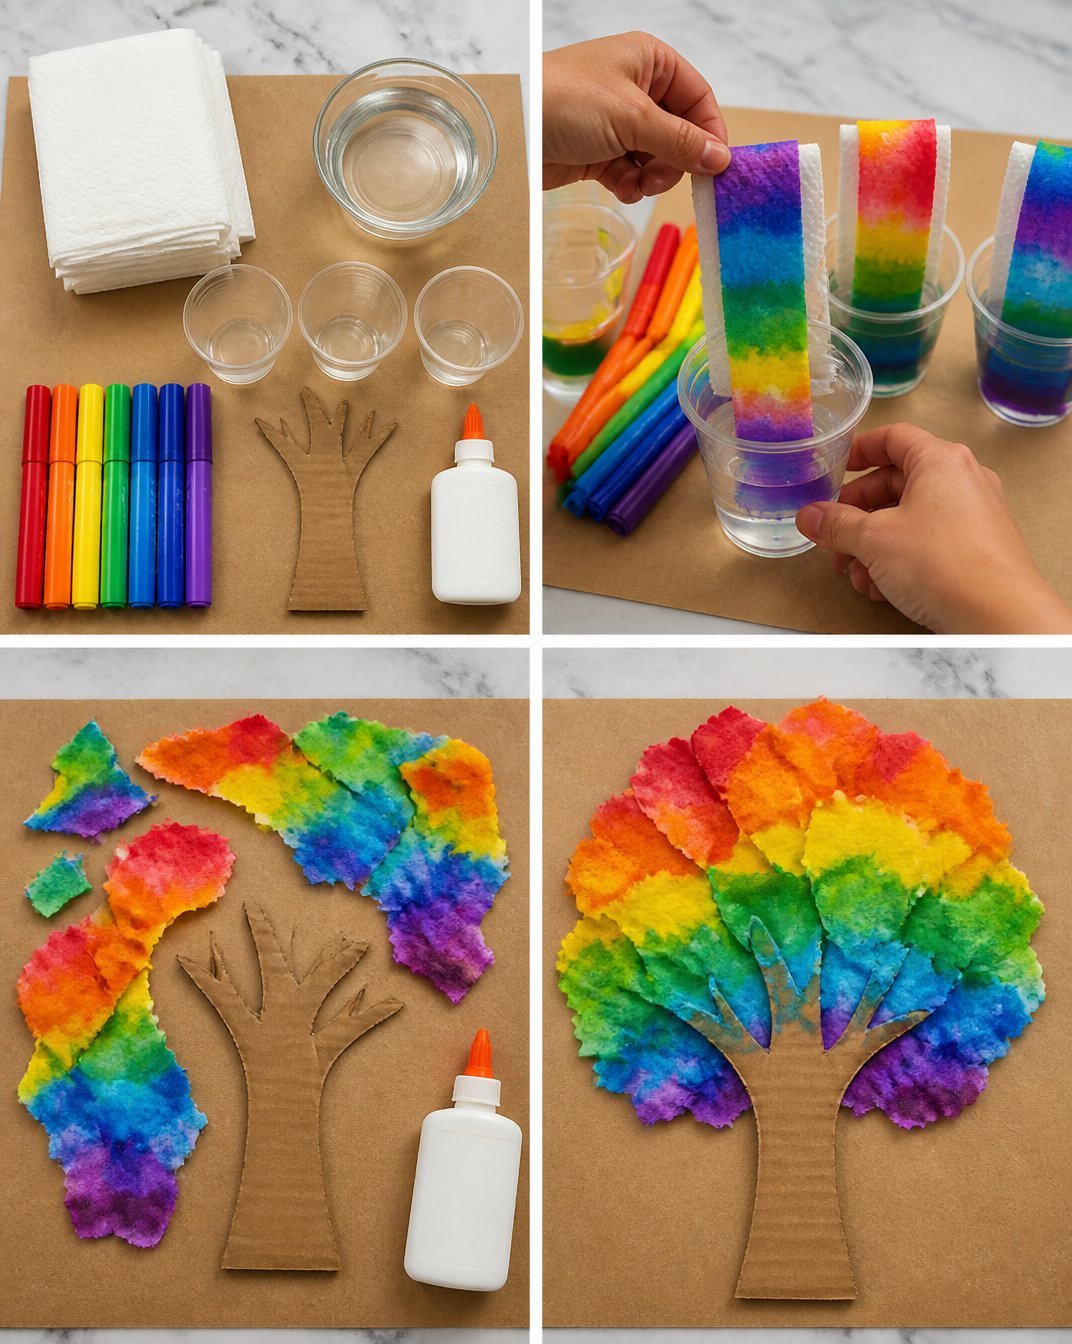
- Prepare the Base: Start by cutting a piece of cardboard into a circle or rectangle. This will serve as your tree’s base, providing stability.
- Cut the Paper: Using the colored paper, cut out leaf shapes in various sizes. You can use a template or draw freehand for a fun, unique look.
- Create the Trunk: Cut a long strip of brown paper for the trunk and glue it vertically onto the base.
- Attach the Leaves: Begin gluing the leaves to the top of the trunk, overlapping them slightly. A good tip is to start with the larger leaves at the bottom and work your way up with the smaller leaves for a more natural look.
- Final Touches: Once you’ve glued all the leaves on, you can add any extra decorations, like glitter or stickers, to give your rainbow paper tree even more personality.
Helpful Tips
- Cutting with Kids: If children are doing the cutting, ensure they have safety scissors and that you supervise them to prevent any accidents.
- Creating Texture: To make the tree more visually interesting, consider crumpling the leaves slightly before gluing them on, which adds a fun texture.
- Drying Time: Be sure to let your tree dry completely before moving it to avoid any mishaps with the glue.
- Displaying Your Craft: Place your completed rainbow paper tree on a shelf or table where it can be admired, or gift it to someone special to bring a smile to their face.
Creative Variations
You can easily personalize your rainbow paper tree by trying out these ideas: You may also find Rainbow Pencil Flower Bouquet Craft Back To School useful.
- Experiment with different shades of each color for a gradient effect.
- Incorporate printed patterns or textures in your paper choices for a more unique look.
- Adjust the size of the tree by using larger or smaller bases and leaf shapes to fit your desired display space.
- Consider making seasonal variations, using autumn colors for a fall theme or icy shades for winter.
Making It With Kids
This project is perfect for collaborative family crafting sessions. Make sure kids can safely manage scissors or offer assistance for the more complicated steps. Encouragement is key admire their creativity as they work on their rainbow paper tree, letting them express themselves freely.
How to Display, Use, or Gift It
Once finished, the rainbow paper tree can be a charming centerpiece for a child’s room or a delightful decoration for a birthday party. If you want to make it a gift, consider placing it in a lovely box with a note. The recipient is sure to appreciate the handmade touch!
Frequently Asked Questions
1. Can I use other materials?
Yes! Feel free to experiment with materials like cardstock or even recycled packaging for a different look.
2. How long does it take to make?
The entire project can typically be completed in about an hour, depending on drying times and the complexity of your tree.
3. What if I want a taller tree?
You can extend the trunk with extra paper strips or branches for a more dramatic effect. Just ensure it remains stable.
4. Can I use this craft for educational purposes?
Definitely! This project can be great for teaching about colors, shapes, and nature while honing cutting skills.
5. Is this craft safe for toddlers?
While older children can manage scissors under supervision, toddlers might enjoy gluing or decorating alongside an adult.
6. Can I display this craft outdoors?
It’s best kept indoors unless you use weatherproof materials, as paper may not withstand the elements.
Conclusion
Crafting a rainbow paper tree is an enjoyable way to bring color and creativity into your home. This project is not only simple but also fosters valuable skills and imaginative thinking. For more enchanting crafts, check out this delightful guide on making a DIY paper rainbow tree. Happy crafting!
Print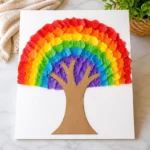
Rainbow Paper Tree
- Total Time: 60 minutes
- Makes: 1 paper tree
Description
Create a cheerful rainbow paper tree, a fun and colorful craft project perfect for all ages that brightens any space.
Materials
- Colored paper (red, orange, yellow, green, blue, and purple)
- Scissors
- Glue stick
- Pencil
- Cardboard for the base
Instructions
- Prepare the base: Cut a piece of cardboard into a circle or rectangle for stability.
- Cut the paper: Cut out leaf shapes from colored paper in various sizes.
- Create the trunk: Cut a long strip of brown paper and glue it vertically onto the base.
- Attach the leaves: Glue the leaves on top of the trunk, overlapping slightly.
- Add final touches: Decorate the tree with glitter or stickers for personality.
Notes
Ensure children use safety scissors and supervise them during cutting.