

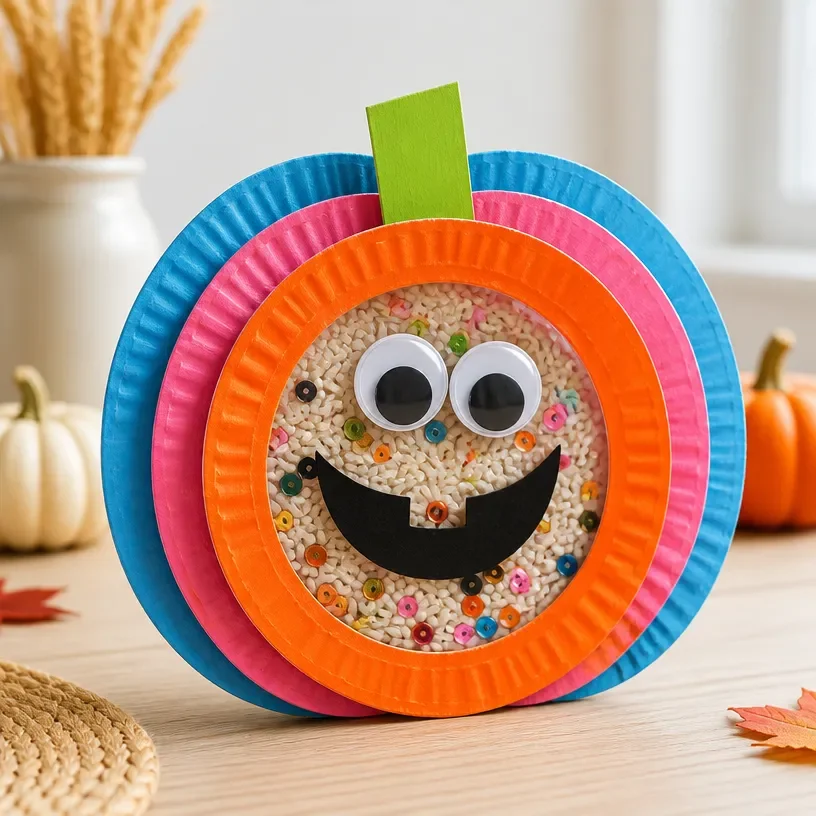
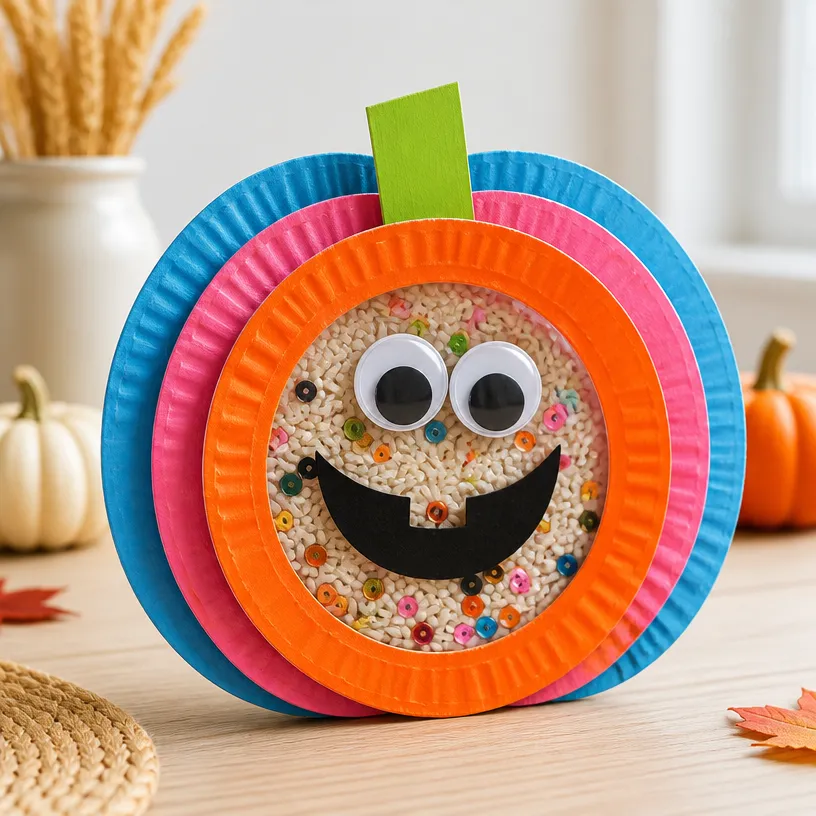
Rainbow Paper-Plate Pumpkin Shaker
Get ready to create a delightful Rainbow Paper-Plate Pumpkin Shaker that combines craftiness with a burst of color! This engaging project is perfect for kids and offers a fun way to celebrate the fall season. Not only will your children enjoy making their shakers, but they’ll also love playing with them afterward. The combination of sound, color, and texture makes this craft a joyful experience for everyone involved. If you’re interested in other colorful crafts, you might enjoy our colorful rainbow tree bubble paint artwork as well!
Why You’ll Love This Project
- Sensory Experience: The shaker adds an auditory component that makes the craft even more engaging.
- Creative Expression: Kids can choose their favorite colors and designs to decorate their pumpkins.
- Simple Materials: Most supplies are items you likely already have at home.
- Fun for Everyone: This project is suitable for various age groups and is a fantastic way to promote family bonding.
You may also find Clear Rainbow Ghost Shaker Suncatcher Craft For Kids useful.
Materials You’ll Need
- 2 paper plates
- Orange paint
- Green construction paper
- Black marker
- Scissors
- Tape or glue
- Dried beans, rice, or small beads
How to Make Rainbow Paper-Plate Pumpkin Shaker
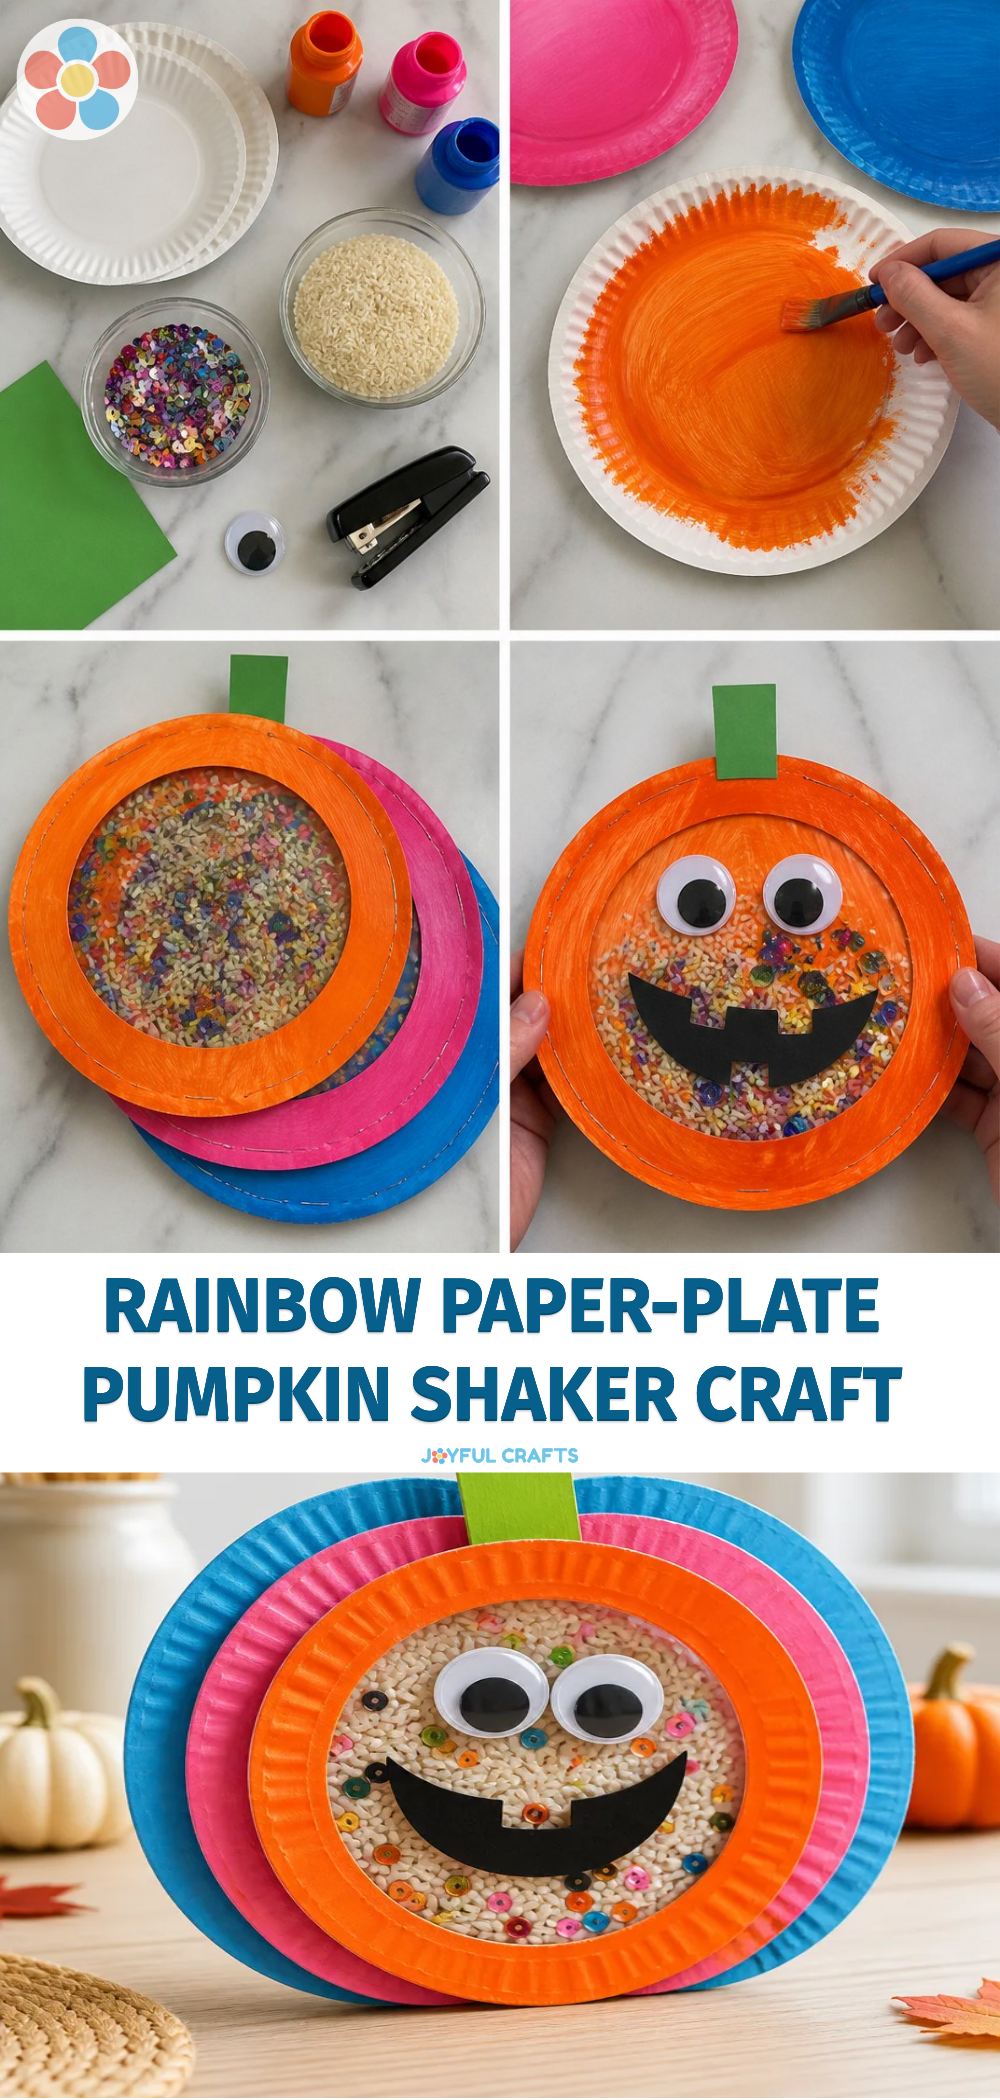
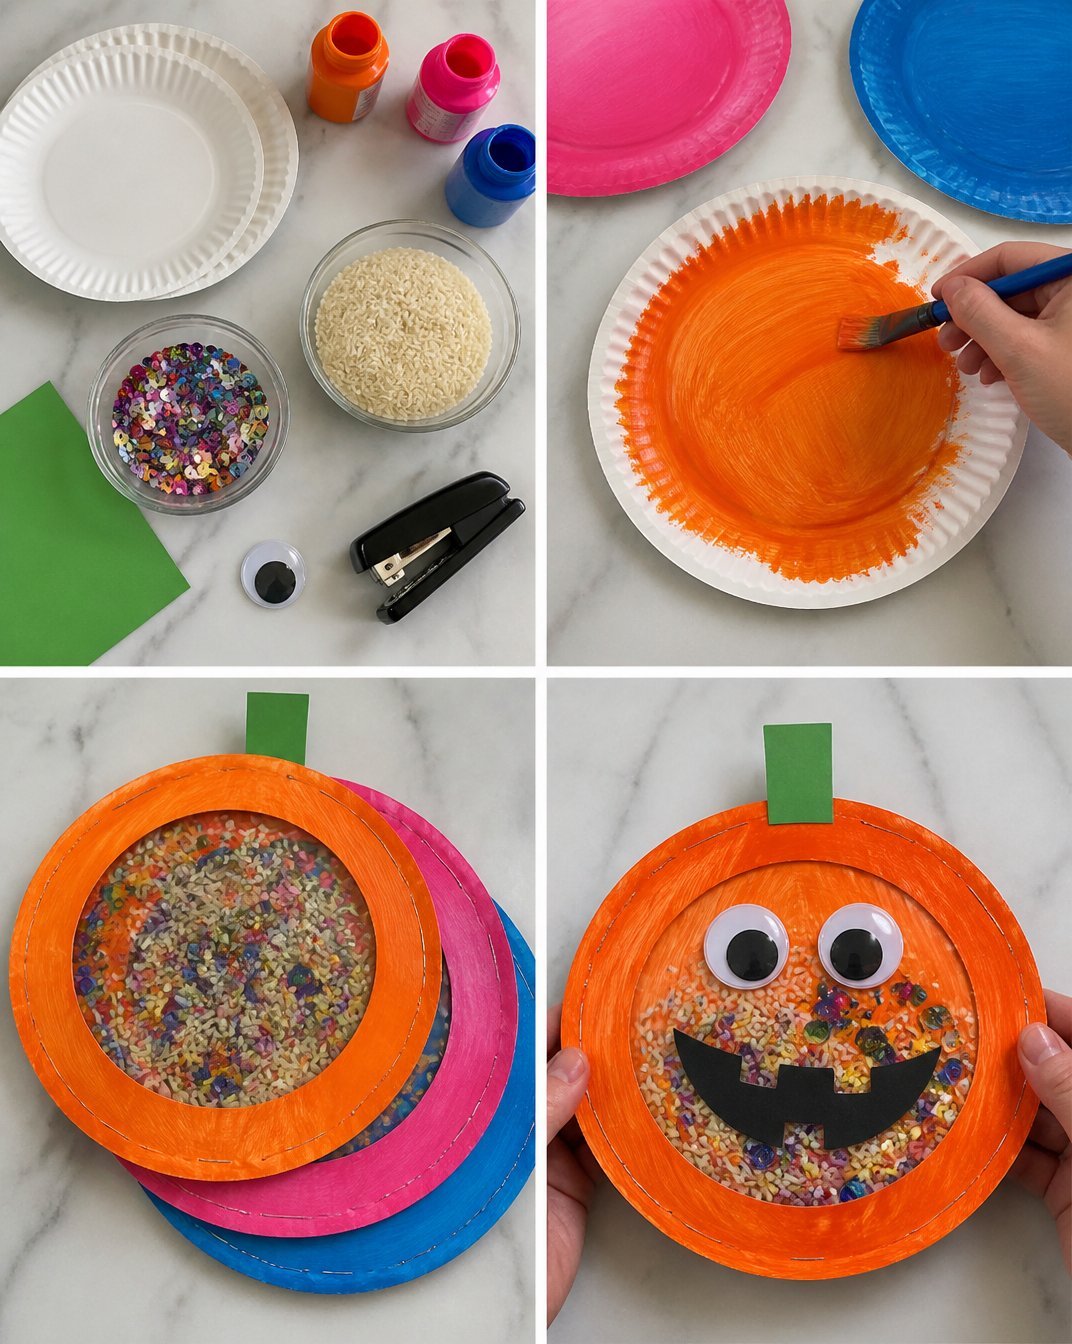
Paint the Plates: Start by painting the bottom side of each paper plate with orange paint. Let them dry completely. You may also find Colorful Rainbow Monster Pencil Holder For Kids useful.
Create the Pumpkin Shape: Once dry, place one paper plate on top of the other with the painted sides facing each other. You may also find Colorful Rainbow Puppy Lantern Ghost Glow Nightlight useful.
Add Shaker Materials: Pour a small amount of dried beans, rice, or beads into the center of the bottom plate.
Seal the Plates: Align the edges of the plates and tape or glue them together, ensuring the shaker materials stay inside.
Decorate: Cut out leaves and a stem from the green construction paper, and glue or tape them to the top of the shaker. Use a black marker to add fun designs or a jack-o’-lantern face on one side.
Enjoy: Shake the pumpkin to produce sound and showcase your colorful craft!
Helpful Tips
- Pre-cut Shapes: If working with younger children, consider pre-cutting the leaves and stems to simplify the process.
- Mess-Free Painting: Place a plastic sheet or newspaper underneath to catch any spills while painting.
- Sound Variation: Experiment with different fillings for varied sounds, such as marbles or small rocks.
Creative Variations
- Different Colors: Instead of orange, try using a variety of colors to create rainbow pumpkins.
- Seasonal Designs: Adapt the designs for Halloween by adding spooky faces or for Thanksgiving with turkey features.
- Display Options: Hang them as decorations or use them as table centerpieces during fall gatherings.
Making It With Kids
This craft is particularly enjoyable for children, as it allows their creativity to flow. Remember to supervise when using scissors and hot glue, and feel free to assist them with any difficult steps. Encourage them to express themselves freely through their decorations and sounds!
How to Display, Use, or Gift It
Once your Rainbow Paper-Plate Pumpkin Shakers are complete, display them on a mantel or table as festive decorations. For an interactive experience, create a mini-shaker band where kids can play along with music. These shakers also make wonderful handmade gifts for family and friends!
Frequently Asked Questions
1. Can I use other materials for the shaker?
Yes, feel free to try other items such as popcorn kernels or small bells for different textures and sounds.
2. How can we make it a larger project?
Consider creating a whole set of shakers in various shapes like ghosts or turkeys to celebrate different holidays.
3. What age is this craft suitable for?
This project is great for kids aged 5 and up, but younger children may need assistance with certain steps.
4. How do I ensure the plates stay sealed?
Make sure to use plenty of tape or glue along the edges and check for any openings before handing it to the kids.
5. Can I paint designs on my pumpkin?
Absolutely! Let the creativity flow by adding polka dots, stripes, or any designs your kids love.
6. Is this project eco-friendly?
Using paper plates and recyclable materials can make this an eco-friendly craft.
Conclusion
Creating a Rainbow Paper-Plate Pumpkin Shaker is not only a joyful craft experience but also a great way to celebrate the vibrancy of the fall season. For additional ideas on fun crafts, check out Paper Plate Rainbow Shakers – Toddler Approved. Let the crafting fun begin!
Print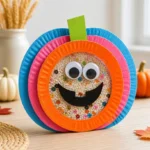
Rainbow Paper-Plate Pumpkin Shaker
- Total Time: 45 minutes
- Makes: 1 shaker
Description
Create a delightful Rainbow Paper-Plate Pumpkin Shaker that combines craftiness with a burst of color, perfect for kids to celebrate the fall season.
Materials
- 2 paper plates
- Orange paint
- Green construction paper
- Black marker
- Scissors
- Tape or glue
- Dried beans, rice, or small beads
Instructions
- Paint the bottom side of each paper plate with orange paint and let them dry completely.
- Create the pumpkin shape by placing one plate on top of the other with painted sides facing each other.
- Add a small amount of dried beans, rice, or beads into the center of the bottom plate.
- Seal the edges of the plates with tape or glue to keep the shaker materials inside.
- Decorate by cutting out leaves and a stem from green construction paper, and gluing or taping them to the top. Use a black marker for designs.
- Enjoy the shaker by shaking it to make sound!
Notes
Encourage kids to express their creativity, and assist them with scissors and hot glue for safety.