

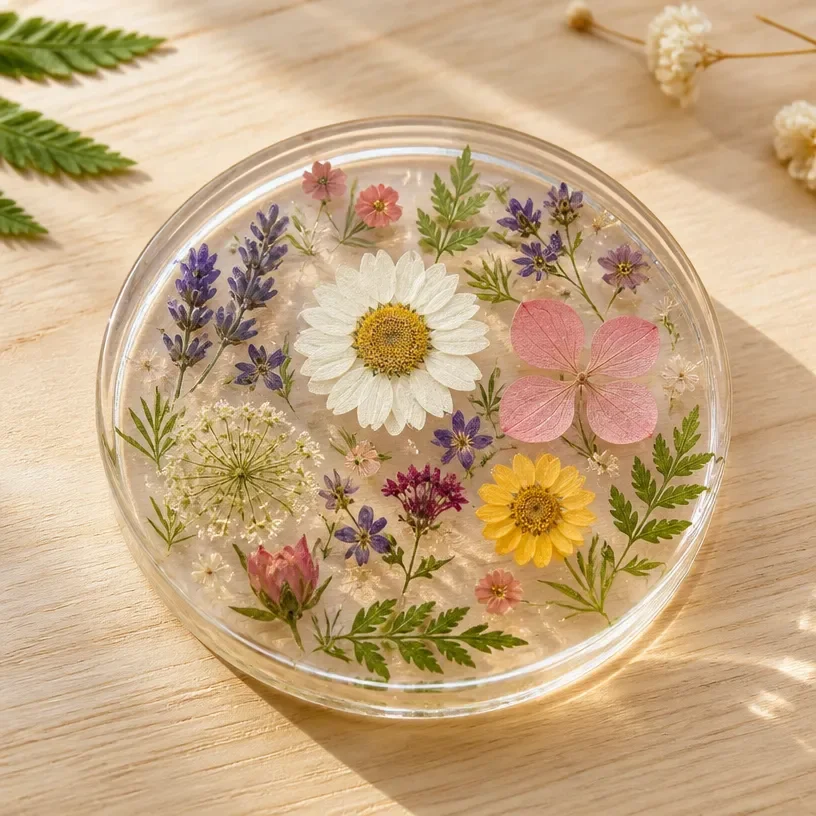
Pressed Floral Glue Keepsakes
Creating pressed floral glue keepsakes is a delightful way to preserve the beauty of nature while crafting cherished memories. This project not only allows you to enjoy the vibrant colors of your favorite flowers but also serves as a unique keepsake you can display or gift to someone special. The simplicity of this craft makes it perfect for both kids and adults, fostering creativity and appreciation for the beauty around us. If you’re interested in exploring other fun crafting options, be sure to check out this easy clear school glue craft for kids.
Why You’ll Love This Project
- Personalization: You can choose flowers that hold special meaning, making these keepsakes unique to you.
- Educational Opportunity: It teaches kids about different flora and encourages them to connect with nature.
- Simplicity: The materials needed are easy to find, and the steps are straightforward, great for crafters of all ages.
- Versatile Uses: Once finished, these creations can be used as decorations, gifts, or mementos.
- Boosts Creativity: You can experiment with different arrangements and designs, inspiring further crafting projects.
You may also find Easy Cornstarch Glass Floral Hearts Flowers useful.
Materials You’ll Need
- Fresh flowers (pressed and dried)
- White glue (like school glue)
- Cardstock or wooden surfaces for the base
- Paintbrush (for applying the glue)
- Optional: glitter, twine, or other decorative elements
How to Make Pressed Floral Glue Keepsakes
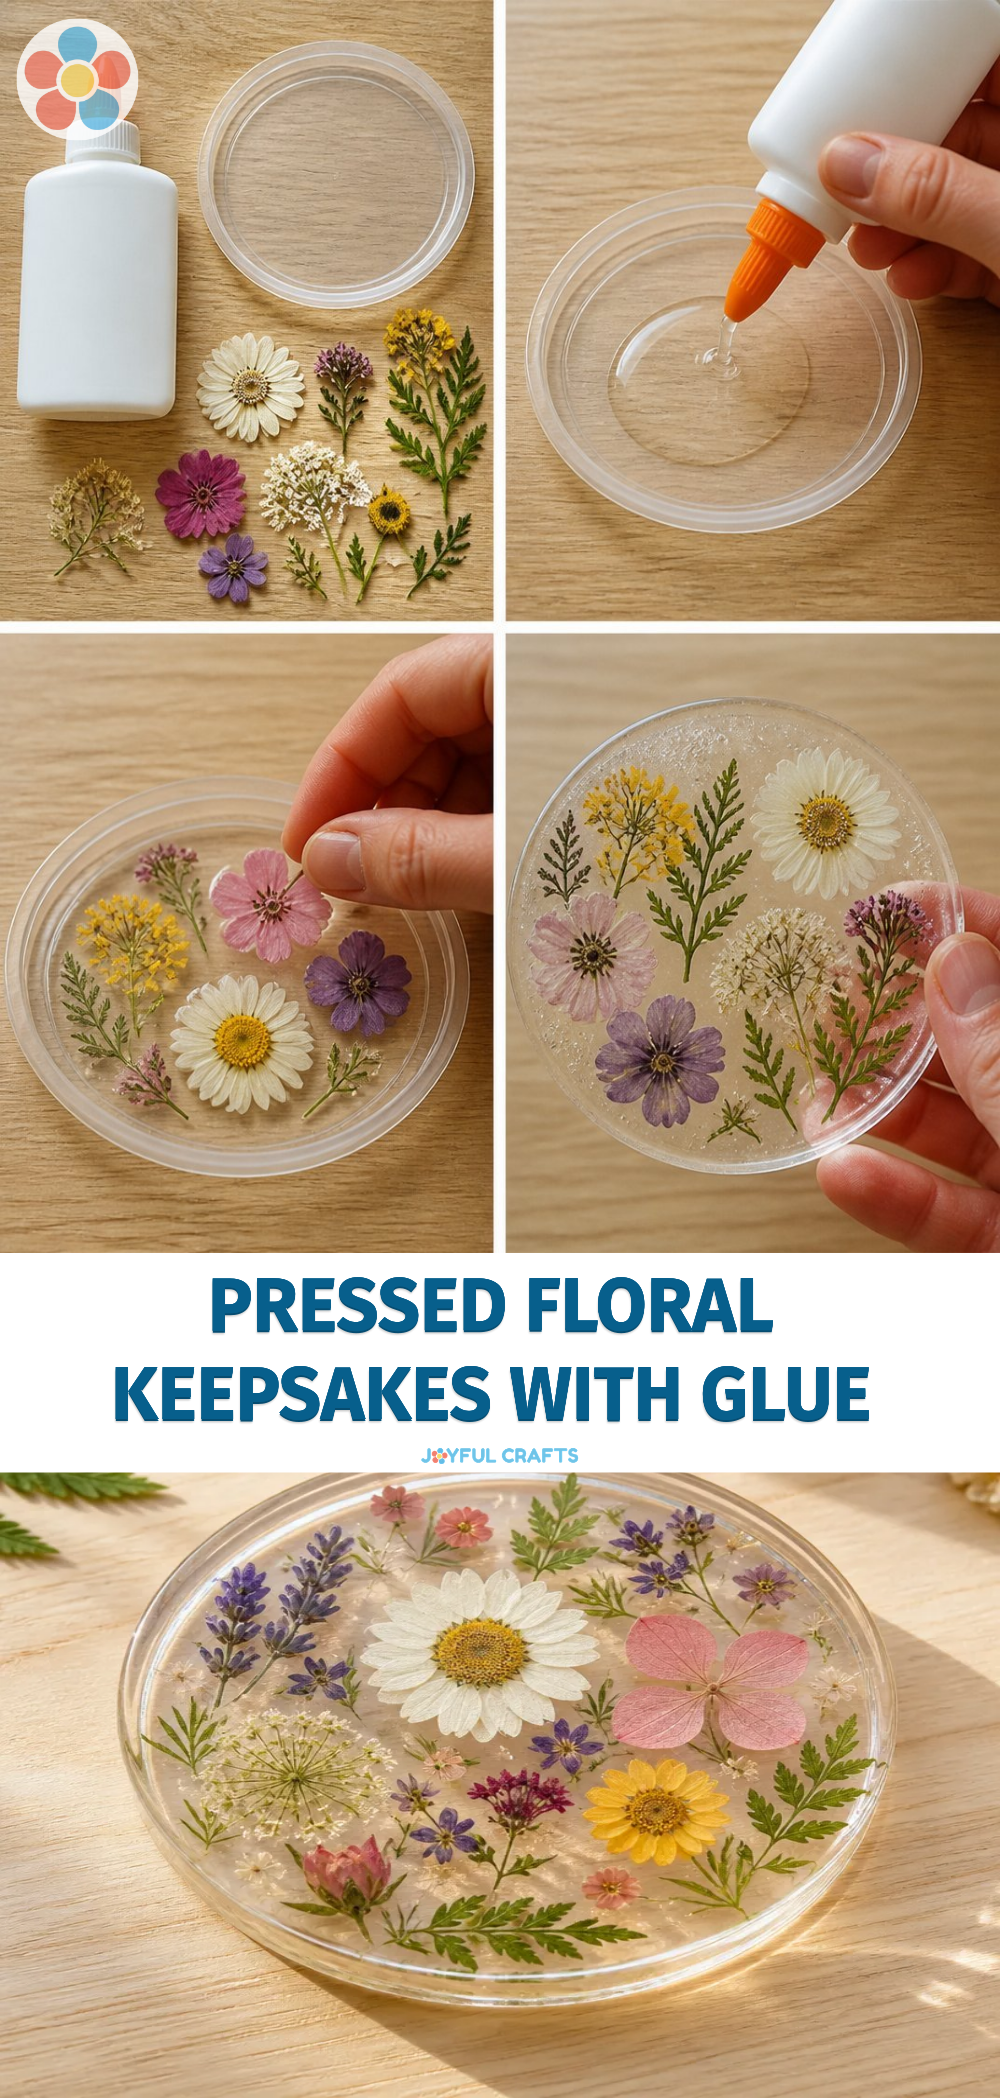
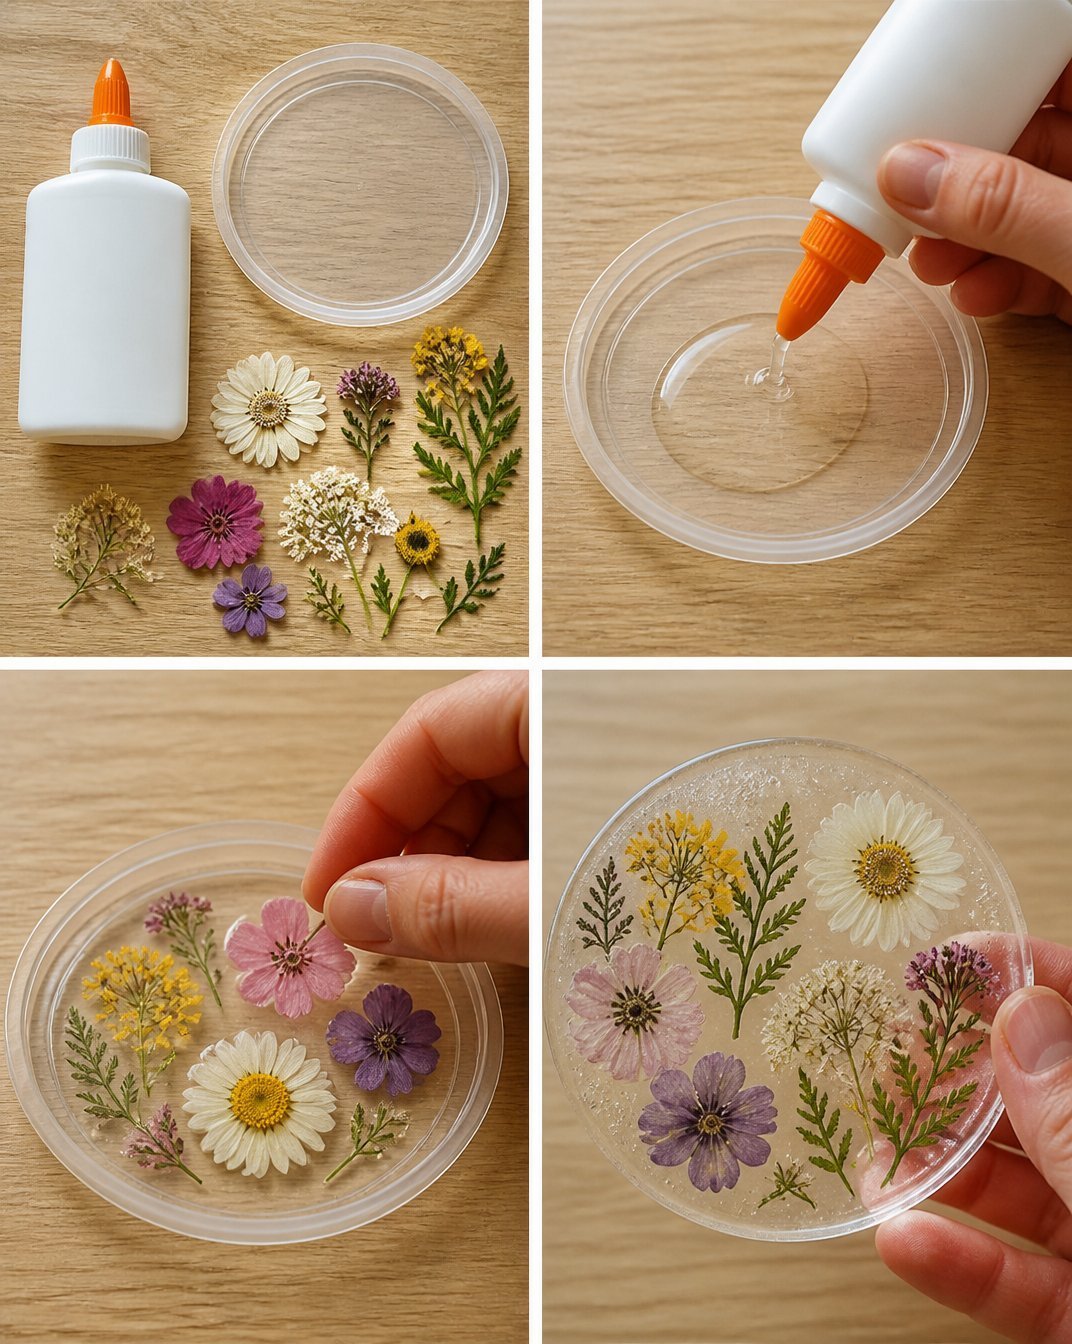
- Prepare Your Flowers: First, choose the flowers you would like to use and press them by placing them between the pages of a heavy book or using a flower press.
- Design Your Layout: Arrange the dried flowers visually on your cardstock or wooden base to find the layout that pleases you.
- Adhere the Flowers: Use a paintbrush to apply a thin layer of glue to the base, then carefully place the pressed flowers on the glued area.
- Seal the Flowers: Once all your flowers are placed, gently brush more glue over the top of the petals to seal them onto the base. Allow everything to dry completely.
- Finish Up: Once fully dry, you can add glitter or other embellishments if desired. This is a great moment to personalize your keepsake further.
Helpful Tips
- Make sure to use flowers that retain their color when pressed, such as daisies or pansies, for the best results.
- Clean your surface area well before starting to keep the workspace tidy, especially if working with children.
- If working with kids, consider using safety scissors for any paper cutting to ensure safety.
Creative Variations
- Seasonal Themes: Create keepsakes based on seasons, using autumn leaves in the fall or spring blossoms for a fresh touch.
- Size and Shape: Experiment with different shapes and sizes for your base, or even create a collage effect with various flowers.
- Customization: Use paint to add personal touches around the flowers, like writing names or dates, which can make the piece even more special.
Making It With Kids
This project is fantastic for children since it encourages creativity but does require some adult supervision during the glue application process. Be ready to assist with cutting and gluing, and remember to use non-toxic, washable glue for easy clean-up.
How to Display, Use, or Gift It
Once your pressed floral keepsakes are complete, you can frame them and hang them on the wall or use them as beautiful bookmarks. They make lovely gifts for birthdays or holidays when presented in a nice frame or with a personal note.
Frequently Asked Questions
Can I use any type of flower?
While many flowers work, it’s best to use those that dry well and retain color, such as daisies, violets, or ferns.
How long does it take for the glue to dry?
Typically, it takes about 24 hours for the glue to dry completely. Ensure it is left in a dry place.
Can I use these keepsakes outside?
If you plan to display them outdoors, be sure to use a sealant to protect the flowers from moisture and fading.
What if my flowers lose their color?
To prevent color loss, ensure that the flowers are fully dried before applying them to your project.
Can I use other materials apart from cardstock?
Yes! Wooden surfaces, glass, or thick paper work well for this project, providing different textures and appearances.
Are there other floral crafts I can try?
Absolutely! If you enjoy this craft, consider making pressed flower cornstarch charms or experimenting with pressed flower rainbow window medallions for more creative fun.
Conclusion
Crafting pressed floral glue keepsakes is an engaging way to express your creativity while enjoying nature’s beauty. For further inspiration on pressed flower projects, you might explore this DIY Vintage-Inspired Pressed Flower Art that could spark new ideas for your future crafting adventures!
Print
Pressed Floral Glue Keepsakes
- Total Time: 1440 minutes
- Makes: 1 keepsake
Description
Create beautiful pressed floral keepsakes that preserve the beauty of nature and make unique gifts or decorations.
Materials
- Fresh flowers (pressed and dried)
- White glue (like school glue)
- Cardstock or wooden surfaces for the base
- Paintbrush (for applying the glue)
- Optional: glitter, twine, or other decorative elements
Instructions
- Prepare your flowers by pressing them between the pages of a heavy book.
- Design your layout by arranging the dried flowers on your cardstock or wooden base.
- Adhere the flowers by applying a thin layer of glue to the base.
- Seal the flowers by brushing more glue over the top of the petals.
- Finish up by adding glitter or embellishments if desired.
Notes
Use flowers that retain color well, like daisies or pansies, and keep the workspace tidy, especially when working with kids.