


Pinecone Christmas Tree Craft for DIY Holiday Decor
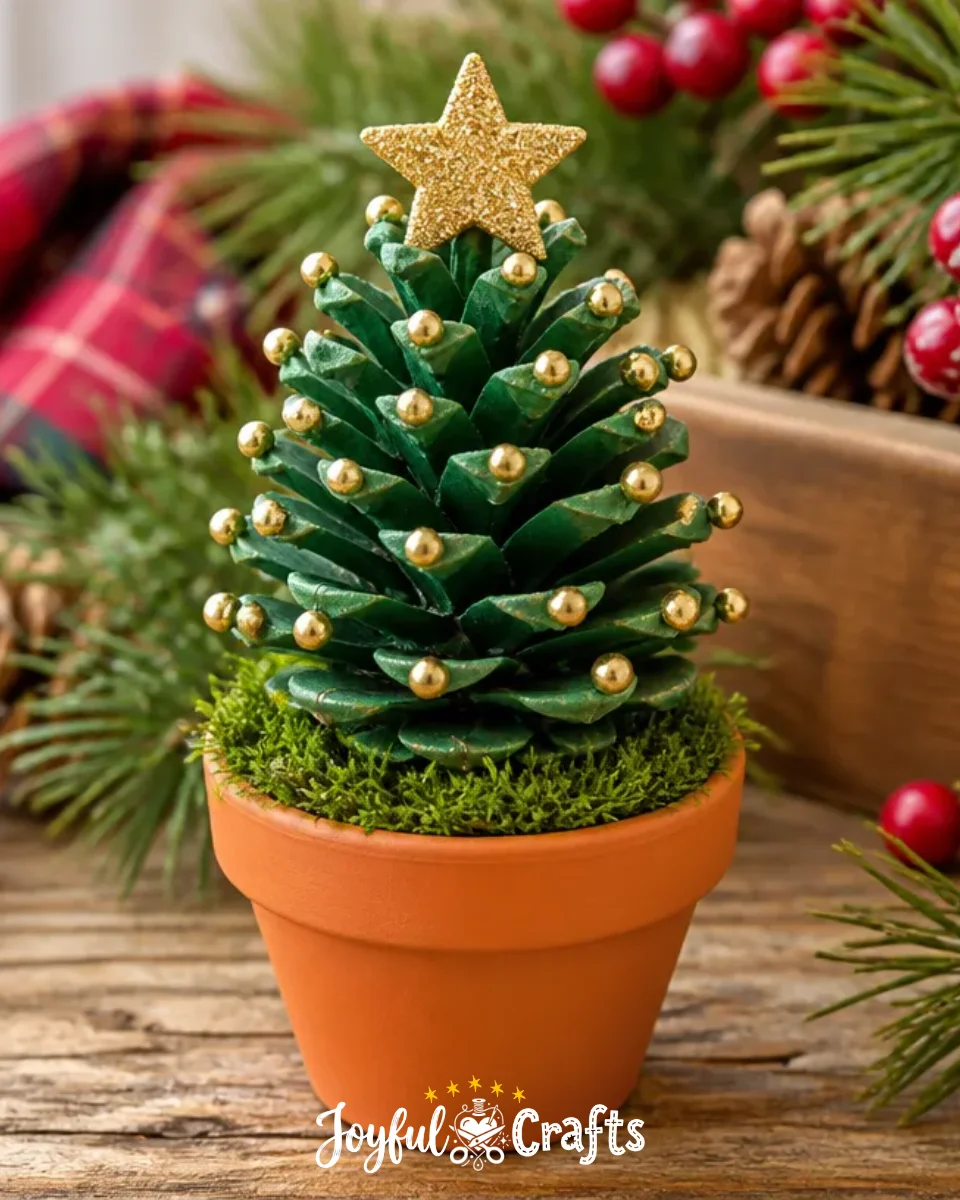
Making your own holiday decorations can bring a special touch to your home, and this Pinecone Christmas Tree craft is both easy and enjoyable! With just a few materials, you can create charming little trees that add a festive flair to your decor. It’s a wonderful project to share with children, sparking their creativity as they decorate their very own trees. You may also find Diy Bottle Cap Monster Crafts For Kids useful.
Why You’ll Love This Project
- Family Bonding: Crafting together provides a chance to bond as a family, making memories while creating unique decor.
- Customizable: You can personalize each pinecone tree with different colors, decorations, and sizes, allowing everyone to express their creativity.
- Sustainable Materials: By using natural elements like pinecones, you can craft in an eco-friendly way.
- Great for All Ages: This project is simple enough for kids yet engaging for adults, making it suitable for a broad age range.
You may also find Diy Colorful School Bus Photo Frame Craft For Kids useful.
Materials You’ll Need
- Pinecones
- Green paint
- Small paintbrush
- Mini gold beads
- Glue
- Small flower pots
- Moss
- Optional gold star toppers
How to Make Pinecone Christmas Tree Craft for DIY Holiday Decor
- Paint the Pinecones: Begin by painting each pinecone green. Make sure to cover all the surfaces and let them dry completely before moving on to the next step.
- Attach the Pinecone: Take a flower pot and glue a decorated pinecone securely into the center.
- Add Moss: Tuck moss around the base of the pinecone inside the pot. This will give your tree a natural look and provide a nice contrast with the green pinecone.
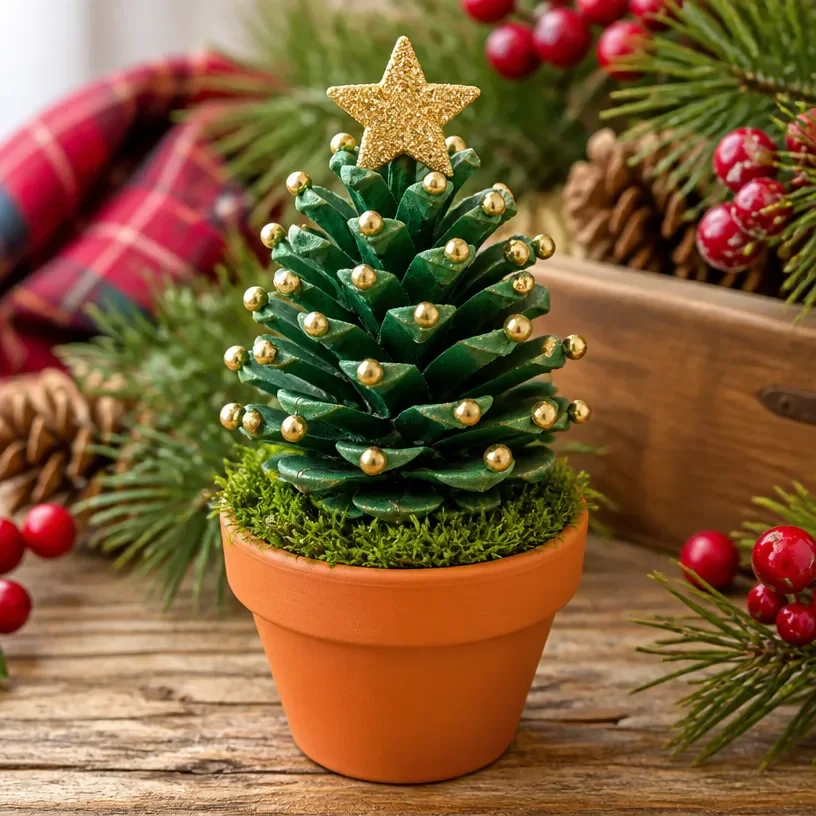
- Decorate the Tree: Finally, glue mini gold beads and a star topper onto the pinecone if you want to add a festive touch and complete your tree.

Helpful Tips
- Clean Up: Make sure to lay down newspaper or a plastic tablecloth while painting to catch any spills.
- Drying Time: Allow the painted pinecones to dry in a ventilated area to speed up the process.
- Work with Kids: Supervise young children closely, especially with glue and small components, to ensure a safe and enjoyable crafting experience.
Creative Variations
Consider using different shades of green paint or adding glitter for a sparkling effect on your trees. If you’d like to change the theme, try using red or white paint for a more traditional Christmas feel. You can also replace the gold beads with colorful pom-poms or buttons for a fun, whimsical take on your pinecone trees. You may also find Diy Paper Towel Tube Crafts For Kids useful.
Making It With Kids
Kids will love personalizing their pinecone trees with additional decorations! Be sure to guide them with measures of glue to avoid excess mess. Also, help them with placements of tiny components like beads to enhance their crafting experience. You may also find Rainbow Monster Pencil Holders Diy Craft For Kids useful.
How to Display, Use, or Gift It
Your finished pinecone Christmas trees can be a lovely addition to your holiday centerpiece or a thoughtful gift for friends and family. Consider making a whole forest of different sizes and colors for a stunning display on your mantel!
Frequently Asked Questions
1. Can we use any other colors?
Absolutely! While traditional green trees are lovely, feel free to experiment with any color you like to create unique holiday decor.
2. How can I secure the pinecone in the pot better?
If you’re having trouble with stability, consider adding additional glue around the base of the pinecone or even using rocks at the bottom of the flower pot.
3. Is it safe for young kids to participate?
Yes, but adult supervision is recommended, especially when using glue or handling small parts.
4. How long does it take to dry?
It typically takes about 1-2 hours for the paint to dry, but it’s best to allow it to cure for a few hours for durable results.
5. What else can I use for a base instead of flower pots?
You could also consider using small wooden blocks, jars, or even empty cans covered in fabric for various looks.
Conclusion
Creating your own Pinecone Christmas Trees is a fun, simple craft that not only brightens your home but also allows you to engage with loved ones in a meaningful way. For more seasonal crafting ideas, be sure to check out this super easy pinecone Christmas tree craft. Happy crafting!
Print
Pinecone Christmas Tree Craft for DIY Holiday Decor
- Total Time: 15 minutes
- Makes: 1 tree
Description
Create charming pinecone Christmas trees with this easy and enjoyable DIY project, perfect for family bonding and holiday decor.
Materials
- Pinecones
- Green paint
- Small paintbrush
- Mini gold beads
- Glue
- Small flower pots
- Moss
- Optional gold star toppers
Instructions
- Paint the pinecones green and let them dry completely.
- Attach a decorated pinecone securely into the center of a flower pot using glue.
- Add moss around the base of the pinecone in the pot.
- Decorate the tree with mini gold beads and a star topper for a festive touch.
Notes
Consider using different shades of paint or adding glitter for variations. Supervise children during crafting for safety.