

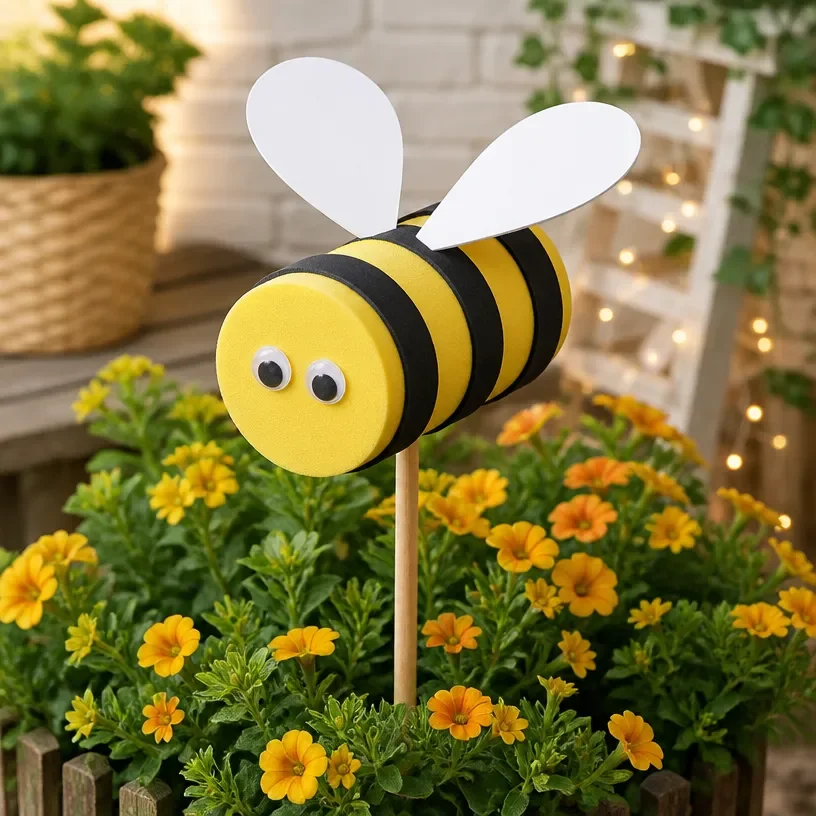
Giant Bumblebee Garden Decor: Quick, Easy Charm
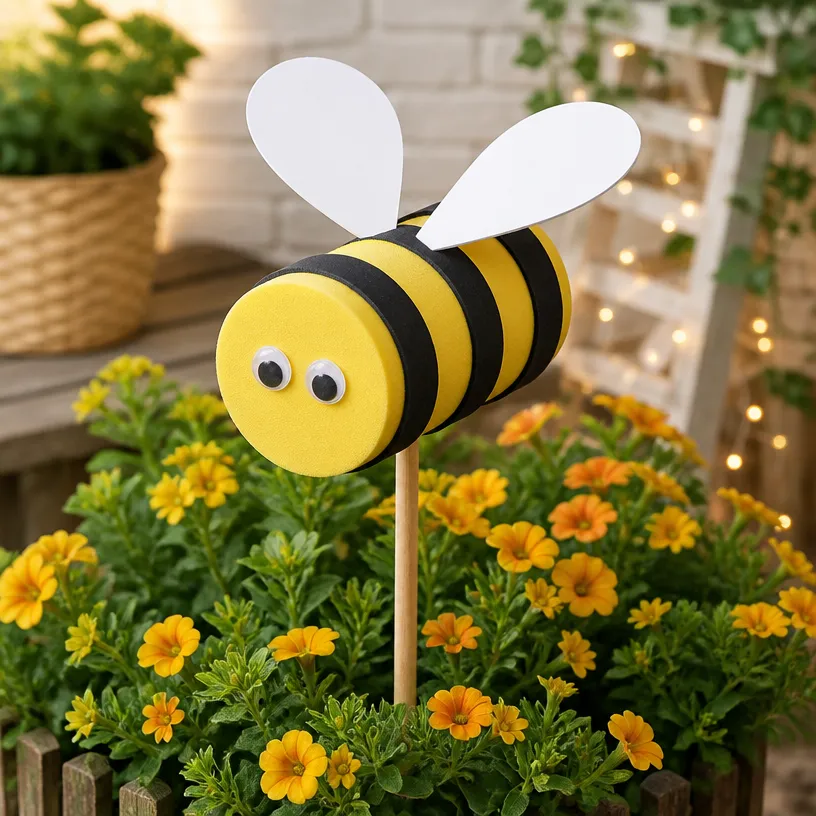
Creating a whimsical touch in your garden has never been easier than with this delightful Giant Bumblebee Garden Decor. This craft not only adds charm and character to outdoor spaces but is also a fun project to engage in with family or friends. You’ll enjoy the cheerful aesthetic it brings, all while spending quality time crafting together. You may also find Easy Pool Noodle Bee Garden Stakes useful.
Why You’ll Love This Project
- Simple Materials: This project uses everyday items, making it an affordable crafting option for everyone.
- Great for Kids: It’s a fun and safe activity that kids can contribute to, fostering their creativity.
- Personalizable: You can easily customize colors and designs to match your garden theme or personal taste.
- Outdoor Display: These bumblebees not only beautify your yard but also spark conversations with guests.
- Quick Process: You can complete this craft in just a few hours, allowing you to enjoy its charm immediately!
You may also find Diy Coffee Filter Tie Dye Butterflies For Garden useful.
Materials You’ll Need
To create your Giant Bumblebee Garden Decor, you will need the following materials: You may also find Easy Colorful Pipe Cleaner Butterflies useful.
- Yellow and black paint
- A round foam ball or a similar sphere for the body
- Craft glue
- Pipe cleaners
- Googly eyes
- Optional: Clear sealant spray to protect your decor from the elements
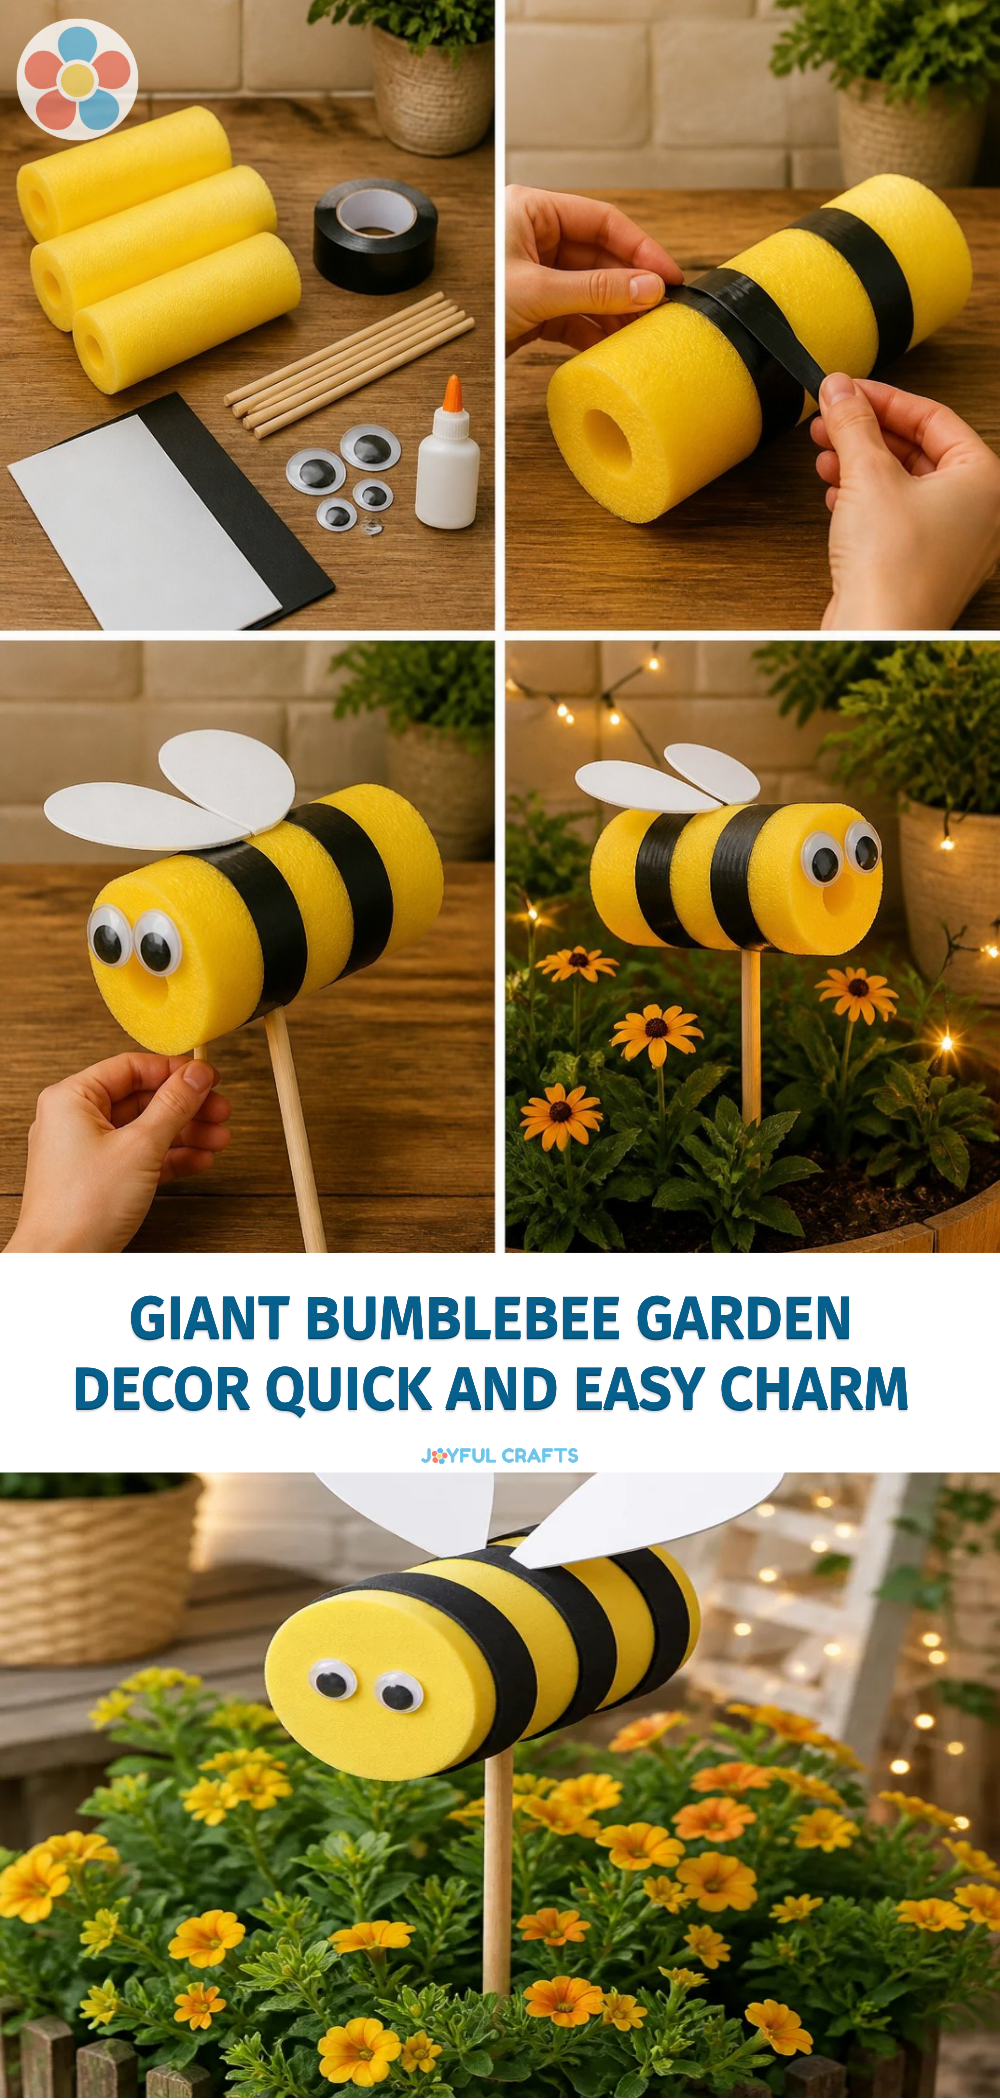
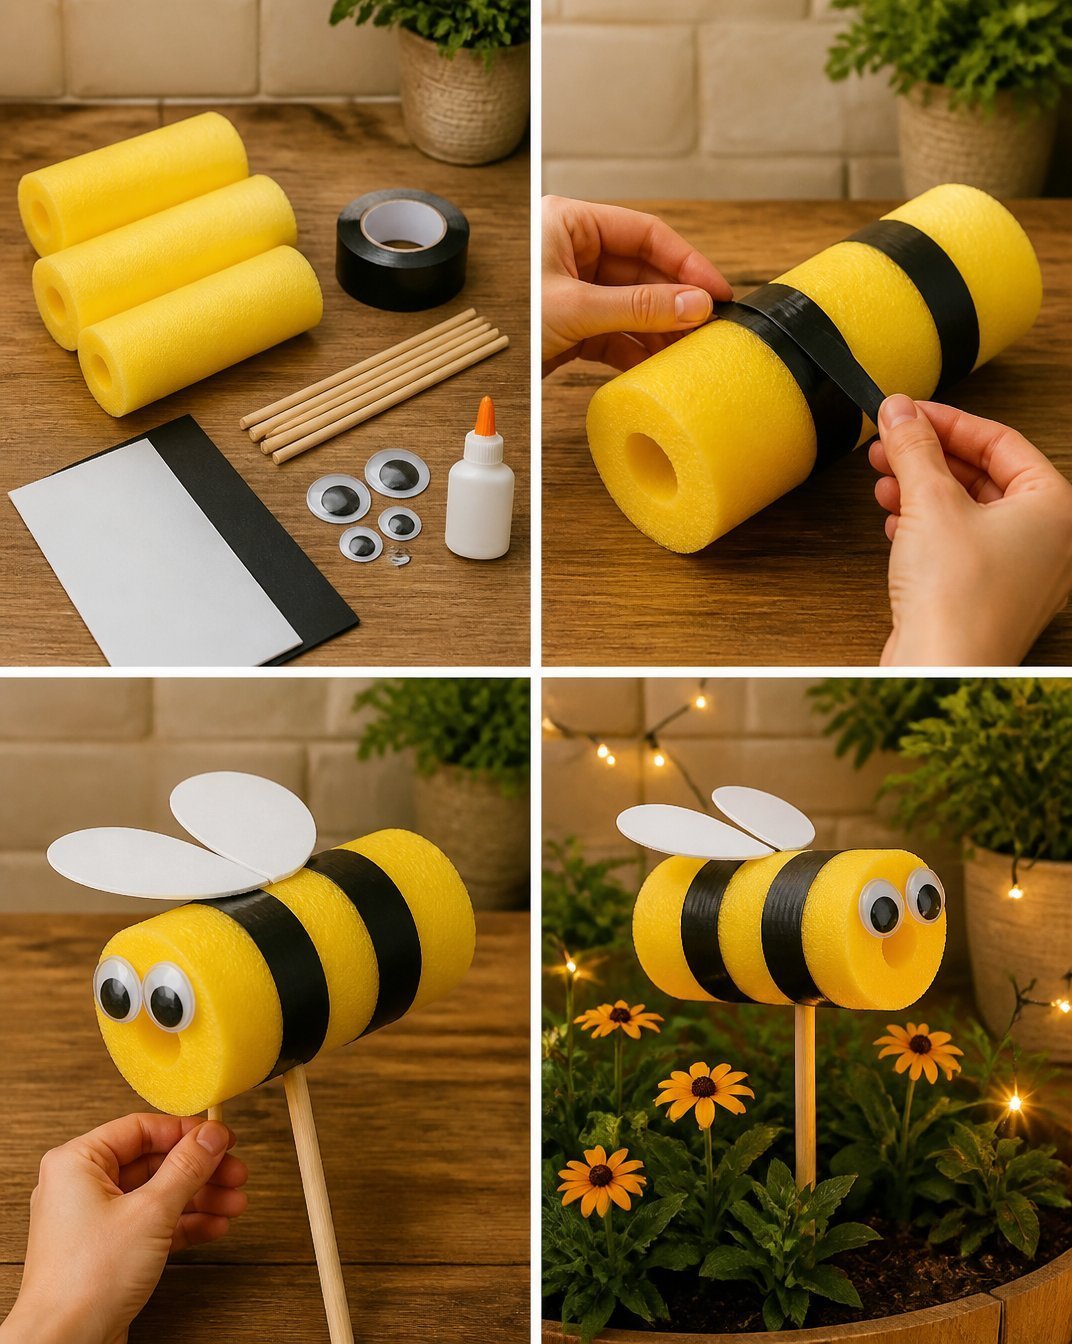
How to Make Giant Bumblebee Garden Decor: Quick, Easy Charm
- Prepare the Body: Start by painting the foam ball in a bright yellow. Allow it to dry completely before moving on to the next step.
- Add Stripes: Once the yellow paint is dry, use black paint to create stripes across the bumblebee’s body. Let the stripes dry thoroughly.
- Attach the Eyes: Use craft glue to stick on the googly eyes, giving your bumblebee a whimsical expression.
- Create Antennae: Cut two lengths of pipe cleaner, shape them into loops, and stick them into the top of the foam ball to form antennas.
- Finish Up: Optionally, you can spray a clear sealant on your bumblebee to keep the paint intact from outdoor conditions.
Helpful Tips
- When painting the foam ball, use a sponge brush for a smoother finish and less risk of drips.
- For a speedy drying process, consider using a hairdryer on a cool setting; just avoid overheating the foam.
- If working with children, supervise them with the paint and glue to ensure safety.
Creative Variations
- Color Customization: Switch up the traditional yellow and black theme by using bright colors like pink and purple for a fun twist.
- Size Variation: Create smaller bumblebees by using smaller foam balls, which could be delightful additions to potted plants.
- Accessories: Try adding glitter or sequins for some sparkle or create additional flower decorations around the bee for a vibrant garden setup.
Making It With Kids
This craft is perfect for kids! Encourage them to paint and decorate their bumblebees while assisting them with glue and pipe cleaners when necessary. Keep in mind, adult supervision is recommended while handling any sharp tools or materials. You may also find Easy Cornstarch Glass Floral Hearts Flowers useful.
How to Display, Use, or Gift It
Once your Giant Bumblebee is complete, place it in your garden or on a porch to uplift your outdoor space. Alternatively, wrapping it up as a garden gift for friends or family can spread the joy of crafting!
Frequently Asked Questions
1. Can I use other materials instead of foam?
Yes! You can substitute foam balls with inflated balloons or even rounded paper mache.
2. What other decorations complement these bumblebees?
Adding fabric flowers, colorful stakes, or even DIY butterflies can enhance your garden decor.
3. How can I protect my bumblebee decor from rain?
A clear sealant can provide a protective barrier against moisture, ensuring your decor lasts longer.
4. Are there alternative colors I can use?
Absolutely! Feel free to experiment with whichever colors you prefer, making the bumblebee unique and fun!
5. What age group is best suited for this craft?
This project is suitable for school-age children and above, with adult supervision recommended when using glue.
6. How can I make these bumblebees in a larger scale?
Simply use larger foam balls and increase the length of the pipe cleaners for bigger antennae!
Conclusion
Crafting your own whimsical decorations can be incredibly rewarding. If you’re looking for more garden ideas, consider exploring the best cut flowers to grow from seed to enhance your outdoor scenery even further! Enjoy your crafting time and happy gardening!
Print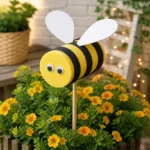
Giant Bumblebee Garden Decor
- Total Time: 30 minutes
- Makes: 1 Giant Bumblebee
Description
Create a whimsical touch in your garden with this delightful Giant Bumblebee Garden Decor. A fun project perfect for families or friends to craft together.
Materials
- Yellow and black paint
- A round foam ball or sphere for the body
- Craft glue
- Pipe cleaners
- Googly eyes
- Optional: Clear sealant spray
Instructions
- Prepare the body by painting the foam ball in bright yellow and allowing it to dry completely.
- Add stripes using black paint once the yellow paint is dry and let it dry thoroughly.
- Attach the googly eyes using craft glue for a whimsical look.
- Create antennae by cutting two lengths of pipe cleaner, shaping them into loops, and sticking them into the top of the foam ball.
- Finish up by optionally spraying a clear sealant for weather protection.
Notes
Use a sponge brush for a smoother finish and supervise children while crafting.