

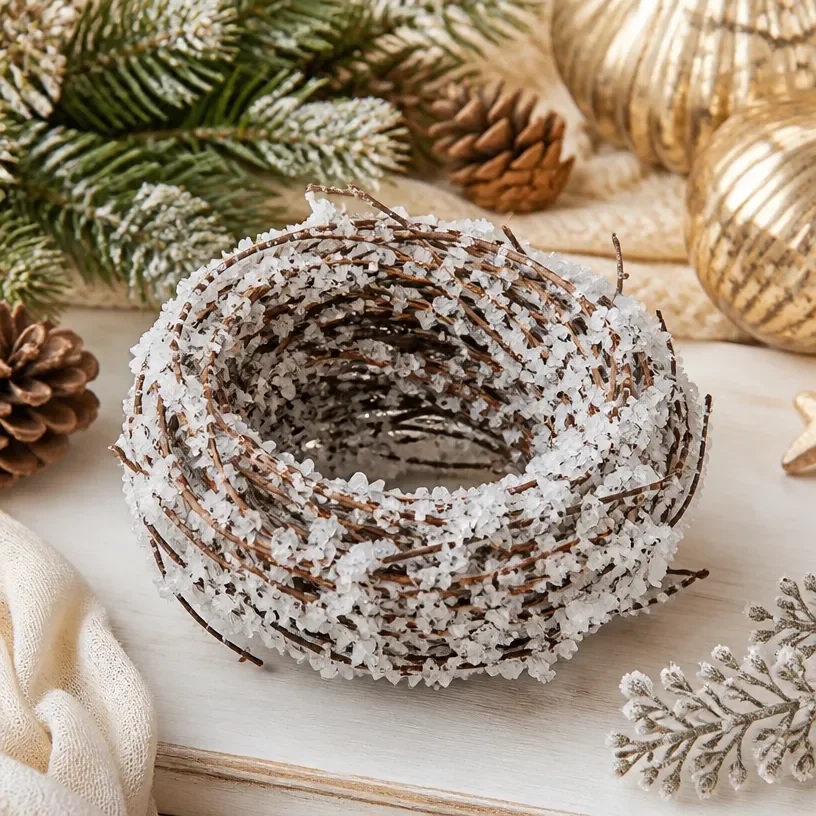
Frosty Bird Nest Craft – Easy Winter DIY Decor
Create a charming frosty bird nest this season with this delightful winter craft! This project not only adds a touch of winter magic to your home decor, but it also provides a fun opportunity to spend time crafting with family and friends. It’s simple enough for beginners and can be personalized to fit your style. You may also find Diy Bottle Cap Monster Crafts For Kids useful.
Why You’ll Love This Project
- Fun for All Ages: This craft is suitable for all family members, making it a great choice for bonding time.
- Easy to Customize: You can easily modify colors and decorations to suit your seasonal decor.
- Affordable Materials: Most supplies are readily available at home or at a low cost.
- Creative Expression: This project allows for creativity and encourages kids and adults alike to express their artistic flair.
You may also find Diy Rainbow Popsicle Stick Flower Wheel Craft useful.
Materials You’ll Need
- Craft Wire
- White Craft Paint
- Cotton Balls
- Glitter (optional)
- Mini Pinecones (or other natural embellishments)
- Hot Glue Gun and Glue Sticks (for adult supervision)
How to Make Frosty Bird Nest Craft – Easy Winter DIY Decor
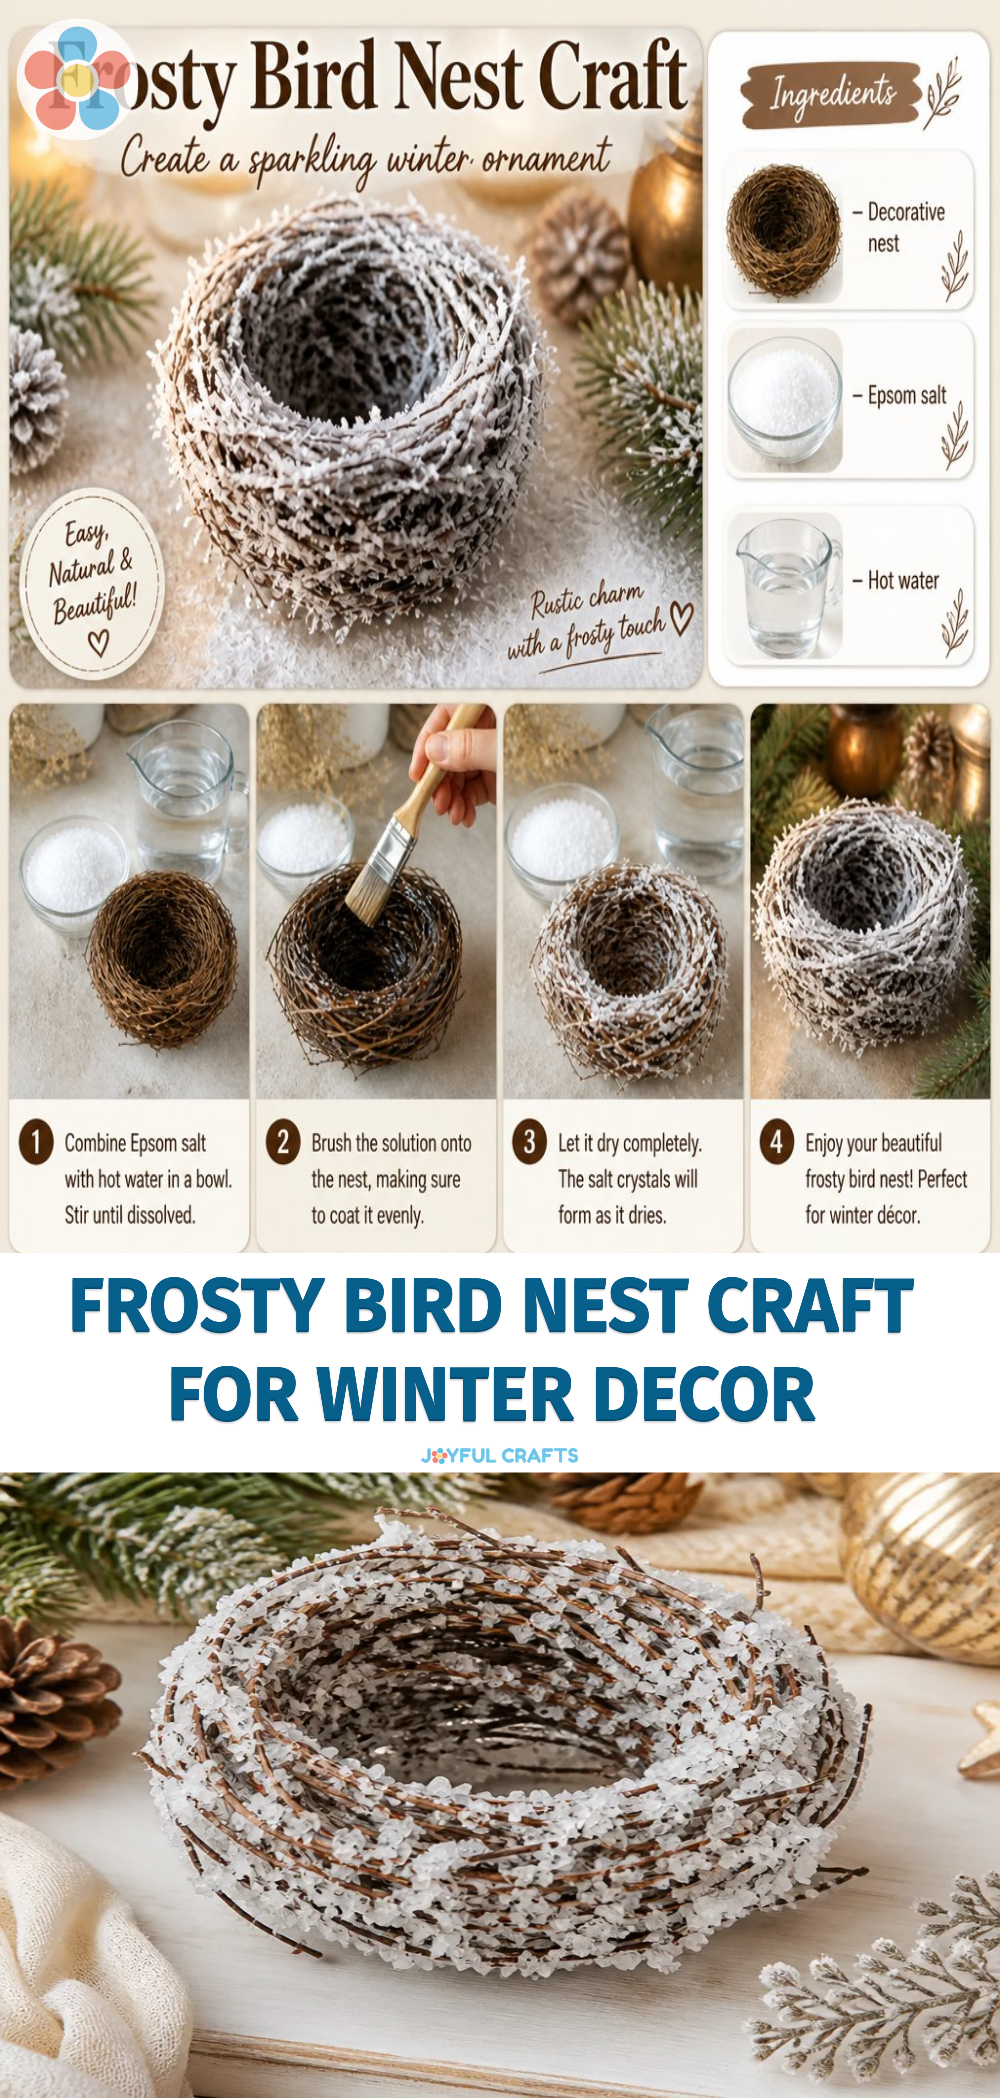
- Prepare the Wire: Cut a piece of craft wire to your desired length for the nest base. This will form the structure of your nest.
- Shape the Nest: Gently bend the wire into a circular shape, overlapping the ends to create a nest-like appearance. Secure the ends by twisting them together.
- Paint the Base: Using white craft paint, apply a light coat to the wire frame. Allow it to dry completely before continuing.
- Add Cotton Balls: Once the paint is dry, use the hot glue gun to attach cotton balls around the wire frame, creating a soft, snowy effect.
- Sprinkle Glitter: If you’d like an extra sparkle, sprinkle glitter over the glue before it dries. This adds a beautiful frosty shimmer!
- Embellish with Pinecones: Attach mini pinecones or other natural decorations with glue to enhance the wintry look.
Helpful Tips
- Keep the Craft Safe: Always supervise children when using a hot glue gun.
- Mess Management: Protect your work area with newspaper or a craft mat to make cleanup easier.
- Drying Time: Allow adequate time for glue to set before moving the finished craft.
Creative Variations
- Colorful Cotton Balls: Instead of white, use colored cotton balls to give your nest a festive flair.
- Seasonal Decorations: Change the embellishments with the seasons, like adding flowers for spring or leaves for fall.
- Size Options: Experiment with different wire sizes to create a variety of nest sizes, perfect for small gift displays.
Making It With Kids
This craft is a wonderful way to engage children in creative activities. Let them choose their decorations and colors, fostering independence. For younger children, be sure to handle the hot glue gun and assist with shaping the wire to keep the activity safe. You may also find Easy Clear School Glue Craft For Kids useful.
How to Display, Use, or Gift It
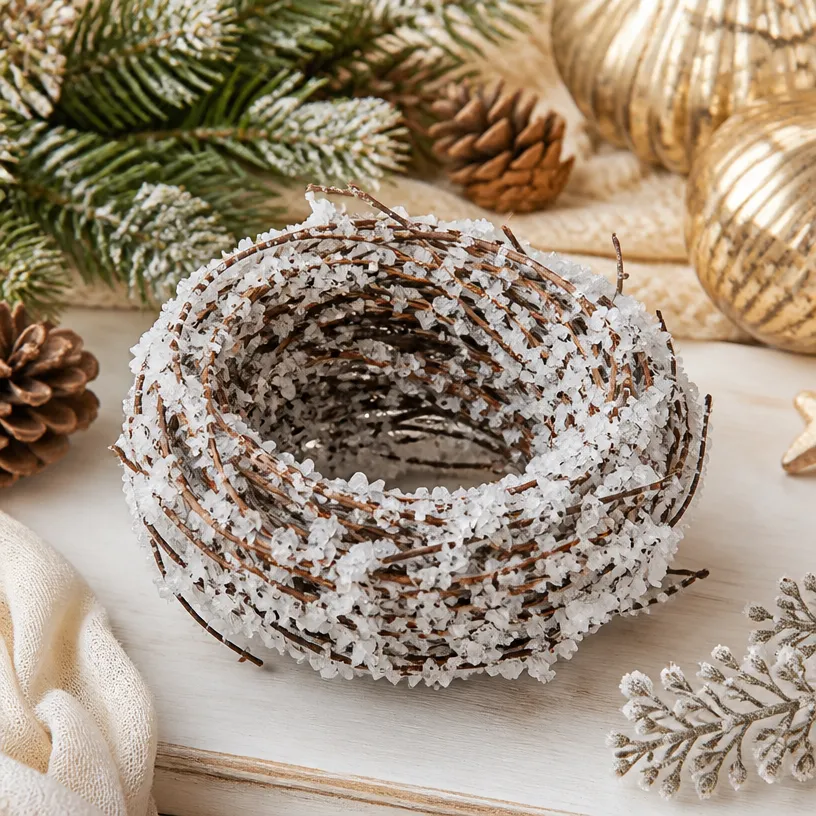
Once your frosty bird nest is complete, consider using it as a centerpiece or hanging it on a wall. It also makes a thoughtful handmade gift for friends and family during the winter months! You may also find Rainbow Monster Pencil Holders Diy Craft For Kids useful.

Frequently Asked Questions
1. Can I use different types of embellishments?
Absolutely! Feel free to use any natural materials like twigs, leaves, or even faux flowers that you have on hand.
2. What if I don’t have craft wire?
You can substitute with thin sticks or strong twine, shaping them into a nest form.
3. How do I clean up excess glitter?
To avoid mess, consider using a small jar or tray to catch loose glitter as you sprinkle it.
4. Can younger children participate?
Yes, but supervision is crucial. Let them help with glueing cotton balls and decorating the nest.
5. How long does it take to finish?
The crafting process usually takes about an hour, including drying time.
Conclusion
Enjoy creating your frosty bird nest craft this winter! For more festive craft ideas, check out this wonderful Frosty Fun DIY and Top Hat Snowman Winter Table. Happy crafting!
Print
Frosty Bird Nest Craft – Easy Winter DIY Decor
- Total Time: 60 minutes
- Makes: 1 frosty bird nest
Description
Create a charming frosty bird nest with this delightful winter craft. Perfect for family bonding and personalized decor.
Materials
- Craft Wire
- White Craft Paint
- Cotton Balls
- Glitter (optional)
- Mini Pinecones (or other natural embellishments)
- Hot Glue Gun and Glue Sticks (for adult supervision)
Instructions
- Prepare the Wire: Cut a piece of craft wire to your desired length for the nest base.
- Shape the Nest: Gently bend the wire into a circular shape, overlapping the ends to create a nest-like appearance.
- Secure the ends by twisting them together.
- Paint the Base: Using white craft paint, apply a light coat to the wire frame. Allow it to dry completely.
- Add Cotton Balls: Use the hot glue gun to attach cotton balls around the wire frame.
- Sprinkle Glitter: Sprinkle glitter over the glue for extra sparkle.
- Embellish with Pinecones: Attach mini pinecones or other natural decorations with glue.
Notes
Always supervise children when using a hot glue gun and protect your work area for easy cleanup.