How to Make Floating Bubbles in a Jar | Bubbles and Glitter
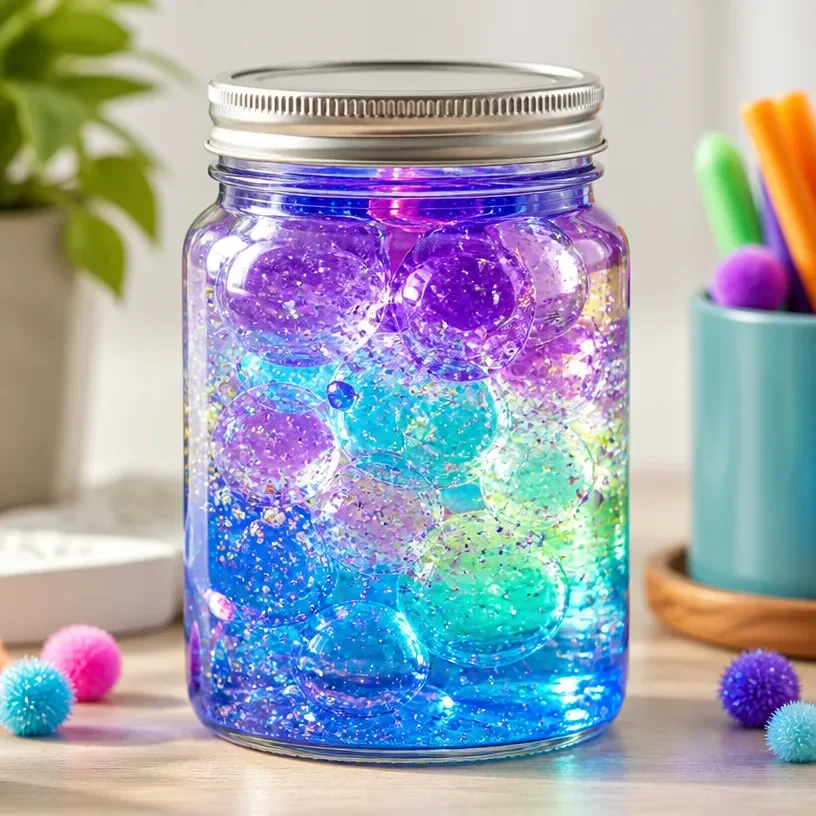
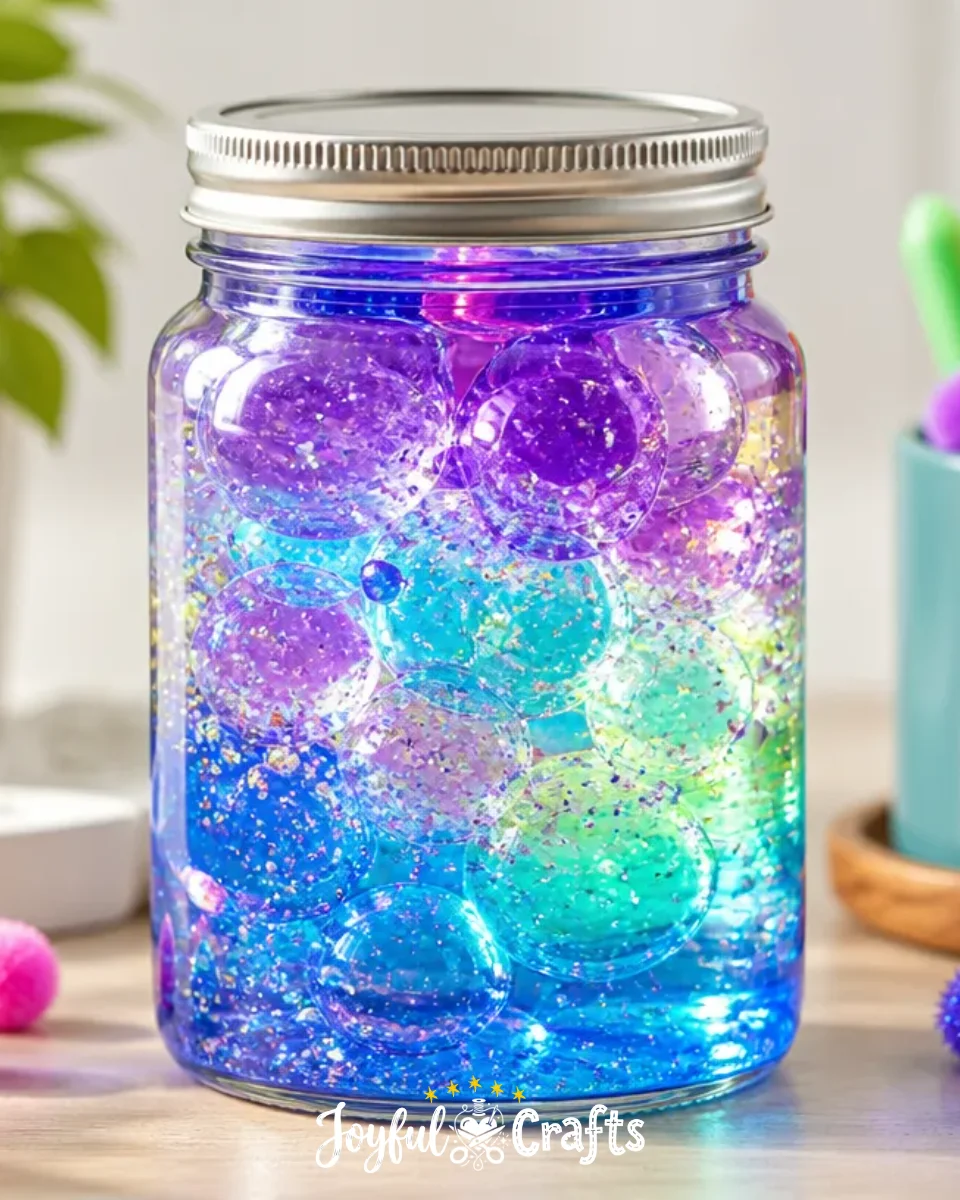
Creating floating bubbles in a jar is a delightful science project that kids and adults can enjoy together! This fun experiment combines creativity with a touch of science, allowing you to see bubbles floating in colored water, creating a magical effect. It’s a fantastic way to learn about density and buoyancy while having a blast. You may also find Beach Bottle Crafts Ocean Inspired Sand Keepsake Ideas useful.
Why You’ll Love This Project
- Engaging Learning: This project introduces scientific concepts like buoyancy and density in a fun, hands-on way.
- Customizable: You can play around with colors and materials, making each jar unique.
- Easy Clean-Up: The materials used are non-toxic and can be easily cleaned, which makes it family-friendly.
- Perfect for All Ages: This craft can be made with minimal supervision, allowing kids to explore their creativity freely.
- Beautiful Display: These bubble jars make wonderful decorations for any room, bringing a cheerful touch to your space.
You may also find Beach Bottle Crafts Ocean Inspired Sand Keepsakes useful.
Materials You’ll Need
- A clear jar or a glass
- Water
- Light corn syrup
- Food coloring (your choice of colors)
- A straw (optional)
- Glitter (optional)
How to Make Floating Bubbles in a Jar
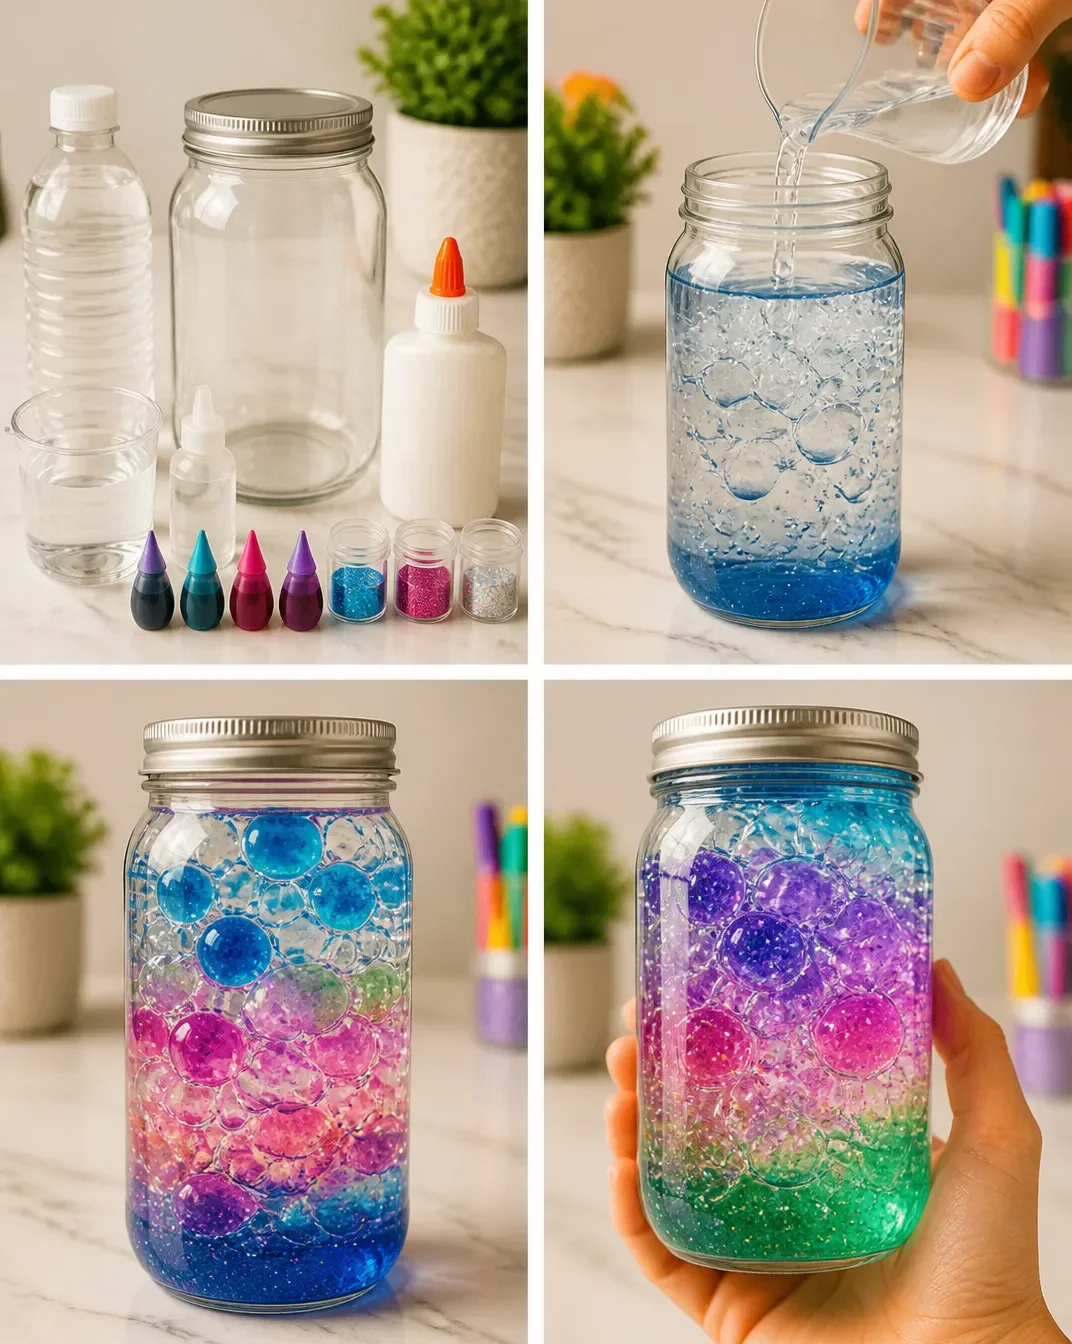
- Prepare Your Jar: Start by filling the jar about halfway with water.
- Add Corn Syrup: Pour in the light corn syrup slowly. This will create a liquid layer beneath the water.
- Mix in Color: Add several drops of food coloring to the water. You can mix colors to create your desired effect.
- Create Bubbles: If using a straw, place it into the jar and blow gently to create bubbles of different sizes. If not, you can sprinkle glitter on top to create a sparkling effect.
- Observe the Layers: Watch how the bubbles float and interact with the colorful water; this demonstrates the unique properties of each liquid.
Helpful Tips
- When adding the corn syrup, do so slowly to create distinct layers; this enhances the visual effect.
- To prevent bubbles from bursting too quickly, avoid shaking the jar after observing.
- Consider using different sizes of jars for varying effects smaller jars can help concentrate the view of the bubbles.
Creative Variations
- Color Themes: Try using seasonal colors pastels for spring, bright hues for summer, or warm tones for autumn.
- Add Small Toys: Place tiny plastic sea creatures or flowers inside the jar for added whimsy.
- Theme your Jar: Create a beach-themed jar using sand from a beach visit along with shells and blue water.
Making It With Kids
This project is great for families! Prepare the materials and let the kids take the lead in pouring, mixing, and observing. If scissors or hot glue are involved for embellishments, ensure you assist them accordingly. Supervise the use of ingredients like food coloring to avoid messes. You may also find Bubble Print Butterfly Wings Craft Kids useful.
How to Display, Use, or Gift It
Once completed, display your floating bubble jar on a shelf or a table where it can catch the light. It can also be a lovely gift for friends and family just remember to secure the lid tightly to prevent spills. You may also find Colorful Panda Pinecone Family Craft Panda Craft useful.
Frequently Asked Questions
1. Can we use any type of jar?
Yes! A clear jar works best so you can see the bubbles and colors clearly.
2. What if my bubbles don’t float?
Ensure the corn syrup layer is thick enough beneath the water to support the bubbles.
3. Can we use different colors of food coloring?
Absolutely! Mixing different colors can create beautiful layered effects.
4. Will this project make a mess?
While it’s relatively easy to clean up, be cautious with food coloring; it can stain!
5. How long do the bubbles last?
The bubbles may last for several hours to days depending on how you create them. Avoid shaking to prolong their lifespan.
6. Is it safe for children?
Yes, all materials used are safe and non-toxic. Just supervise as necessary.
Conclusion
Making floating bubbles in a jar is not just an enjoyable craft; it’s also a wonderful opportunity to introduce scientific concepts in a fun way. When exploring more about relaxing crafts that encourage mindfulness, check out the Relax Bottle/Time Out Timer tutorial for great ideas!
Print
Floating Bubbles in a Jar
- Total Time: 10 minutes
- Makes: 1 jar
Description
A fun and engaging science project that teaches kids about density and buoyancy by creating colorful floating bubbles in a jar.
Materials
- A clear jar or glass
- Water
- Light corn syrup
- Food coloring (your choice of colors)
- A straw (optional)
- Glitter (optional)
Instructions
- Prepare your jar by filling it about halfway with water.
- Add light corn syrup slowly to create a liquid layer beneath the water.
- Mix in several drops of food coloring to achieve your desired effect.
- Create bubbles by blowing gently through a straw or sprinkling glitter on top.
- Observe how the bubbles float and interact with the colorful water.
Notes
Consider using different sizes of jars for varying effects. Avoid shaking the jar after your observations to prevent bubbles from bursting.