
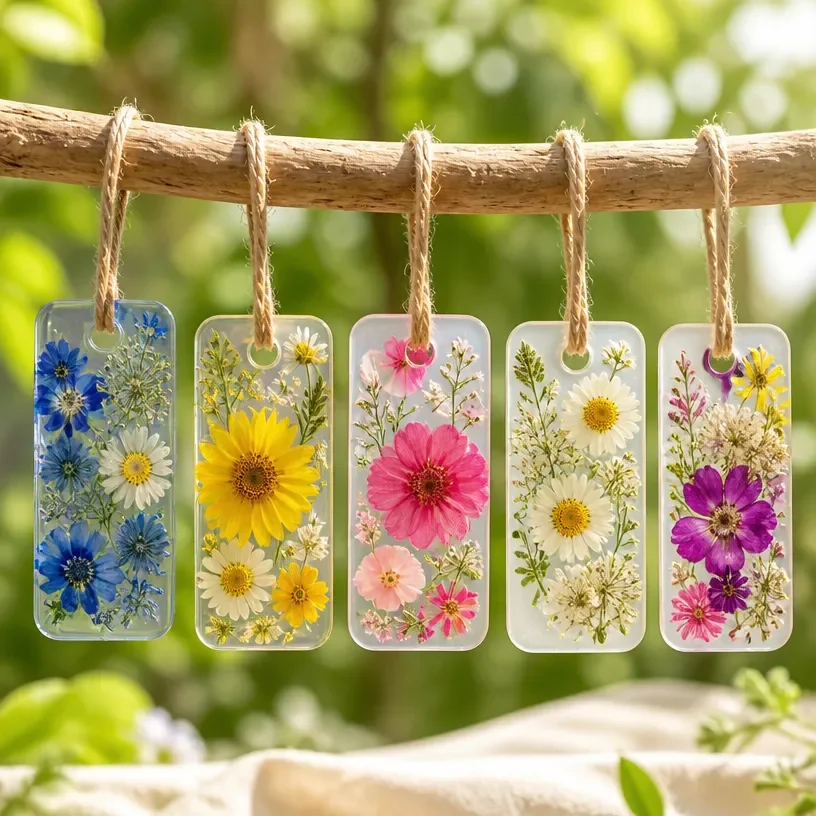
Eco-Friendly Cornstarch Craft Becomes Cozy Keepsakes
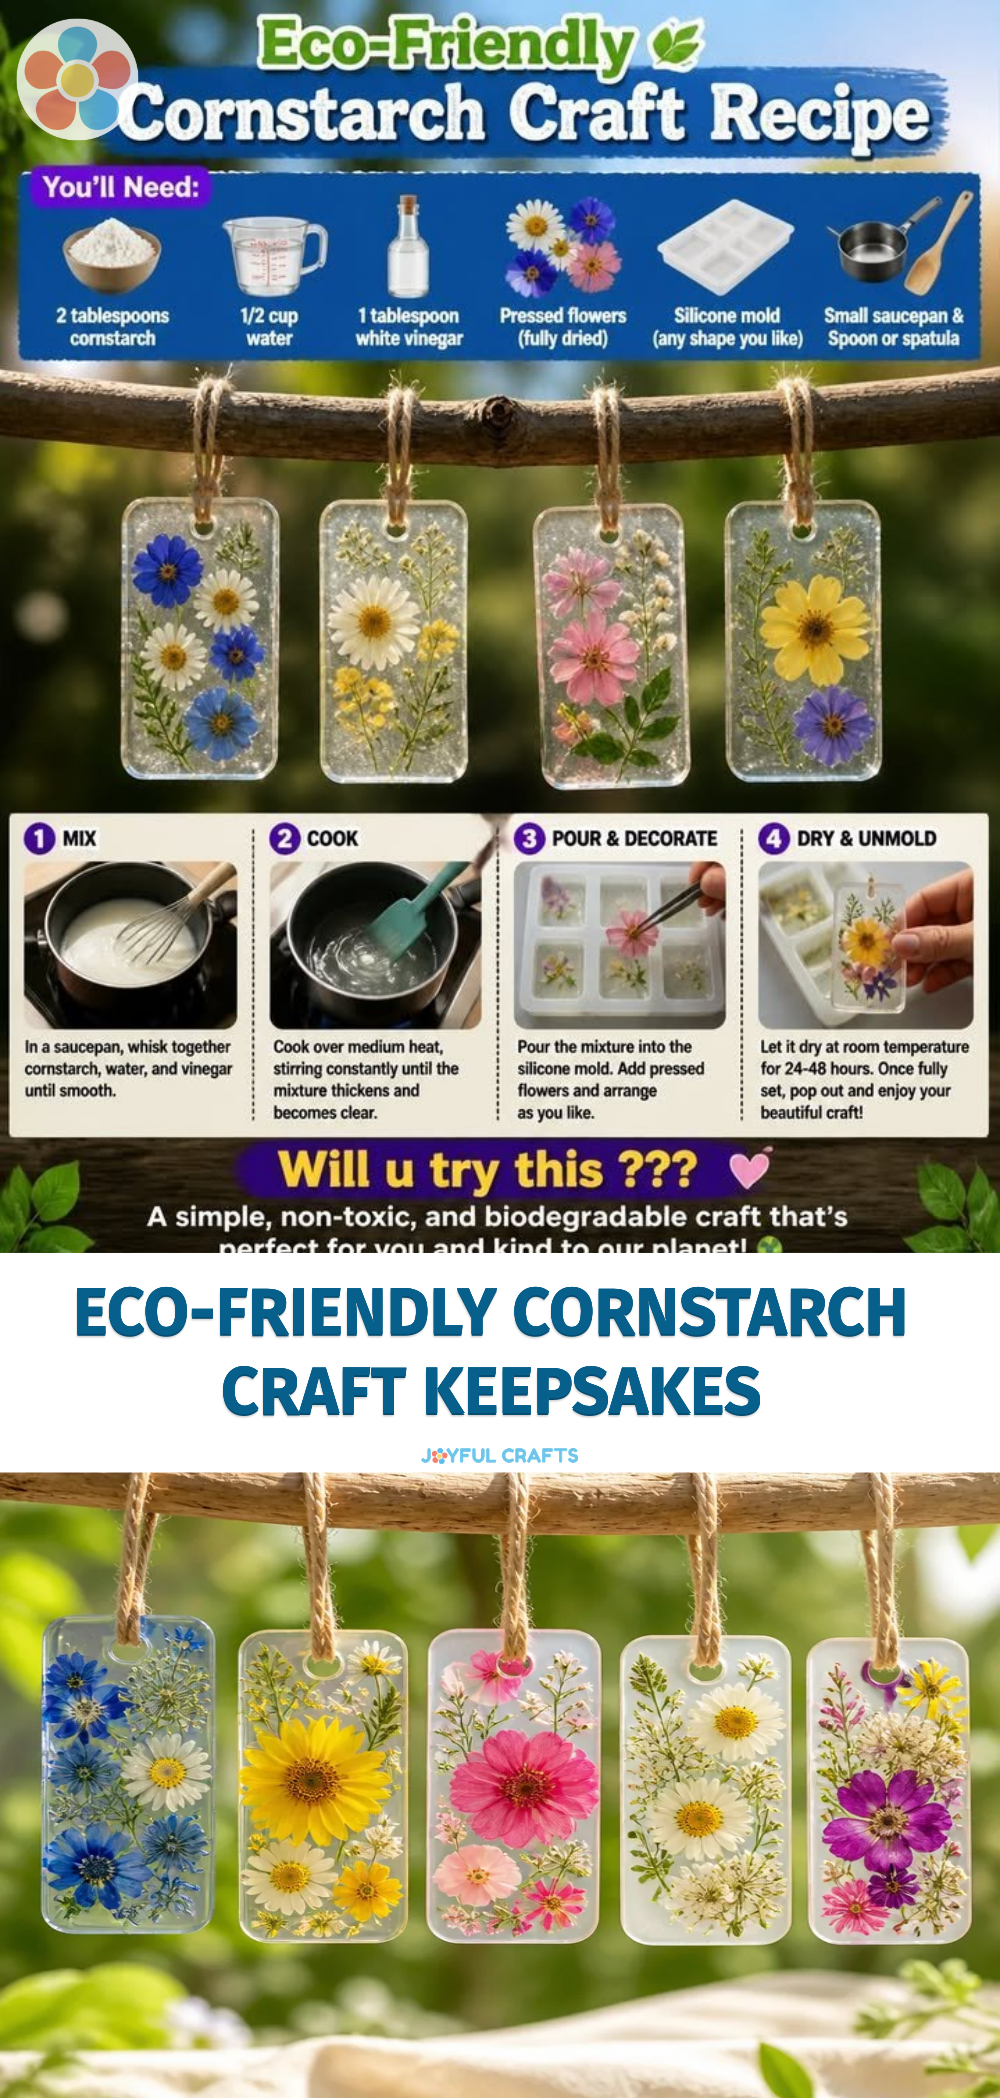
Creating crafts can be a delightful way to spend time with loved ones, and this cornstarch craft is no exception! Not only does it provide an opportunity to bond, but it also results in beautiful keepsakes that can be cherished for years. This project is especially fun because it is both eco-friendly and easy to do, allowing you and your kids to unleash your creativity without harmful materials. You may also find Beaded Pipe Cleaner Snail Craft For Kids useful.
Why You’ll Love This Project
- Sustainable Materials: Using cornstarch is a fantastic way to create crafts while being gentle on the planet.
- Creative Expression: Each craft can be personalized, making it unique to your family’s style.
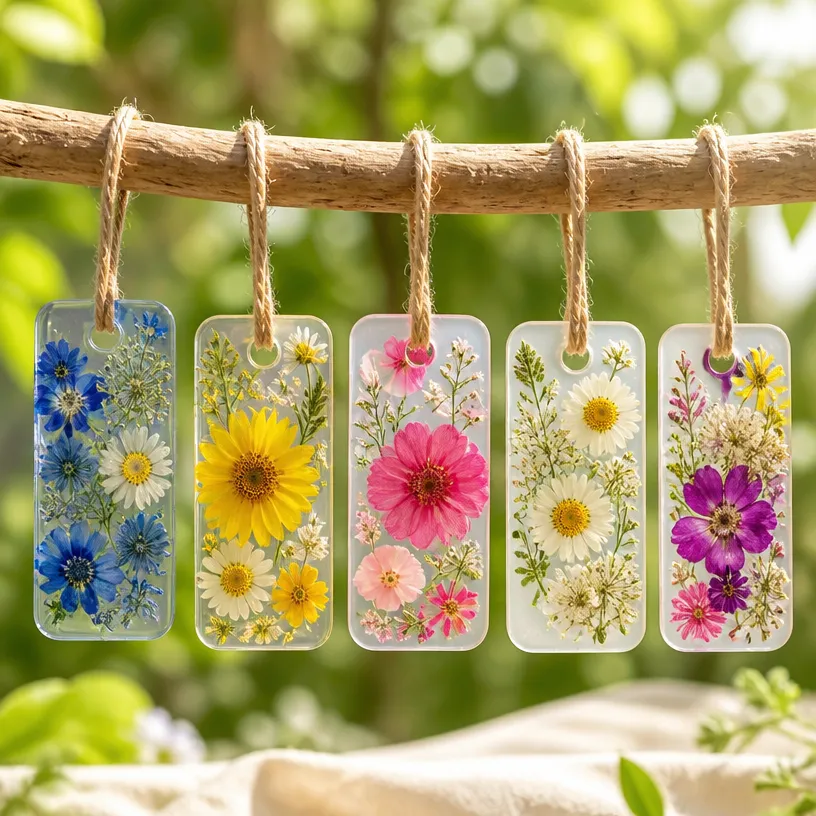
- Memorable Keepsakes: The finished products can serve as wonderful gifts for friends and family or as personal decorations.
- Engaging Activity for Kids: This project is simple enough for kids to join in, offering a great way to develop their crafting skills.
You may also find Bubble Print Butterfly Wings Craft Kids useful.
Materials You’ll Need
- 1 cup of cornstarch
- 2 cups of water
- 1 cup of baking soda
- Food coloring (optional)
- Cooking pot
- Mixing spoon
- Cookie cutters
- Wax paper
How to Make Eco-Friendly Cornstarch Craft Becomes Cozy Keepsakes
- Combine Ingredients: In a cooking pot, mix the cornstarch, water, and baking soda until well blended.
- Cook the Mixture: Place the pot on the stove over medium heat. Stir continuously until the mixture thickens to a dough-like consistency.
- Add Color: If you want to incorporate colors, add food coloring to the dough until you reach your desired shade.
- Shape the Dough: Remove the mixture from the heat and let it cool slightly. Once it’s cool enough to handle, knead the dough gently before rolling it out on a flat surface lined with wax paper.
- Cut Out Shapes: Use cookie cutters to create various shapes. You can even mold them by hand for unique designs. Place your shapes on a separate sheet of wax paper.
- Dry the Shapes: Allow the shapes to dry completely, which may take a few hours or overnight depending on their thickness.
Helpful Tips
- If you’re working with little ones, help them with cookie cutters to keep the shapes consistent.
- Ensure that the shapes are not too thick; thinner pieces will dry more quickly and evenly.
- You can paint the finished products with non-toxic paint once dry to add extra detail.
Creative Variations
Feel free to customize your cornstarch creations! Some options include: You may also find Clear Rainbow Ghost Shaker Suncatcher Craft For Kids useful.
- Seasonal Themes: Make hearts for Valentine’s Day or snowflakes for winter.
- Painted Decor: After drying, paint the shapes with bright colors or patterns.
- Personalized Gifts: Use letter cutters to spell out names for a thoughtful gift.
Making It With Kids
The beauty of this project is that it’s suitable for children, but always supervise them, especially when handling the hot mixture. Gather your supplies ahead of time and set up a dedicated crafting area to make the process smoother and more enjoyable for everyone involved. You may also find Colorful Cupcake Liner Witch Flower Bouquet Craft useful.
How to Display, Use, or Gift It
Once your cornstarch creations are completely dry, they make fantastic decorative pieces. You can string some together to create garlands, place them around the house, or gift them in decorative boxes to loved ones.

Frequently Asked Questions
Can I use different colors of cornstarch?
Yes, you can use natural food coloring to create various shades.
What should I do if my shapes crack while drying?
If cracks appear, try rolling the dough out thicker next time, or use a small amount of water to smooth over the cracks before they finish drying.
How long can I store these keepsakes?
When kept in a cool, dry place, your keepsakes can last for many years.
Is this project safe for young children?
Yes! However, always supervise them, especially during the cooking process.
Can I add scents to the dough?
Absolutely! A few drops of essential oils can add a lovely fragrance to your creations.
What to do with leftover dough?
Store any unused dough in an airtight container in the refrigerator for up to a week.
Conclusion
Crafting with cornstarch is not only easy but also a wonderful way to create memories and keepsakes. For more ideas and inspiration on making eco-friendly crafts, consider exploring the best materials for making eco-friendly handmade crafts. Enjoy your crafting journey!
Print
Eco-Friendly Cornstarch Craft Becomes Cozy Keepsakes
- Total Time: 35 minutes
- Makes: Varies based on shape sizes
Description
Create beautiful, eco-friendly keepsakes with this easy cornstarch craft project that’s perfect for families and kids.
Materials
- 1 cup of cornstarch
- 2 cups of water
- 1 cup of baking soda
- Food coloring (optional)
- Cooking pot
- Mixing spoon
- Cookie cutters
- Wax paper
Instructions
- Combine Ingredients: In a cooking pot, mix the cornstarch, water, and baking soda until well blended.
- Cook the Mixture: Place the pot on the stove over medium heat. Stir continuously until the mixture thickens to a dough-like consistency.
- Add Color: If you want to incorporate colors, add food coloring to the dough until you reach your desired shade.
- Shape the Dough: Remove the mixture from the heat and let it cool slightly. Once it is cool enough to handle, knead the dough gently before rolling it out on a flat surface lined with wax paper.
- Cut Out Shapes: Use cookie cutters to create various shapes. You can even mold them by hand for unique designs. Place your shapes on a separate sheet of wax paper.
- Dry the Shapes: Allow the shapes to dry completely, which may take a few hours or overnight depending on their thickness.
Notes
Supervise children during the cooking process and ensure shapes are not too thick for even drying.