
DIY Pinwheel Painting with Water Balloons for Kids
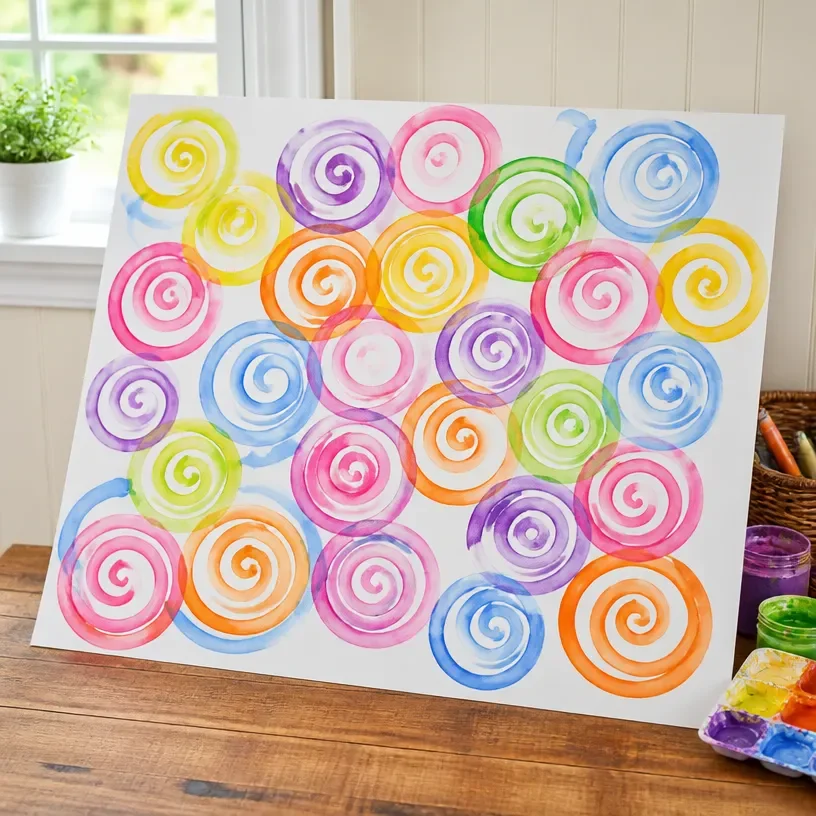
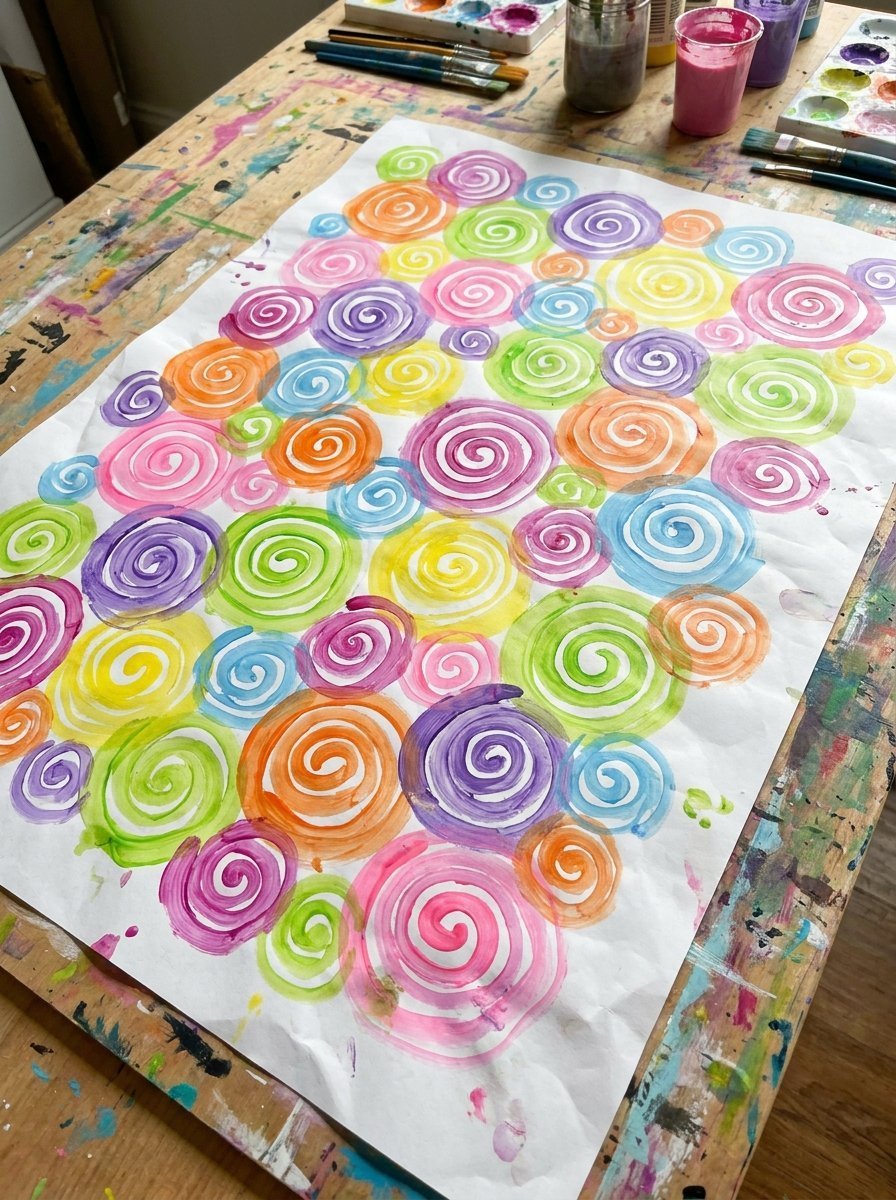
Creating art can be a wonderful way for children to express their creativity, and what better way to do that than through painting with a twist? This DIY Pinwheel Painting with Water Balloons project is not only fun but also an exciting way to combine play with art. As the water balloons pop, they will unleash a burst of colors onto the canvas, creating a stunning masterpiece. Kids will love the hands-on experience, and parents will appreciate the opportunity to encourage creative exploration. You may also find Rainbow Monster Pencil Holders Diy Craft For Kids useful.
Why You’ll Love This Project
- Interactive Fun: Kids enjoy the thrill of throwing water balloons, making this a lively group activity.
- Messy but Manageable: Painting can be messy, but this project focuses on fun without the worry of traditional paintbrushes.
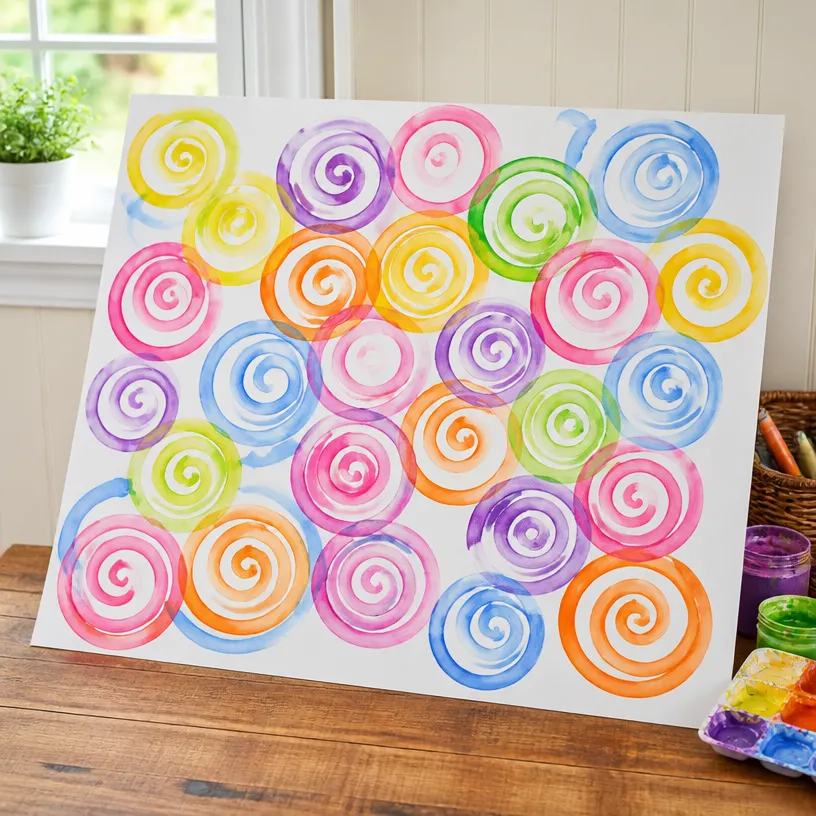
- Unique Artwork: Each balloon pop and splash will create a one-of-a-kind piece, making it unique to every child.
- Color Exploration: Children can experiment with colors and patterns while learning about how colors blend and create new shades.
You may also find Rainbow Tissue Paper Flower Lantern Diy For Kids useful.
Materials You’ll Need
To get started, you’ll need the following materials: You may also find Bright Colorful Alphabet Garland For Kids useful.
- Water balloons (various colors)
- Non-toxic paint (washable is best)
- Canvas or large sheets of paper
- Plastic drop cloth or an old towel to protect the area
- A bucket for holding the water balloons
- Optional: an outdoor area for more freedom
How to Make DIY Pinwheel Painting with Water Balloons for Kids
- Prepare Your Workspace: Lay down the plastic drop cloth or towel to catch any spills.
- Fill the Water Balloons: Fill the water balloons with different colors of non-toxic paint mixed with water. Make sure they’re filled enough to burst easily, but not too full!
- Set Up Your Canvas: Place the canvas or paper on the protected area. You can tape it down to prevent sliding.
- Get Ready to Paint: Invite the kids to pick their favorite colored balloons for throwing.
- Aim and Pop: Encourage children to aim the balloons at the canvas, throwing them as they count down. Watch the beautiful splashes of color as the balloons burst!
- Let It Dry: Once all the balloons have been thrown, allow the artwork to dry completely. This could take a few hours depending on the paint used.
Helpful Tips
- Use Washable Paint: This makes for easier cleanup and ensures the project remains kid-friendly.
- Safety First: Always supervise young children during the balloon-popping process to ensure they are safe while having fun.
- Layering Colors: Encourage kids to experiment with layering different paint colors to create new hues and designs.
- Be Prepared for Cleanup: Have plenty of towels or sponges ready for quick clean-up after their creative session.
Creative Variations
To personalize the pinwheel painting project, why not try: You may also find Clear Rainbow Ghost Shaker Suncatcher Craft For Kids useful.
- Different Canvas Sizes: Use smaller canvases for individual creations or larger ones for group projects.
- Add Patterns: Use cardboard stencils or cut shapes to create unique designs with the splashes.
- Seasonal Themes: Change the paint colors and patterns to reflect various seasons or holidays, like using fall colors for autumn.
Making It With Kids
If you’re crafting with younger children, consider doing the filling of water balloons ahead of time to minimize mess. Older kids can enjoy the full experience, but remember to remind them to handle the water balloons gently to prevent accidents. You can also engage them with counting games or color recognition as they paint.
How to Display, Use, or Gift It
Once your pinwheel masterpieces are dry, consider displaying them in your home as vibrant wall art or giving them as unique gifts to family members. Framing their creations can also add a special touch to the artwork.
Frequently Asked Questions
1. What type of paint should I use?
Choose non-toxic and washable paint to ensure safety and ease of cleanup.
2. How can I make the painting project less messy?
Setting up outdoors or covering your workspace with a drop cloth can help manage mess.
3. Can we use different sizes of balloons?
Absolutely! Experimenting with different balloon sizes can yield fun and varied results.
4. How long does it take for the paintings to dry?
Drying time can vary based on paint consistency and humidity but generally takes a few hours.
5. Is this project suitable for all ages?
Yes! With supervision, children of various ages can enjoy this project, making adjustments based on their skill level.
6. What if I want to use this project for a group setting?
This project is perfect for groups! Just ensure that you have plenty of materials and space for each child to create.
Conclusion
Embrace the upcoming summer with creative ideas that keep your kids engaged. For more fun activities that can beat summer boredom, check out this comprehensive list of summer activities for kids!
Print
DIY Pinwheel Painting with Water Balloons for Kids
- Total Time: 15 minutes
- Makes: Variable based on balloon size and number
Description
A fun and interactive DIY project where kids can create unique artwork using water balloons and non-toxic paint.
Materials
- Water balloons (various colors)
- Non-toxic paint (washable is best)
- Canvas or large sheets of paper
- Plastic drop cloth or old towel
- A bucket for holding the water balloons
- Optional: outdoor area for more freedom
Instructions
- Prepare your workspace: Lay down the plastic drop cloth or towel to catch any spills.
- Fill the water balloons with different colors of non-toxic paint mixed with water.
- Set up your canvas: Place the canvas or paper on the protected area and tape it down to prevent sliding.
- Get ready to paint: Invite the kids to pick their favorite colored balloons for throwing.
- Aim and pop: Encourage children to aim the balloons at the canvas and watch the beautiful splashes of color!
- Let it dry: Once done, allow the artwork to dry completely, which may take a few hours.
Notes
Safety first: Supervise young children during the balloon-popping process. Consider filling balloons ahead of time for younger kids to minimize mess.