

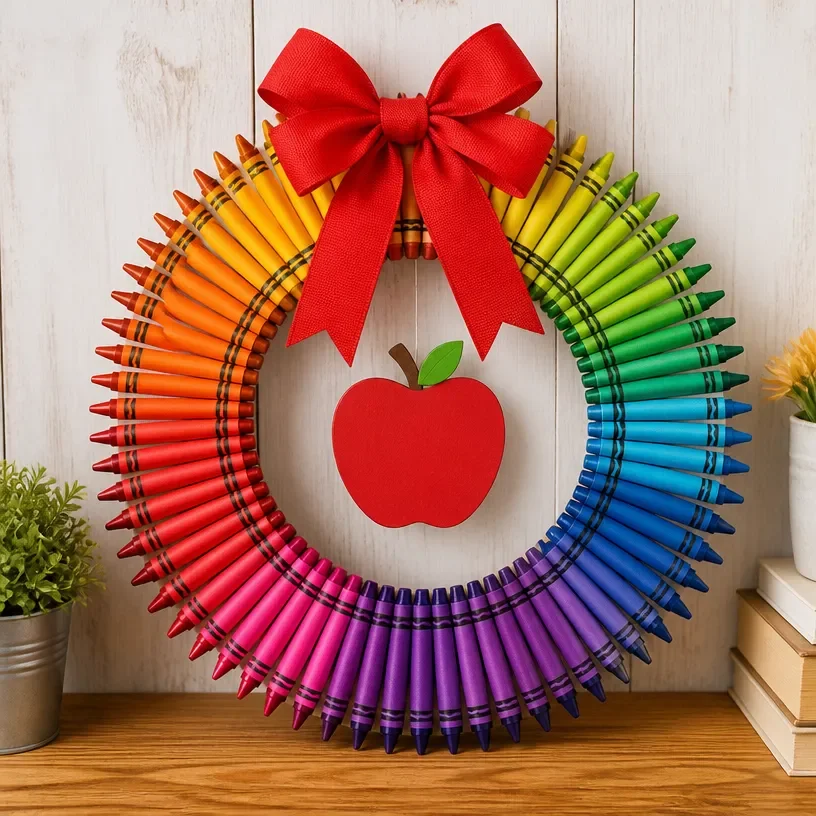
DIY Multicolored Crayon Teacher Appreciation Wreath
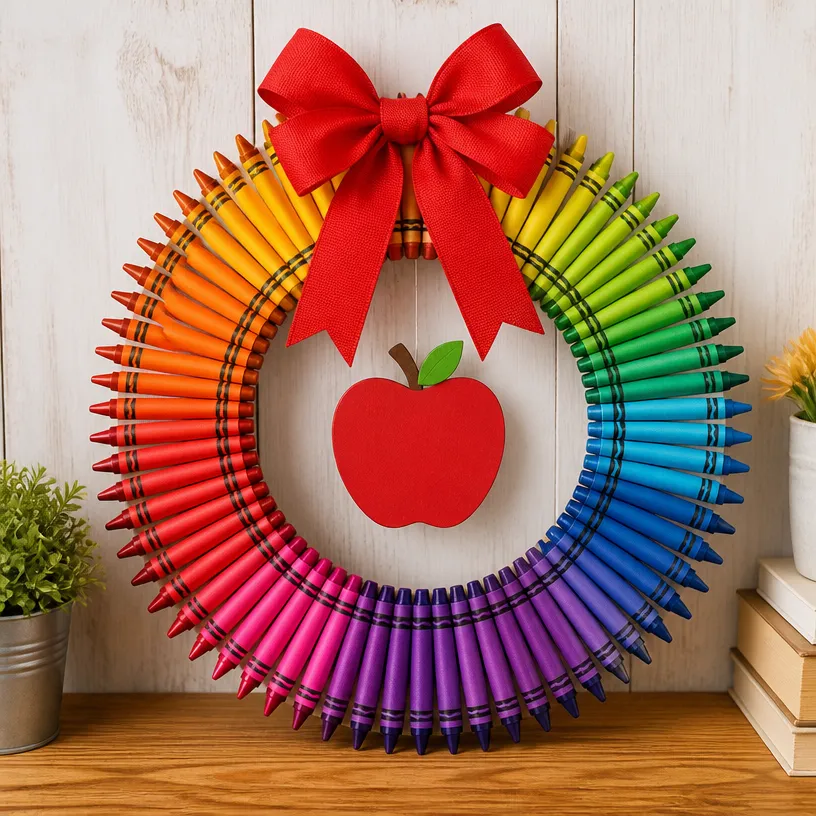
Crafting a special wreath for your child’s teacher is a wonderful way to show appreciation. This DIY Multicolored Crayon Teacher Appreciation Wreath is not only fun to create but also an adorable decoration that brightens up any classroom. It’s an excellent opportunity to spend quality time crafting with your kids as you create something memorable. You may also find Diy Multicolor Coffee Filter Flower Wreath useful.
Why You’ll Love This Project
- Simple Materials: This project uses items that are common and easy to find.
- Creative and Colorful: It brings a splash of color and creativity, making it a cheerful addition to any classroom.
- Personal Touch: You can customize your wreath, making it uniquely special for the recipient.
- Engaging for Kids: It’s a hands-on activity that kids will love participating in, enhancing their creativity.
- Perfect Gift: Ideal for teacher appreciation events, holidays, or just because!
You may also find Colorful Apple Themed Classroom Frame For Teachers useful.
Materials You’ll Need
- A foam wreath form (size of your choice)
- Assorted crayons (preferably broken or old)
- Hot glue gun and glue sticks
- Ribbon for hanging
- Scissors
- Optional: Paint or decorative items for additional flair
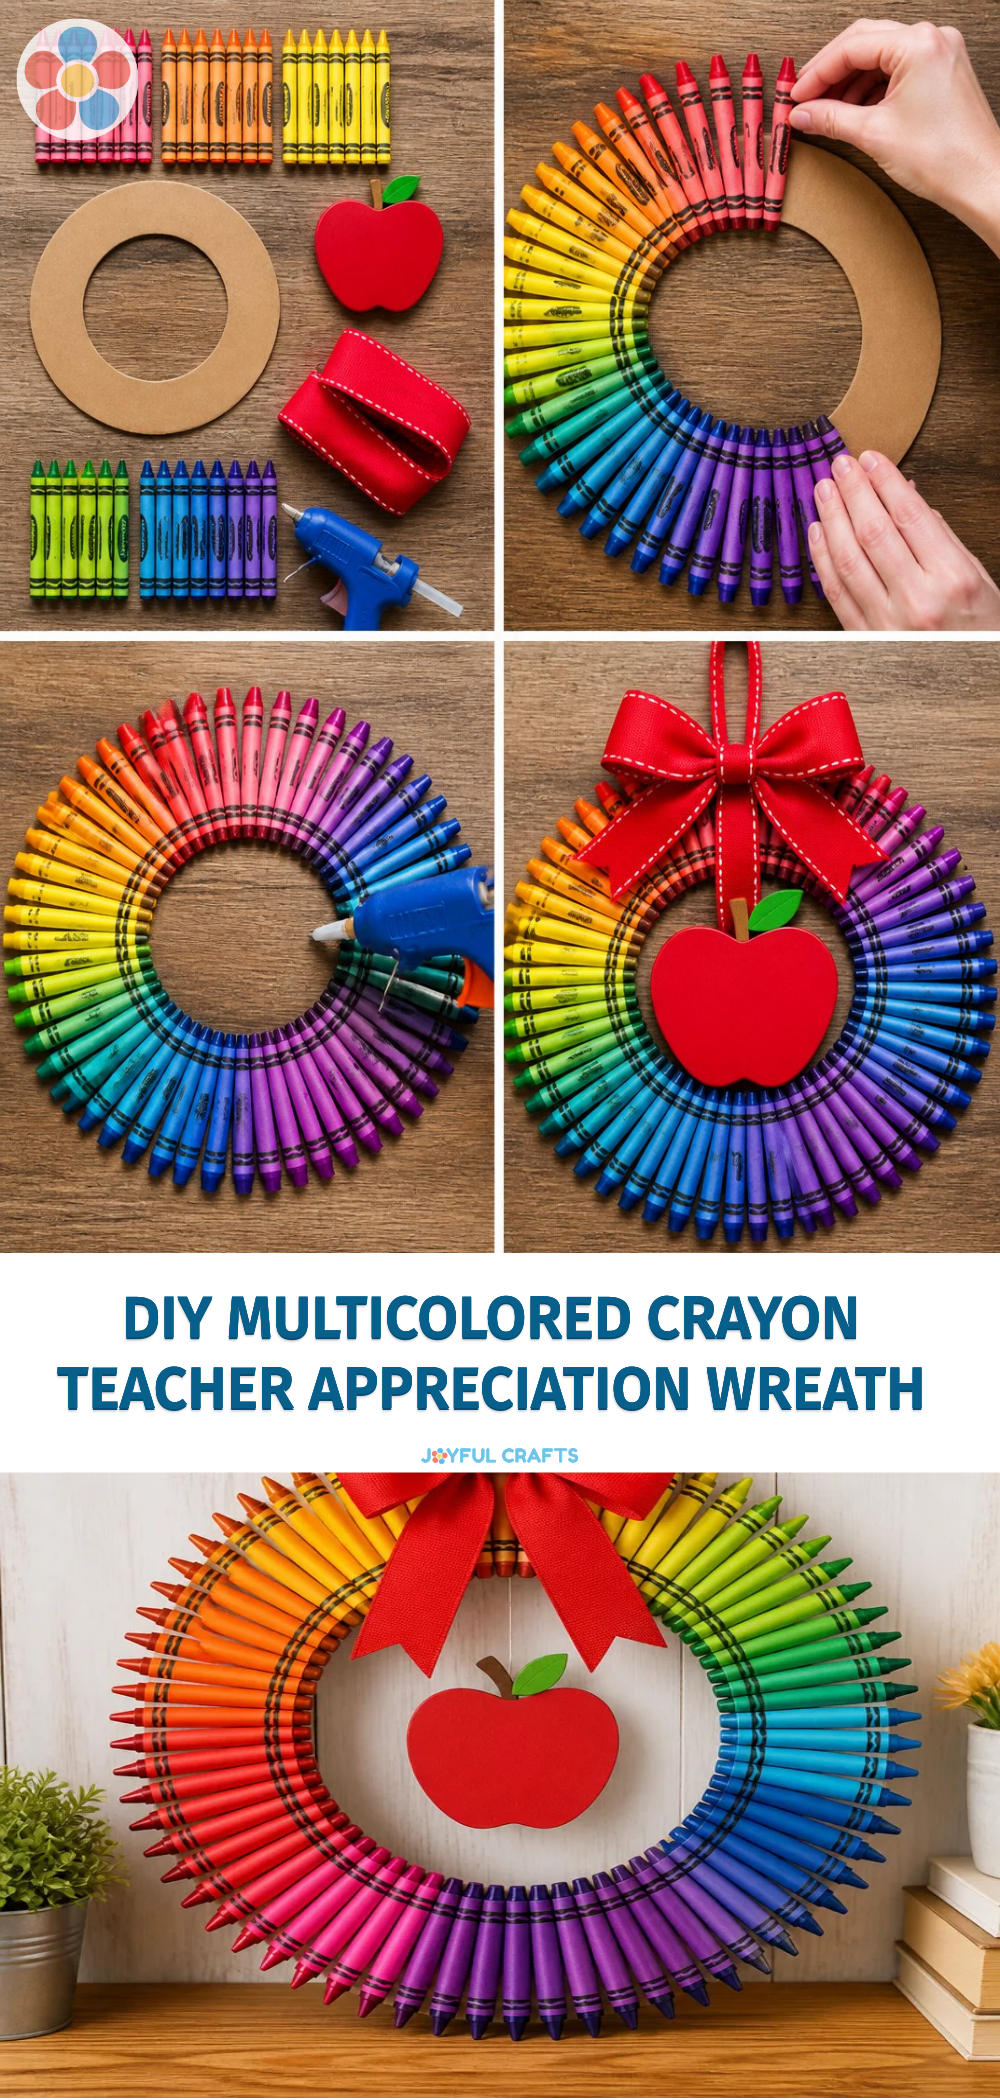
How to Make DIY Multicolored Crayon Teacher Appreciation Wreath
Prepare Your Workspace: Spread out newspaper or a protective covering on your crafting surface to catch any drips or glue spills. You may also find Cupcake Liner Dahlia Bouquet Diy Centerpiece Kids useful.
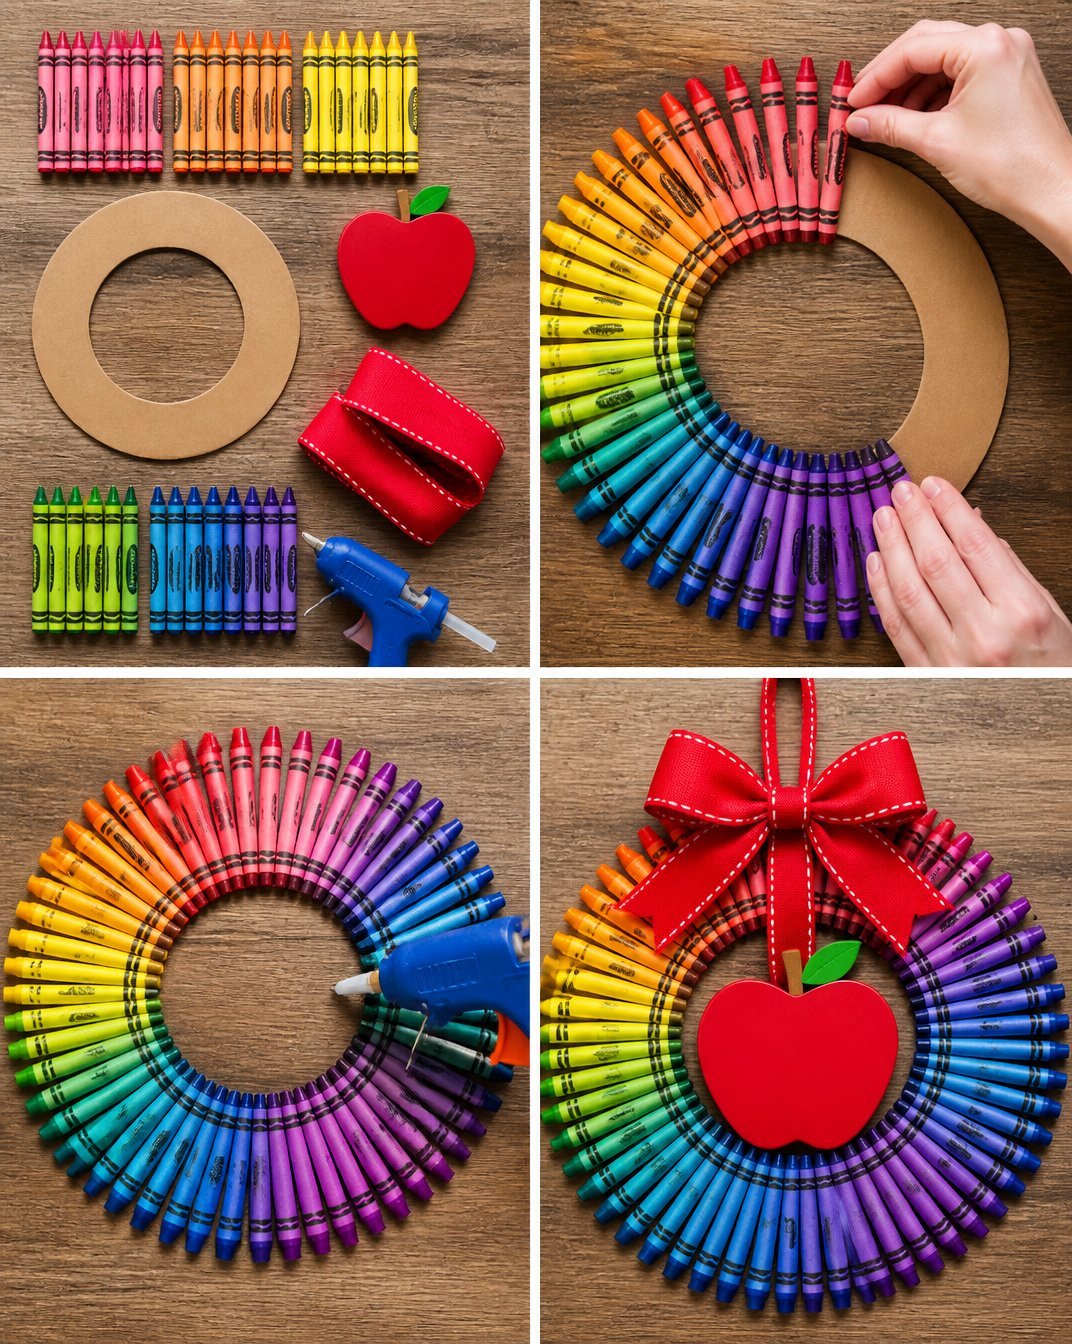
Arrange the Crayons: Before gluing, lay out your crayons around the foam wreath to see how they will fit. It’s nice to alternate colors for a vibrant look. You may also find Cupcake Liner Sunflower Wreath Craft For Kids useful.
Glue the Crayons: Starting at the top of the foam wreath, apply hot glue to the back of each crayon and press it onto the foam. Continue this process until you have covered the wreath with crayons.
Attach the Ribbon: Once the crayons are secured and the glue has dried, cut a length of ribbon and hot glue it to the back of the wreath for hanging.
Add Any Optional Decorative Touches: If you’d like, you can paint the foam wreath or add any additional embellishments, such as stickers or glitter, for an extra personal touch.
Helpful Tips
- Supervise Kids: Since this project involves hot glue, make sure you supervise young children to ensure they stay safe.
- Color Selection: Let your kids pick their favorite colors or crayon combinations, making it a personal project for them to gift.
- Trim Excess Crayon: If the crayons are too long, carefully trim them down with scissors before gluing to keep a uniform look.
Creative Variations
- Seasonal Themes: Customize the wreath for different seasons or holidays by choosing relevant colors or adding themed decorations.
- Different Shapes: Instead of a circular wreath, try other shapes like hearts or stars for a unique twist.
- Layering Materials: Incorporate other craft materials, such as cupcake liners or tissue paper, to create a mixed-media wreath.
Making It With Kids
This project is perfect for kids! Allow them to help with the layout of the crayons and gluing them onto the wreath. For younger children, be ready to assist with the hot glue as it can be too hot for little hands. This activity not only fosters creativity but also helps develop fine motor skills.
How to Display, Use, or Gift It
This colorful crayon wreath can be displayed on a classroom door or as a decoration for the teacher’s desk. It also makes a delightful gift for any occasion, showcasing your appreciation for the hard work teachers do every day!
Frequently Asked Questions
Can I use broken crayons for this project?
Yes! Broken crayons are perfect for this wreath, and they give it a charmingly eclectic look.
What type of ribbon works best for hanging?
A sturdy ribbon, such as grosgrain or burlap, will hold the wreath securely.
How long will the wreath last?
With proper care, the wreath can last for many months. Avoid direct sunlight to keep the colors vibrant.
Can I make this wreath without using a hot glue gun?
While a hot glue gun provides strong adhesion, craft glue can also work if you allow extra drying time.
Conclusion
Creating this DIY Multicolored Crayon Teacher Appreciation Wreath is a joyful way to express gratitude. For more creative ideas, explore other fun projects like the Chalkboard Crayon Wreath, which is perfect for adding a personal touch to your home decor!
Print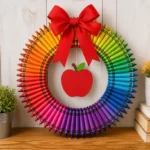
DIY Multicolored Crayon Teacher Appreciation Wreath
- Total Time: 15 minutes
- Makes: 1 wreath
Description
A fun and colorful DIY wreath made from crayons to show appreciation for teachers.
Materials
- A foam wreath form (size of your choice)
- Assorted crayons (preferably broken or old)
- Hot glue gun and glue sticks
- Ribbon for hanging
- Scissors
- Optional: Paint or decorative items for additional flair
Instructions
- Prepare your workspace by spreading out newspaper or a protective covering to catch any glue spills.
- Arrange the crayons around the foam wreath to see how they fit, alternating colors for a vibrant look.
- Glue the crayons onto the wreath by applying hot glue to the back of each crayon and pressing it onto the foam.
- Attach the ribbon by cutting a length and gluing it to the back of the wreath for hanging.
- Add any optional decorative touches, such as paint or embellishments, for a personal flair.
Notes
Supervise young children while using hot glue, and let kids choose their favorite colors for a personal touch.