
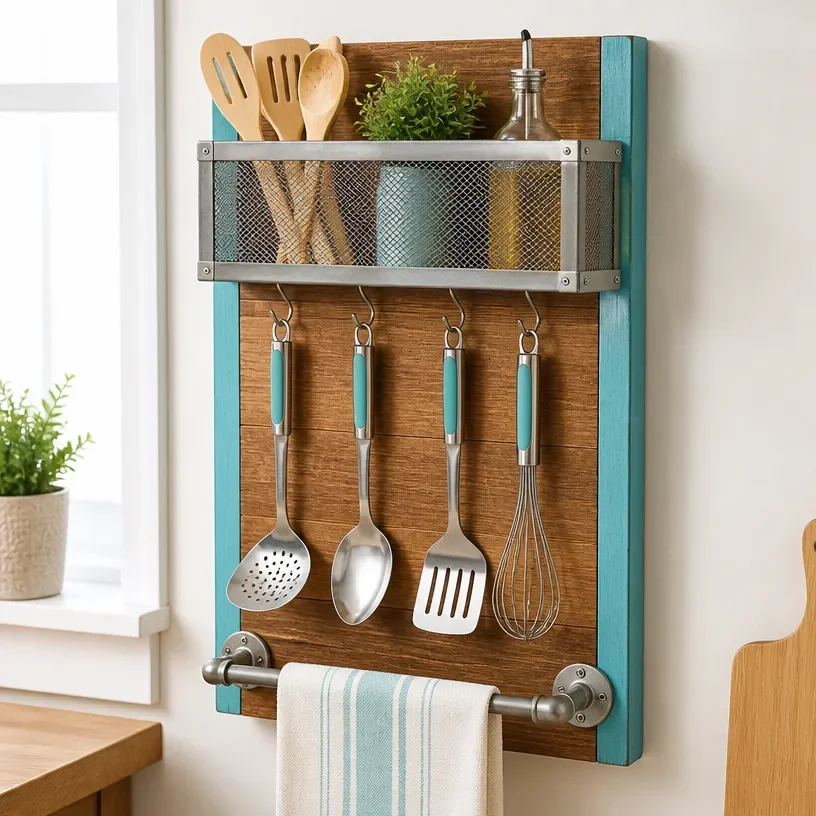
DIY Multi-Functional Wall Organizer for the Kitchen
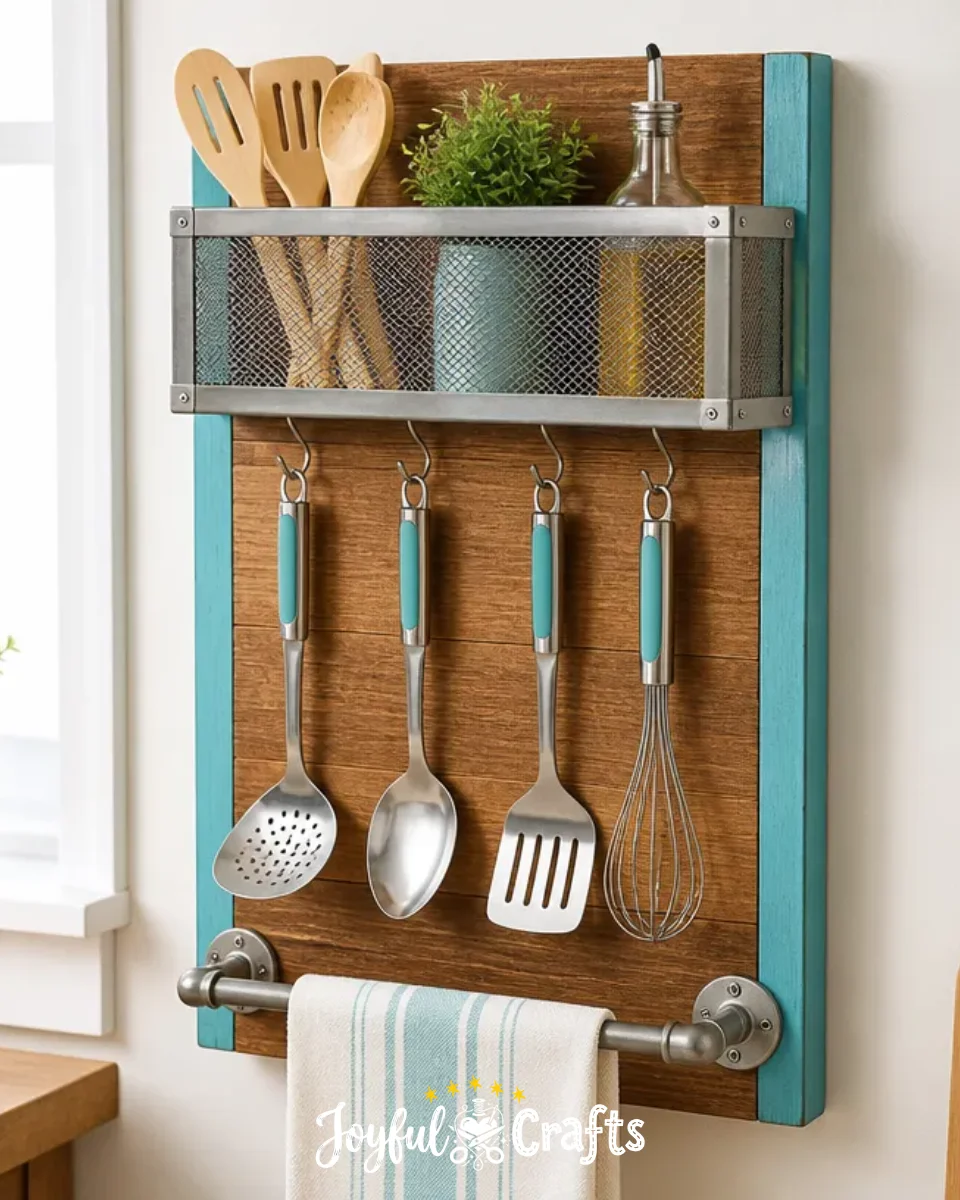
Creating a DIY Multi-Functional Wall Organizer for your kitchen not only helps keep your space tidy but also adds a personalized touch. This project is enjoyable because it allows you to utilize materials creatively while providing a practical solution for organizing kitchen tools, utensils, or even grocery lists. Plus, it’s a great way to involve your family in a fun crafting session! You may also find Colorful Apple Themed Classroom Frame For Teachers useful.
Why You’ll Love This Project
- Space-Saving Solution: This wall organizer maximizes vertical space without taking up counter space.
- Easy Customization: You can personalize it to match your kitchen decor with colors or designs that suit your style.
- Versatile Use: It’s not just for the kitchen; it can be adapted for other rooms, such as a craft room or home office.
- Family Engagement: This craft is simple enough to include children, fostering creativity and teamwork.
- Affordable Materials: Most of the supplies can be found around the house, making this an economical project.
You may also find Diy Alphabet Window Garland For Kids useful.
Materials You’ll Need
- Wooden board (size depends on your space)
- Hooks or pegs
- Paint or wood stain
- Sandpaper
- Drill
- Measuring tape
- Ruler
- Paintbrush
How to Make DIY Multi-Functional Wall Organizer for the Kitchen
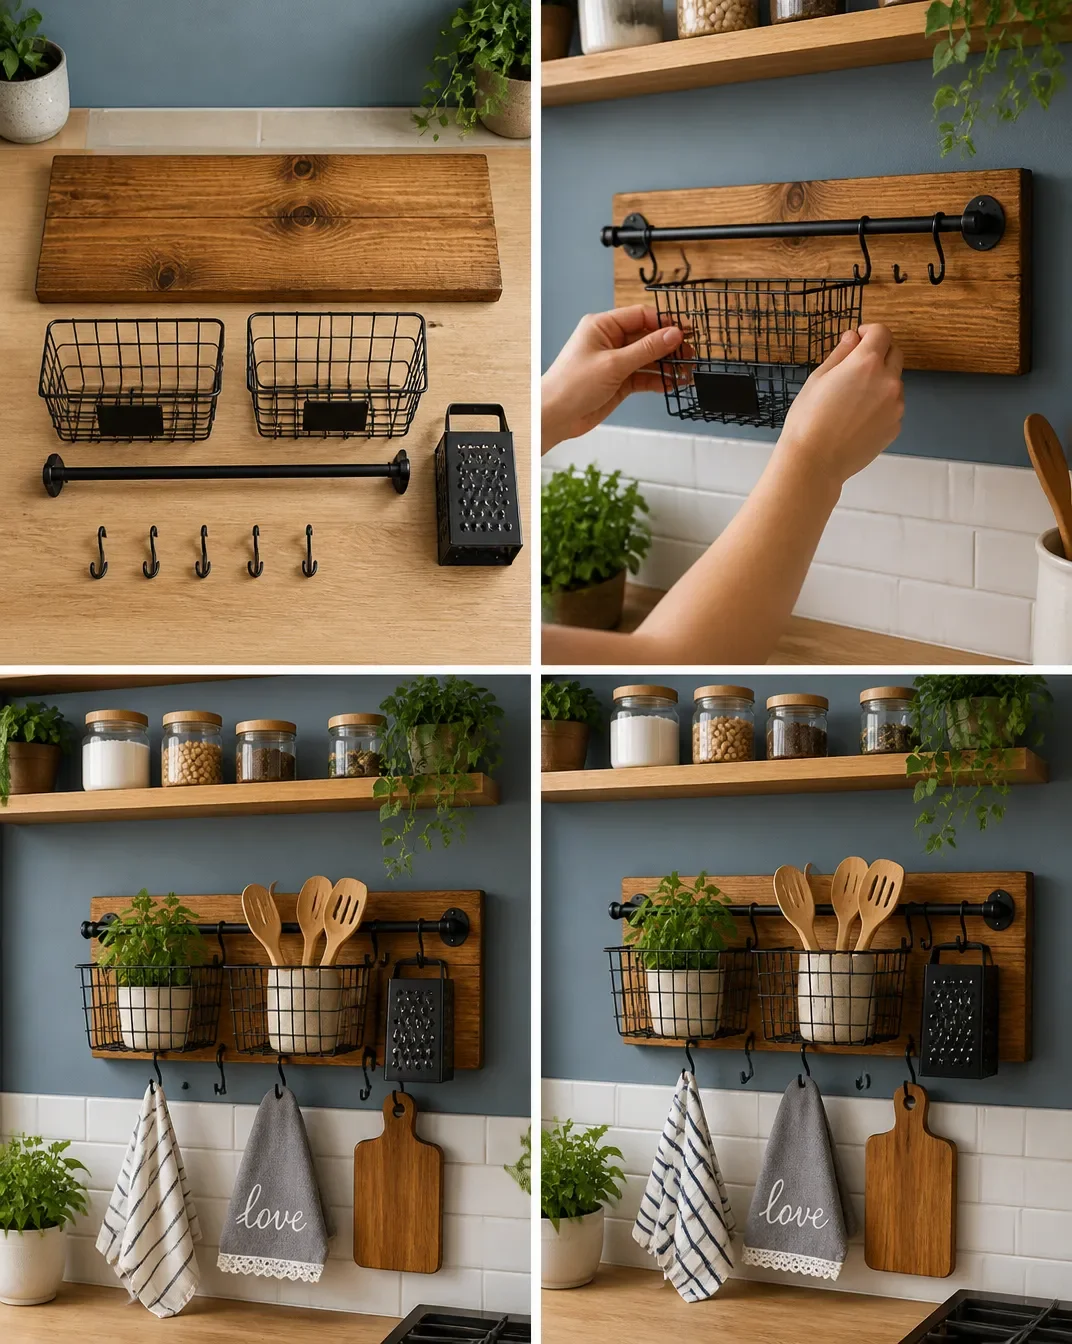
Measure and Cut the Board: Begin by determining your desired size for the wall organizer. Use a ruler and measuring tape to mark the measurements on your wooden board. If necessary, have an adult assist you in cutting it to size using a saw. You may also find Diy Bottle Cap Monster Crafts For Kids useful.
Sand the Edges: Smoothen the edges and surface of the board using sandpaper. This step is essential to avoid splinters after painting. You may also find Diy Coffee Filter Tie Dye Butterflies For Garden useful.
Paint or Stain the Board: Apply a coat of paint or wood stain to the board, depending on your desired finish. Allow it to dry completely before moving to the next step.
Attach Hooks or Pegs: Measure and mark where you want to install the hooks or pegs on your board. Using a drill, create holes and secure the hooks or pegs tightly.
Mount the Organizer: Finally, use screws or wall mounts to hang your board on the wall. Ensure it is level and secured.
Helpful Tips
- Consider using different types of hooks or pegs to hold various kitchen items, such as pots, pans, or utensils.
- If you’re crafting with kids, supervise the use of tools, especially the drill.
- Personalize your wall organizer by adding a small chalkboard section for reminders or a decorative touch.
- Allow sufficient drying time for the paint or stain before hanging it to ensure durability.
Creative Variations
You could paint the board in bright, cheerful colors to match your kitchen themes. Adding decorative decals or stencils on the painted surface is another fun way to make it unique. If you want a seasonal touch, consider swapping out decorative elements throughout the year.
Making It With Kids
Involving children in painting and sanding can be a delightful experience. Ensure they handle the tools with care, and assist them in building confidence in their crafting abilities. This project could be a great way to practice their measuring skills and learn about angles and symmetry!
How to Display, Use, or Gift It
Once your organizer is complete, fill it with your favorite kitchen tools or herbs in cute pots. It can also serve as a lovely handmade gift for a friend or family member who enjoys cooking. You may also find it helpful to incorporate a spot for a small notepad for grocery lists.

Frequently Asked Questions
1. Can I use a plastic board instead of wood?
While it’s possible, wooden boards provide better durability and a more aesthetic appeal for this project.
2. What types of hooks should I use?
Choose hooks depending on what you plan to hang smaller hooks for utensils and larger ones for pots.
3. How much weight can I hang on the organizer?
This largely depends on how securely it’s mounted. Ensure to use adequate screws for heavy items.
4. Can the design be changed to fit a different room?
Absolutely! You can adjust the size and colors to suit any area, like a children’s playroom or an office.
5. Is it safe for children to use near food?
Yes, as long as you ensure the materials used are food-safe and non-toxic when painted.
6. How do I clean the organizer?
A gentle cleaner and a damp cloth generally work well; however, avoid soaking the wood to prevent damage.
Conclusion
Crafting this DIY Wall Organizer is a rewarding way to enhance your kitchen’s functionality and style. For those looking to add a unique touch to their home, consider practical solutions like the Domax Bamboo Bathroom Shelf for valuable storage options. Enjoy creating and personalizing your space!
Print
DIY Multi-Functional Wall Organizer for the Kitchen
- Total Time: 30 minutes
- Makes: 1 wall organizer
Description
A creative project to craft a wall organizer that keeps your kitchen tidy while adding a personalized touch.
Materials
- Wooden board (size depends on your space)
- Hooks or pegs
- Paint or wood stain
- Sandpaper
- Drill
- Measuring tape
- Ruler
- Paintbrush
Instructions
- Measure and cut the board to your desired size using a ruler and measuring tape.
- Sand the edges and surface of the board with sandpaper to avoid splinters.
- Paint or stain the board and let it dry completely.
- Attach hooks or pegs by measuring, marking, and securing them to the board.
- Mount the organizer on the wall using screws or wall mounts, ensuring it is level and secure.
Notes
Consider using different types of hooks for various kitchen items and personalize the board with a chalkboard section.