

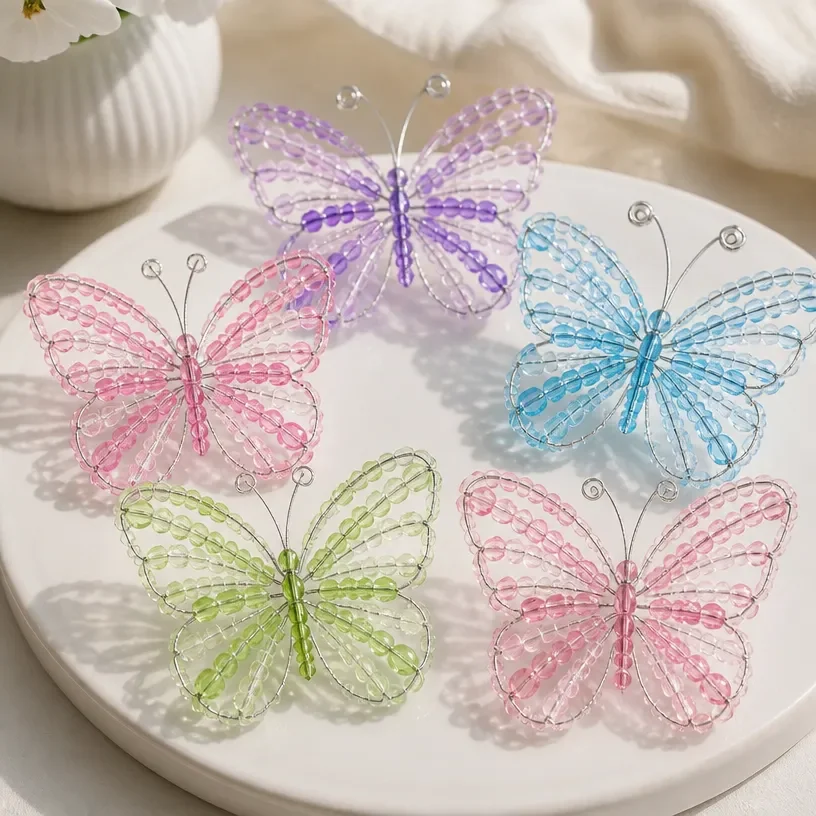
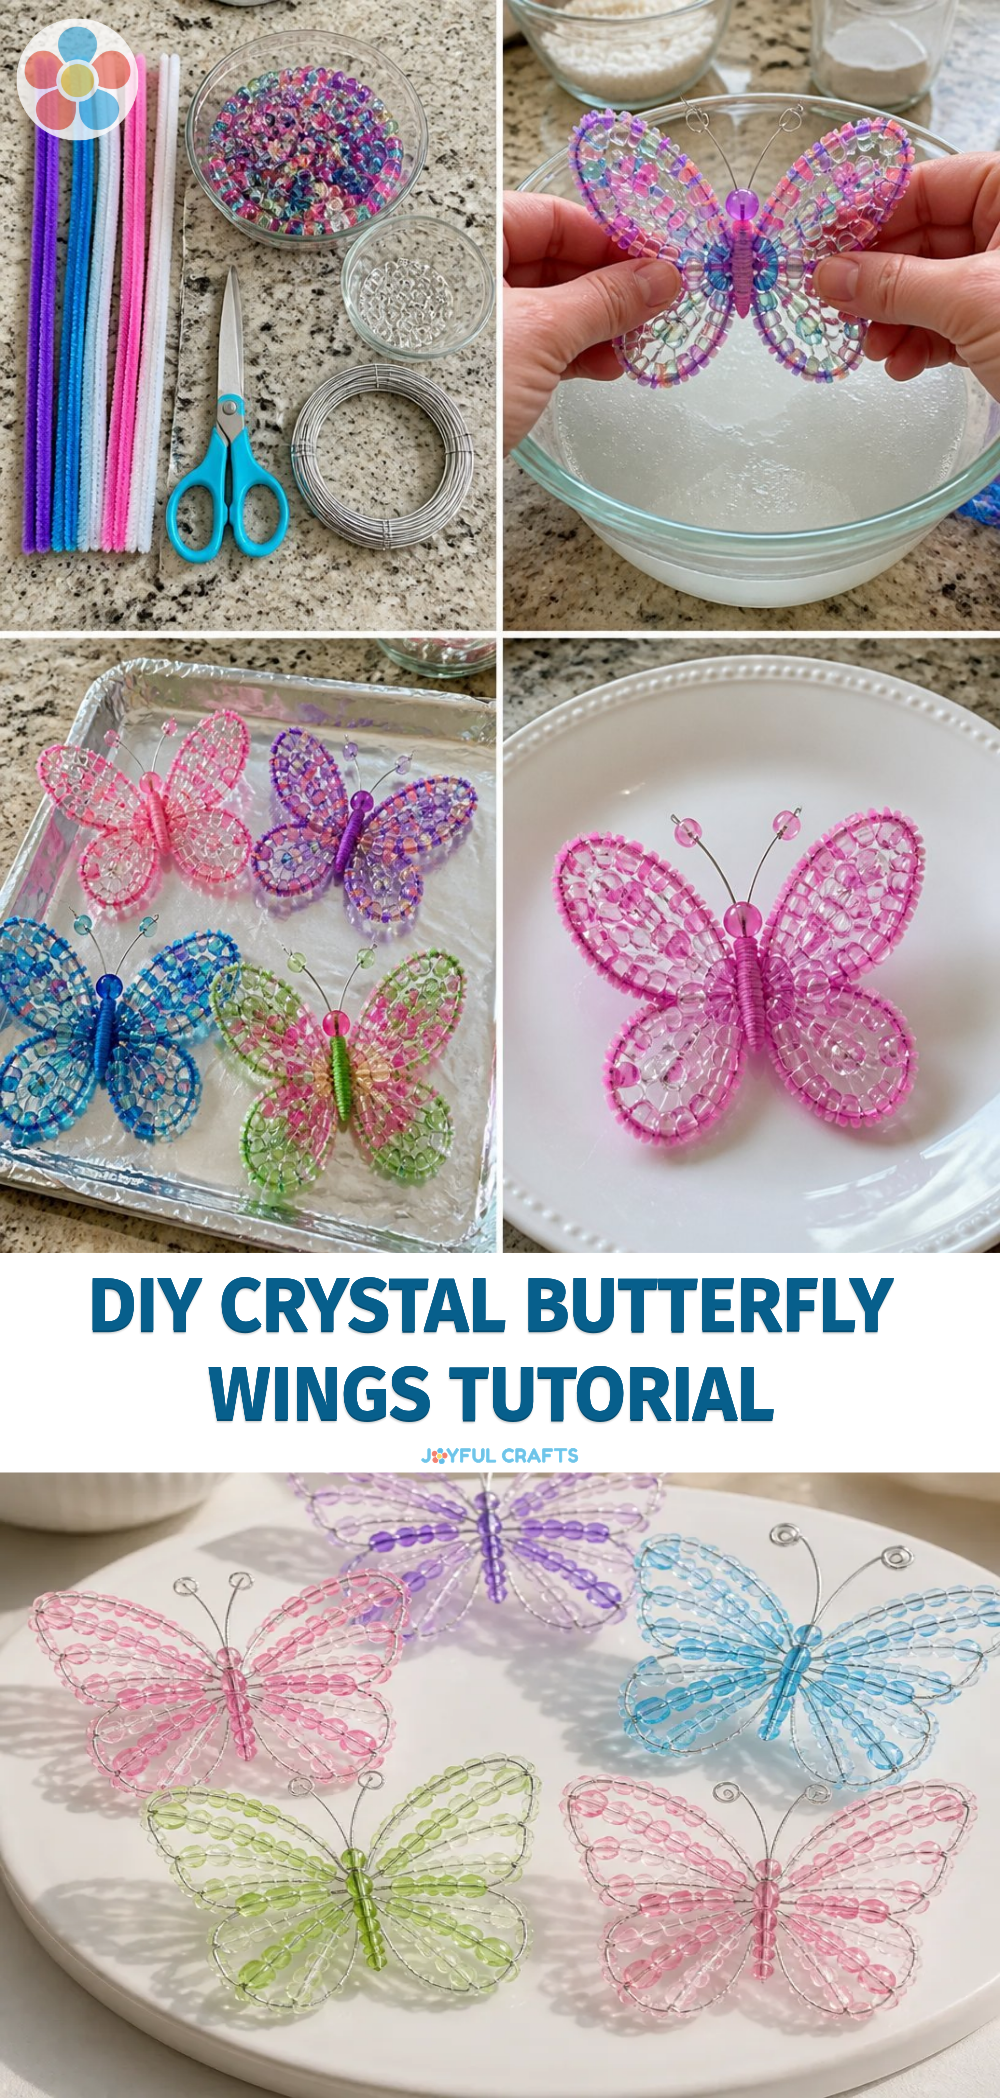
DIY Crystal Butterfly Wings: Easy Tutorial
Creating DIY Crystal Butterfly Wings is an exciting project that allows both kids and adults to explore their creativity. These stunning wings can be used for dress-up, decoration, or as a beautiful centerpiece in your home. It’s a straightforward craft that promises lots of fun and satisfaction! You may also find Rainbow Crystal Butterfly Suncatcher Craft useful.
Why You’ll Love This Project
- Creative Expression: Kids will love customizing their wings with different colors and designs, allowing them to express their unique artistic flair.
- Boosts Fine Motor Skills: The project involves cutting, gluing, and decorating, which helps improve hand-eye coordination and dexterity in younger crafters.
- Themed Celebrations: These butterfly wings are perfect for themed parties or nature explorations, adding a touch of magic and whimsy.
- Screen-Free Fun: This hands-on activity is a fantastic way to engage kids without screens, encouraging imaginative play.
- Simple Materials: The craft uses materials that are easy to find, making it budget-friendly and accessible for everyone.
You may also find Cupcake Liner Dahlia Bouquet Diy Centerpiece Kids useful.
Materials You’ll Need
- Tissue paper (various colors)
- Scissors
- Glue or glue stick
- Transparency sheets or plastic folders
- Pipe cleaners (for the antennae)
- Ribbon or string (for hanging)
How to Make DIY Crystal Butterfly Wings: Easy Tutorial
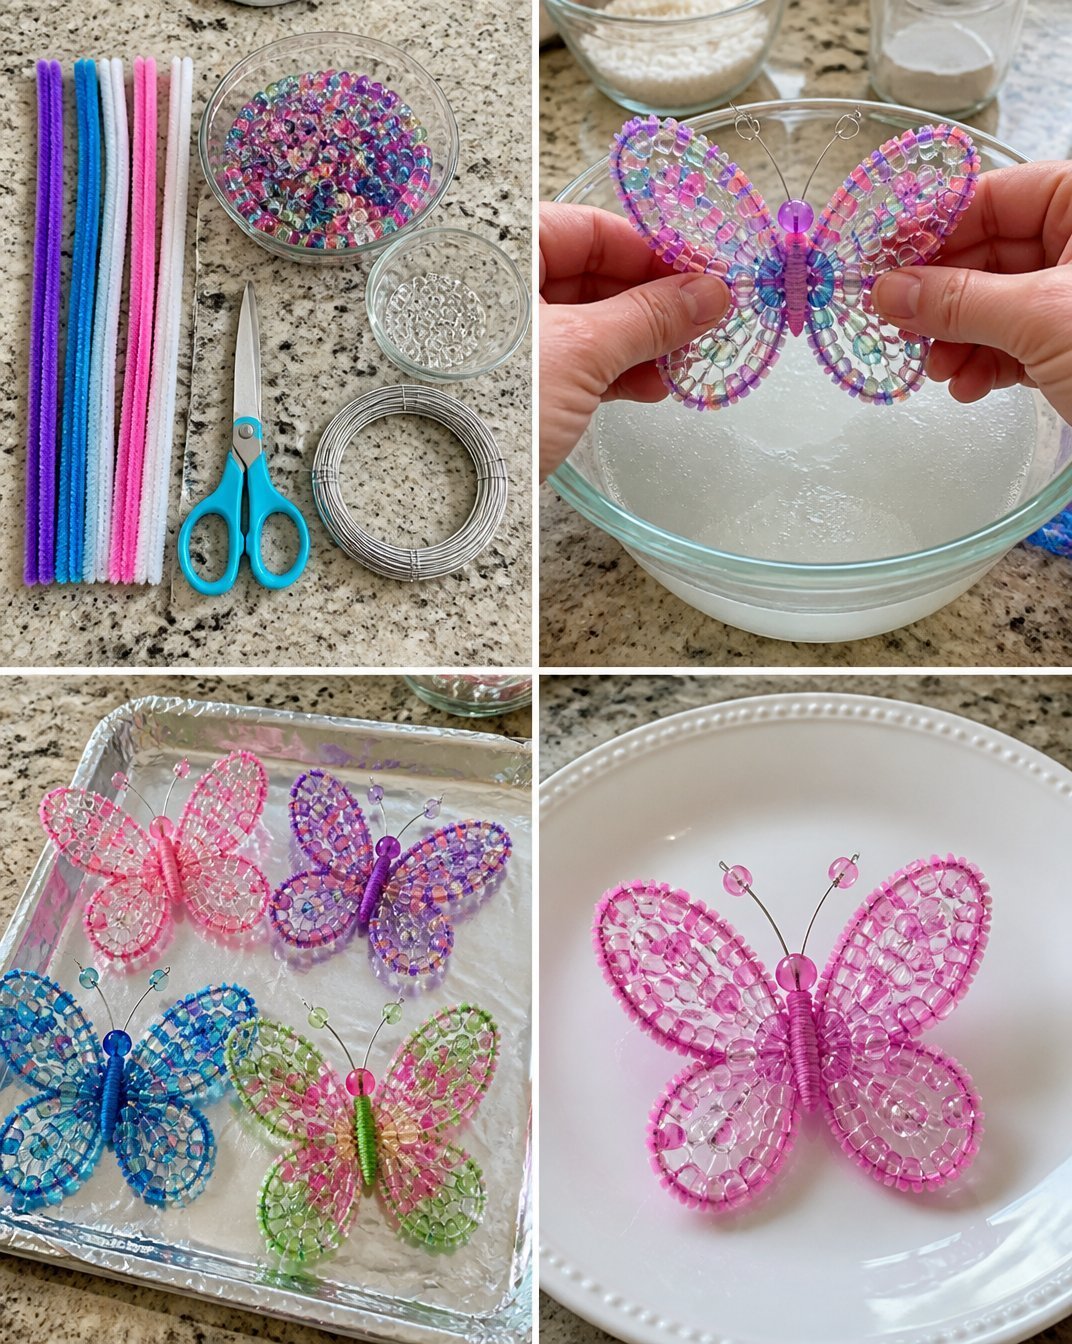
Prepare the Wings: Start by drawing a butterfly wing shape on the transparency sheet or plastic folder. You can make them as large or small as you’d like. Cut out two identical wings for each butterfly you plan to make. You may also find Diy Bottle Cap Monster Crafts For Kids useful.
Create the Colorful Design: Lay out tissue paper in small pieces on one side of each transparency wing. You can arrange them in a pattern or randomly for a more abstract look.
Secure the Tissue Paper: Apply a thin layer of glue over the tissue paper, ensuring it’s well-coated but not overly soggy. Allow it to dry for a few minutes until the glue has become tacky.
Add the Second Wing: Once the first layer is set, take the second transparency wing and place it on top of the glued side of the first. Press down gently to make sure both wings adhere well together.
Finish the Edges: Use scissors to trim any excess tissue paper from the edges of the wings. This gives your butterfly a polished look.
Create the Antennae: Bend a pipe cleaner into a ‘V’ shape, using the ends to stick into the top of the wings. You can twist to make it secure and then shape the ends to look like antennae.
Attach String for Hanging: Using a hole punch, make a small hole at the top of the wings and thread a piece of ribbon or string through, allowing you to hang your lovely butterfly wherever you want.
Helpful Tips
- Different Colors: If you seek a more vibrant look, consider layering different colors of tissue paper for depth.
- Less Mess: Work on a covered surface to contain any glue spills and make clean-up easier.
- Holding Shapes: When gluing, it’s sometimes helpful to use a weight to hold down the wings while they dry.
Creative Variations
- Seasonal Themes: Make butterfly wings tailored to each season by using seasonal colors, such as pastel shades for spring or rich reds and oranges for fall.
- Add Sparkle: Use glitter glue to outline your wings for an added sparkle effect, perfect for a festive occasion.
- Different Shapes: Experiment with different butterfly wing shapes or even create dragonfly wings for a unique twist on your project.
Making It With Kids
This craft is ideal for all ages, but young children may require adult supervision, especially with scissors and glue. Consider setting a simple guideline for younger crafters by pre-cutting the tissue paper into smaller pieces, allowing them to focus on arrangement and glueing.
How to Display, Use, or Gift It
Once completed, these butterfly wings make delightful décor for a child’s room, can be hung in a window to catch the light, or even be gifted at birthday parties. They can also be a beautiful piece for a nature-themed celebration or a whimsical touch to any fairy garden.
Frequently Asked Questions
How do I store the wings after making them?
Store your wings flat in a cool, dry place to prevent them from bending or creasing.
Can I use other materials besides tissue paper?
Absolutely! Paper napkins, colored construction paper, or fabric can also create beautiful wings.
What if my wings don’t stick?
Make sure to apply enough glue and press firmly. If they still won’t adhere, you can reinforce them with tape on the edges.
Can teens enjoy this craft too?
Definitely! This project is great for all ages, and teens might enjoy experimenting with more intricate designs.
Is there a way to make these wings more durable?
You can laminate the wings or coat them with a clear sealant to help them last longer.
Can I find other butterfly crafts?
If you’re interested in more butterfly craft ideas, check out this bubble print butterfly wings craft for kids.
Conclusion
Creating DIY Crystal Butterfly Wings is not only a wonderful way to bond with family over crafting but also results in a beautiful piece you can cherish. If you’re looking for more fun and creative projects, consider exploring this butterfly hair bow tutorial for an added touch of fun!
Print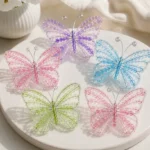
DIY Crystal Butterfly Wings
- Total Time: 15 minutes
- Makes: 1 set of wings
Description
An exciting project for kids and adults to create beautiful butterfly wings, perfect for dress-up or decoration.
Materials
- Tissue paper (various colors)
- Scissors
- Glue or glue stick
- Transparency sheets or plastic folders
- Pipe cleaners (for the antennae)
- Ribbon or string (for hanging)
Instructions
- Prepare the Wings: Start by drawing a butterfly wing shape on the transparency sheet or plastic folder. Cut out two identical wings for each butterfly you plan to make.
- Create the Colorful Design: Lay out tissue paper in small pieces on one side of each transparency wing.
- Secure the Tissue Paper: Apply a thin layer of glue over the tissue paper and allow it to dry for a few minutes.
- Add the Second Wing: Place the second transparency wing on top of the glued side of the first and press down gently.
- Finish the Edges: Use scissors to trim any excess tissue paper from the edges of the wings.
- Create the Antennae: Bend a pipe cleaner into a ‘V’ shape and stick it into the top of the wings.
- Attach String for Hanging: Make a small hole at the top of the wings and thread a piece of ribbon or string through.
Notes
Best for all ages but young children may need supervision with scissors and glue.