

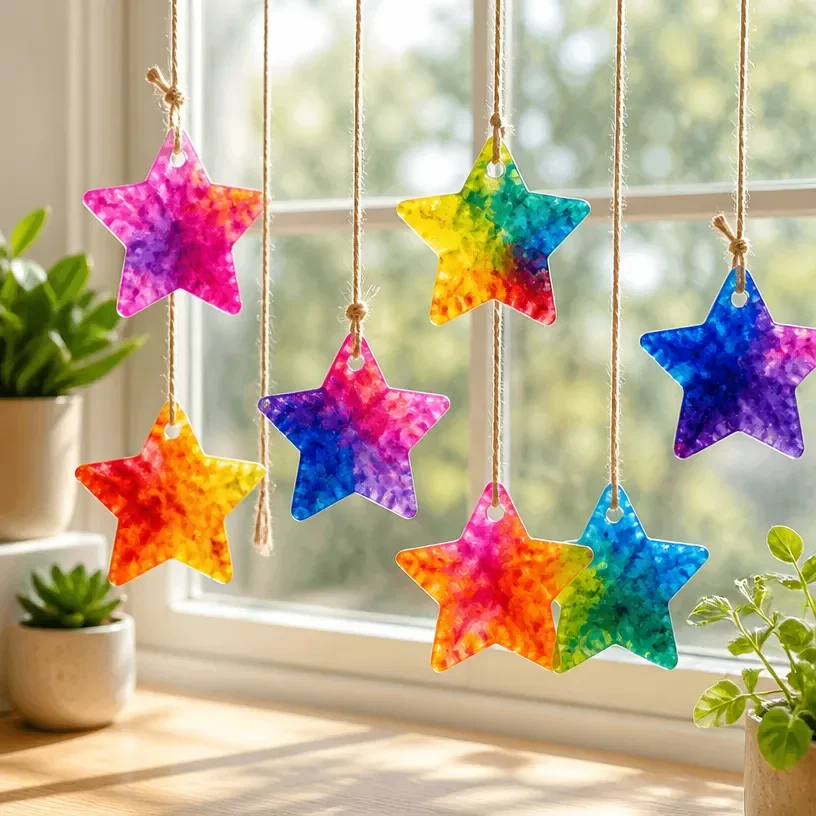
Create Stunning Crayon Suncatchers: A Fun DIY Craft for All Ages
Are you ready to brighten up your windows with a colorful and rewarding craft? Creating crayon suncatchers is a delightful project that you can enjoy with kids, friends, or all by yourself. Not only will you end up with beautiful decorations, but this easy craft is also a great way to repurpose old crayons and create something joyful. You may also find Diy Bottle Cap Monster Crafts For Kids useful.
Why You’ll Love This Project You may also find Diy Colorful School Bus Photo Frame Craft For Kids useful.
- Easy and Gathered Materials: You likely already have most of the supplies at home, making it budget-friendly.
- Endless Creativity: Customize your suncatchers using your favorite colors and patterns, allowing everyone to express their artistic flair.
- Great Learning Experience: This project introduces kids to melting and molding, providing a fun way to learn about processes.
- Perfect for Any Occasion: Suncatchers can be made for seasons, holidays, or just to add some cheer to your home.
You may also find Diy Rainbow Tissue Paper Balloons For Kids useful.
Materials You’ll Need
- Crayons
- Wax paper
- Iron
- Parchment paper
- Scissors
- String or ribbon (for hanging)
How to Make Create Stunning Crayon Suncatchers: A Fun DIY Craft for All Ages
Prepare the Crayons: Start by peeling the wrappers off your crayons. You can use old or broken crayons, as these will work perfectly for this project.
Chop the Crayons: Use a knife to carefully chop your crayons into small pieces. This step is a fun job for kids, with adult supervision for safety make sure to assist them while they use the knife.
Create Layers: Take two sheets of wax paper and sprinkle the crayon pieces evenly between them. For a detailed guide on creating attractive layered crafts, check out these amazing DIY paper towel tube crafts.
Ironing Time: Place a sheet of parchment paper on top of the wax paper sandwich. Using an iron set to low, gently press down on the parchment paper to melt the crayon bits. Keep the iron moving to avoid burning the wax paper.
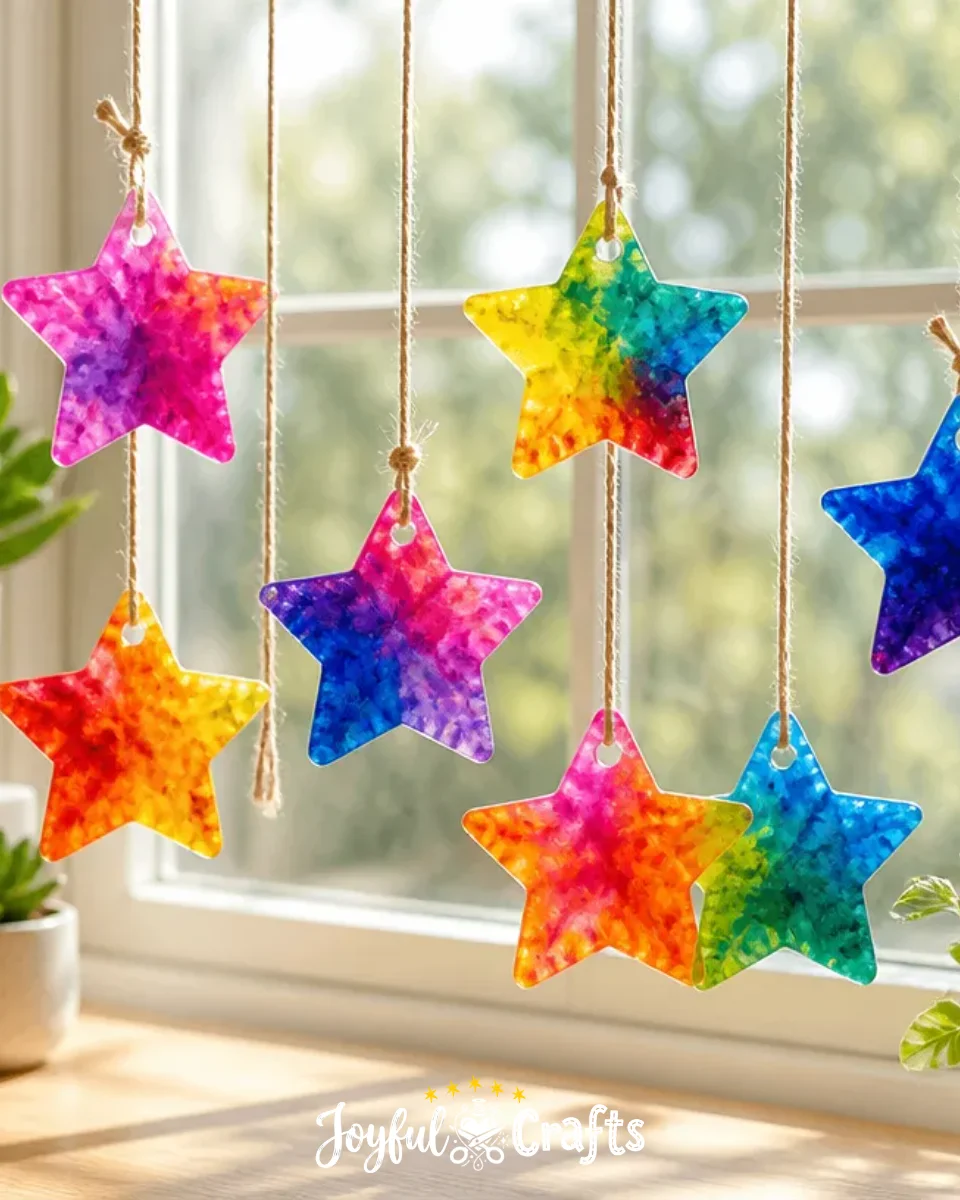
Cut Your Suncatchers: Once the crayons are fully melted and have formed a beautiful array of colors, allow them to cool and harden for a few minutes. Then, carefully cut out shapes (like hearts, stars, or circles) for the suncatchers.
Add a Hanging String: Use scissors to poke a hole at the top of each suncatcher. Thread a piece of string or ribbon through the hole for hanging.

Helpful Tips
- For Less Mess: Use a newspaper underneath your craft area to catch any crayon debris during the chopping process.
- Safety Precautions: Always supervise kids during the melting process, as there is a risk of burns when using an iron.
- Display: Hang your suncatchers in front of windows to enjoy the colorful light displays they create.
Creative Variations
Feel free to personalize your suncatchers by:
- Using a rainbow color palette for a vibrant effect.
- Adding glitter to the crayon bits before melting for extra sparkle.
- Creating seasonal shapes (like leaves for fall or flowers for spring) to celebrate different times of the year.
Making It With Kids
This craft is a fantastic opportunity for children to get creative with art. Ensure that kids help with the crayon chopping but always supervise them while using tools or heat sources. Keep the experience light and allow them to choose their favorite colors, helping them build confidence in their artistic choices.
How to Display, Use, or Gift It
Once you’ve made your stunning suncatchers, hang them in window frames or gift them to loved ones for a thoughtful, homemade present. They make delightful decorations for any space, enhancing your home with color and charm.
Frequently Asked Questions
1. Can I use any type of crayon?
Yes, any type of crayon will work, but regular crayons are best for melting.
2. Do I need to use wax paper?
Yes, wax paper is ideal for this craft, as it can withstand the heat of the iron without burning.
3. How long should I let the melted crayons cool?
Allow the suncatcher to cool for about 5-10 minutes until it hardens completely before cutting.
4. What if I accidentally burn the wax paper?
Make sure to use a low setting on your iron and keep it moving to prevent burning. If it does burn, you’ll need to start again with fresh materials.
5. Can I make these suncatchers using other materials?
You can experiment with different materials, like colored construction paper, but the final result may vary.
6. Are these suncatchers weatherproof?
While they are best suited for indoor use to retain their beauty, they can last outside for a short time but may fade over time.
Conclusion
Creating crayon suncatchers is not only an enjoyable project but also allows for imaginative play. For another fun idea combining crafting with learning, check out this suncatcher craft for kids using crayon shavings. Happy crafting!
Print
Stunning Crayon Suncatchers
- Total Time: 20 minutes
- Makes: 4 suncatchers
Description
Brighten your windows with colorful crayon suncatchers, a delightful craft project that’s perfect for all ages.
Materials
- Crayons
- Wax paper
- Iron
- Parchment paper
- Scissors
- String or ribbon (for hanging)
Instructions
- Prepare the Crayons: Peel the wrappers off your crayons.
- Chop the Crayons: Use a knife to carefully chop crayons into small pieces.
- Create Layers: Sprinkle crayon pieces between two sheets of wax paper.
- Ironing Time: Place parchment paper on top and gently press down with an iron to melt the crayons.
- Cut Your Suncatchers: Once melted, cool and cut out shapes for the suncatchers.
- Add a Hanging String: Poke a hole and thread a string or ribbon for hanging.
Notes
For less mess, use newspaper underneath your craft area. Supervise kids during the melting process to avoid burns.