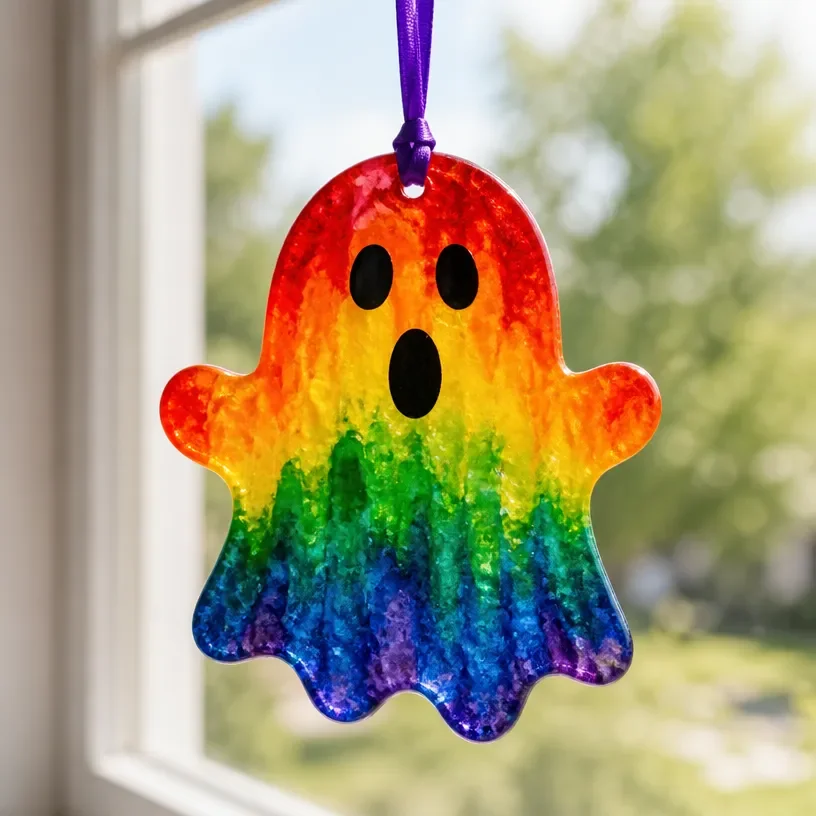
DIY Melted Crayon Rainbow Ghost Suncatcher Tutorial
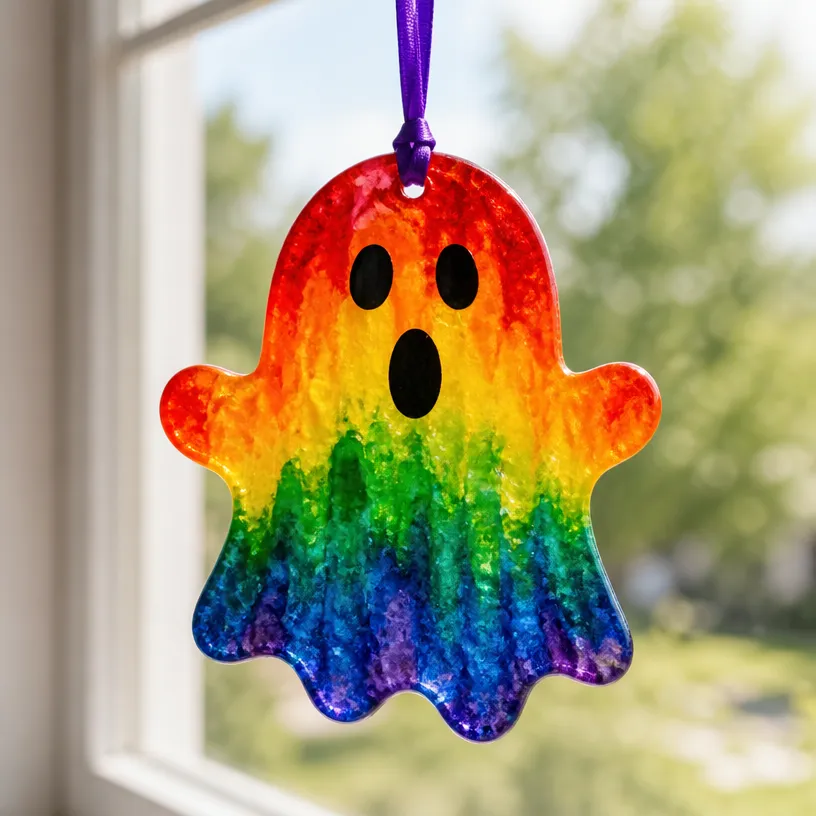
This delightful DIY project allows you to create a beautiful melted crayon rainbow ghost suncatcher, perfect for brightening up your windows and adding a touch of color to your home. Not only is it a fun craft to make with children, but it also encourages creativity and imagination. You may also find Melted Crayon Rainbow Butterfly Suncatcher For Kids useful.
Why You’ll Love This Project
- Easy to Make: With simple materials and clear steps, this craft is perfect for all skill levels.
- Colorful and Fun: The melted crayons create vibrant designs that can brighten any space.
- Creative Outlet: It promotes artistic expression by allowing kids to choose their colors and design elements.
- Seasonal Decor: This suncatcher can be displayed year-round and is perfect for holiday decorations as well.
You may also find Melted Crayon Rainbow Butterfly Suncatcher useful.
Materials You’ll Need
- Crayons (preferably in rainbow colors)
- Wax paper
- A baking sheet
- Parchment paper
- Scissors
- A ghost template (you can print your own)
- An iron (used by an adult)
How to Make DIY Melted Crayon Rainbow Ghost Suncatcher Tutorial
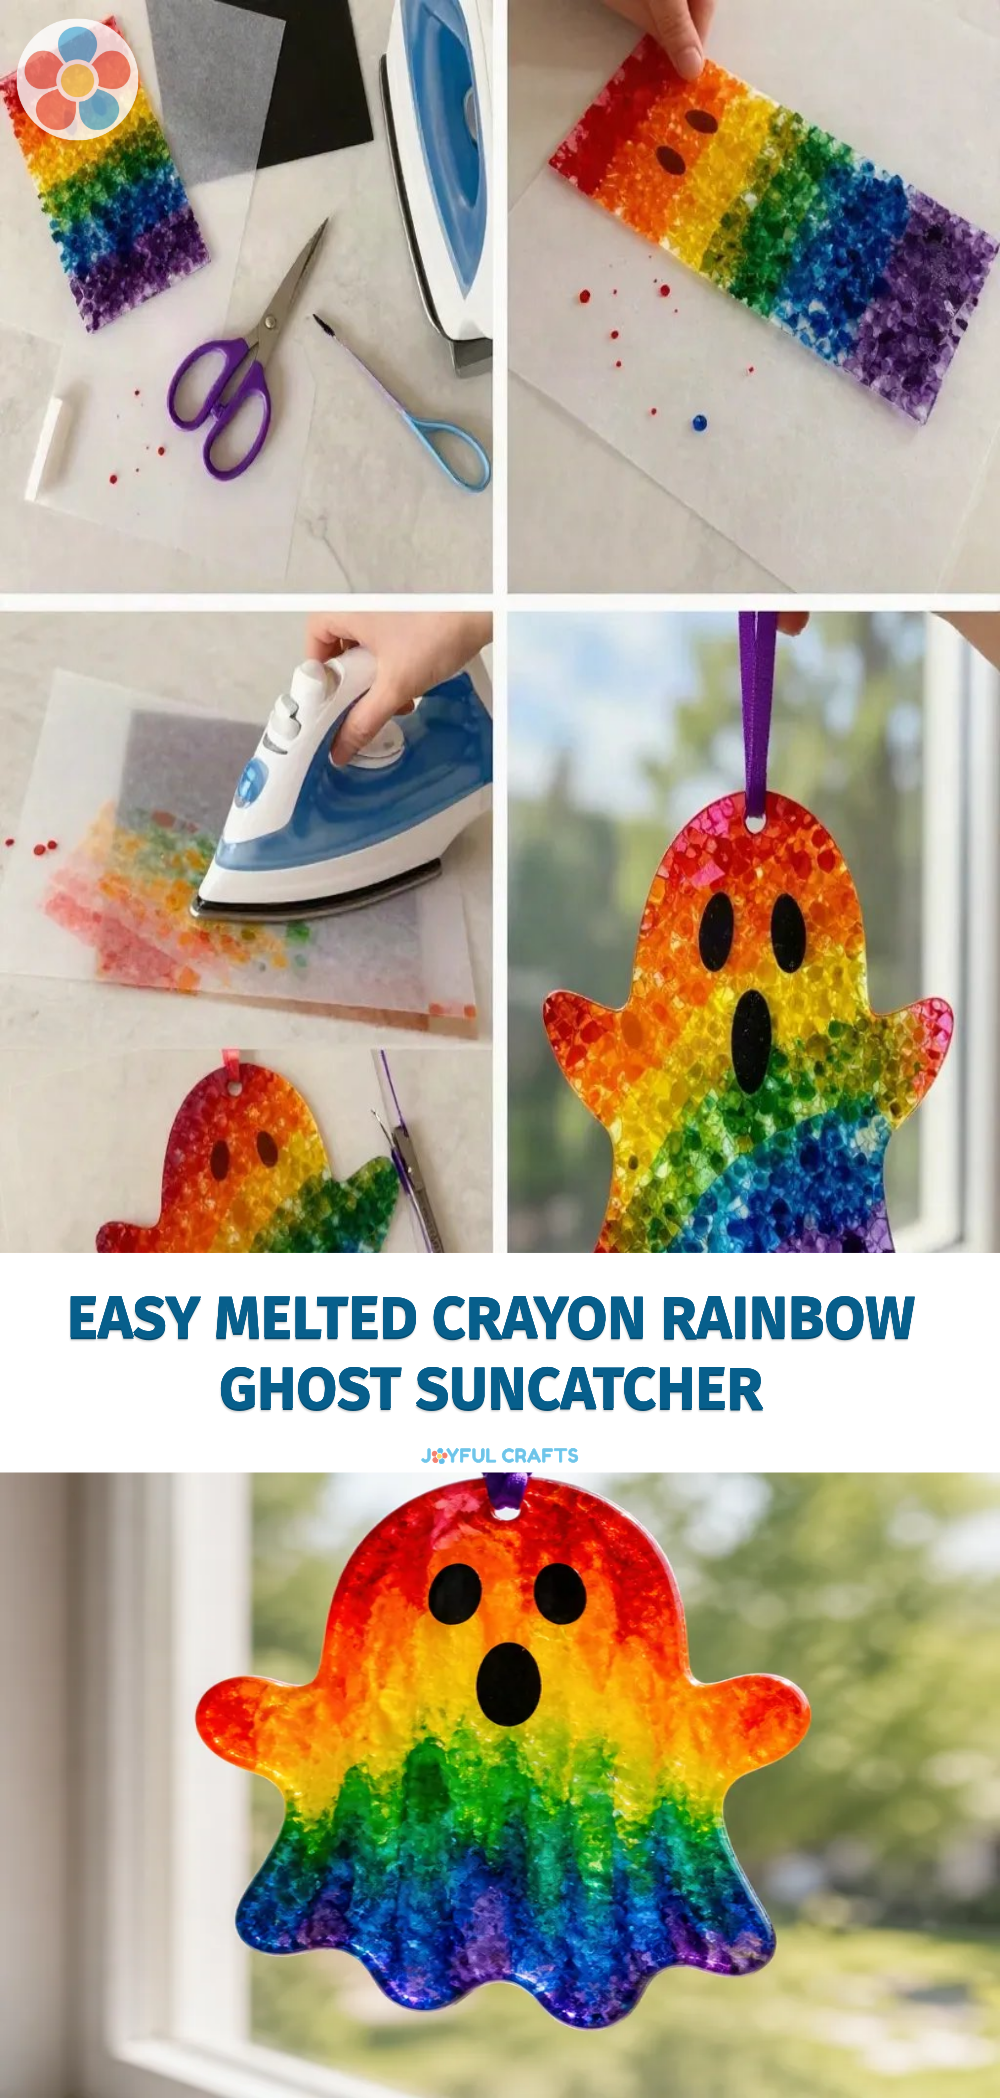
Preheat the Oven: Preheat your oven to 200°F (93°C). You may also find Melted Crayon Rainbow Haunted House Suncatcher Craft useful.
Shave the Crayons: Use a sharpener or a knife (with adult supervision) to shave the crayons into small pieces.
Prepare the Baking Sheet: Line a baking sheet with parchment paper for easy cleanup.
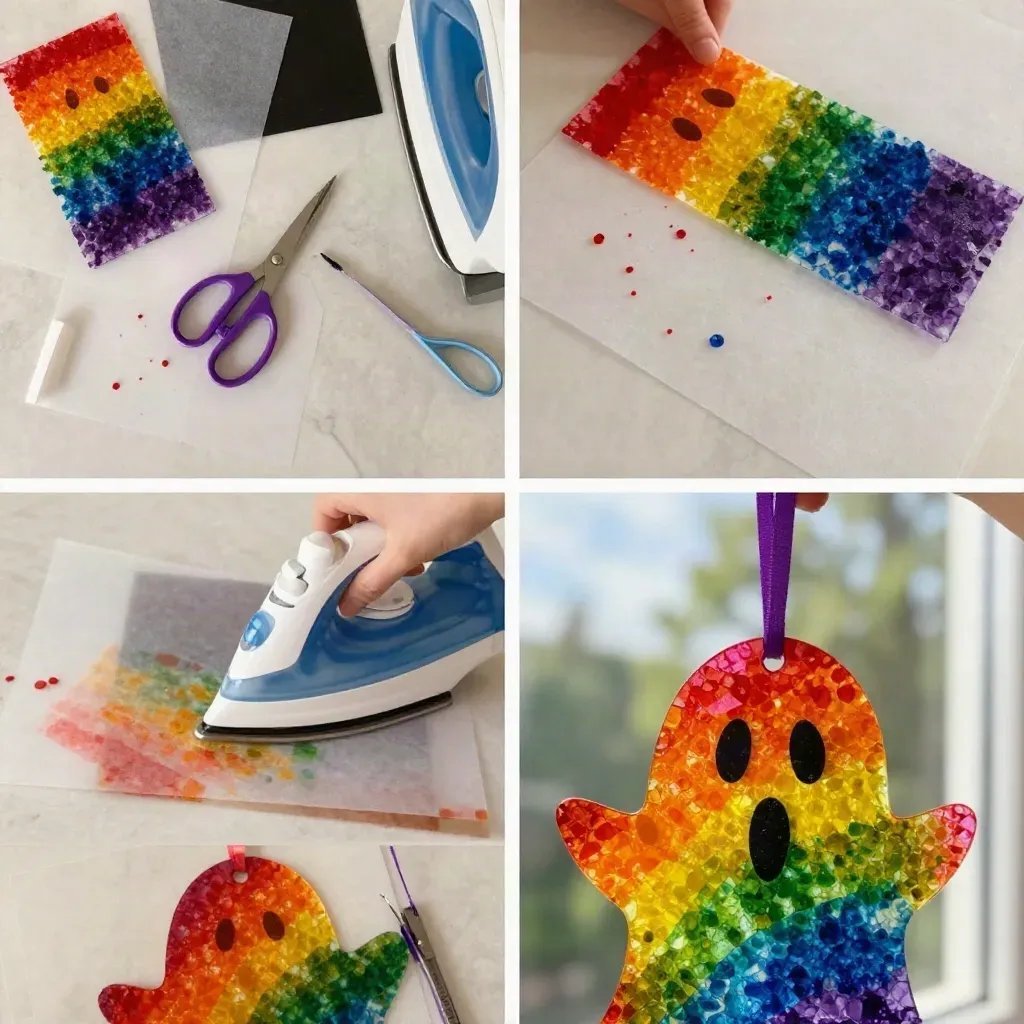
Create Your Design: Place wax paper on top of the parchment. Arrange the crayon shavings on one half of the wax paper in a colorful pattern.
Seal the Suncatcher: Fold the wax paper over the crayon shavings. Place another piece of parchment paper on top to protect your baking sheet.
Melt the Crayons: Carefully place the baking sheet in the oven and let it heat for 10-15 minutes until the crayons are melted.
Remove and Cool: Once melted, take the baking sheet out and let it cool completely before handling.
Cut Out the Ghost Shape: Use your ghost template to cut out your suncatcher shape.
Display Your Craft: Hang your suncatcher in a window where sunlight can illuminate the colors beautifully.
Helpful Tips
- Adult Supervision: Ensure an adult is present when using sharp tools or the iron.
- Color Combinations: Experiment with different color combinations for unique designs.
- Ironing Technique: When ironing, keep the iron moving to avoid burning the wax paper and crayons.
- Protecting Your Workspace: Use old newspapers or craft mats to keep your workspace clean.
Creative Variations
- Different Templates: Instead of a ghost, try using other shapes, like pumpkins for Halloween or hearts for Valentine’s Day.
- Add Glitter: For extra sparkle, consider adding a sprinkle of glitter before sealing the wax paper.
- Layering Colors: Experiment with layering different colors of shavings for a more vivid effect.
Making It With Kids
Crafting this suncatcher can be a wonderful family activity. Kids can help with shaving crayons (with supervision), arranging the colors, and cutting out the shapes. However, be sure to manage the melting process, as this requires adult supervision to ensure safety.
How to Display, Use, or Gift It
Once your melted crayon rainbow ghost suncatcher is complete, hang it in a sunny window to see the colors shine through beautifully. This craft also makes a charming gift for friends or family, especially around the holidays.
Frequently Asked Questions
1. What type of crayons work best for this project?
Using standard wax crayons yields the best melting results. Avoid washable crayons as they may not hold their color.
2. How do I remove crayon wax from surfaces?
If you accidentally spill melted crayon wax, let it cool and then carefully scrape it off or use a mixture of vinegar and water.
3. Can I use other shapes instead of a ghost?
Absolutely! Feel free to use any shape that fits your desired theme.
4. How long will my suncatcher last?
If displayed away from direct sunlight, your suncatcher should last a long time. Direct sunlight may slightly fade the colors over time.
5. What if I want my suncatcher to be more intricate?
You can layer different colors and patterns by melting separate layers of crayon on top of one another.
Conclusion
Creating a melted crayon rainbow ghost suncatcher is a fun and colorful way to engage with art as a family. This craft not only brings joy but can also serve as a wonderful decoration for your home. If you’re interested in exploring more crafting ideas, you might enjoy our Melted Crayon Rainbow Ghost Suncatcher project for inspiration.