


Pressed Flower Cornstarch Charms: Quick And Easy
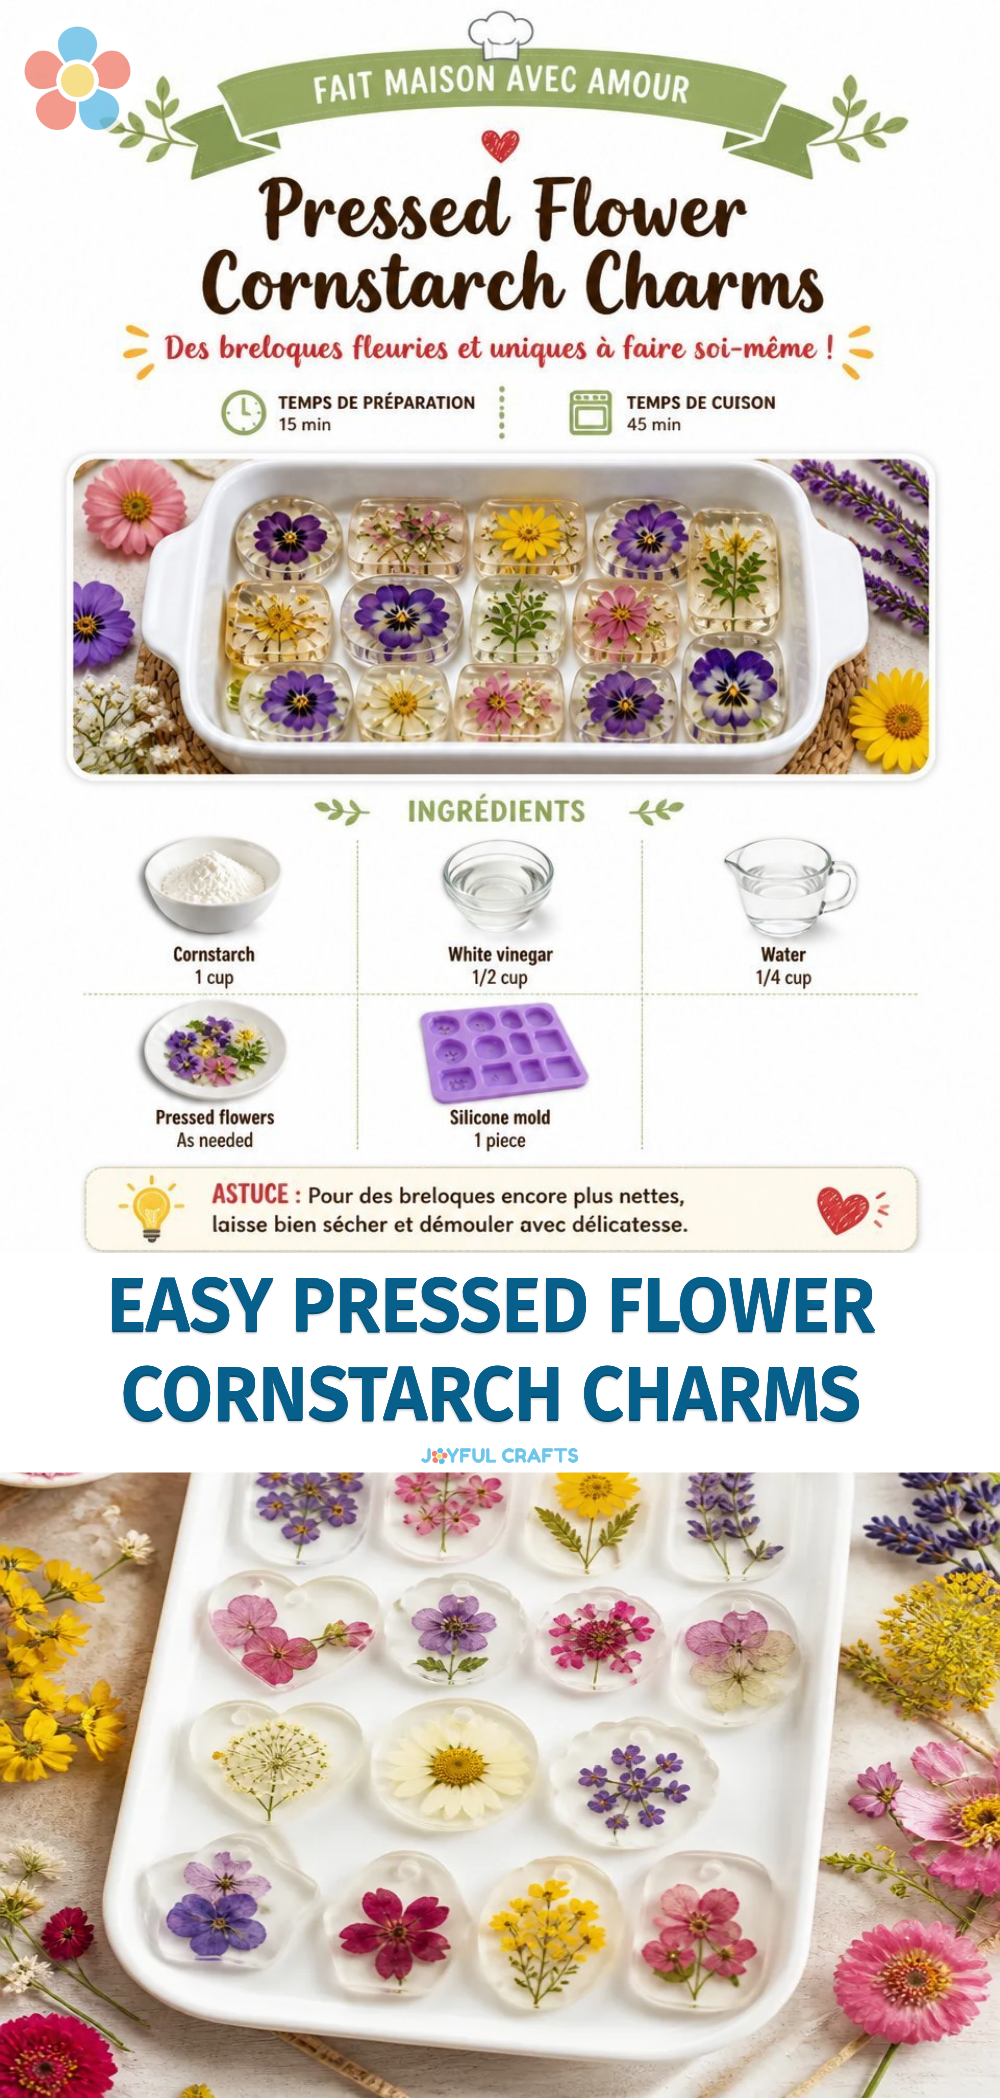
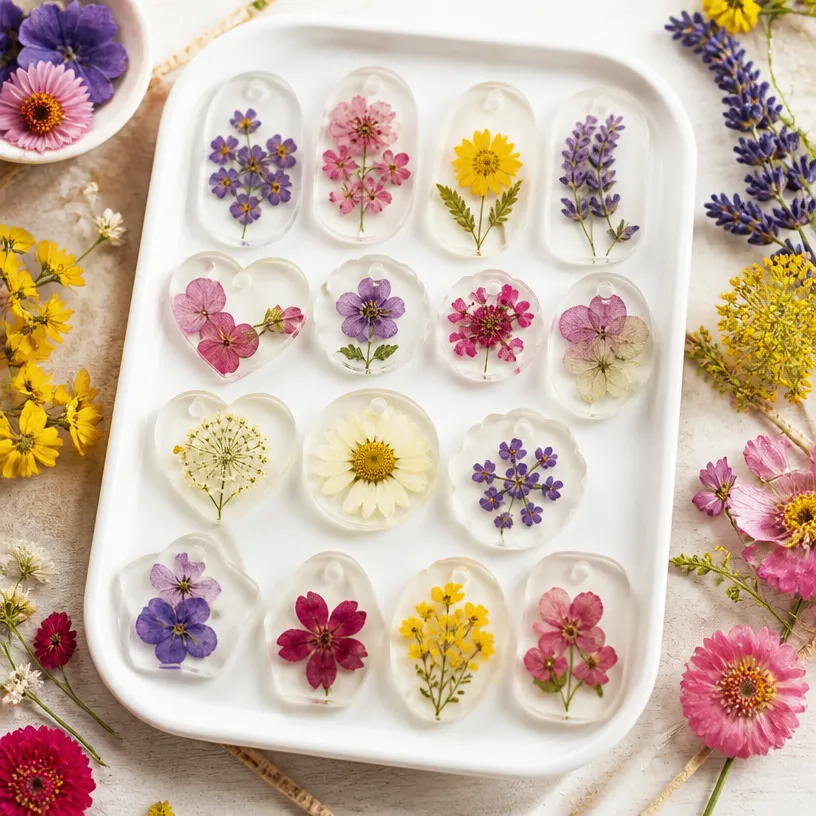
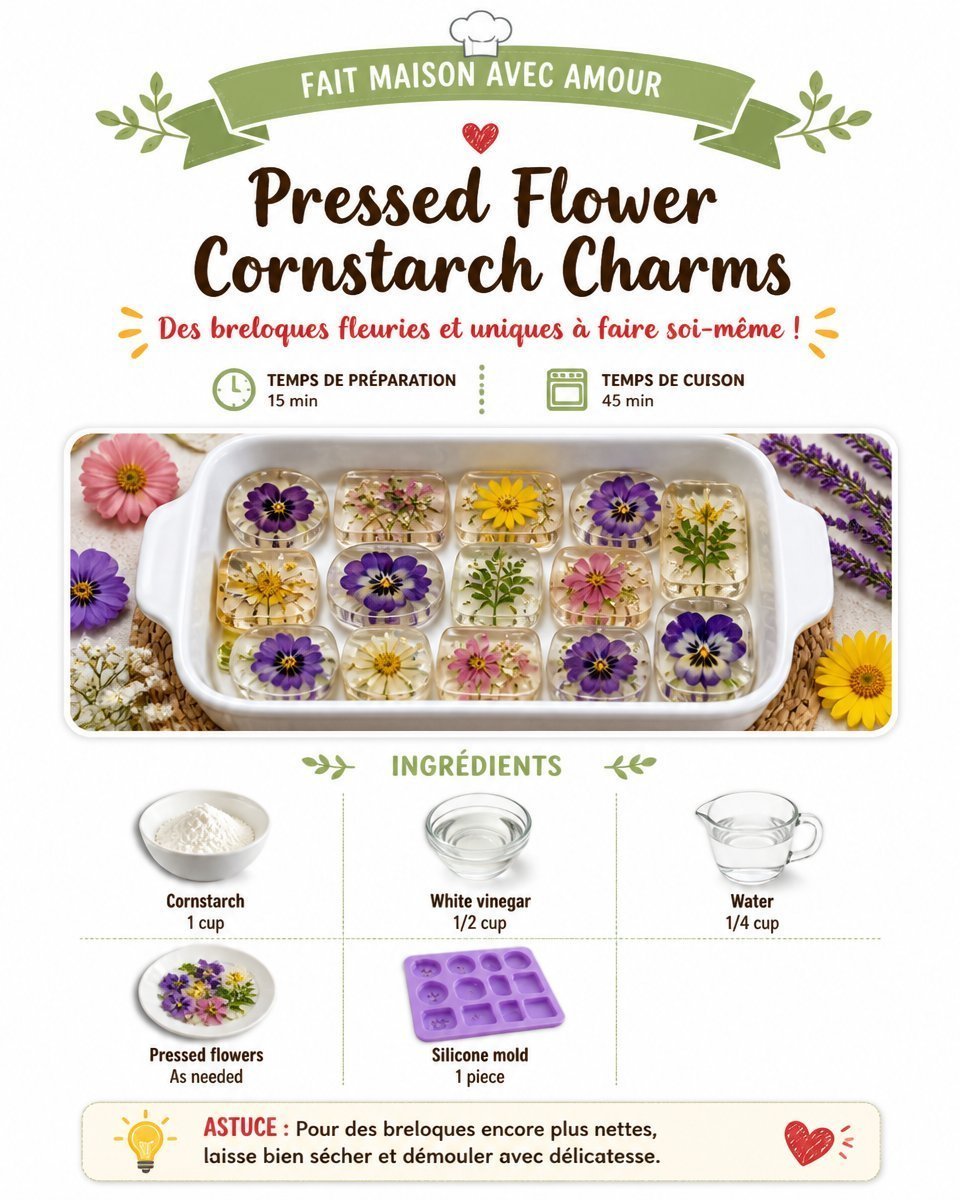
Creating pressed flower cornstarch charms is a delightful project that allows you to capture the beauty of flowers in a fun and innovative way. These charming little accessories are not only visually appealing but also serve as a thoughtful gift or a unique decoration for your home. Making these charms is a simple process that offers the opportunity to explore creativity and enjoy nature indoors. You’ll find yourself admiring the small details of each flower as they come to life in your creations. You may also find Pressed Flower Rainbow Window Medallions useful.
Why You’ll Love This Project
- Creativity Unleashed: This craft encourages you to explore colors, designs, and combinations, making each charm special.
- Simple Materials: You’ll be using basic supplies that are easy to find and often already at home.
- Quick Process: The charms come together quickly, making it perfect for a fun afternoon activity with friends or family.
- Unique Gifts: These charms make heartfelt gifts that show your thoughtfulness and creativity.
You may also find Bright Colorful Alphabet Garland For Kids useful.
Materials You’ll Need
- Fresh or dried flowers
- Cornstarch
- Water
- Cookie cutters (optional)
- Rolling pin
- Parchment paper
How to Make Pressed Flower Cornstarch Charms: Quick And Easy
- Prepare Your Flowers: If using fresh flowers, gently press them using a heavy book for a few days until flattened. For dried flowers, ensure they are not brittle.
- Mix the Cornstarch: In a bowl, combine equal parts of cornstarch and water until you achieve a smooth dough-like consistency.
- Roll Out the Mixture: Place the dough between two sheets of parchment paper and roll it out to about a quarter-inch thickness using a rolling pin.
- Cut Out Shapes: Use cookie cutters to cut the rolled dough into your desired shapes. Set these shapes aside.
- Add Flowers: Press your dried or prepared flowers onto the dough shapes gently, ensuring they adhere well.
- Drying Time: Allow the charms to dry for 24-48 hours at room temperature, flipping them halfway through to ensure even drying.
Helpful Tips
- To create a more vibrant design, layer different colors of flowers within one charm.
- If the dough feels too sticky, sprinkle a little extra cornstarch on your surface.
- These charms can be strung together to create a lovely decorative garland, similar to a colorful alphabet window garland.
Creative Variations
- Experiment with different shapes or sizes to create a set of charms for various occasions.
- Consider painting the edges of the charms with metallic paint for a festive touch.
- Use seasonal flowers to tailor your charms to different holidays or events, much like how colorful cupcake liner flower bouquets can be themed.
Making It With Kids
This project is suitable for kids, offering an excellent opportunity to explore their artistic side. However, be sure to supervise the use of scissors for cutting flowers or charms. Encourage kids to choose their favorite flowers and help design their unique charm creations.
How to Display, Use, or Gift It
Once your pressed flower charms are dry, they can be beautifully displayed on a small stand or strung together to create a unique decoration. They also make lovely gifts that can be presented in a small gift box or attached to a greeting card for special occasions.
Frequently Asked Questions
1. Can I use any type of flower?
While most flowers work well, avoid those that wilt quickly or have a lot of moisture.
2. How long should I let the charms dry?
A drying time of 24-48 hours is optimal. Be sure to turn them halfway for even drying.
3. Can I paint the cornstarch charms?
Absolutely! Acrylic paints work well for adding personal touches.
4. How can I make my charms last longer?
Store them in a cool, dry place away from direct sunlight to maintain their color and beauty.
Conclusion
Pressed flower cornstarch charms are not just a craft; they’re a beautiful way to express creativity and celebrate nature. Whether you’re making these for yourself or as a heartfelt gift, you might also enjoy other creative projects, such as making a ridiculously easy French press-in tart crust for your next gathering. Enjoy crafting!
Print
Pressed Flower Cornstarch Charms
- Total Time: 1440 minutes
- Makes: Makes several charms
Description
Create charming pressed flower cornstarch charms to capture the beauty of nature and enjoy a fun crafting session.
Materials
- Fresh or dried flowers
- Cornstarch
- Water
- Cookie cutters (optional)
- Rolling pin
- Parchment paper
Instructions
- Prepare Your Flowers: If using fresh flowers, gently press them using a heavy book for a few days until flattened. For dried flowers, ensure they are not brittle.
- Mix the Cornstarch: In a bowl, combine equal parts of cornstarch and water until you achieve a smooth dough-like consistency.
- Roll Out the Mixture: Place the dough between two sheets of parchment paper and roll it out to about a quarter-inch thickness using a rolling pin.
- Cut Out Shapes: Use cookie cutters to cut the rolled dough into your desired shapes. Set these shapes aside.
- Add Flowers: Press your dried or prepared flowers onto the dough shapes gently, ensuring they adhere well.
- Drying Time: Allow the charms to dry for 24-48 hours at room temperature, flipping them halfway through to ensure even drying.
Notes
To create vibrant designs, layer different colors of flowers. If sticky, sprinkle extra cornstarch on your surface.