

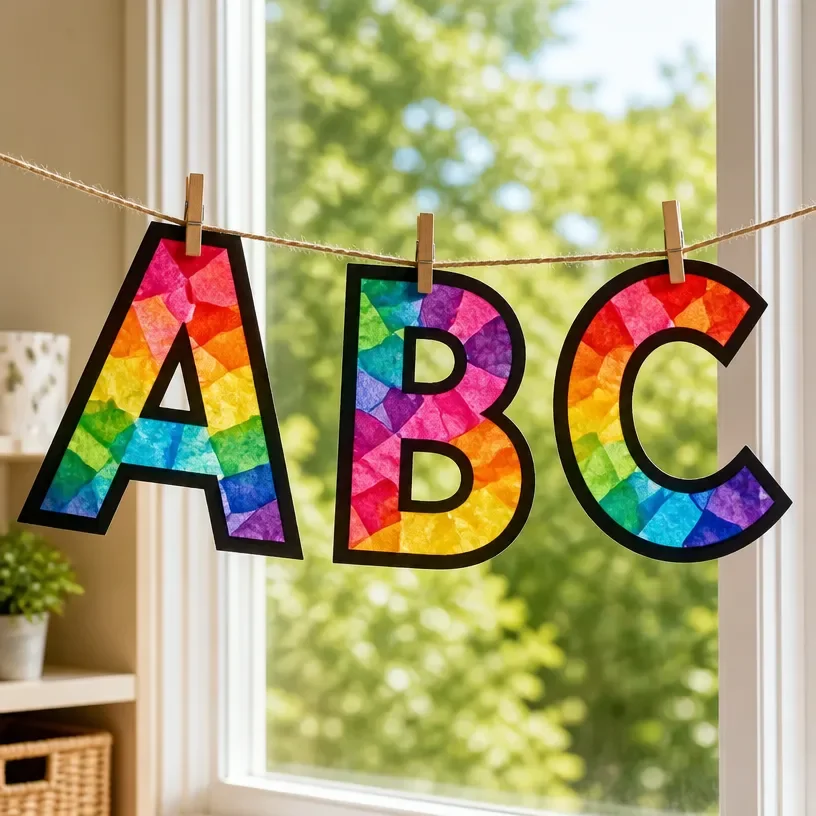
Colorful Alphabet Window Garland For Kids
Creating art with your kids can be one of the most delightful ways to spend time together, and this Colorful Alphabet Window Garland is no exception! This cheerful decoration not only brightens up any room but also helps kids learn their letters in a fun and interactive way. You may also find Bright Colorful Alphabet Garland For Kids useful.
Why You’ll Love This Project
- Educational Value: This garland promotes letter recognition and learning in a playful manner.
- Creative Expression: Kids get to express their creativity by choosing colors and designs for each letter.
- Decorative Appeal: It can easily enhance any room or party atmosphere with its vibrant colors.
- Easy and Quick: You can complete this project in just a few hours with simple materials.
- Bonding Time: Crafting together offers a wonderful opportunity for parents and children to connect.
You may also find Colorful Rainbow Monster Pencil Holder For Kids useful.
Materials You’ll Need
To create your Colorful Alphabet Window Garland, gather these materials: You may also find Colorful School Bus Photo Frame Craft For Kids useful.
- Colored paper or cardstock
- Scissors
- String or yarn
- Glue or double-sided tape
- Markers or crayons
How to Make Colorful Alphabet Window Garland For Kids
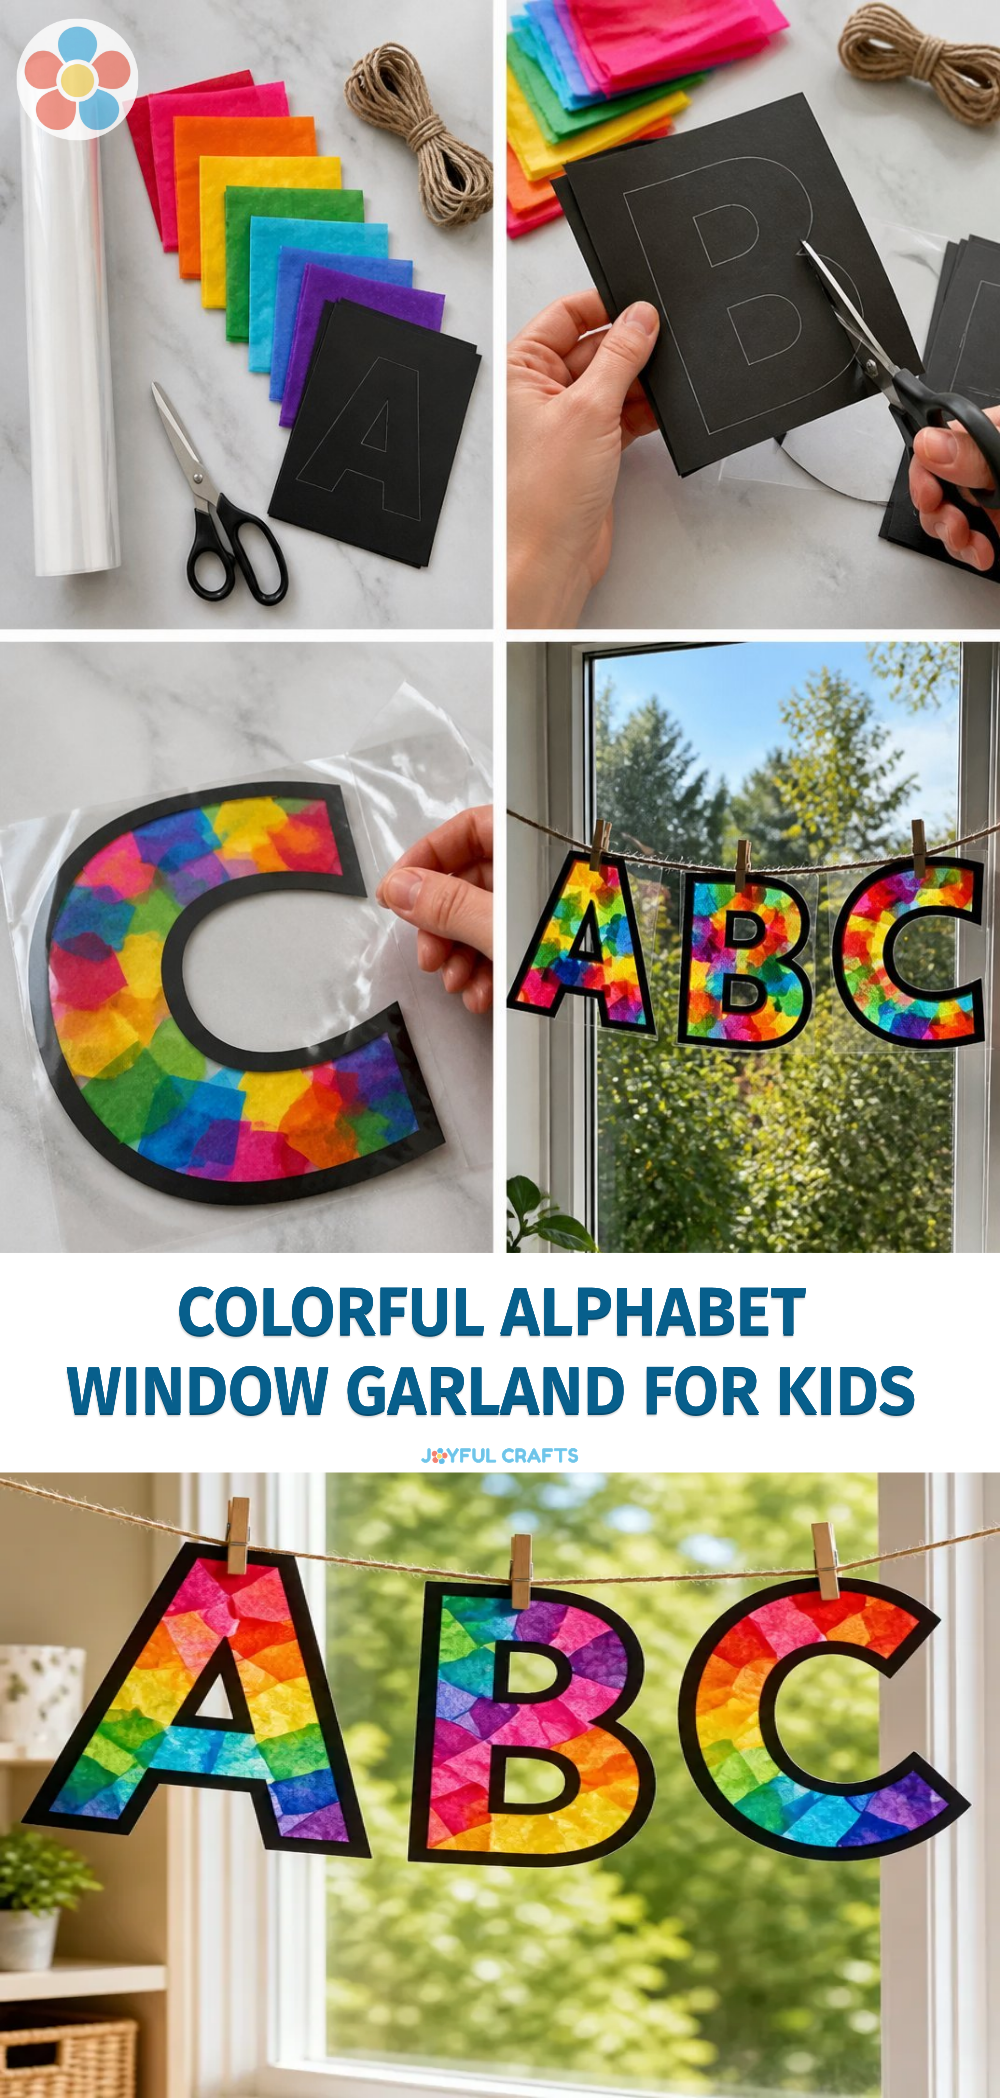
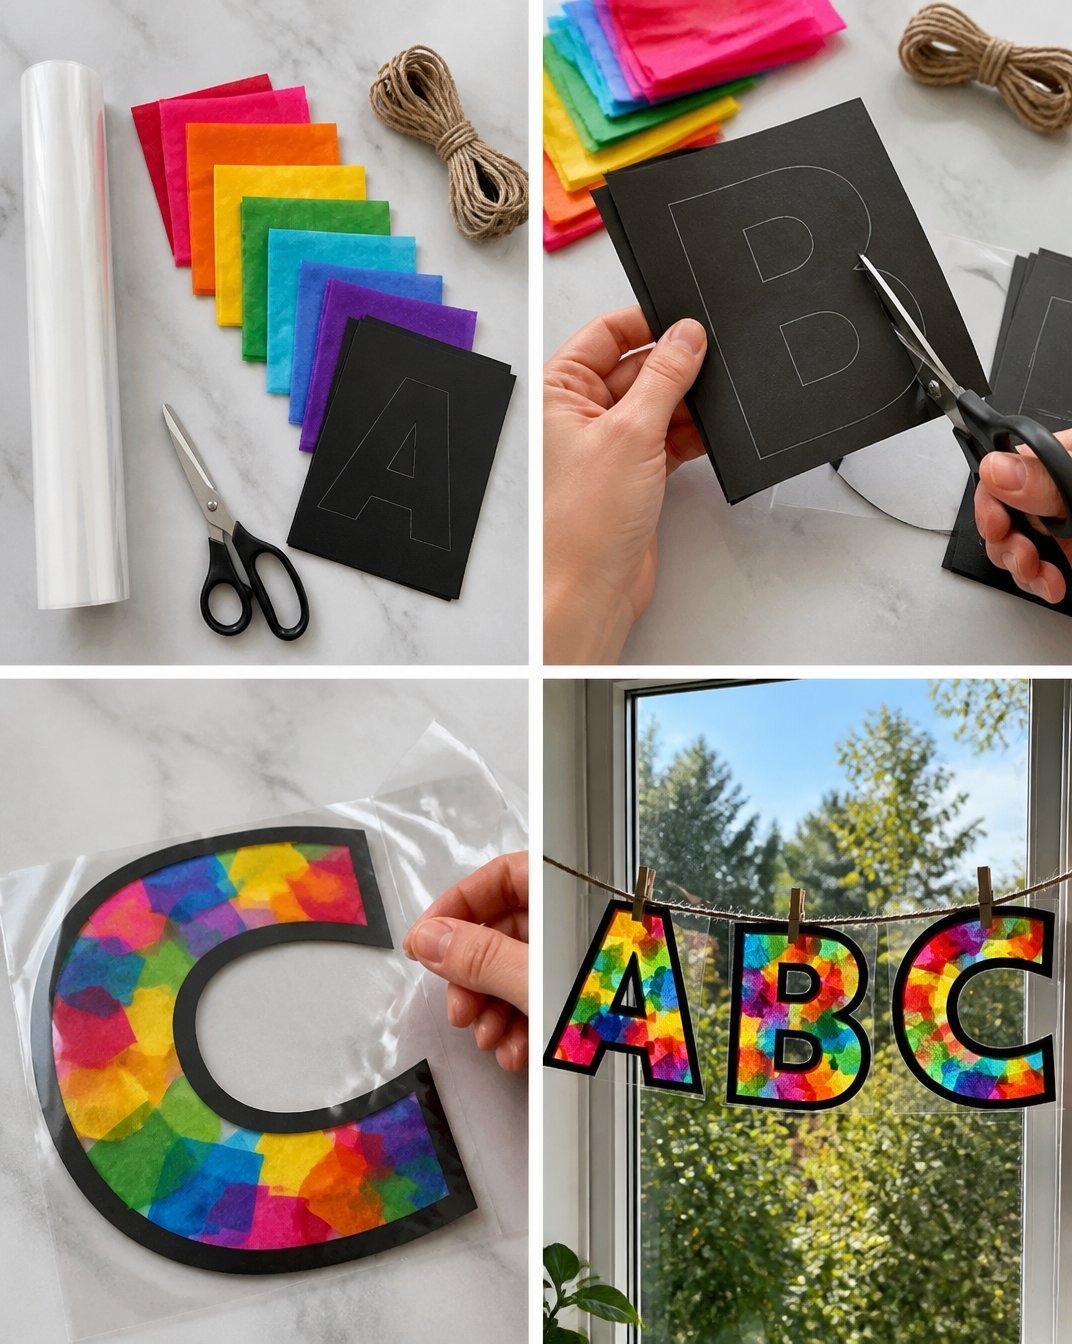
Prepare the Letters: Begin by cutting out letters from the colored paper. You can use stencils or freehand them. Make sure each letter of the alphabet is represented. You may also find Clear Rainbow Ghost Shaker Suncatcher Craft For Kids useful.
Decorate the Letters: Let the kids get creative! Using markers or crayons, they can color or draw patterns on the letters to make them unique.
Attach the Letters to String: Once decorated, use glue or double-sided tape to attach each letter to a length of string or yarn. Leave enough space between each letter for an appealing layout.
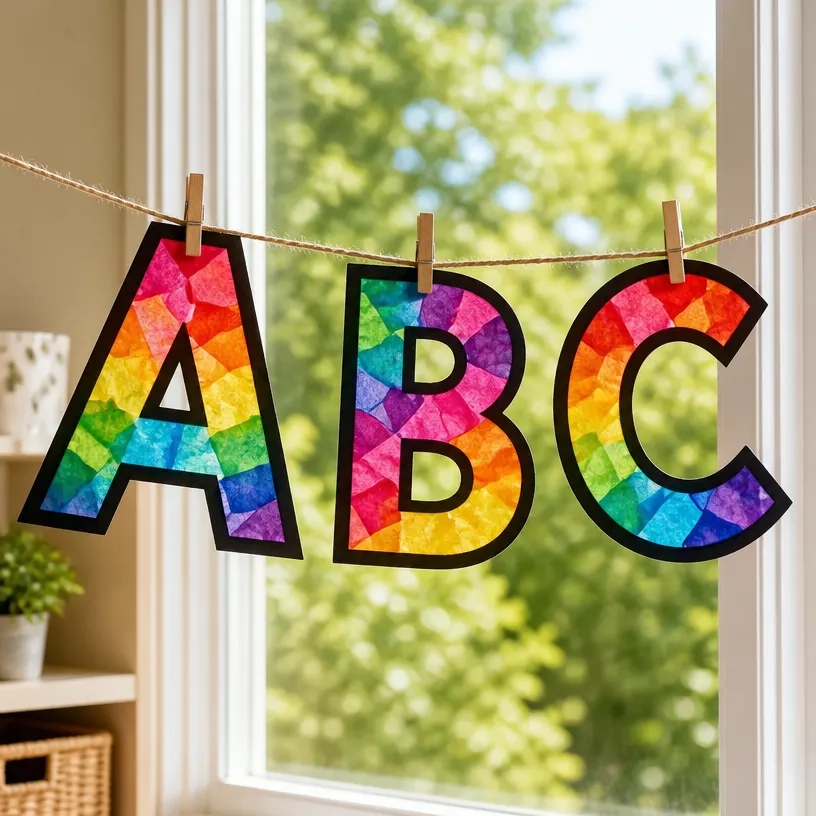
Hang the Garland: Finally, choose a sunny spot in your home, like a window, to display the garland. This will help showcase their hard work while brightening up the room!
Helpful Tips
- Keep it Simple: If your child is young, you may want to keep the letter shapes straightforward for easier cutting.
- Use Stencils: For a more uniform look, consider using alphabet stencils for cutting the letters.
- Mess Control: Lay down some newspaper or a craft mat to make cleanup easier after decorating.
Creative Variations
To make this project even more personal, consider these variations:
- Seasonal Themes: Change the color scheme based on seasons or holidays, like using pastel colors for spring or red and green for Christmas.
- Add Shapes: Instead of just letters, include shapes or small drawings to enhance the decor.
- Interactive Elements: You could add interactive elements like Velcro dots on the letters so kids can mix and match.
Making It With Kids
Crafting is a great way for kids to learn fine motor skills. Keep supervision nearby if sharp scissors are in use, and let kids take the lead on decorating their letters to boost their confidence.
How to Display, Use, or Gift It
The finished garland can be strung in various places around the home. Use it in a child’s bedroom, playroom, or even as a fun decoration for a birthday party. They would also make wonderful gifts for family members who can appreciate the thought and effort behind it.
Frequently Asked Questions
How long does it take to complete this project?
The garland can be completed in a few hours, depending on how much decoration you want to add.
What types of paper should I use?
Any colored paper or cardstock will work well. Just ensure it’s sturdy enough to hold its shape.
Can younger children participate?
Absolutely! Just assist them with tasks that require scissors and supervise any decorating chaos!
What if I don’t have string or yarn?
You can use ribbon or even twine if those materials are handy.
Is there a way to store the garland?
Yes! You can carefully fold it and store it in a flat box to prevent any damage.
Can this project be expanded to include numbers?
Certainly! You can create a similar garland with numbers for birthdays or counting practice.
Conclusion
Making a Colorful Alphabet Window Garland is a wonderful way to blend creativity and learning while enjoying quality time together. If you’re looking to add some flair to your celebrations, consider checking out this birthday banner that could complement your colorful creations beautifully!
Print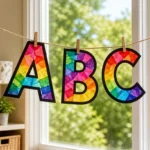
Colorful Alphabet Window Garland For Kids
- Total Time: 150 minutes
- Makes: 1 garland
Description
A delightful crafting project that combines creativity with learning, allowing kids to make a colorful alphabet garland.
Materials
- Colored paper or cardstock
- Scissors
- String or yarn
- Glue or double-sided tape
- Markers or crayons
Instructions
- Prepare the letters by cutting out shapes from the colored paper.
- Decorate the letters with markers or crayons to personalize them.
- Attach the letters to a length of string or yarn using glue or tape.
- Hang the garland in a sunny spot to showcase the vibrant colors.
Notes
Consider using stencils for younger children or keeping shapes simple for easy cutting.