

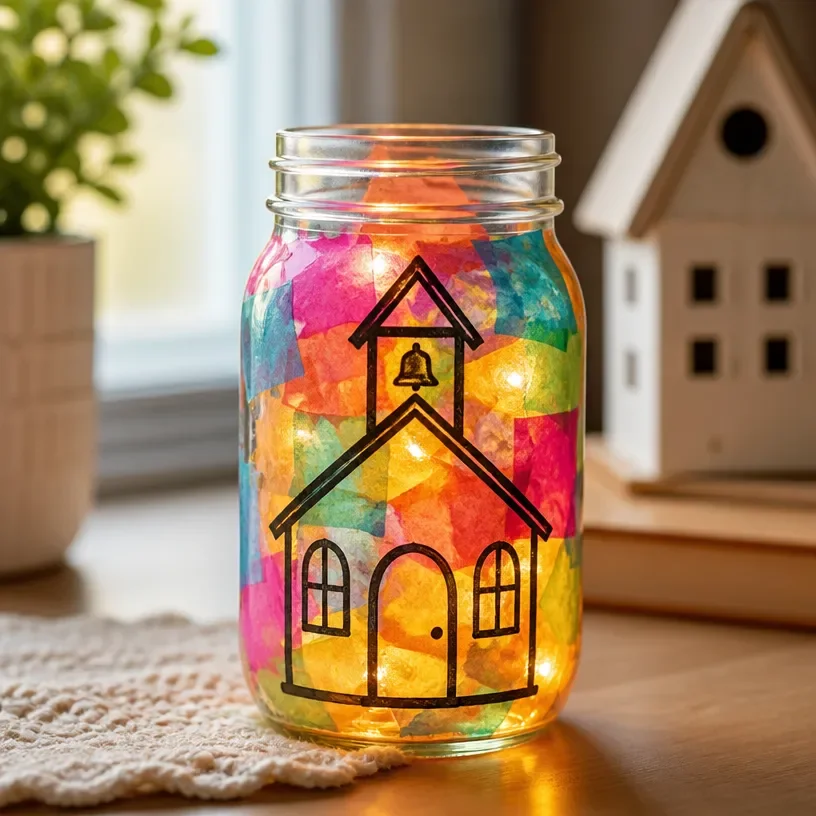
Glowing Holographic Lantern for Schoolhouse Decor
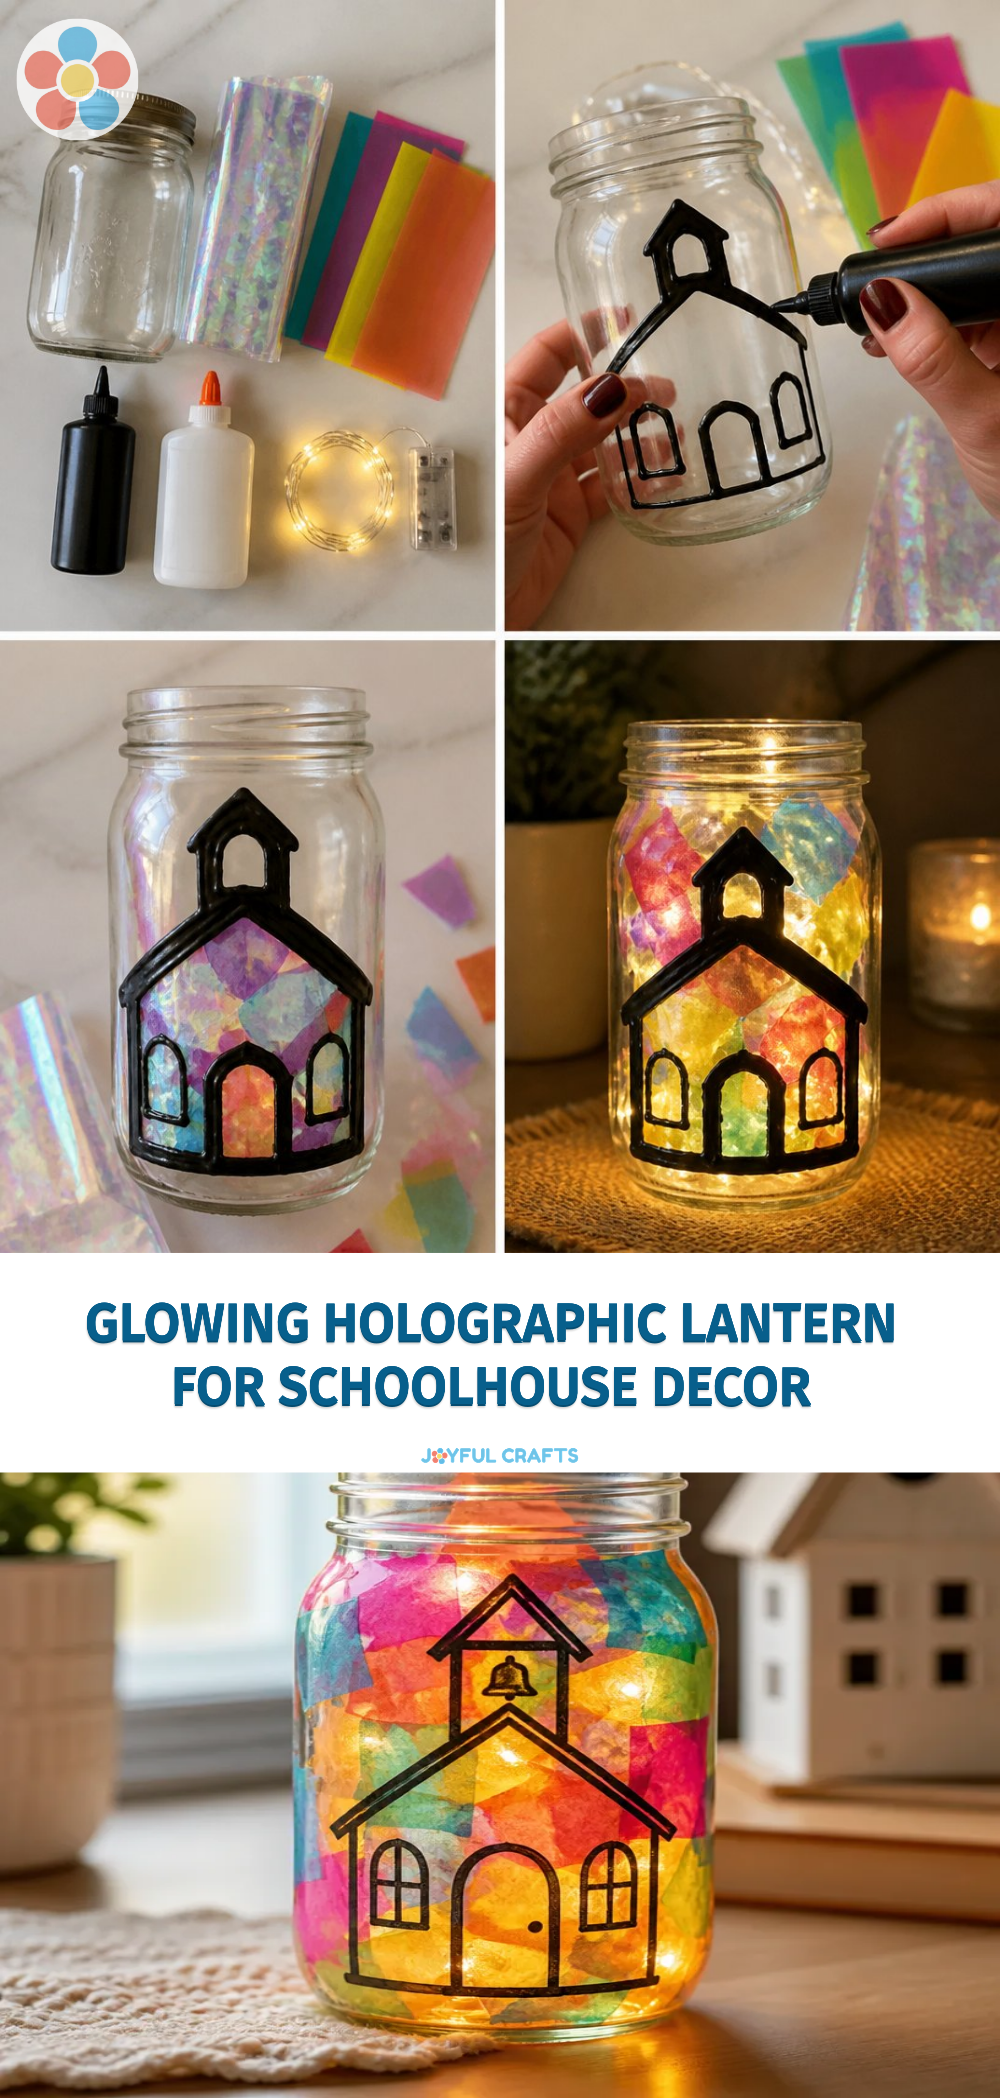
Create a stunning glowing holographic lantern that will brighten up your schoolhouse decor! This craft is not only eye-catching, but it also provides a delightful way to engage creativity and teamwork among children. You may also find Clear Rainbow Ghost Shaker Suncatcher Craft For Kids useful.
Why You’ll Love This Project
- Easy and Fun: This craft is straightforward and can be completed in a short amount of time, making it perfect for classroom activities.
- Customizable: You can personalize the lantern’s colors and designs to fit any theme or holiday.
- Learning Opportunity: Kids can learn about light, colors, and the importance of teamwork as they craft together.
- Impressive Results: The holographic effect creates a stunning visual display, especially when lit in the dark.
You may also find Colorful Apple Themed Classroom Frame For Teachers useful.
Materials You’ll Need
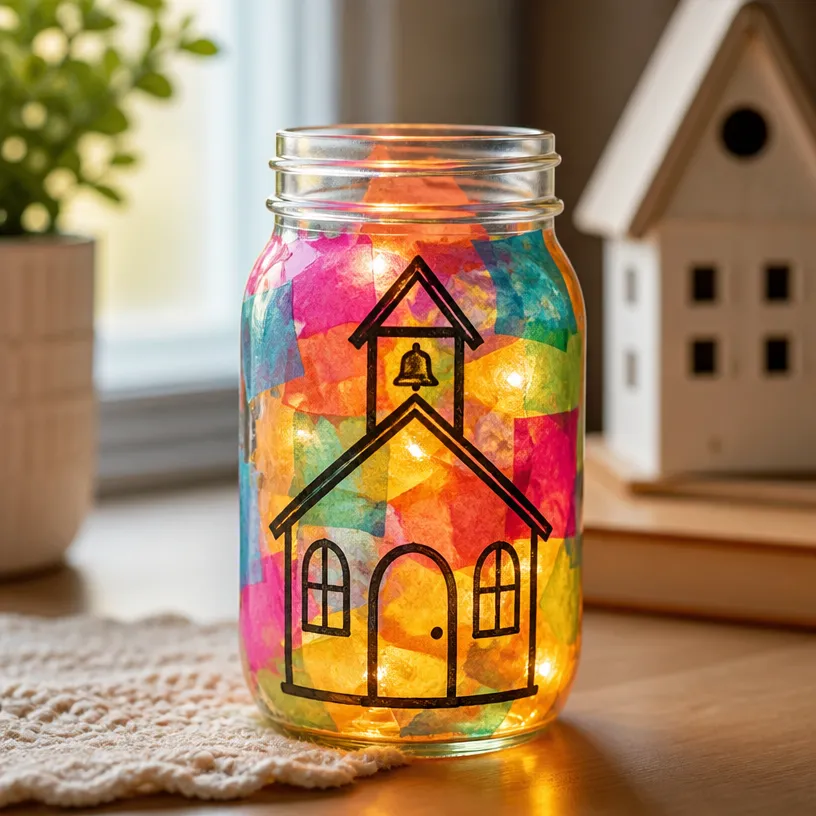
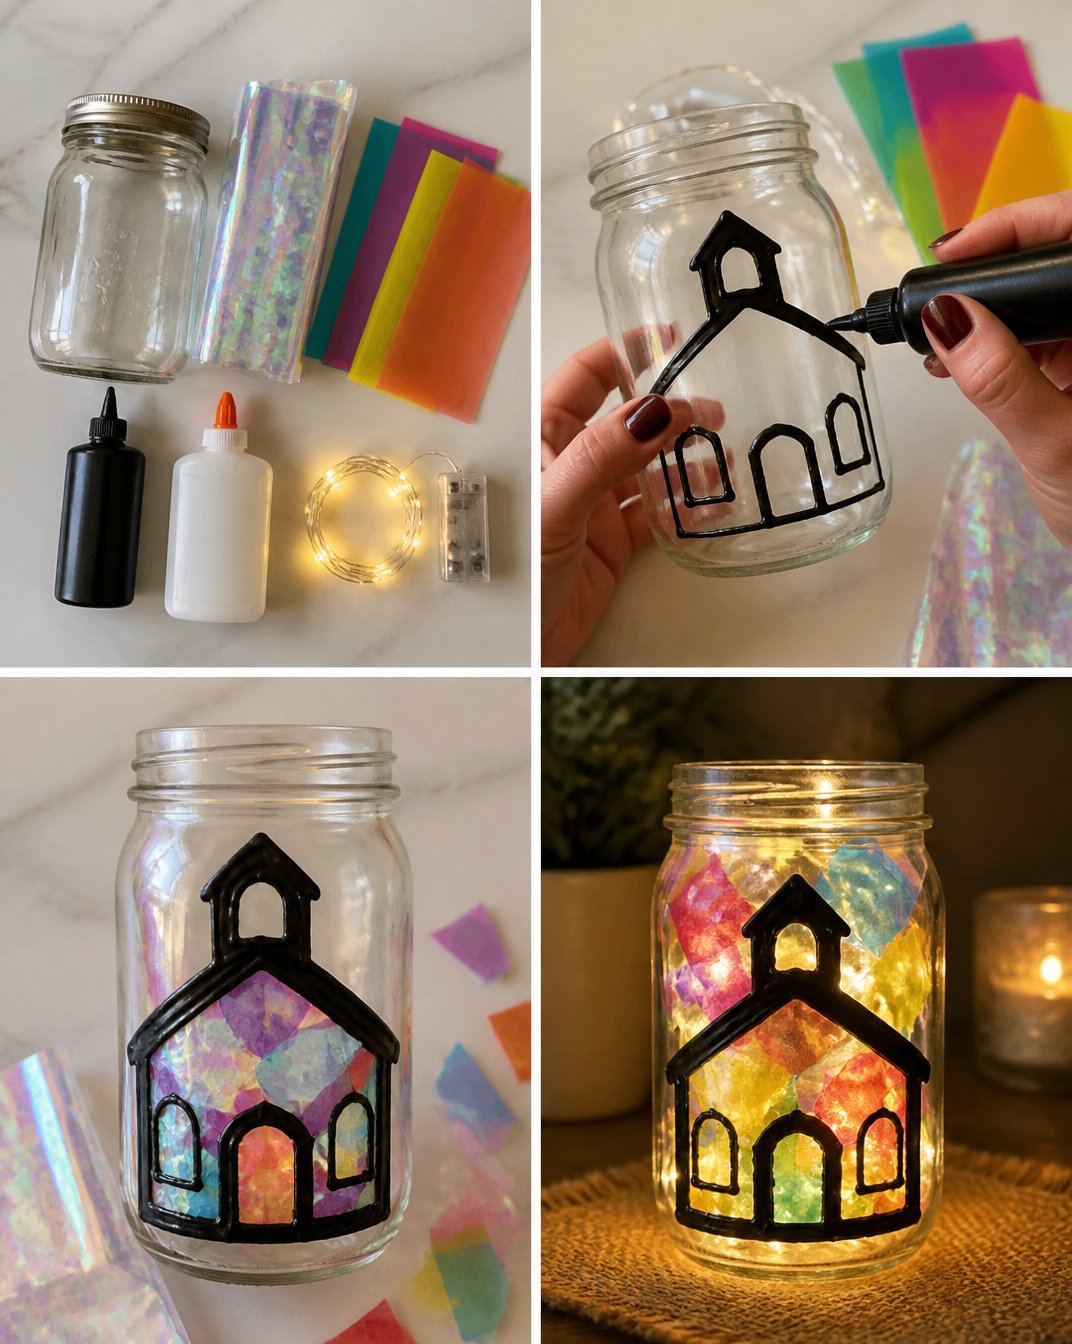
To make your glowing holographic lantern, you’ll need the following supplies:
- Colored tissue paper
- Clear plastic jar or container
- Battery-powered tea light
- Mod Podge or white glue
- Paintbrush
- Scissors
How to Make Glowing Holographic Lantern for Schoolhouse Decor
- Start by cutting the colored tissue paper into various shapes, such as squares or circles. This will form the design on your lantern.
- Apply a thin layer of Mod Podge or white glue to the outside of your clear plastic jar using a paintbrush.
- Stick your cut tissue paper shapes onto the jar, overlapping them for a beautiful effect.
- Once you’ve covered the entire jar, apply another layer of Mod Podge or glue over the tissue paper to secure it and give it a glossy finish.
- Let the lantern dry completely. This may take a few hours, depending on your glue.
- After the lantern is dry, place a battery-powered tea light inside to create a glowing effect.
Now your lantern is ready to brighten up any space. For a festive touch, consider creating a garland to hang alongside your lantern, like this bright and colorful alphabet garland!
Helpful Tips
- Planning Your Design: Think about a color scheme or specific design beforehand to make the process smoother.
- Trusty Adult Supervision: If younger children are involved, be sure to supervise them when using scissors or handling glue.
- Let It Shine: Position your lantern in a spot where it can shine bright, perhaps on a windowsill or a shelf in the classroom.
Creative Variations
- Use patterned tissue paper for a unique texture on your lantern.
- Try making multiple lanterns in various sizes to create a beautiful display.
- Children can personalize their lanterns with stickers or drawings to add a personal touch.
Making It With Kids
This project is especially enjoyable with kids, as they can express their creativity and teamwork. Just ensure that any cutting or glueing is supervised by an adult, especially for younger children, to keep everyone safe.
How to Display, Use, or Gift It
These glowing lanterns make fantastic decorations for classrooms, home studies, or even as gifts for friends and family. You can also use them as centerpieces at school events or parties, creating a magical ambiance when lit up at night.
Frequently Asked Questions
1. How long does it take for the glue to dry?
Most Mod Podge will dry in about 15-20 minutes to the touch, but it’s best to let it dry completely for a few hours for optimal results.
2. Can I use other adhesives?
Yes, any clear-drying glue should work, but Mod Podge provides a nice finish.
3. What if I don’t have battery-powered tea lights?
Using regular candles is not recommended due to safety concerns. Battery-powered lights are safer and perfect for this project.
4. Can I use different types of jars?
Absolutely! Any clear or semi-translucent jar can work wonderfully. Just be sure it’s safe for a light source.
5. Is this craft suitable for all ages?
While it’s great for all ages, adult supervision is encouraged for younger kids, especially during cutting and gluing.
6. Where else can I find craft ideas for kids?
Check out this fun rainbow tissue paper flower lantern project for another engaging craft activity.
Conclusion
Creating a glowing holographic lantern is a delightful and easy way to enhance your schoolhouse decor. For more creative ideas, explore how to make an Art Deco Holo Bedside Table and add even more charm to your space!
Print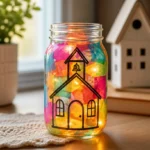
Glowing Holographic Lantern for Schoolhouse Decor
- Total Time: 90 minutes
- Makes: 1 lantern
Description
Create a stunning glowing holographic lantern that brightens up your schoolhouse decor while engaging creativity and teamwork among children.
Materials
- Colored tissue paper
- Clear plastic jar or container
- Battery-powered tea light
- Mod Podge or white glue
- Paintbrush
- Scissors
Instructions
- Start by cutting the colored tissue paper into various shapes, such as squares or circles.
- Apply a thin layer of Mod Podge or white glue to the outside of your clear plastic jar using a paintbrush.
- Stick your cut tissue paper shapes onto the jar, overlapping them for a beautiful effect.
- Once you’ve covered the entire jar, apply another layer of Mod Podge or glue over the tissue paper to secure it and give it a glossy finish.
- Let the lantern dry completely; this may take a few hours, depending on your glue.
- After the lantern is dry, place a battery-powered tea light inside to create a glowing effect.
Notes
Supervision is encouraged for younger children, especially when using scissors or glue.