

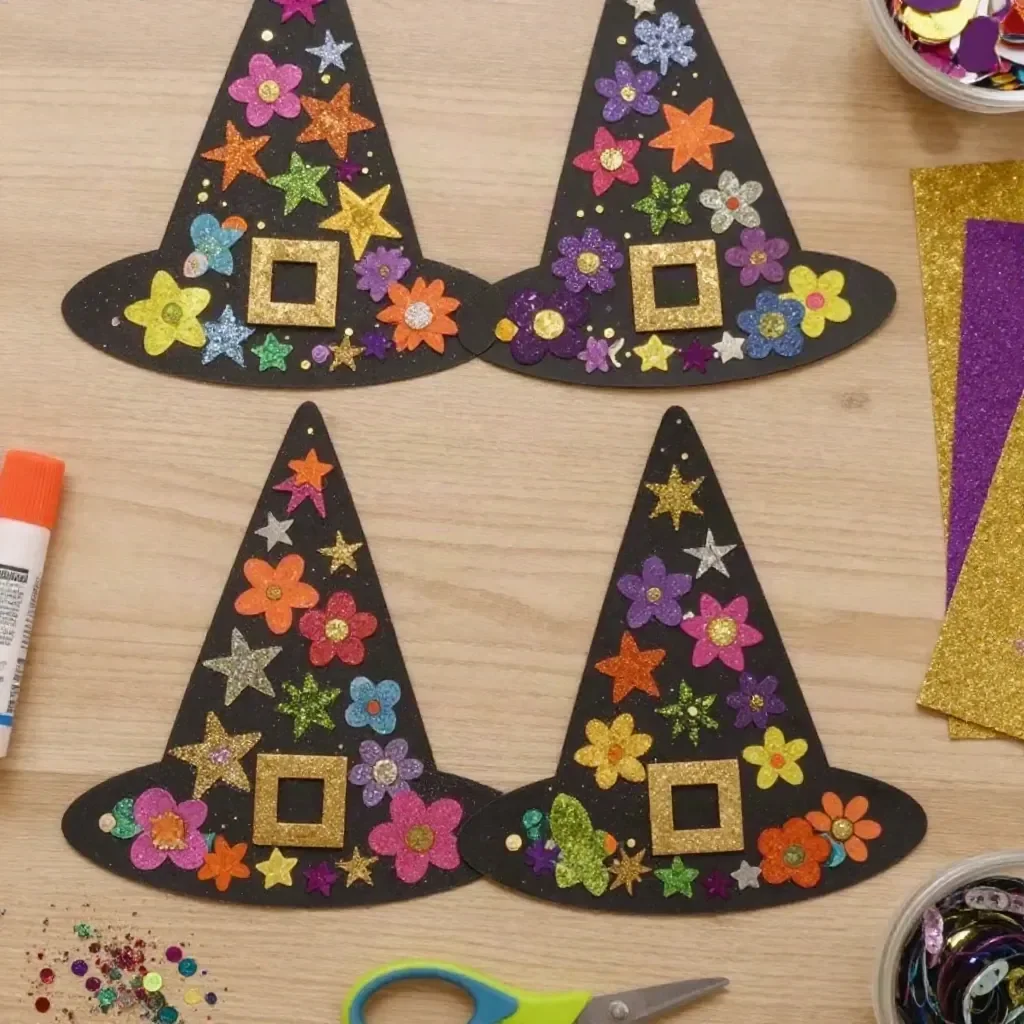
Witch Hat Collage Craft for Kids
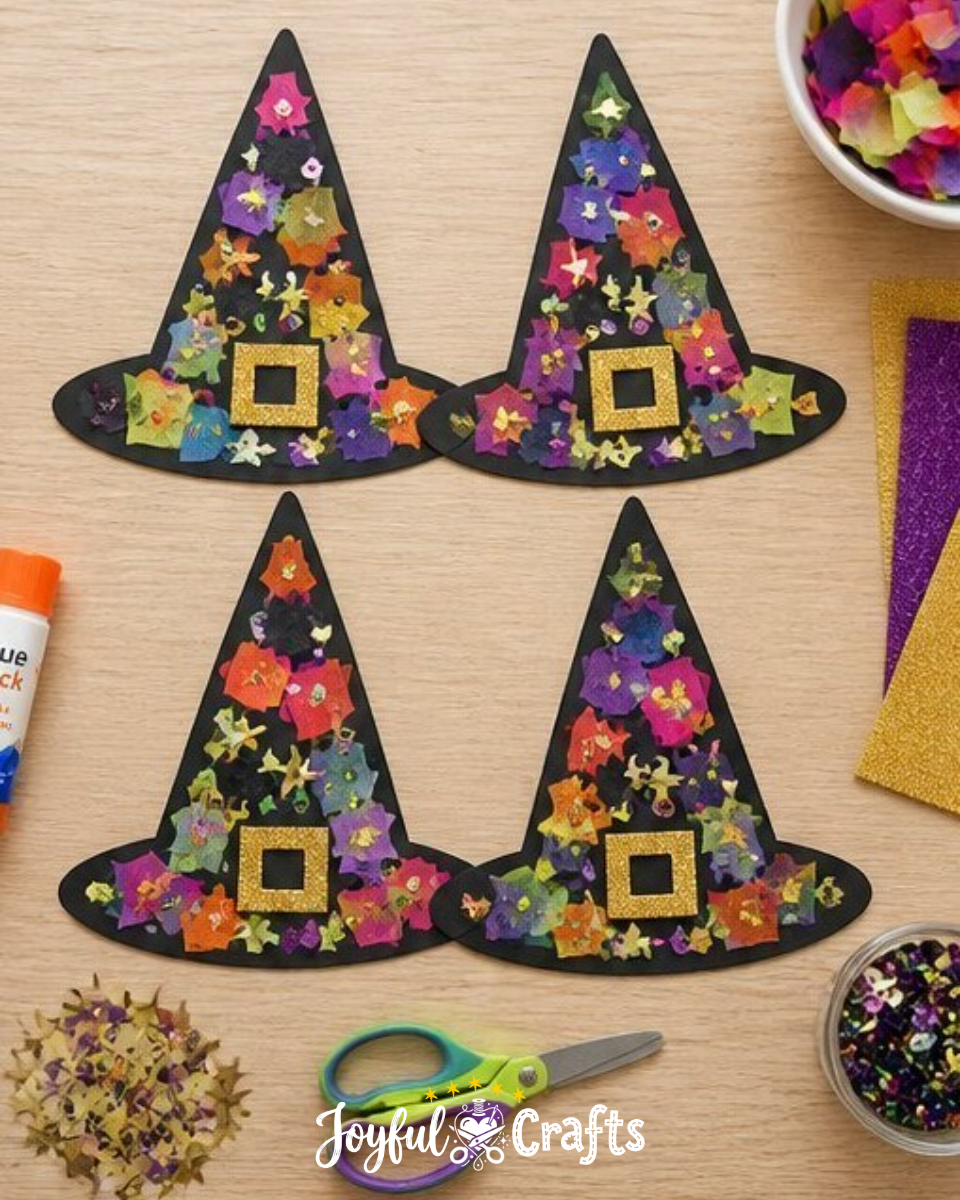
Creating a whimsical witch hat collage is a delightful craft that engages kids in a colorful and creative activity. This project not only allows children to express their artistic flair but also enhances fine motor skills as they cut, glue, and arrange materials. It’s a perfect way to celebrate the Halloween season or simply have fun with crafts all year round. You may also find rainbow ghost shaker suncatcher useful.
Why You’ll Love This Project
- Creative Expression: Kids can use a variety of colors and decorations, allowing for unique creations and artistic expressions.
- Fine Motor Skills: Cutting, gluing, and placing different materials help improve hand-eye coordination and dexterity.
- Easy Assembly: With minimal materials and straightforward steps, this craft is beginner-friendly and enjoyable for all ages.
- Display Potential: Once completed, these vibrant witch hats make charming decorations for Halloween or festive events.
- Interactive Fun: Involving kids in the entire process fosters teamwork and enhances bonding time.
You may also find rainbow ghost STEM activity useful.
Materials You’ll Need
- 2 sheets of 9×12 inch black construction paper
- 1 pair of child-safe safety scissors
- 1 stick of non-toxic washable craft glue
- 1 cup of assorted colorful tissue paper squares
- 0.5 ounces of mixed star confetti and sequins
- 1 sheet of gold glitter foam paper
How to Make Witch Hat Collage Craft for Kids
- Start by cutting out large witch hat shapes from the black construction paper. Make sure they are big enough to allow room for decorating!
- Cut small square buckles from the gold glitter foam paper. These will add a magical touch to your witch hats.
- Spread a layer of craft glue on the surface of the hats, ensuring even coverage for the decorations.
- Have children place colorful tissue paper squares, star confetti, sequins, and the glittery buckles onto the glued areas. Encourage them to get creative with their designs!
- Once decorated, let the witch hats dry fully for about 15 minutes before displaying them.
Helpful Tips
- When cutting the hats, use templates if needed to guide younger children. This helps maintain uniformity in shape.
- To minimize mess, consider placing a newspaper or a plastic sheet on the work surface.
- Encourage creativity by allowing children to mix color patterns and layers of tissue paper squares.
- If you have extra materials left over, suggest creating a matching backdrop or display board.
Creative Variations
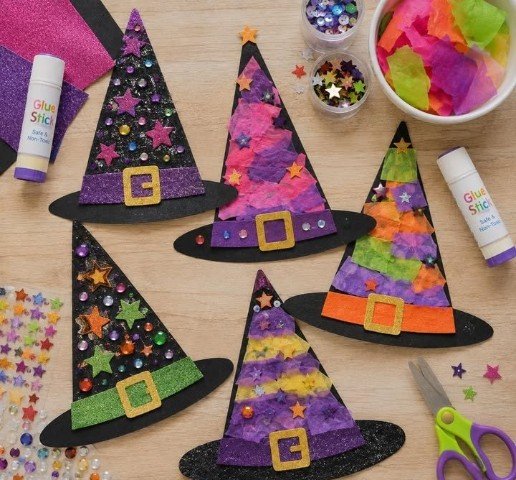
- Use different colored construction paper for the hats to create a vibrant collection.
- Experiment with different decorations like feathers or glitter glue for an added sparkle.
- Make mini witch hats as place settings for a Halloween dinner or party.
- Consider adapting this project for different seasons by changing the decorations to suit fall or spring themes.
Making It With Kids
This craft is perfect for kids of all ages, but young children should be supervised when using scissors. Assist them with cutting the construction paper and monitor the glue application to keep it mess-free. Enjoy the process together, as crafting can be a wonderful bonding experience! You may also find rainbow kitten wreath useful.
How to Display, Use, or Gift It
These colorful witch hats can be hung as decorations around the house or used as festive centerpieces. They also make a fantastic gift for friends and family during Halloween. Kids can write their names and the year on the back of each hat for a fun keepsake! You may also find colorful experiments art project for kids useful.

Frequently Asked Questions
Can I use other materials for decoration?
Absolutely! Let your kids experiment with buttons, stickers, or even natural elements like leaves.
How do I make the hat shapes more intricate?
Encourage older children to design their own hat styles, adding curves or embellishments as they like.
What if the glue takes too long to dry?
Patience is key! While waiting, children can clean up their workspace or start on other creative projects.
Can this craft be adapted for larger groups?
Yes, this is an excellent project for classrooms or parties; simply prepare enough materials for each child.
How can we extend this project into storytelling?
After crafting, hold a storytelling session where kids can share tales about their witch hats and the magical adventures they inspire.
Conclusion
Making witch hats is a delightful way to celebrate creativity during the festive seasons. For more engaging craft ideas, consider trying this Witch Shape Craft inspired by a beloved children’s story! Happy crafting!
Print
Witch Hat Collage Craft for Kids
- Total Time: 15 minutes
- Makes: 4 witch hats
Description
Engage kids in creativity by making whimsical witch hats using colorful materials for Halloween or year-round fun.
Materials
- 2 sheets of 9×12 inch black construction paper
- 1 pair of child-safe safety scissors
- 1 stick of non-toxic washable craft glue
- 1 cup of assorted colorful tissue paper squares
- 0.5 ounces of mixed star confetti and sequins
- 1 sheet of gold glitter foam paper
Instructions
- Start by cutting out large witch hat shapes from the black construction paper.
- Cut small square buckles from the gold glitter foam paper.
- Spread a layer of craft glue on the surface of the hats.
- Have children place colorful tissue paper squares, star confetti, sequins, and the glittery buckles onto the glued areas.
- Once decorated, let the witch hats dry fully for about 15 minutes.
Notes
Use templates for younger children to assist with cutting. Minimize mess by using a protective layer on the work surface.