

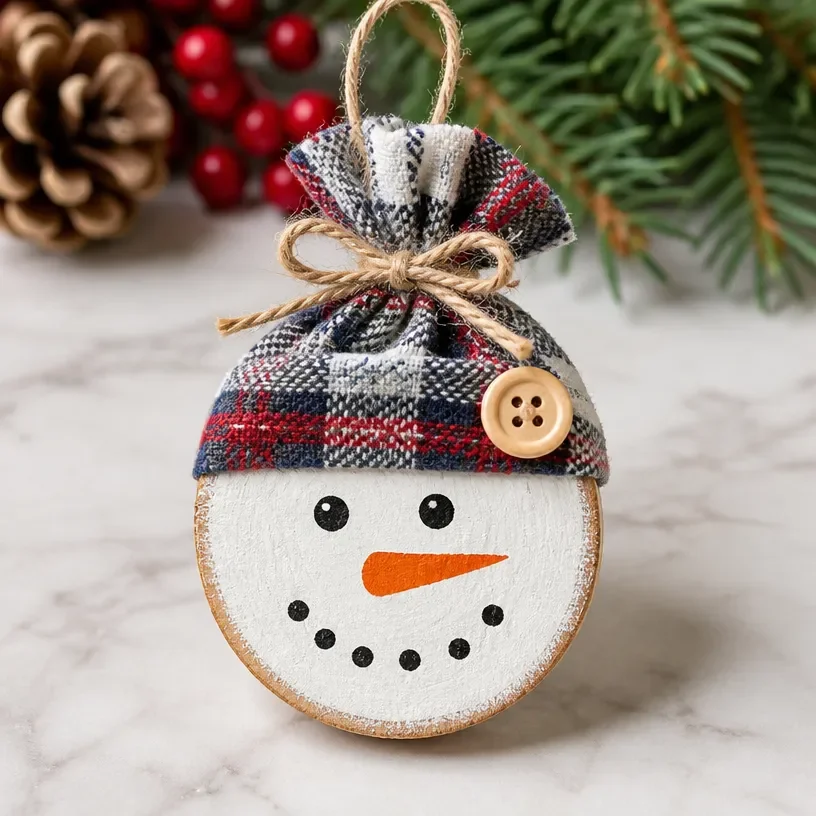
DIY Snowman Ornament
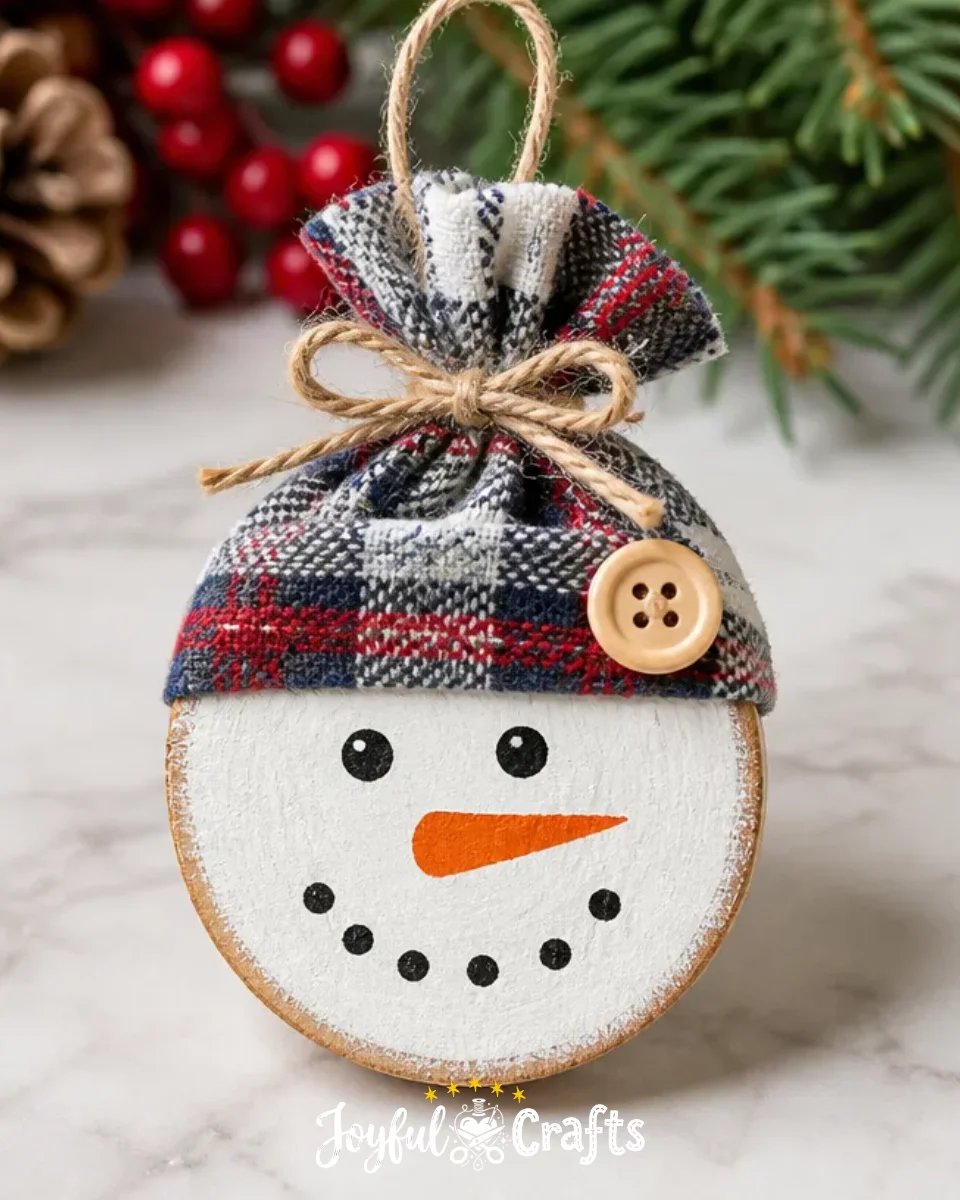
Creating a DIY Snowman Ornament is a delightful way to embrace the winter season while enjoying some creative time with family and friends. This simple craft brings a warm and festive touch to your holiday decor and makes for a perfect handmade gift. Not only is it fun to make, but it also allows you to personalize each snowman with unique fabrics and decorations! You may also find Cupcake Liner Dahlia Bouquet Diy Centerpiece Kids useful.
Why You’ll Love This Project
- Easy and Fun: This craft is accessible for crafters of all ages, making it perfect for family bonding.
- Customizable: You can use various fabric scraps and decorations, letting your creativity shine.
- Great for Gifts: Handmade ornaments add a personal touch to the holiday season, perfect for friends and family.
- Interactive Activity: Whether you’re crafting solo or with kids, it’s an enjoyable way to spend an afternoon.
- Adorable Display: These ornaments look great on a tree or as part of a winter-themed centerpiece.
You may also find Diy Acorn Kitten Family Rainbow Decor useful.
Materials You’ll Need
To make your DIY Snowman Ornament, gather the following materials: You may also find Diy Alphabet Window Garland For Kids useful.
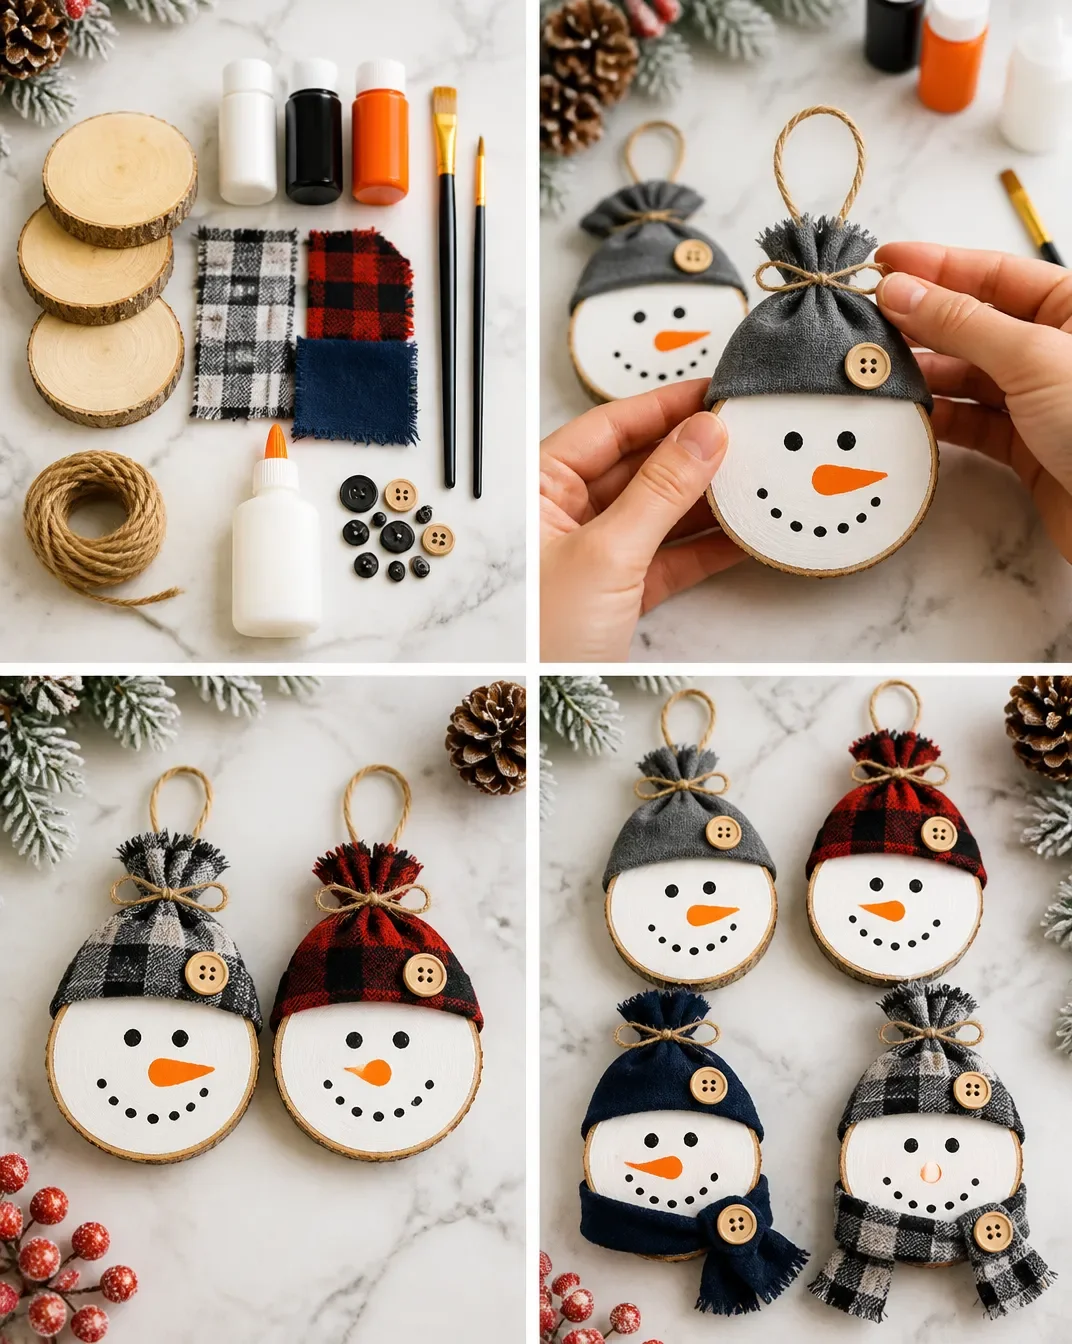
- Round wood slices
- Acrylic paint (white, black, and orange)
- Paintbrushes
- Fabric scraps or ribbon
- Twine or string
- Craft glue
- Small decorative buttons or beads
How to Make DIY Snowman Ornament
- Paint the Wood Slice: Begin by painting the front of each wood slice with white craft paint. Allow it to dry completely before proceeding.
- Add Features: Use black paint to create simple eyes and a dotted smile, and use orange paint for a carrot-shaped nose. Make sure these details are dry before moving on.
- Create the Hat: Take a strip of fabric and wrap it around the top of the wood slice to form a cozy hat. Secure it by tying the top with a piece of twine.
- Add an Accent: Glue a small button or bead onto the hat for a fun accent piece.
- Make It Hang: Finally, attach a looped piece of twine to the back for hanging.
Helpful Tips
- Painting: Use a foam brush for a smoother application of paint on the wood slices.
- Drying Time: Patience is key; ensure each layer of paint is completely dry to prevent smudging when adding details.
- Mess Management: Set up a crafting area that is easy to clean, especially when working with kids.
- Display Ideas: You can hang your snowman ornaments from a holiday tree, or use them as decoration in your home during the winter months.
Creative Variations
- Different Characters: Consider creating different winter characters, like a snowwoman or snowdog, by changing facial features and accessories.
- Patterns and Colors: Experiment with patterned fabric for hats or bold colors for the buttons to give each snowman a unique personality.
- Seasonal Adaptations: Use different colors or themes for other holidays, such as red and green for Christmas.
Making It With Kids
Involve children in the painting and assembly process. Activities like gluing and tying twine can be managed easily with adult supervision. Make sure to supervise when using small items like buttons and scissors for safety. You may also find Diy Bottle Cap Monster Crafts For Kids useful.
How to Display, Use, or Gift It
These snowman ornaments can serve as delightful decorations around your home. They also make perfect gifts for teachers, friends, or family members during holiday gatherings. Add a cheerful note to each gift to share the joy of your handmade creations.
Frequently Asked Questions
Can I use other types of paint?
Yes, you can use non-toxic paints suitable for children if you’re making this craft with them.
What if I don’t have wood slices?
Alternative materials like cardboard or thick paper can work in place of wood slices, although they will differ in durability.
How can I secure the fabrics better?
Using hot glue for fabric pieces can provide a stronger hold but make sure children are supervised when using hot glue.
Do the snowmen have to be white?
Not at all! You can paint your snowmen any color you desire for a fun twist.
What type of twine is best?
A sturdy twine or string that can hold the weight of the ornament is preferable.
How long will the ornaments last?
If stored properly, these ornaments can last for years, becoming part of your annual decoration collection.
Conclusion
Crafting these delightful snowman ornaments is not only rewarding but also a wonderful way to share creativity with loved ones. For more festive inspiration, check out this resource on creating adorable DIY snowman ornaments that includes a helpful video guide!
Print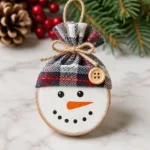
DIY Snowman Ornament
- Total Time: 45 minutes
- Makes: 5 ornaments
Description
Create delightful DIY Snowman Ornaments that bring a festive touch to your holiday decor.
Materials
- Round wood slices
- Acrylic paint (white, black, and orange)
- Paintbrushes
- Fabric scraps or ribbon
- Twine or string
- Craft glue
- Small decorative buttons or beads
Instructions
- Paint the wood slice with white craft paint and let it dry completely.
- Add black paint to create eyes and a smile, using orange for the nose.
- Create a hat by wrapping a strip of fabric around the top and secure it with twine.
- Glue a small button or bead onto the hat for decoration.
- Attach a looped piece of twine for hanging on the back.
Notes
Use a foam brush for smoother paint application and supervise children while using small items.