

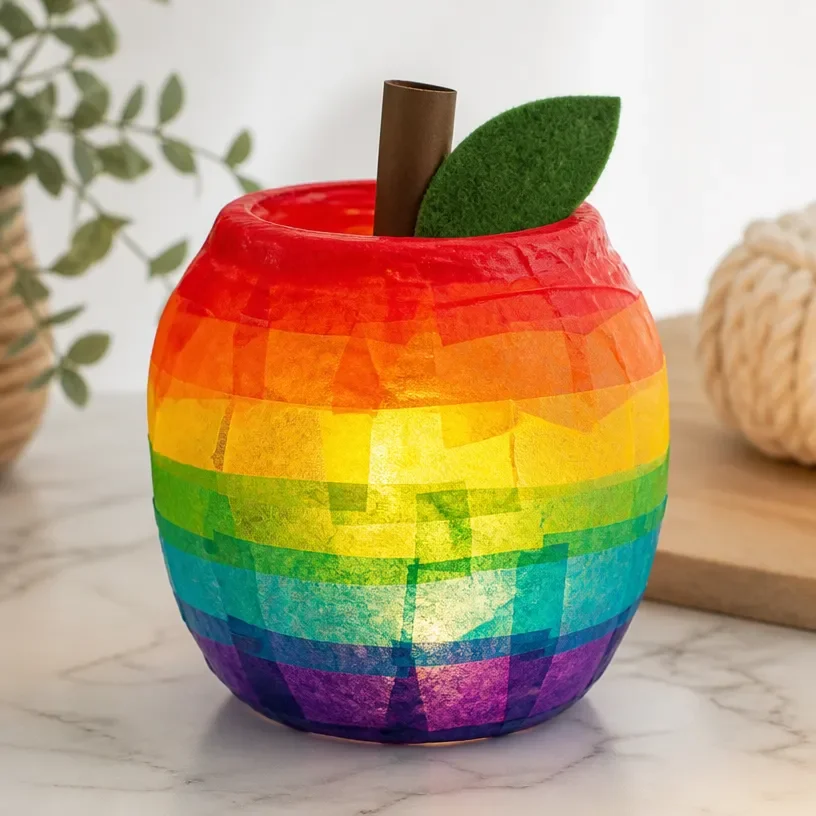
DIY Rainbow Tissue Paper Apple Lantern
Creating a DIY Rainbow Tissue Paper Apple Lantern is a delightful craft that can brighten up any space. It’s perfect for kids’ rooms, classrooms, or even as a seasonal decoration. This craft not only encourages creativity but also provides an engaging activity that fosters fine motor skills. Let’s dive into the joy of crafting! You may also find Rainbow Tissue Paper Flower Lantern Diy For Kids useful.
Why You’ll Love This Project
- Colorful Display: The vibrant tissue paper colors create a lovely lantern that brightens any room.
- Simple Materials: You only need a few easy-to-find materials, making it a budget-friendly project.
- Fun for All Ages: This activity is suitable for kids and can be a great bonding experience for families.
- Creative Outlet: Allow your child to explore their artistic side by choosing their favorite colors and patterns.
- Decorative Use: Once completed, you can use the lantern as a charming decoration or gift it to someone special.
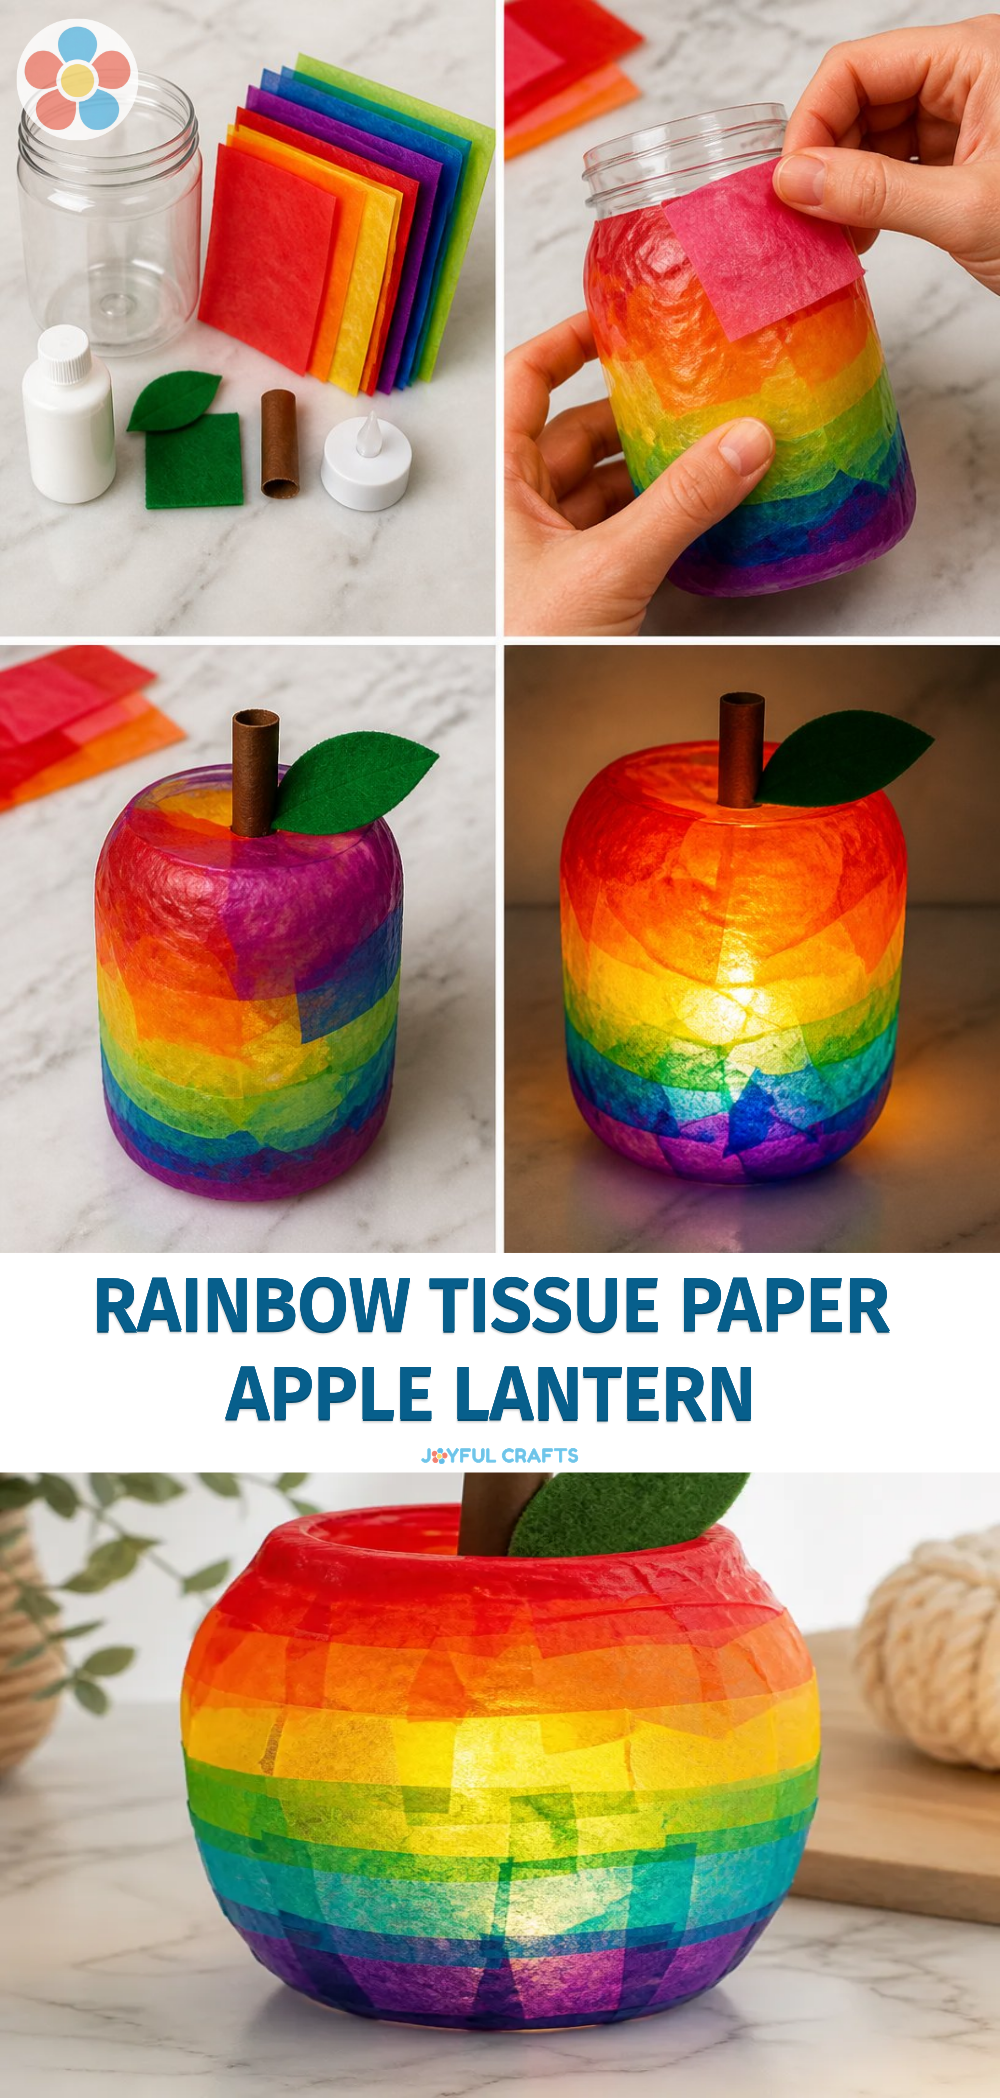
You may also find Diy Rainbow Tissue Paper Balloons For Kids useful.
Materials You’ll Need
- Red, green, and yellow tissue paper
- A balloon (for shaping the lantern)
- White craft glue or glue stick
- A paintbrush
- Scissors
- A bowl for water
- A paper plate (for the glue)
- A tea light or LED light (for safety)
How to Make DIY Rainbow Tissue Paper Apple Lantern
Prepare Your Workspace: Spread out your materials on a clean, flat surface. You might want to lay down some newspaper or a plastic covering for easy cleanup. You may also find Diy Rainbow Popsicle Stick Flower Wheel Craft useful.
Inflate the Balloon: Blow up your balloon to a size you like for the lantern, and tie it off. This will form the shape of your apple lantern. You may also find Rainbow Apple Cork Stamp For Kids useful.
Cut the Tissue Paper: Cut your tissue paper into small squares or circles, about 2×2 inches. Choose a mix of red, green, and yellow to create the rainbow effect.
Create the Glue Mixture: In a bowl, mix a small amount of white craft glue with water until it reaches a paint-like consistency.
Start Gluing: Dip a paintbrush into the glue mixture and apply it to a section of the balloon. Start placing your tissue paper pieces onto the glue while it’s still wet. Overlap them to create a layered effect.
Continue Layering: Work your way around the balloon, adding tissue paper until the desired thickness is reached. Aim to cover the balloon about two to three layers thick.
Allow to Dry: Place the balloon in a safe spot and let it dry completely, which may take a couple of hours.
Pop the Balloon: Once dry, carefully pop the balloon and remove it, leaving you with a hollow lantern shape.
Add Finishing Touches: Cut out leaf shapes from green tissue paper and glue them to the top of the lantern to create the apple’s leaves.
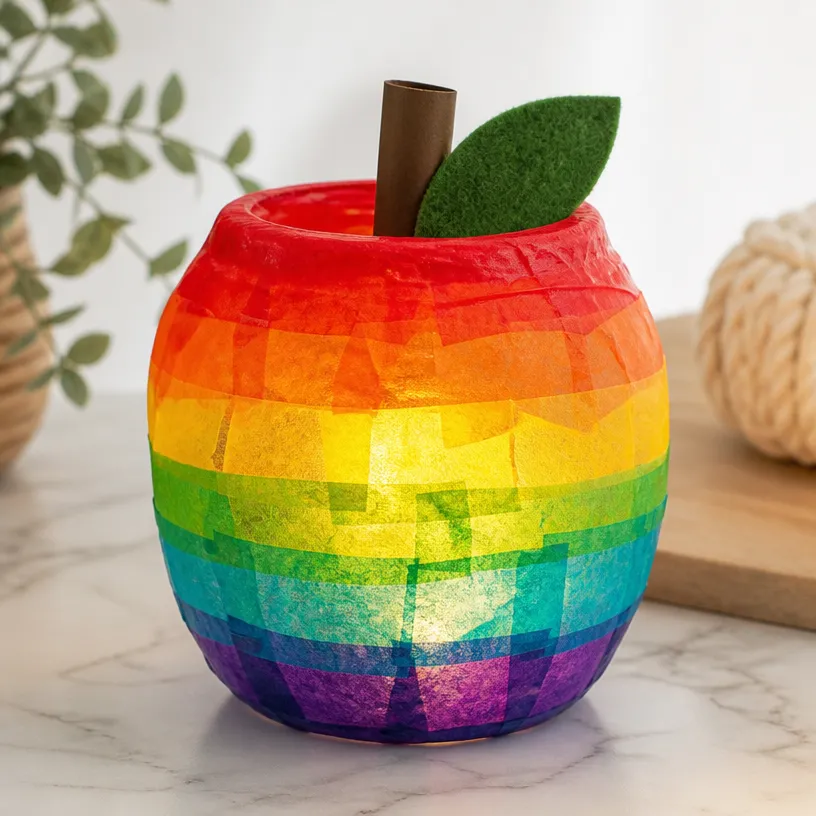
Helpful Tips
- Use LED Lights: For safety, use LED tea lights instead of traditional candles.
- Experiment with Patterns: Don’t hesitate to mix colors and patterns this is your creative project!
- Patience is Key: Allow ample drying time to ensure the lantern holds its shape. Rushing this step might compromise the structure.
Creative Variations
- Seasonal Themes: Change the colors to reflect different seasons; for instance, use warm colors like orange and brown for autumn vibes.
- Different Shapes: Instead of an apple, use this technique to create different fruits or shapes like pumpkins or pears!
Making It With Kids
This craft is excellent for engaging children, but adult supervision is encouraged, especially when using scissors and balloons. Let kids express their creativity, and enjoy the togetherness that crafting offers.
How to Display, Use, or Gift It
Once completed, place your DIY Rainbow Tissue Paper Apple Lantern on a shelf, in a window, or use it as a centerpiece. This project not only makes a lovely decoration but also serves as a delightful gift for family and friends!
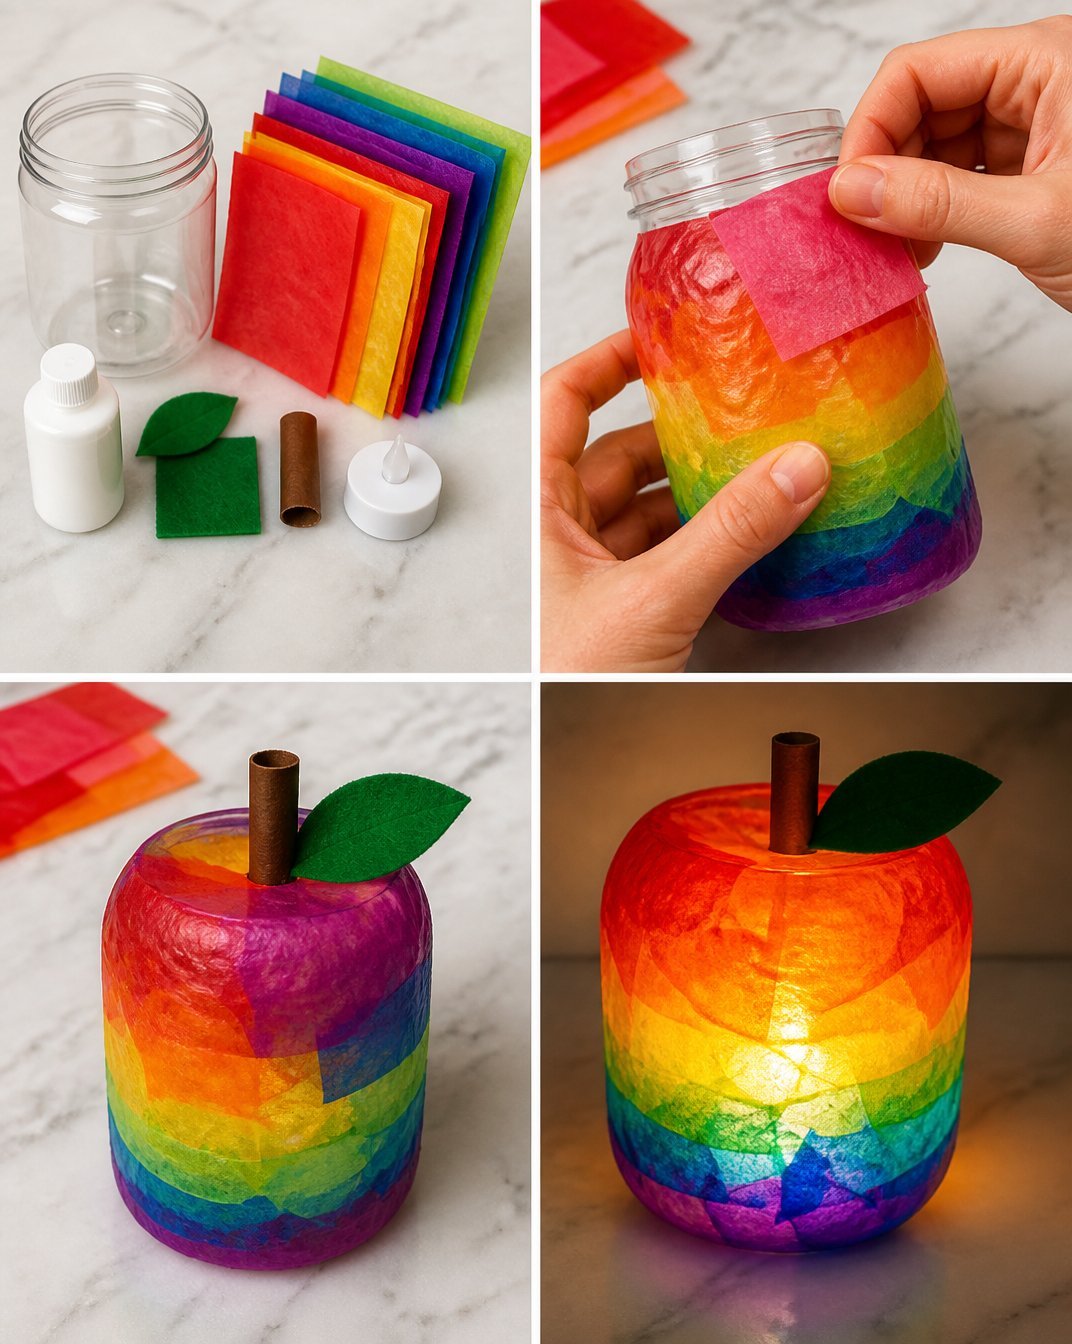
Frequently Asked Questions
How long does it take for the lantern to dry?
Drying can take anywhere from 2-4 hours depending on humidity and thickness of the glue.
Can I use real candles with this lantern?
For safety reasons, it’s best to use LED tea lights instead of real candles.
What if the balloon pops while drying?
If the balloon pops, you may need to start over. Be gentle while handling the lantern!
Can I paint over the tissue paper?
Yes, once the lantern is fully dry, you can use paint to add extra designs or elements.
What’s the best way to store the lantern?
It’s best to store your lantern in a safe, dry place to avoid crushing it.
Conclusion
Crafting this DIY Rainbow Tissue Paper Apple Lantern is a wonderful way to express creativity and create something beautiful that can be enjoyed for many occasions. For additional inspiration, consider exploring a variety of decorating options like DIY Camper Party Decor with LED Candles Lights Hanging to enhance your crafting adventures!
Print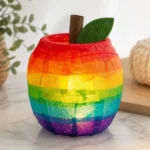
DIY Rainbow Tissue Paper Apple Lantern
- Total Time: 180 minutes
- Makes: 1 lantern
Description
Create a delightful and colorful lantern using simple materials, perfect for kids’ rooms or seasonal decorations.
Materials
- Red, green, and yellow tissue paper
- A balloon
- White craft glue or glue stick
- A paintbrush
- Scissors
- A bowl for water
- A paper plate for the glue
- A tea light or LED light
Instructions
- Prepare your workspace by spreading out materials on a clean surface.
- Inflate the balloon to your desired size and tie it off.
- Cut the tissue paper into squares or circles, about 2×2 inches.
- Create a glue mixture in a bowl with white craft glue and water.
- Start gluing tissue paper onto the balloon using a paintbrush.
- Continue layering tissue papers until the desired thickness is achieved.
- Allow the lantern to dry completely.
- Pop the balloon gently once dry to reveal the lantern shape.
- Add leaf shapes from green tissue paper to the top for decoration.
Notes
Use LED lights for safety and allow ample drying time to maintain structure.