

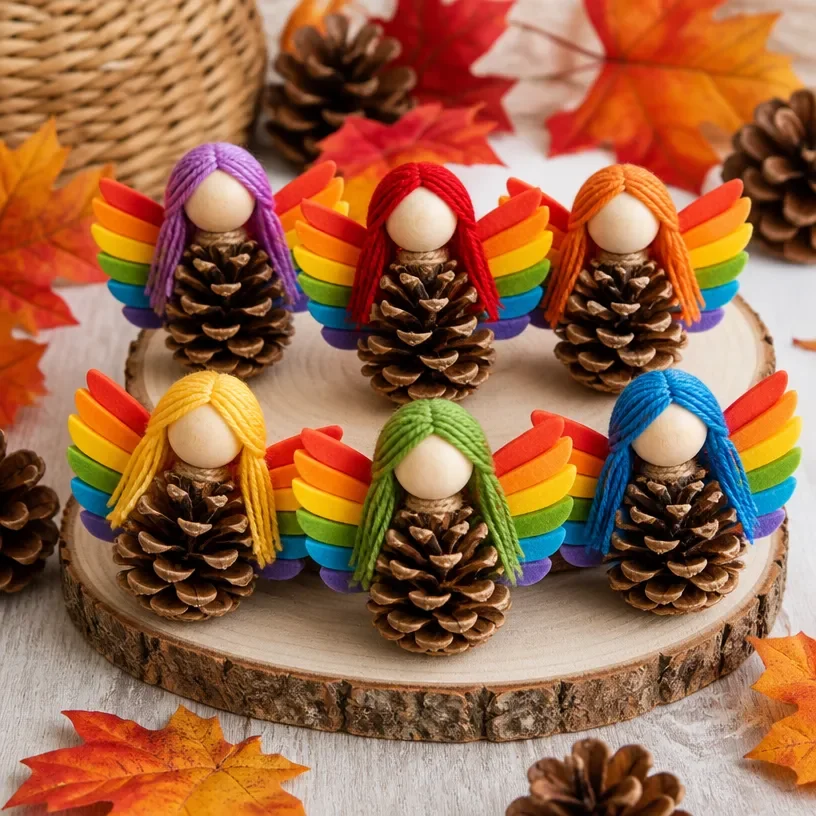
Rainbow Pinecone Fairies: Autumn Decor Ideas
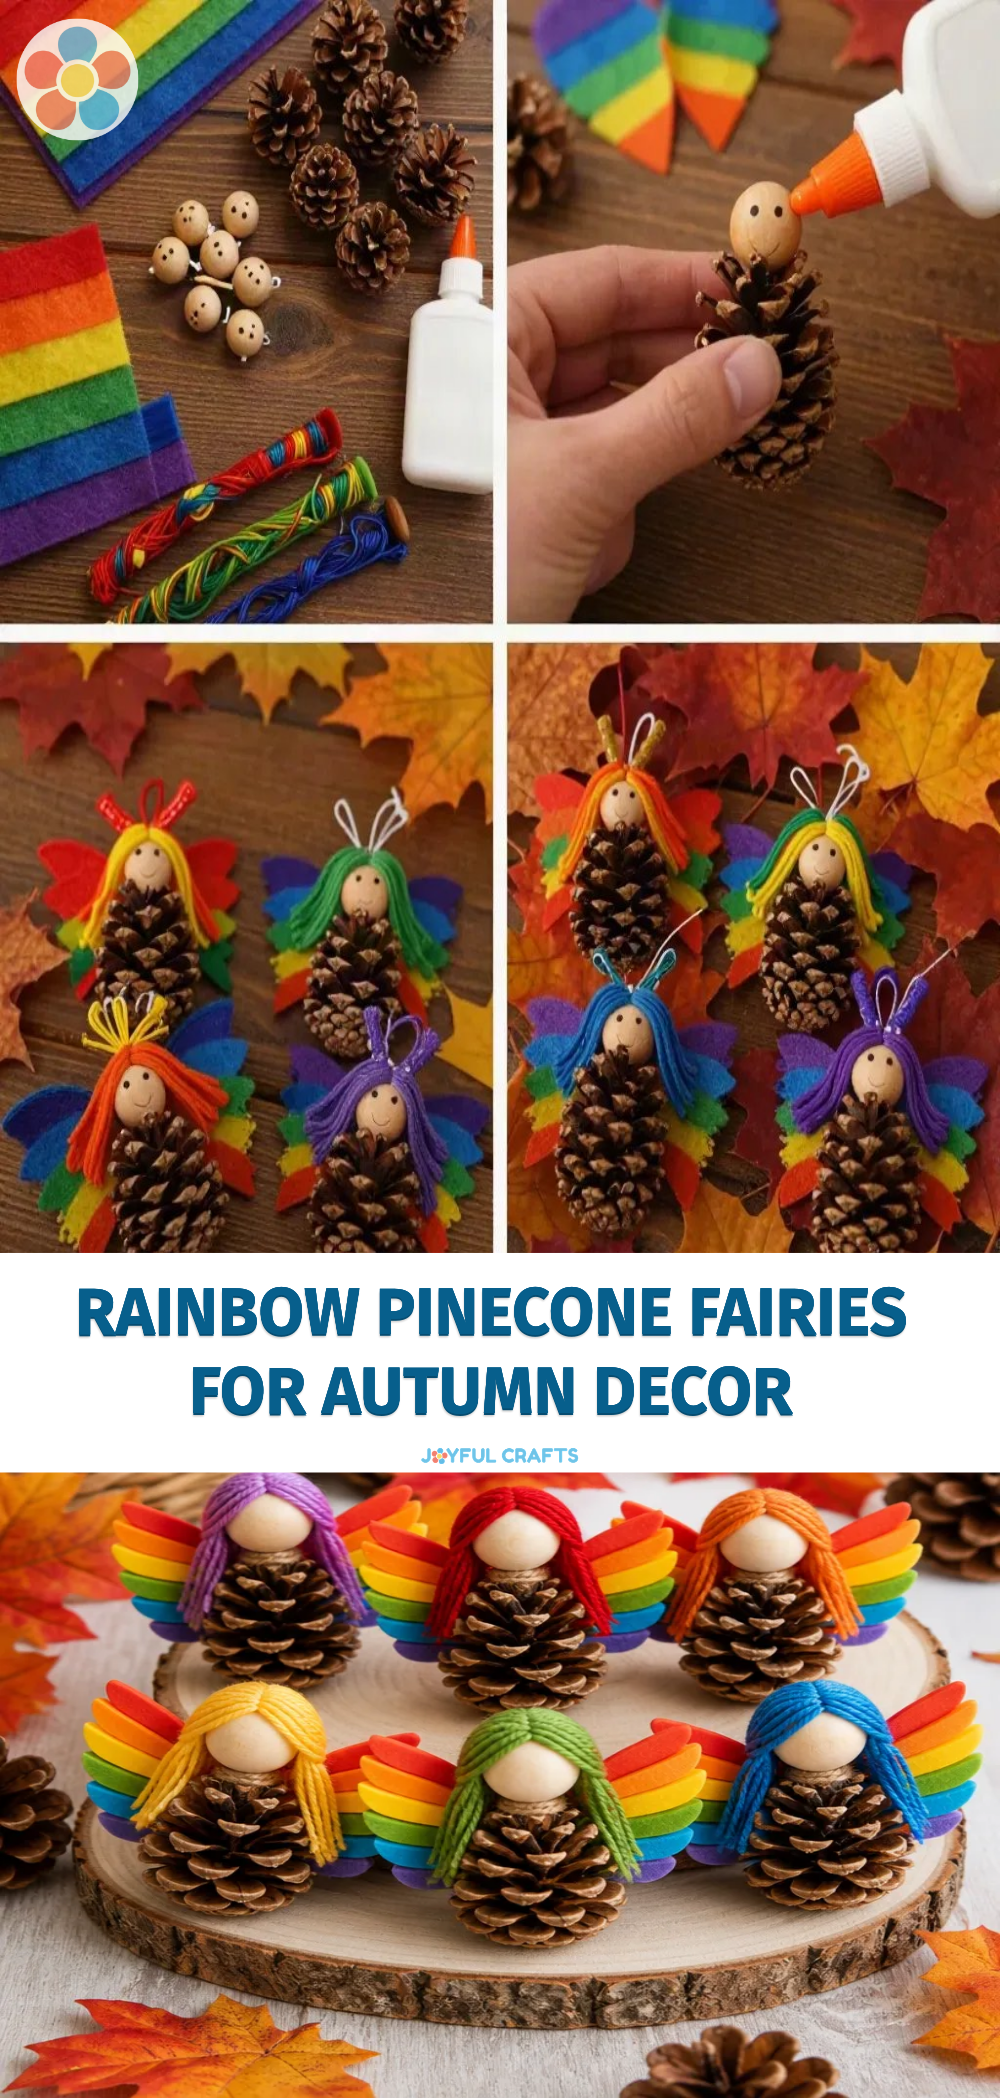
Embrace the beauty of autumn with delightful Rainbow Pinecone Fairies that bring a whimsical touch to your home! This craft is not only an engaging way to decorate but also a fantastic opportunity for families to connect through creativity. As you gather pinecones and colorful materials, you can transform simple natural elements into enchanting fairies that celebrate the season. You may also find Rainbow Button Apple Teacher Frame Classroom Decor useful.
Why You’ll Love This Project
- Creative Exploration: This project allows kids and adults alike to express their creativity by designing unique fairy characters.
- Nature-Inspired Materials: Using pinecones connects the crafting experience to the outdoors, promoting appreciation for nature.
- Affordable Fun: With materials easily found at home or in the yard, this craft is cost-effective and accessible.
- Seasonal Decor: The finished fairies make charming decorations that can enhance autumn festivities or serve as thoughtful gifts.
You may also find Rainbow Crayon Suncatcher Classroom Decor useful.
Materials You’ll Need
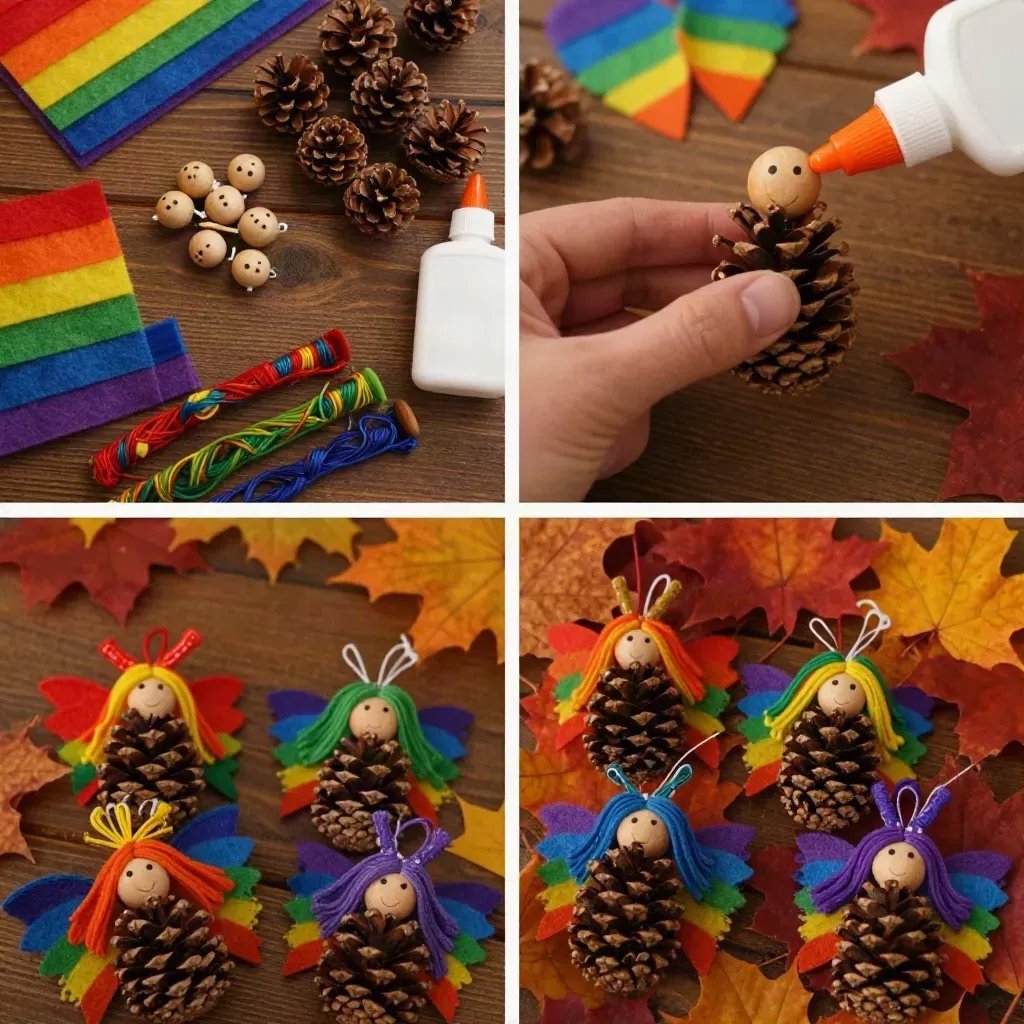
To create your Rainbow Pinecone Fairies, gather the following materials: You may also find Rainbow Crayon Window Art Haunted House Halloween Decor useful.
- Pinecones (medium-sized)
- Colorful felt or fabric scraps
- Googly eyes
- Hot glue gun and glue sticks (adult supervision recommended)
- Scissors
- Markers or paint (for styling)
- Ribbon or string (for hanging, optional)
How to Make Rainbow Pinecone Fairies: Autumn Decor Ideas
Prepare the Pinecones: Start by cleaning your pinecones to remove any dirt or debris. Set them aside to dry completely if rinsed. You may also find Rainbow Ghost Cupcake Liner Garland Halloween Decor useful.
Create the Fairy Dress: Cut out a circular piece of fabric or felt for the dress. It should be large enough to wrap around the pinecone. Secure it in place with a hot glue gun.
Add Eyes and Face: Use the hot glue to attach googly eyes to the top of the pinecone, where the fairy’s face will be. You can also draw a mouth with markers to give your fairy some personality!
Craft the Fairy Hair: Cut strips of colorful felt or fabric to create ‘hair’. Glue the strips to the top of the pinecone, allowing them to flow down the sides.
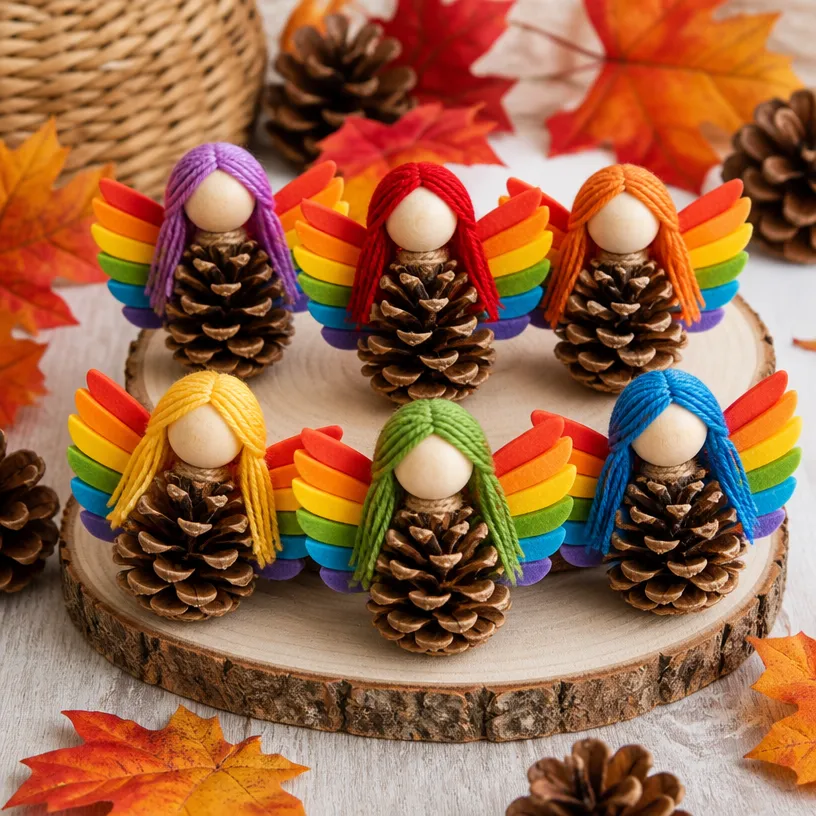
Accessorize: Use additional scraps to create wings, hats, or other embellishments that reflect your fairy’s personality. These can be glued onto the body of the pinecone.
Finishing Touches: Once everything is glued in place, let your fairies dry completely. If desired, attach a ribbon or string at the top for hanging.
Helpful Tips
- Adult Supervision: When using a hot glue gun, adult supervision is necessary to prevent burns.
- Mess Control: Lay down a protective cloth or newspaper on your work surface to easily clean up any glue spills or fabric scraps.
- Drying Time: Ensure each layer of glue is fully dry to prevent any pieces from falling off when moved.
Creative Variations
- Experiment with different colors and patterns for the dresses and accessories to make each fairy unique.
- Create a theme, such as Halloween or a festive autumn celebration, by adding small decorations like mini pumpkins or leaves.
- For a cozy display, make a fairy family by varying the sizes of the pinecones and the colors of the materials.
Making It With Kids
Involve your children in the crafting process by allowing them to choose their favorite colors and fabrics. Make sure to explain the use of scissors and the hot glue gun clearly, and you could take turns helping each other. It’s a wonderful way to bond and create lasting memories.
How to Display, Use, or Gift It
Showcase your Rainbow Pinecone Fairies on a mantle, dining table, or in a cozy corner of your home. They can also be delightful gifts for friends and family, wrapped neatly or given as part of a homemade care package.
Frequently Asked Questions
Can I use other materials besides felt?
Yes! You can use any fabric scraps, paper, or even natural materials like leaves and flowers to decorate your fairy.
What if I don’t have a hot glue gun?
You can use school glue or craft glue, but be aware that it may take longer to dry and secure pieces effectively.
How do I clean up after crafting?
Ensure you gather all fabric scraps and used materials, and clean any glue spills with rubbing alcohol before it dries.
Can I make these fairies in larger sizes?
Absolutely! Just use larger pinecones and adjust the amount of fabric accordingly for dresses and accessories.
Are there other seasonal variations of this craft?
Yes! You can create seasonal fairy decorations for Christmas, spring, and summer by changing the colors and accessories used.
What age is suitable for this project?
This craft is great for a range of ages! Younger children may need more adult help, especially with scissors and glue.
Conclusion
Creating Rainbow Pinecone Fairies is a joyful way to celebrate autumn and unleash your creativity. With just a few materials and some imagination, you can make delightful decorations that bring warmth and color to your home. For more inspiration on crafting with natural materials, you might enjoy exploring these 48 amazing DIY pine cone crafts & decorations. Happy crafting!
Print
Rainbow Pinecone Fairies
- Total Time: 15 minutes
- Makes: Multiple fairies
Description
Create whimsical Rainbow Pinecone Fairies that brighten up your autumn decor with a touch of creativity and nature-inspired materials.
Materials
- Medium-sized pinecones
- Colorful felt or fabric scraps
- Googly eyes
- Hot glue gun and glue sticks
- Scissors
- Markers or paint
- Ribbon or string (optional)
Instructions
- Prepare the pinecones by cleaning them and setting aside to dry.
- Create the fairy dress by cutting a circular fabric piece large enough to wrap around the pinecone, securing it with hot glue.
- Add googly eyes to the top for the fairy’s face and draw a mouth with markers.
- Craft the fairy hair by cutting colorful strips and gluing them to the pinecone.
- Accessorize with scraps for wings and hats that reflect the fairy’s personality.
- Finishing touches include letting everything dry and adding ribbon for hanging, if desired.
Notes
Adult supervision is recommended when using a hot glue gun. Experiment with colors and patterns for uniqueness.