
DIY Rainbow Ghost Shaker Suncatcher for Kids
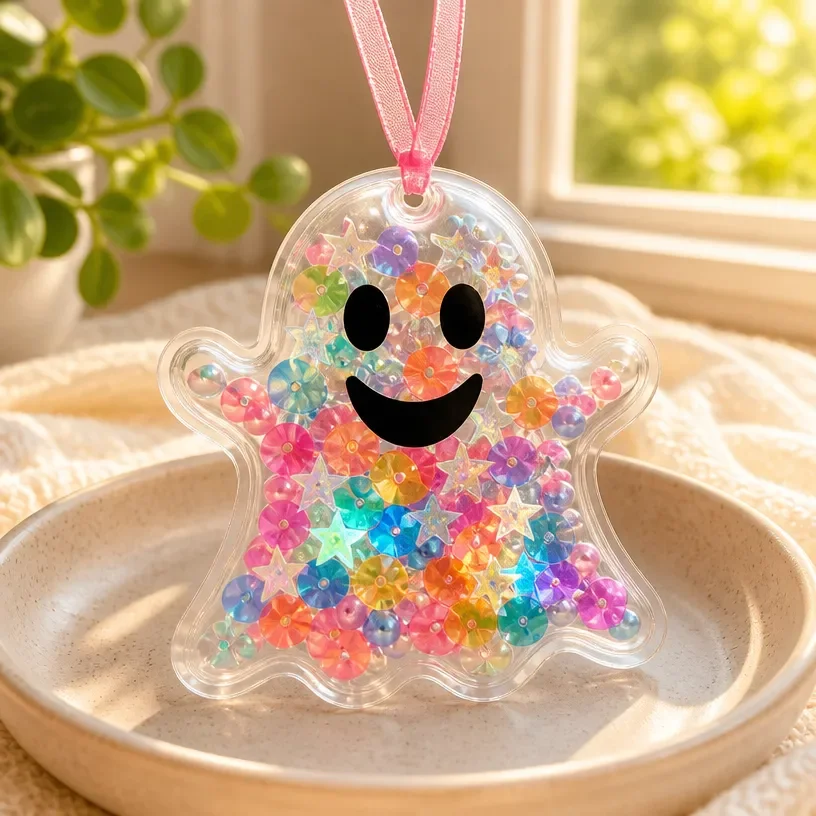
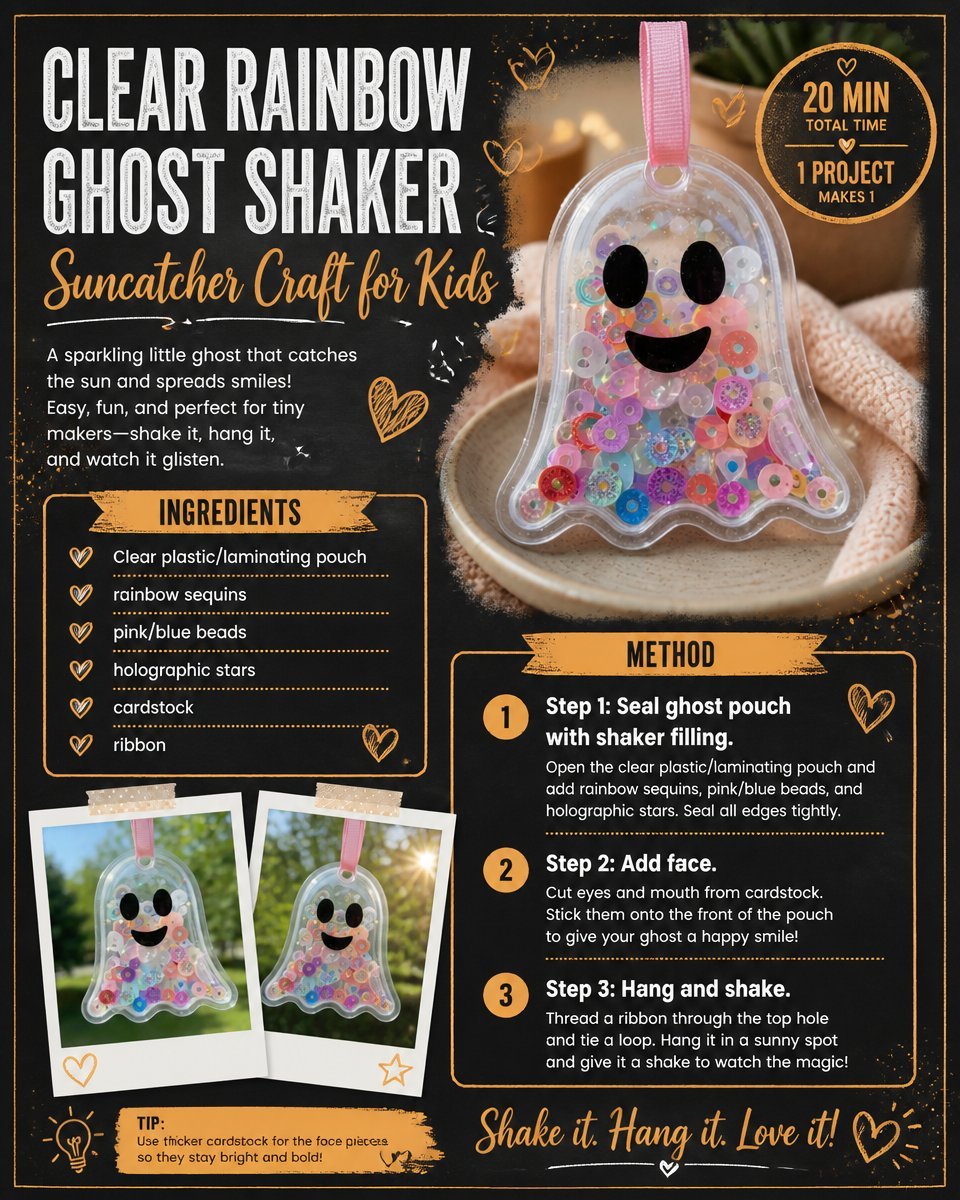
Create a delightful Rainbow Ghost Shaker Suncatcher with your kids! This project is not only fun but also encourages creativity and skill development as they work with colorful materials. Plus, they’ll love watching the sun shine through their unique creation, casting vibrant colors around the room. You may also find Melted Crayon Rainbow Butterfly Suncatcher For Kids useful.
Why You’ll Love This Project
- Simple and Fun: This craft is easy enough for young children to participate in, making it a great family activity.
- Encourages Creativity: Kids can personalize their suncatchers with different colors and designs, sparking their imagination.
- Educational Value: This project integrates art with basic science concepts, such as light and color, making it a wonderful STEM activity.
- Seasonal Decorations: The finished suncatcher can be displayed year-round, adding a touch of whimsy to your home.
- Safe and Affordable: Made from common materials, this craft is both budget-friendly and safe for children to handle.
You may also find Melted Crayon Rainbow Heart Suncatcher For Kids useful.
Materials You’ll Need
- Clear plastic sheet or contact paper
- Rainbow-colored tissue paper
- Scissors
- Black marker
- Tape
- White glitter (optional)
- String or ribbon for hanging
How to Make DIY Rainbow Ghost Shaker Suncatcher for Kids
- Start by cutting the clear plastic sheet or contact paper into a ghost shape. You can use a template or draw it freehand.
- If using contact paper, peel the backing off to expose the sticky side.
- Tear or cut the rainbow-colored tissue paper into small pieces.
- Place the tissue paper pieces on the sticky side of the plastic or contact paper to fill the ghost shape, leaving some space for the shaker effect.
- Sprinkle a little white glitter on top of the tissue paper for extra sparkle.
- Once the ghost shape is filled, cover it with another piece of clear plastic sheet or another layer of contact paper to seal everything in place.
- Use a black marker to draw eyes and a mouth on your ghost.
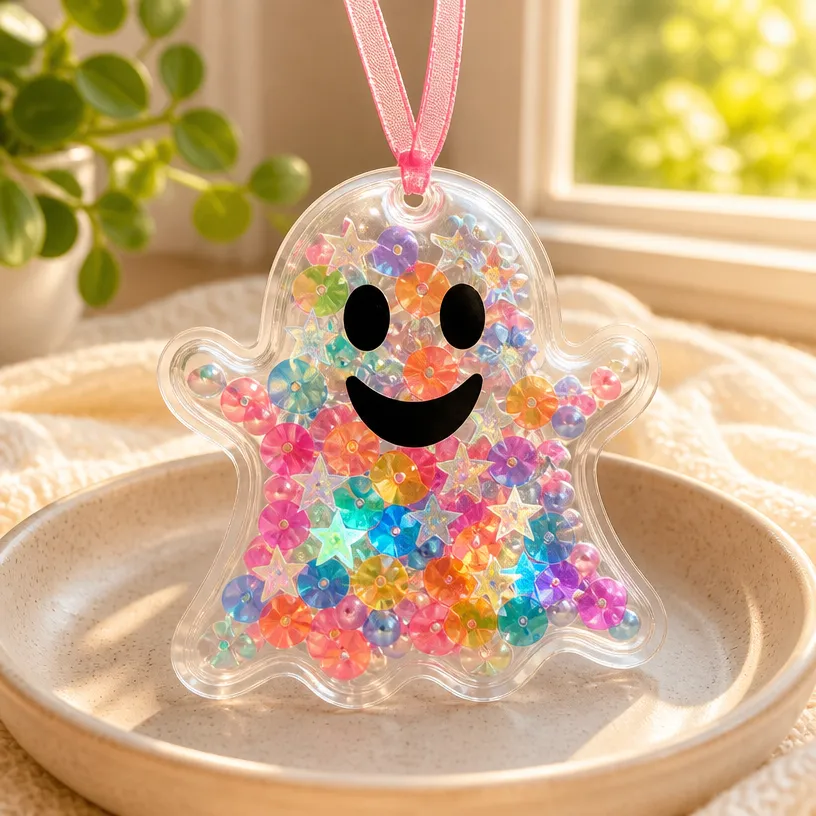
- Cut a piece of string or ribbon, tape it to the top of the suncatcher, and your project is ready to display!
Helpful Tips
- Mess Control: To minimize mess while working with tissue paper, laying down a tablecloth or newspaper can help with clean-up.
- Displaying: Hang your suncatcher in a sunny window where it can catch the light, creating beautiful reflections.
- Emphasize Technology: Introduce some technology by taking photos of the suncatchers from various angles to see how the light interacts with different colors.
Creative Variations
Encourage your children to explore their creativity by changing up the colors or shapes of their suncatchers. They can create multiple ghosts in different sizes or even add other shapes like stars or hearts. Using different colors of glitter or even painting the ghost faces with glow-in-the-dark paint can add an enchanting dimension to their creations.
Making It With Kids
This project is ideal for family crafting sessions. Ensure safe handling of scissors, and supervise when necessary. While children can enjoy tearing and gluing, an adult should assist with cutting and using markers for drawing details.
How to Display, Use, or Gift It
Once completed, your Rainbow Ghost Shaker Suncatcher can be hung in windows to brighten any room. They also make wonderful homemade gifts for friends and family, perfect for holidays or just to say “I care.”
Frequently Asked Questions
1. Can I use other materials besides tissue paper?
Yes, you can experiment with colored cellophane, paper, or even fabric remnants to create different effects.
2. What if I don’t have contact paper?
You can use clear plastic sheets or transparent food storage bags to achieve a similar effect.
3. How long will my suncatcher last?
With proper care, your suncatcher can last for many seasons of sunlight.
4. Can this project be done outside?
Absolutely! Crafting outside can make the clean-up easier, just be mindful of the wind.
5. How can we make a larger suncatcher?
Simply increase the size of your template for a larger ghost and use more tissue paper.
6. What’s the best way to clean the suncatcher if it gets dirty?
A gentle wipe with a damp cloth should do the trick without damaging the materials.
Conclusion
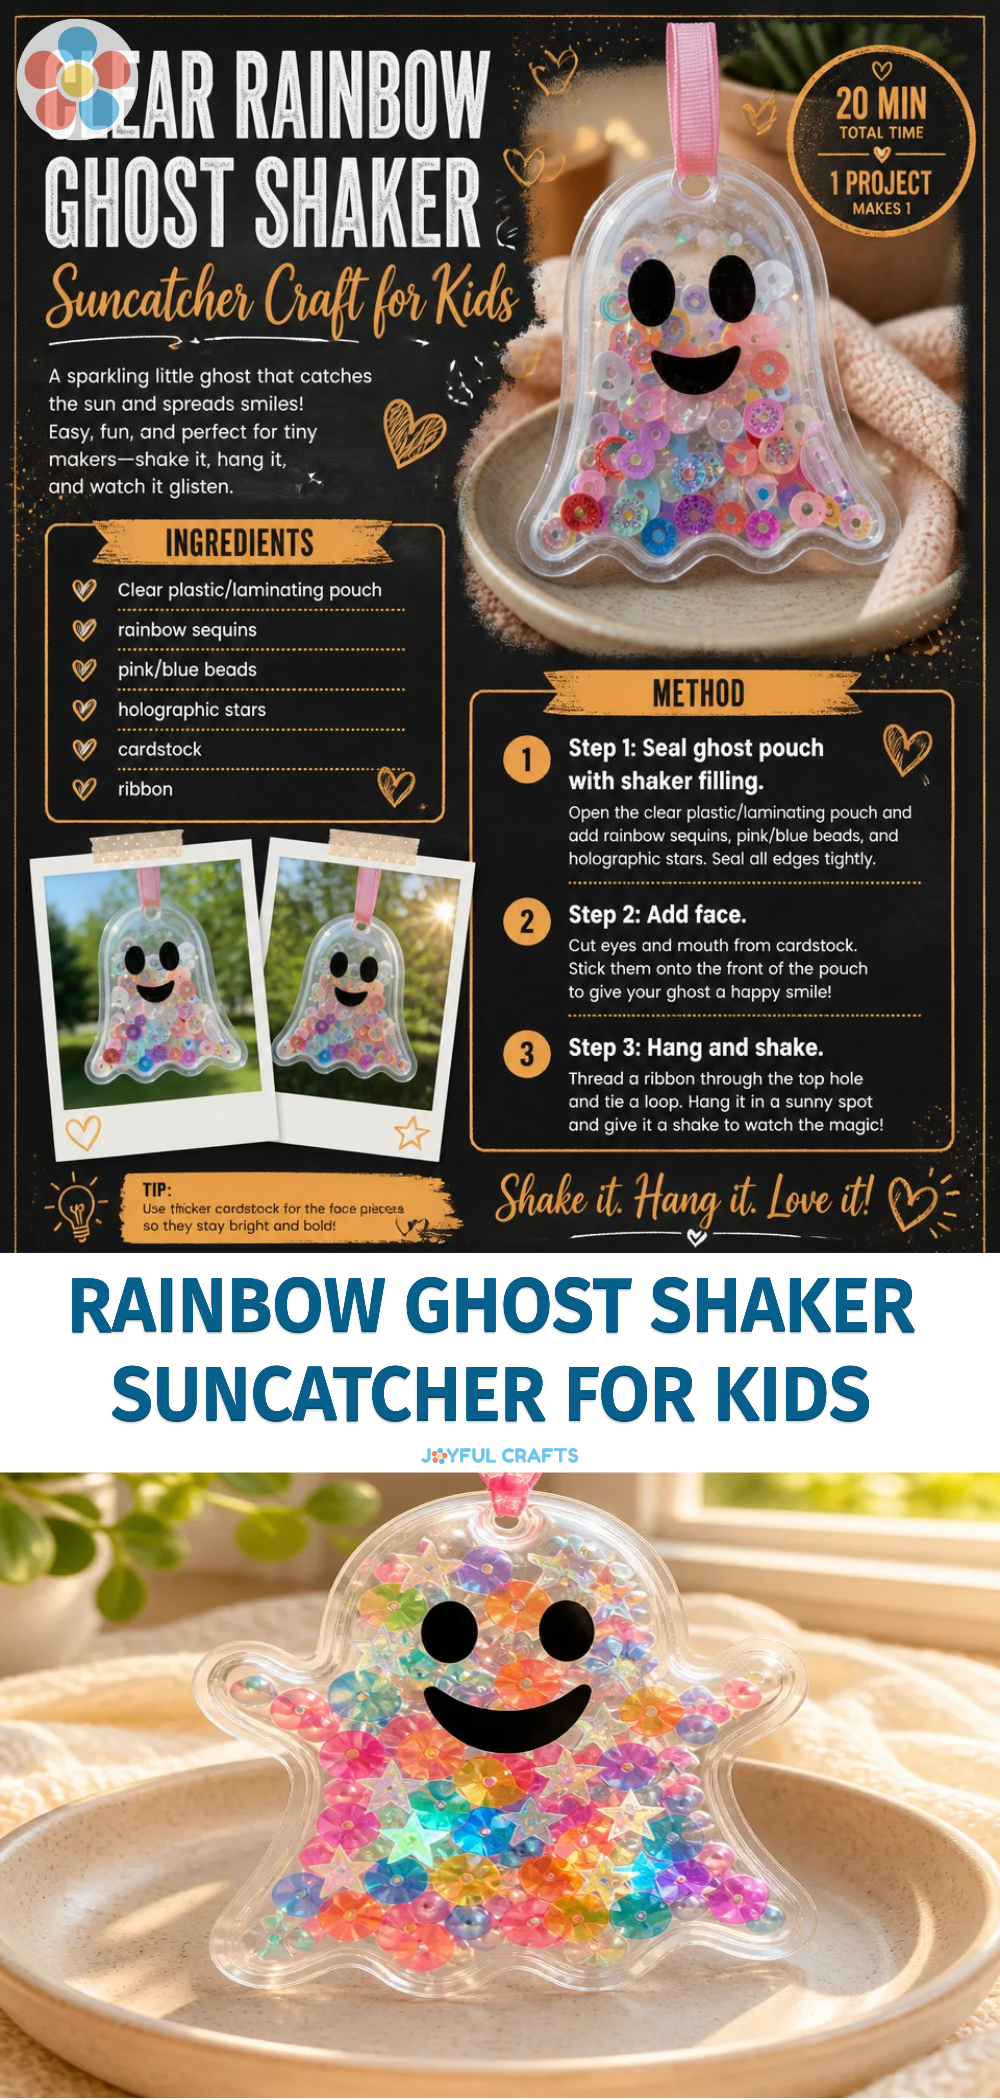
Creating a Rainbow Ghost Shaker Suncatcher is a wonderful way to engage kids in crafting while also teaching them about colors and light. For more inspiration and ideas on colorful crafts, be sure to check out the Clear Rainbow Ghost Shaker Suncatcher Craft for Kids!
Print
DIY Rainbow Ghost Shaker Suncatcher for Kids
- Total Time: 10 minutes
- Makes: 1 suncatcher
Description
Create a delightful Rainbow Ghost Shaker Suncatcher with your kids, combining fun, creativity, and educational value in a hands-on project.
Materials
- Clear plastic sheet or contact paper
- Rainbow-colored tissue paper
- Scissors
- Black marker
- Tape
- White glitter (optional)
- String or ribbon for hanging
Instructions
- Start by cutting the clear plastic sheet or contact paper into a ghost shape.
- If using contact paper, peel the backing off to expose the sticky side.
- Tear or cut the rainbow-colored tissue paper into small pieces.
- Place the tissue paper pieces on the sticky side of the plastic to fill the ghost shape.
- Sprinkle a little white glitter on top of the tissue paper for extra sparkle.
- Once the ghost shape is filled, cover it with another piece of clear plastic or another layer of contact paper.
- Use a black marker to draw eyes and a mouth on your ghost.
- Cut a piece of string or ribbon, tape it to the top, and your project is ready to display!
Notes
Encourage variations in colors and shapes, and supervise children when using scissors and markers.