

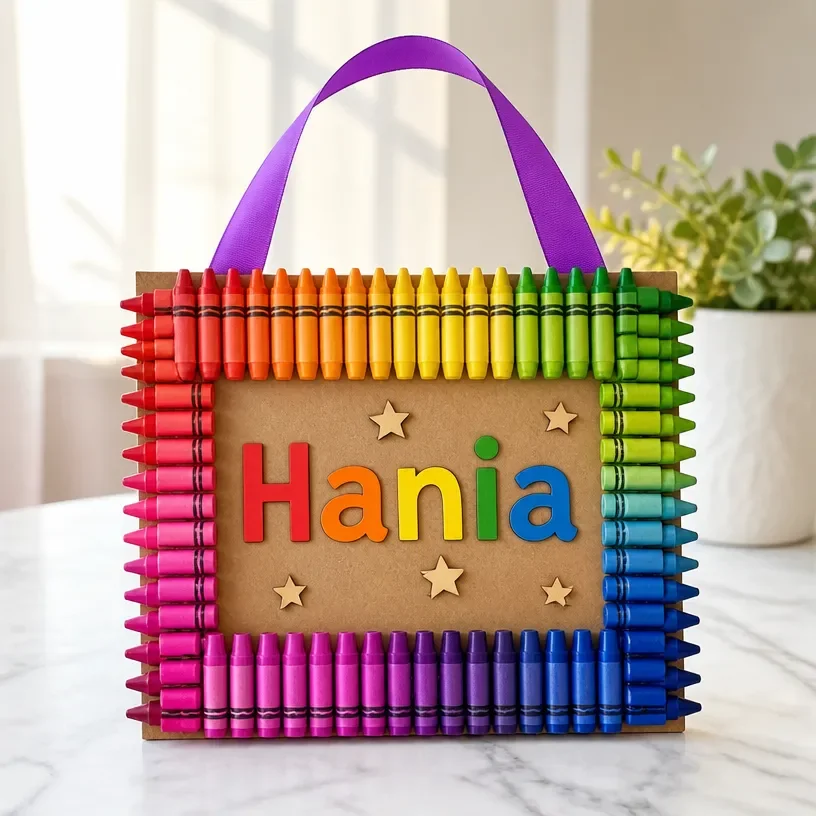
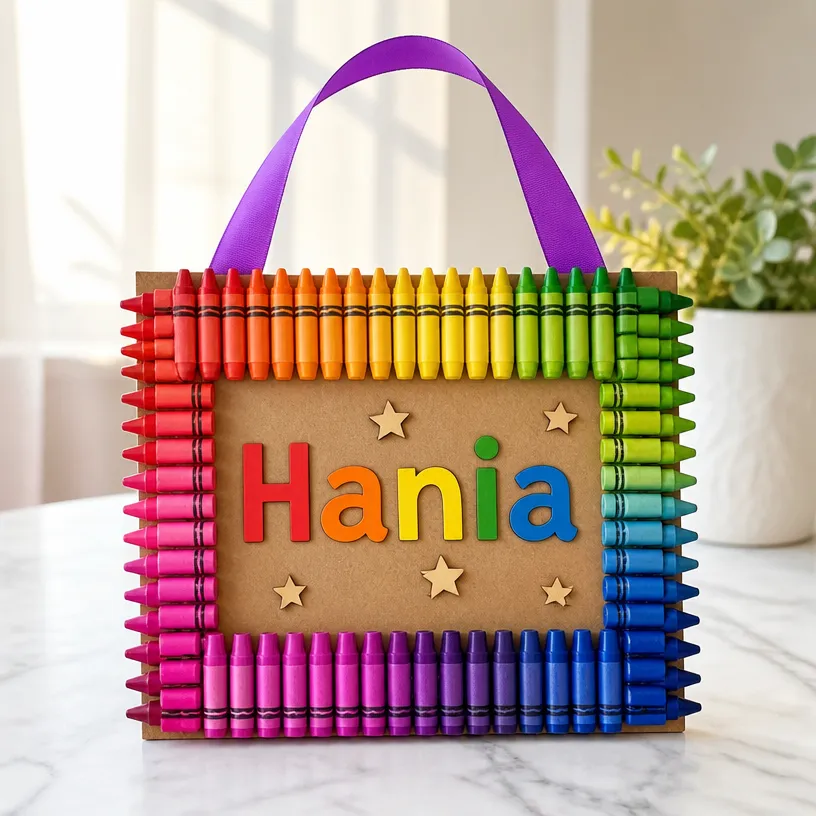
Rainbow Crayon Classroom Name Sign – Colorful Name Plate for Kids’ Classrooms
Creating a colorful name plate for your child’s classroom is a delightful way to personalize their space. This Rainbow Crayon Classroom Name Sign project not only adds a splash of color but also encourages creativity and pride in their artwork. As a bonus, it’s a wonderful opportunity for kids to engage in craft-making, enhancing their fine motor skills along the way. You may also find Colorful Rainbow Monster Pencil Holder For Kids useful.
Why You’ll Love This Project
- Personalization: Kids will enjoy having a name sign that reflects their personality and creativity.
- Easy and Affordable: The materials are simple and budget-friendly, making it accessible for everyone.
- Fun for All Ages: This project can be enjoyed by younger kids with adult supervision or older kids as an independent craft.
- Colorful Decor: The finished name plate brightens up any classroom or play area, making it a fun decorative item.
You may also find Melted Crayon Rainbow Butterfly Suncatcher For Kids useful.
Materials You’ll Need
- Crayons (broken pieces work best)
- A piece of white cardstock
- Hot glue gun (with adult supervision)
- A craft knife or scissors (with adult supervision)
- Optional: decorative materials (like glitter, stickers, or paint)
How to Make Rainbow Crayon Classroom Name Sign – Colorful Name Plate for Kids’ Classrooms
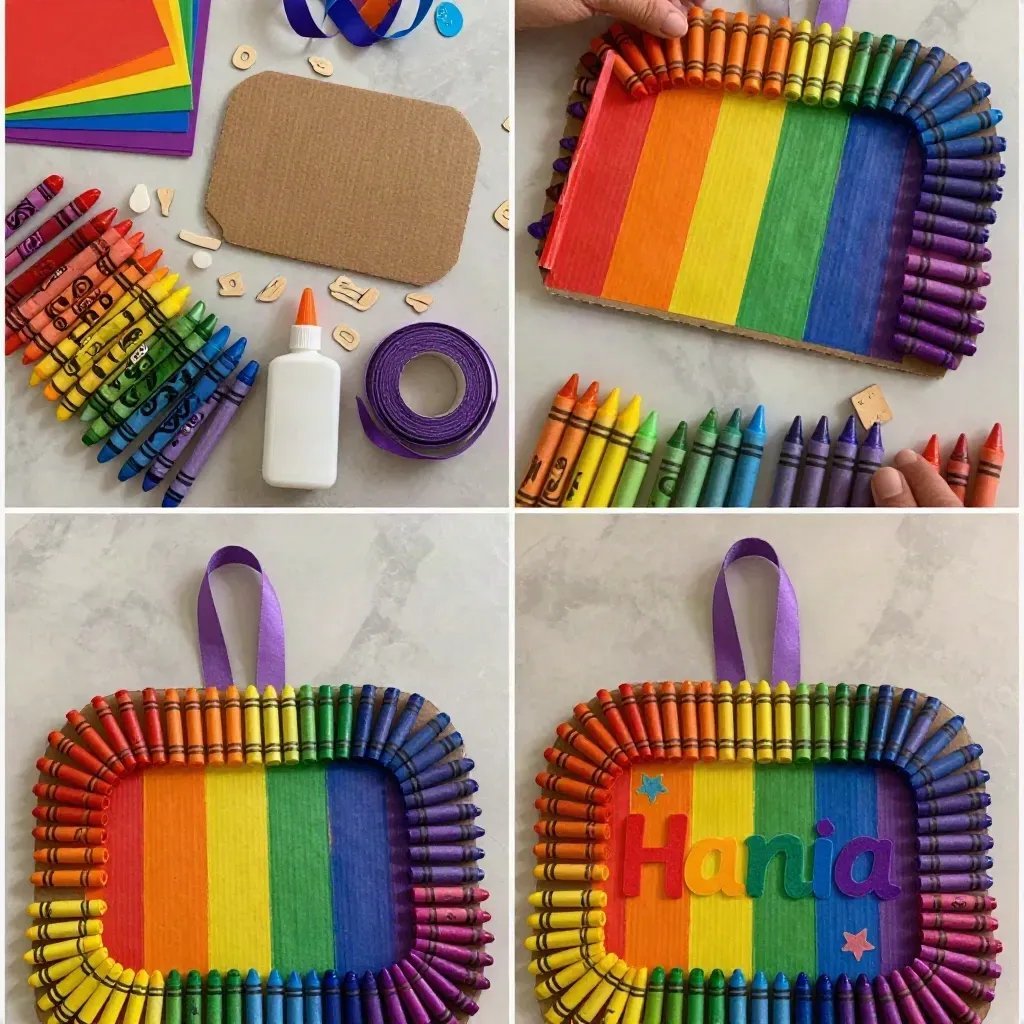
Prepare the Crayons: Gather your broken crayon pieces and arrange them in a rainbow order on a flat surface. If you need more inspiration for colorful projects, you might enjoy making a melted crayon rainbow heart suncatcher.
Melt the Crayons: Using a hot glue gun, carefully apply a line of glue onto the cardstock where you want to attach the crayons. Younger children should have adult help during this step. Press the crayon pieces onto the glue line, ensuring they are tightly secured. You may also find Clear Rainbow Ghost Shaker Suncatcher Craft For Kids useful.
Cut Out the Name Sign: After the glue has dried and the crayons are secured, use scissors or a craft knife to cut the cardstock into the desired shape for the name sign.
Add the Name: Write your child’s name in bold letters above or below the crayon design using markers or paint. This is a great time to add any extra decorative elements like stickers or drawings.
Display the Name Sign: Once everything is dry, your child can hang the name sign on their classroom desk or on their bedroom door.
Helpful Tips
- Plan Your Colors: Before starting, lay out the crayons in a pattern you like. This helps visualize the final design.
- Supervised Melting: Always supervise the melting and gluing process, as the glue gun can be very hot.
- Use Cardstock: Make sure you use sturdy cardstock to support the heavy crayons, ensuring durability.
Creative Variations
- Seasonal Decor: Encourage your kids to change the color scheme based on seasons or holidays.
- Personal Messages: Along with their names, they can add a favorite quote or saying underneath the name for extra decoration.
- Additional Shapes: Instead of a traditional rectangle, try cutting the name plate into a fun shape like a star or heart.
Making It With Kids
This project is perfect for children, especially when they are excited to see their names displayed proudly. Be sure to supervise with the hot glue gun and sharp cutting tools. This craft can promote a sense of accomplishment as they see their work displayed.
How to Display, Use, or Gift It
The colorful name plate can be used in various settings on a desk at school, at home, or as a gift to a friend. It makes a lovely addition to any learning environment, reminding kids of their individuality.
Frequently Asked Questions
1. Can I use whole crayons instead of broken ones?
Yes, you can use whole crayons, but broken ones melt more readily.
2. How do I hang the name sign?
You can tape it to their desk, or use sticky tack for easy removal.
3. Can I paint the cardstock?
Absolutely! Painting the background can provide a great base color before adding the crayon details.
4. What if I don’t have a hot glue gun?
You can use a strong craft glue, but it may take longer for the crayons to stick.
5. How should I store the name sign when not in use?
Keep it flat in a protective folder or box to avoid bending or breaking.
Conclusion
Crafting a Rainbow Crayon Classroom Name Sign is not only a fun activity for kids but also a delightful addition to their educational space. It encourages creativity and welcomes children to express themselves. If you’re looking for more unique ideas like personalized name tags, check out Kids Desk Name Tag – Etsy for more inspiration!
Print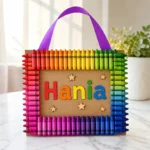
Rainbow Crayon Classroom Name Sign
- Total Time: 45 minutes
- Makes: 1 name sign
Description
Create a colorful name plate for your child’s classroom, promoting creativity and personalization.
Materials
- Broken crayon pieces
- A piece of white cardstock
- Hot glue gun (with adult supervision)
- A craft knife or scissors (with adult supervision)
- Optional: decorative materials (like glitter, stickers, or paint)
Instructions
- Prepare the crayons by arranging them in rainbow order.
- Melt the crayons using a hot glue gun on the cardstock.
- Cut out the name sign shape from the cardstock.
- Add your child’s name in bold letters above or below the crayons.
- Display the name sign on a desk or door.
Notes
Ensure proper supervision during melting and cutting steps. Use sturdy cardstock for durability.