


Rainbow Coffee Filter Pumpkin Fairy Lights Becomes Art
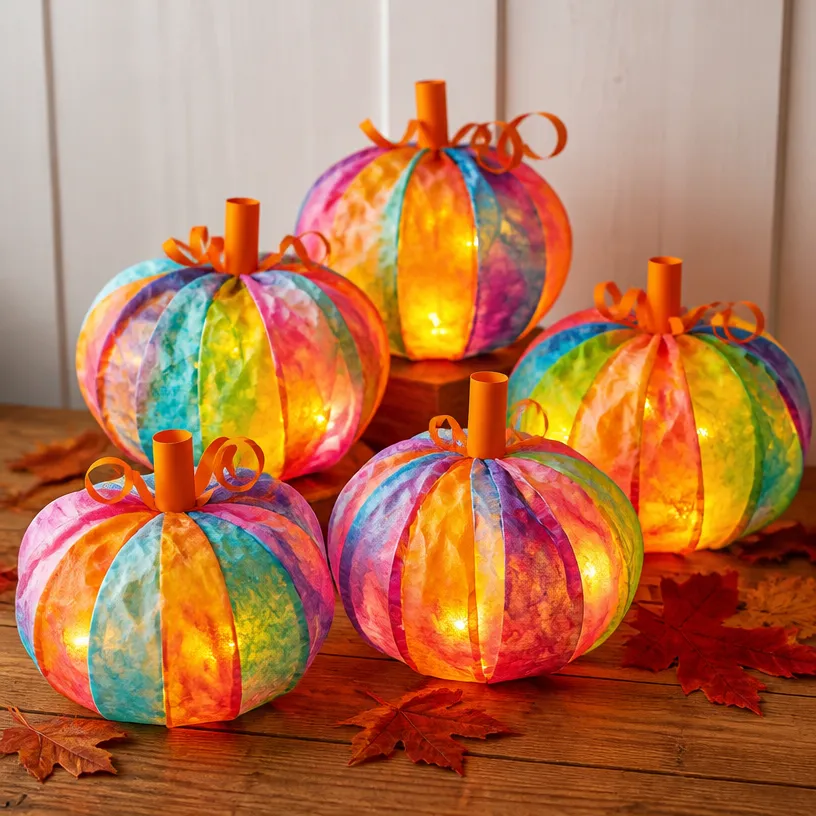
Creating beautiful decorations doesn’t have to be complicated, and the Rainbow Coffee Filter Pumpkin Fairy Lights project is perfect for families looking to add a splash of creativity to their homes. This craft transforms ordinary coffee filters into vibrant pumpkins that glow beautifully when illuminated, making them an ideal art piece for fall or Halloween displays. Not only is it enjoyable to make, but it also brings a cozy and whimsical atmosphere to any room. You may also find Rainbow Apple Bouquet Coffee Filters useful.
Why You’ll Love This Project
- Easy to Follow: The steps in this project are simple enough for beginners, making it a great crafting activity for families.
- Affordable Materials: You’ll only need common supplies, which keeps costs low and fun high.
- Colorful and Creative: This project encourages creativity as you can customize the colors and designs of your pumpkins.
- Great for Any Age: Kids and adults alike can join in on the fun, making it an excellent bonding experience.
- Versatile: These glowing pumpkins can be used for decorations in various settings after being created.
You may also find Rainbow Coffee Filter Apple Wreath useful.
Materials You’ll Need
- Coffee filters
- Water-based marker
- Spray bottle with water
- String lights (battery-operated recommended)
- Green construction paper
- Scissors
- Hot glue gun (adult supervision advised)
How to Make Rainbow Coffee Filter Pumpkin Fairy Lights Becomes Art
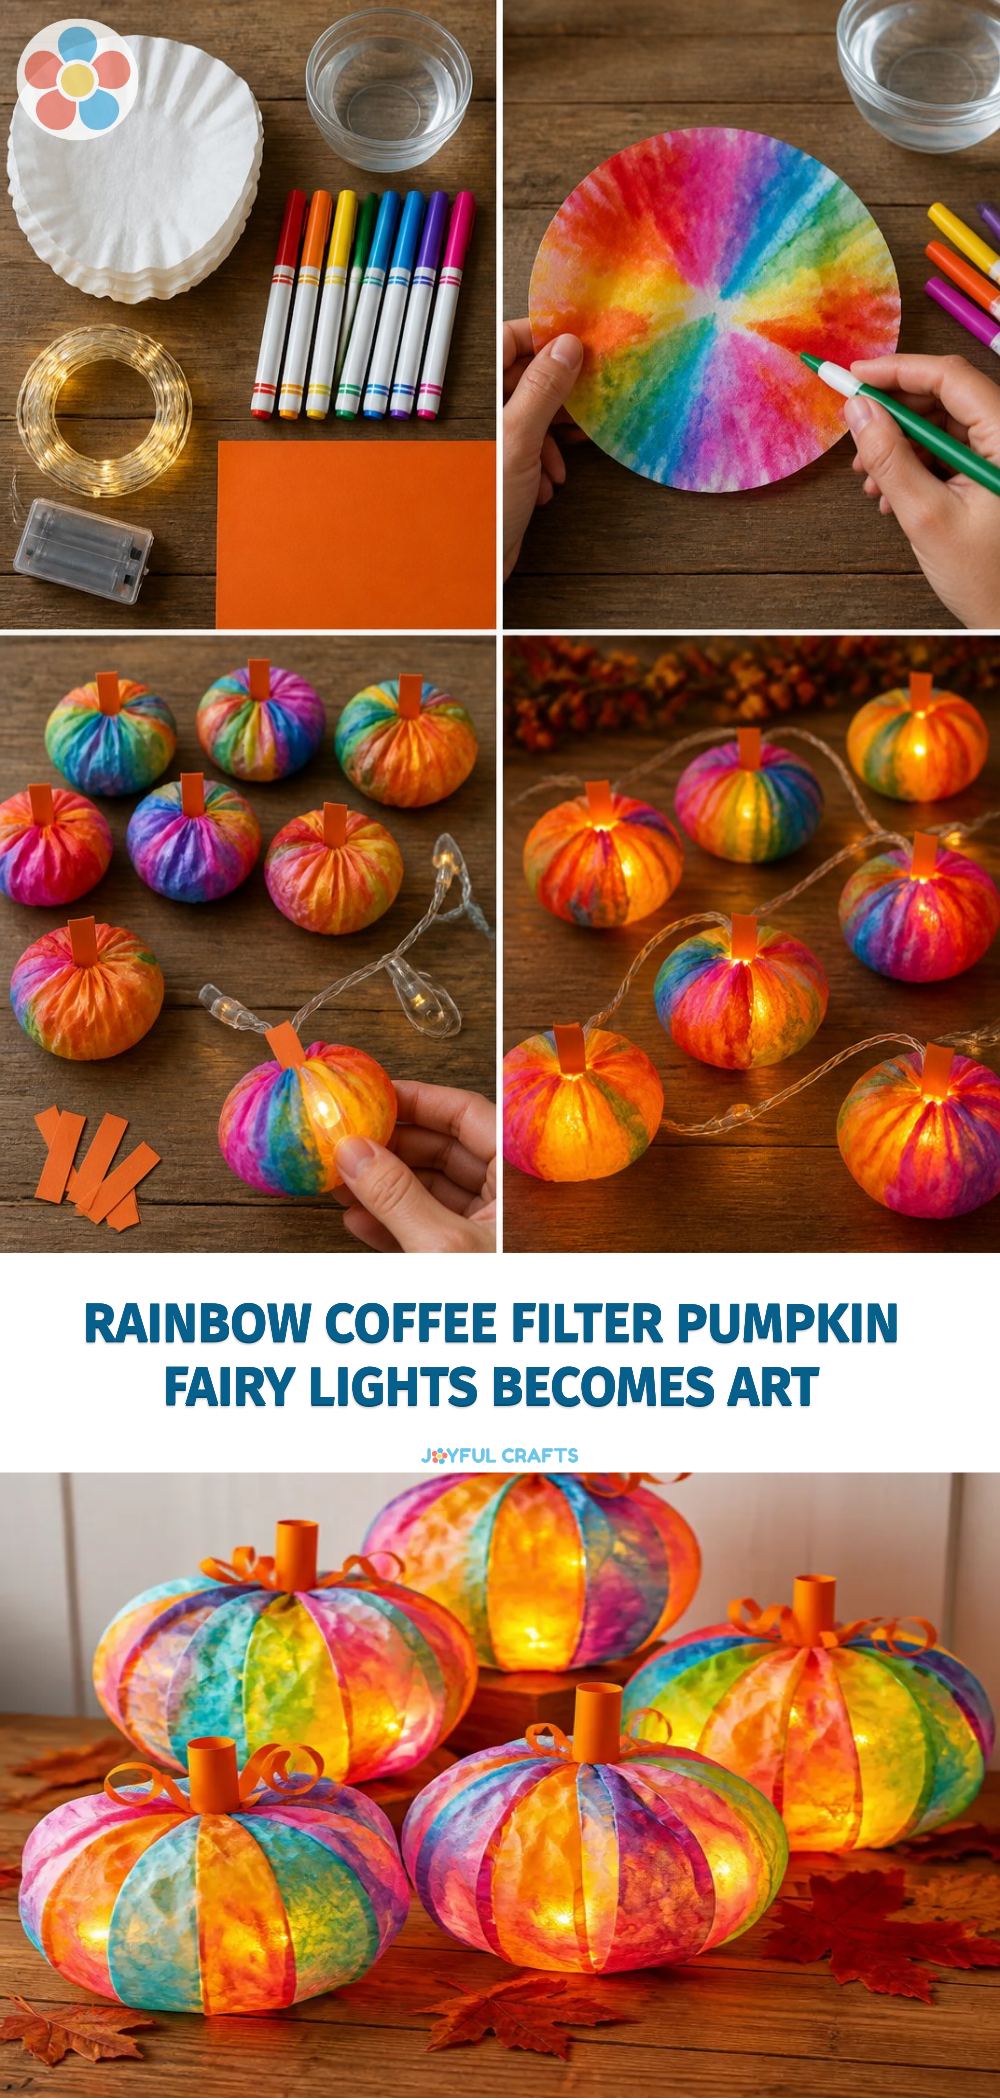
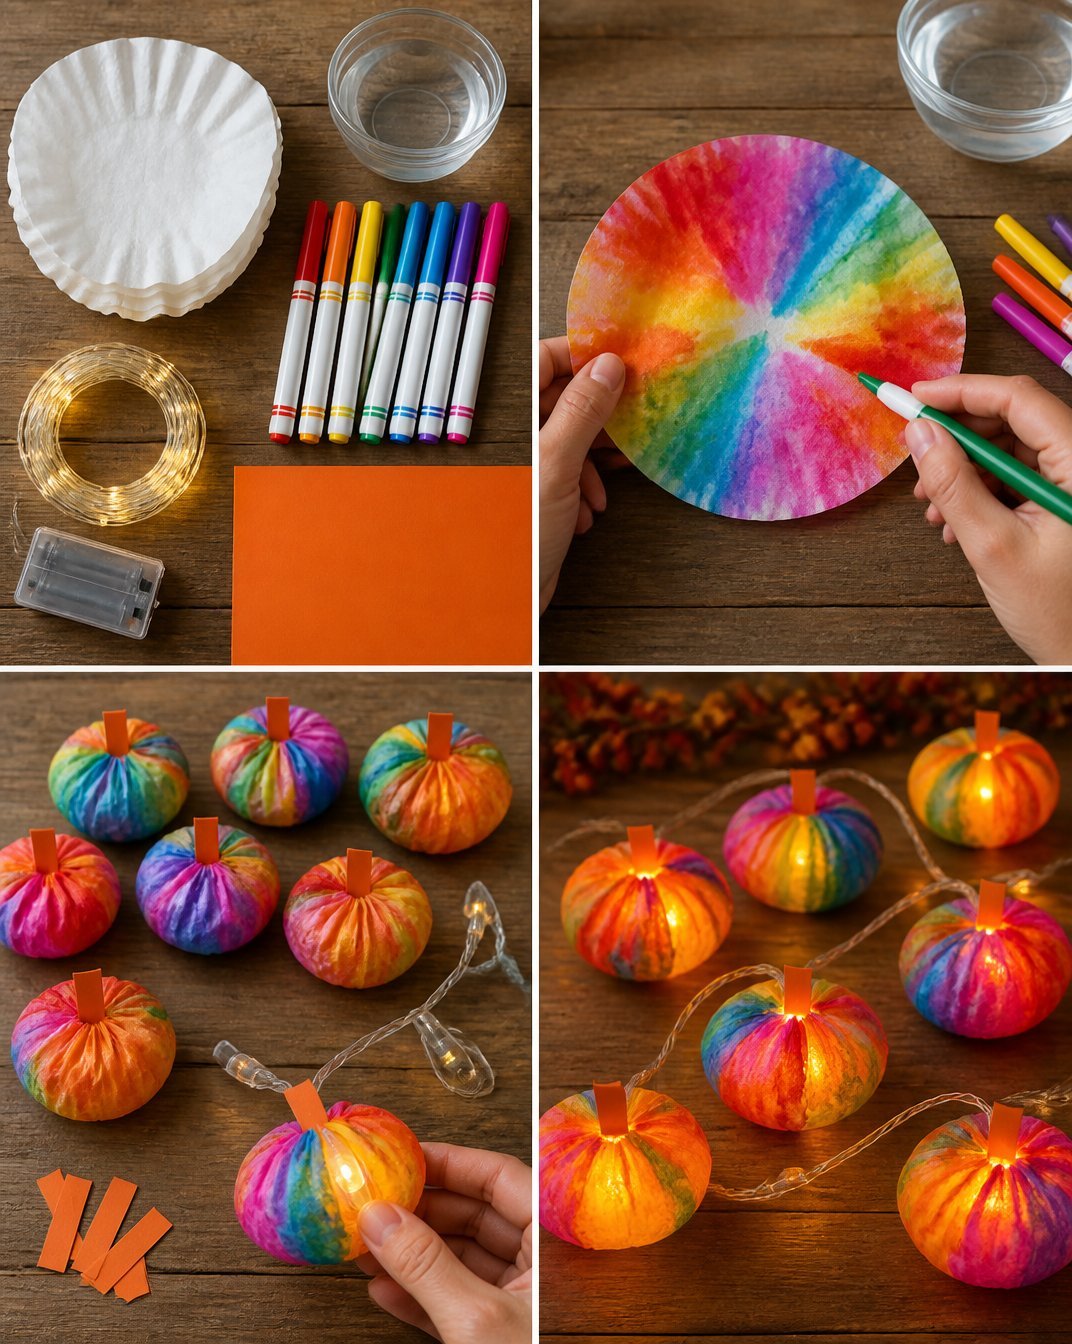
- Color the Coffee Filters: Use water-based markers to color the coffee filters. You can choose a rainbow of colors or stick to classic fall hues.
- Spritz with Water: Once colored, gently mist the filters with water using a spray bottle. This will help the colors spread and blend to create beautiful gradients.
- Dry the Filters: Lay the filters flat to dry completely. This may take a little time, so feel free to move on to the next steps while waiting.
- Shape the Pumpkins: Once dry, stack 3-4 coffee filters for each pumpkin. Pinch the center to gather the filters and twist to form the pumpkin shape. Secure it with hot glue.
- Create Leaves: Cut leaf shapes from green construction paper. Use hot glue to attach these to the top of each pumpkin.
- Add the Lights: Finally, wrap the string lights around or place them inside the pumpkins for a glowing effect.
Helpful Tips
- Drying Tip: To speed up the drying process, you can use a hairdryer on a low setting.
- Crafting with Kids: If crafting with kids, supervise the use of scissors and the hot glue gun to keep everyone safe.
- Mess-Free Option: To minimize mess, consider covering your work surface with newspaper or a plastic tablecloth before starting.
Creative Variations
- Different Sizes: Experiment with larger or smaller coffee filters to create a variety of pumpkin sizes for more visual interest.
- Pattern Play: Instead of coloring, use stamps or stickers to decorate the filters before spraying with water.
- Seasonal Decor: Use different colors and themes based on the season or holiday, such as pastel colors for spring or red and green for Christmas.
Making It With Kids
This project is perfect for kids, as they can unleash their creativity while honing their motor skills. Supervision is essential when using scissors, and it’s best for an adult to handle the hot glue gun. Encourage them to choose their favorite colors and experiment with designs. You may also find Rainbow Ghost Coffee Filter Suncatchers useful.
How to Display, Use, or Gift It
Once your pumpkins are ready, display them on a mantel, dining table, or in a window to let their glow shine through. They make a charming gift for friends or family members who appreciate handmade decor. You can also create a lovely centerpiece for fall gatherings by clustering several pumpkins together with the lights intertwined. You may also find Rainbow Tie Dye Coffee Filter Apple Suncatcher useful.
Frequently Asked Questions
1. Can I use regular markers instead of water-based ones?
Regular markers may not blend as well with water, so it’s best to use water-based ones for this project.
2. What if I don’t have string lights?
You can use battery-operated tea lights instead for a safe glowing effect.
3. How long do the coffee filters last?
If kept in a cool, dry place, the coffee filters can last for many seasons, depending on care.
4. Can I paint the coffee filters instead?
Yes! If you prefer, you can use acrylic paints instead of markers, but ensure they are fully dry before shaping them.
Conclusion
Enjoy the creativity that comes with crafting and sharing projects like this Rainbow Coffee Filter Pumpkin Fairy Lights. For additional inspiration in your crafting journey, consider exploring the Studio Blog – Samantha Sanders Leder.
Print
Rainbow Coffee Filter Pumpkin Fairy Lights
- Total Time: 45 minutes
- Makes: Multiple decorations
Description
Transform ordinary coffee filters into vibrant pumpkins that glow beautifully, perfect for fall or Halloween decorations.
Materials
- Coffee filters
- Water-based markers
- Spray bottle with water
- String lights (battery-operated recommended)
- Green construction paper
- Scissors
- Hot glue gun (adult supervision advised)
Instructions
- Color the coffee filters with water-based markers in desired colors.
- Spritz the filters with water to blend the colors.
- Dry the filters flat until completely dry.
- Shape the pumpkins by stacking 3-4 filters, pinching the center, and securing with hot glue.
- Create leaves from green construction paper and attach to the pumpkins.
- Add the string lights for a glowing effect.
Notes
Consider using a hairdryer to speed up the drying process. Always supervise children when using scissors and hot glue.