

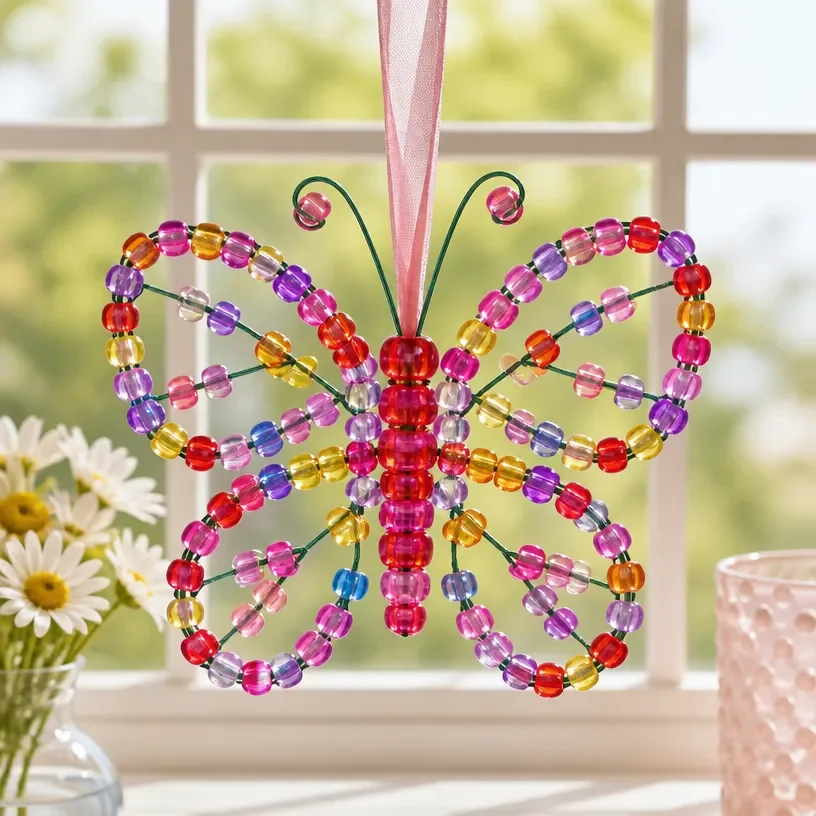
Pony Bead Butterfly Suncatcher Easy DIY For Windows
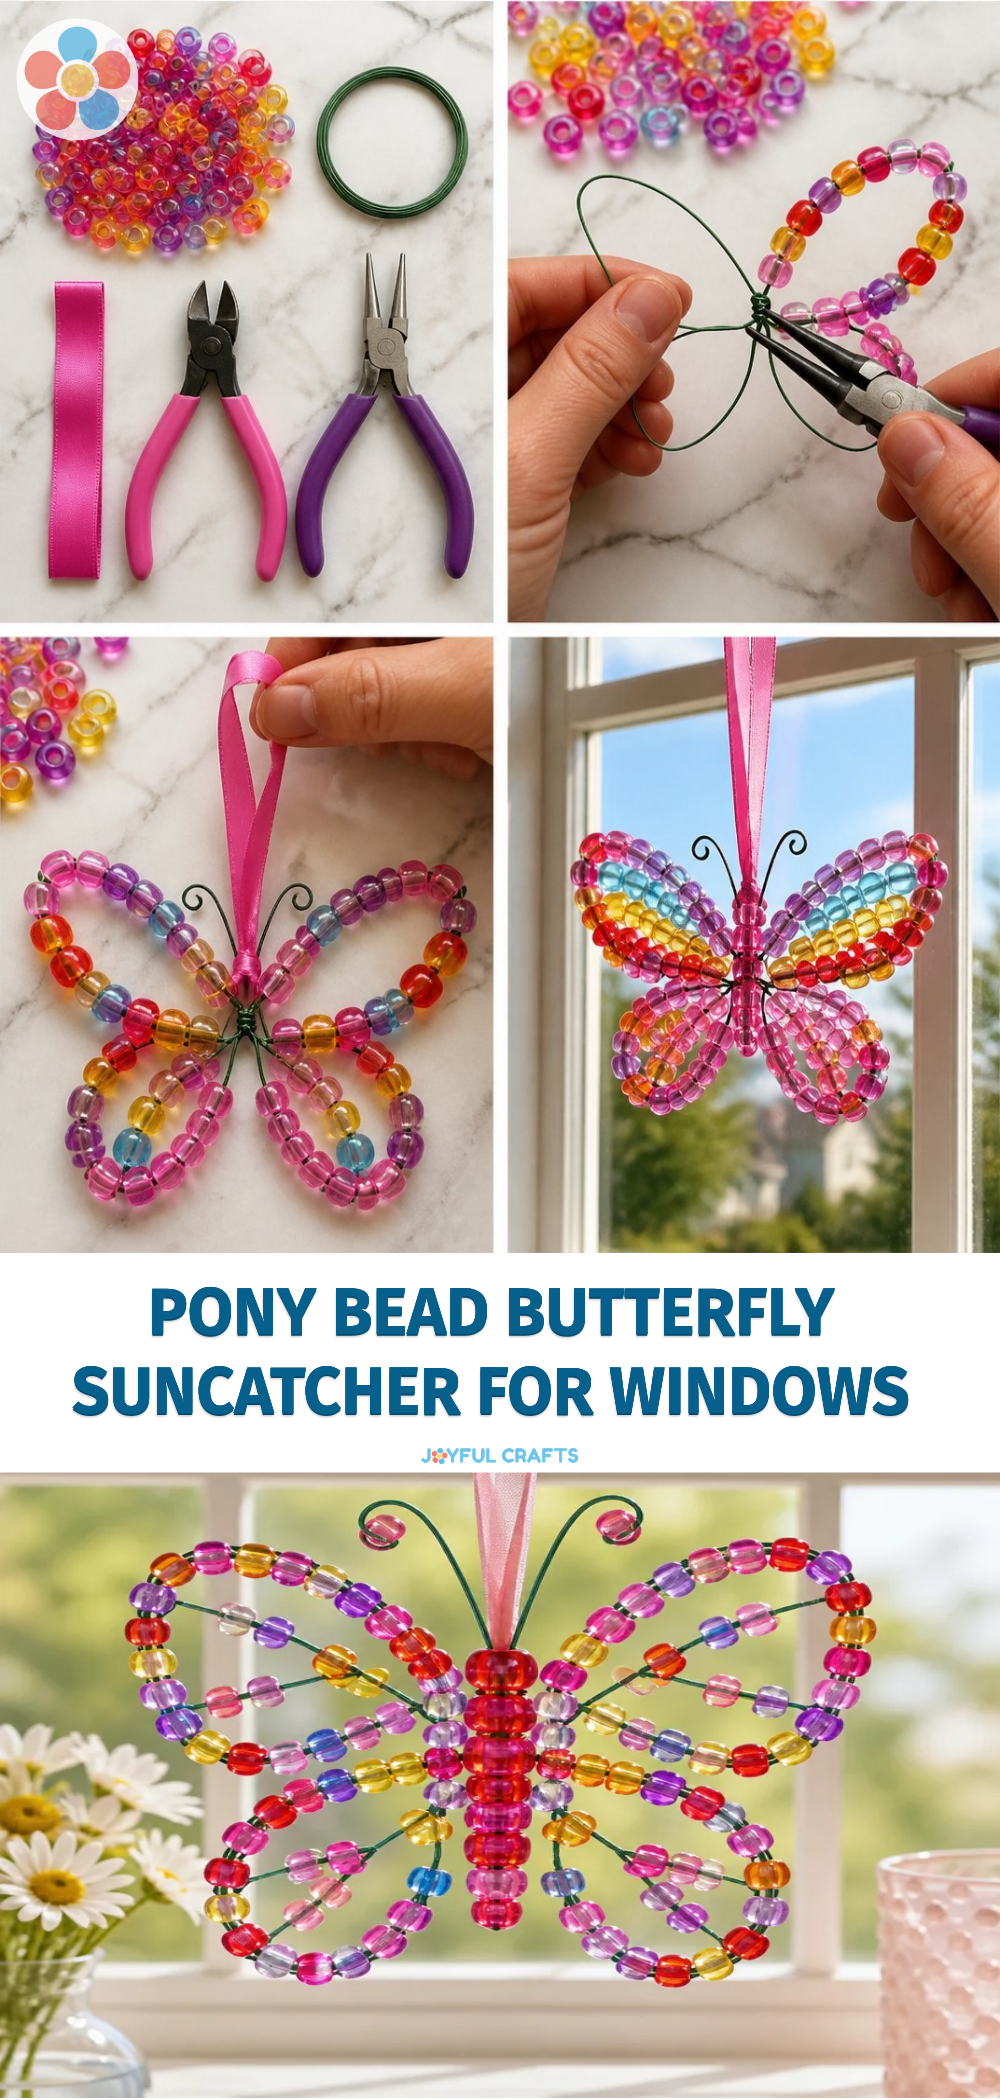
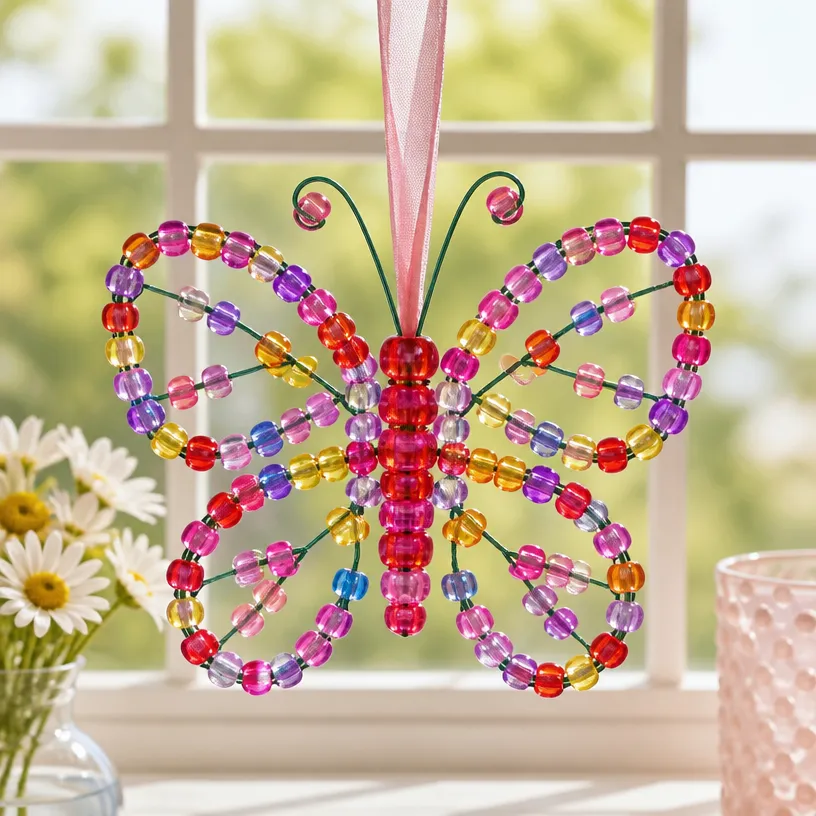
Creating a Pony Bead Butterfly Suncatcher is a delightful craft that’s perfect for brightening up any window! This engaging project is not only enjoyable for children but also helps them improve their fine motor skills as they manipulate beads and strings. Plus, the end result casts beautiful patterns of light into your space, creating a cheerful atmosphere. You may also find Melted Crayon Rainbow Butterfly Suncatcher For Kids useful.
Why You’ll Love This Project
- Fun for All Ages: This craft is perfect for kids and can be a wonderful bonding activity with parents or grandparents.
- Brightens Up Your Home: These colorful suncatchers look beautiful when sunlight shines through them, adding color to your windows.
- Easy to Make: With minimal materials required, this project is straightforward and beginner-friendly.
- Customizable: You can personalize your butterfly with different colors and patterns, making each one unique.
- Educational Aspect: Kids can learn about colors, shapes, and patterns while crafting.
You may also find Rainbow Glass Pencil Suncatcher For Windows useful.
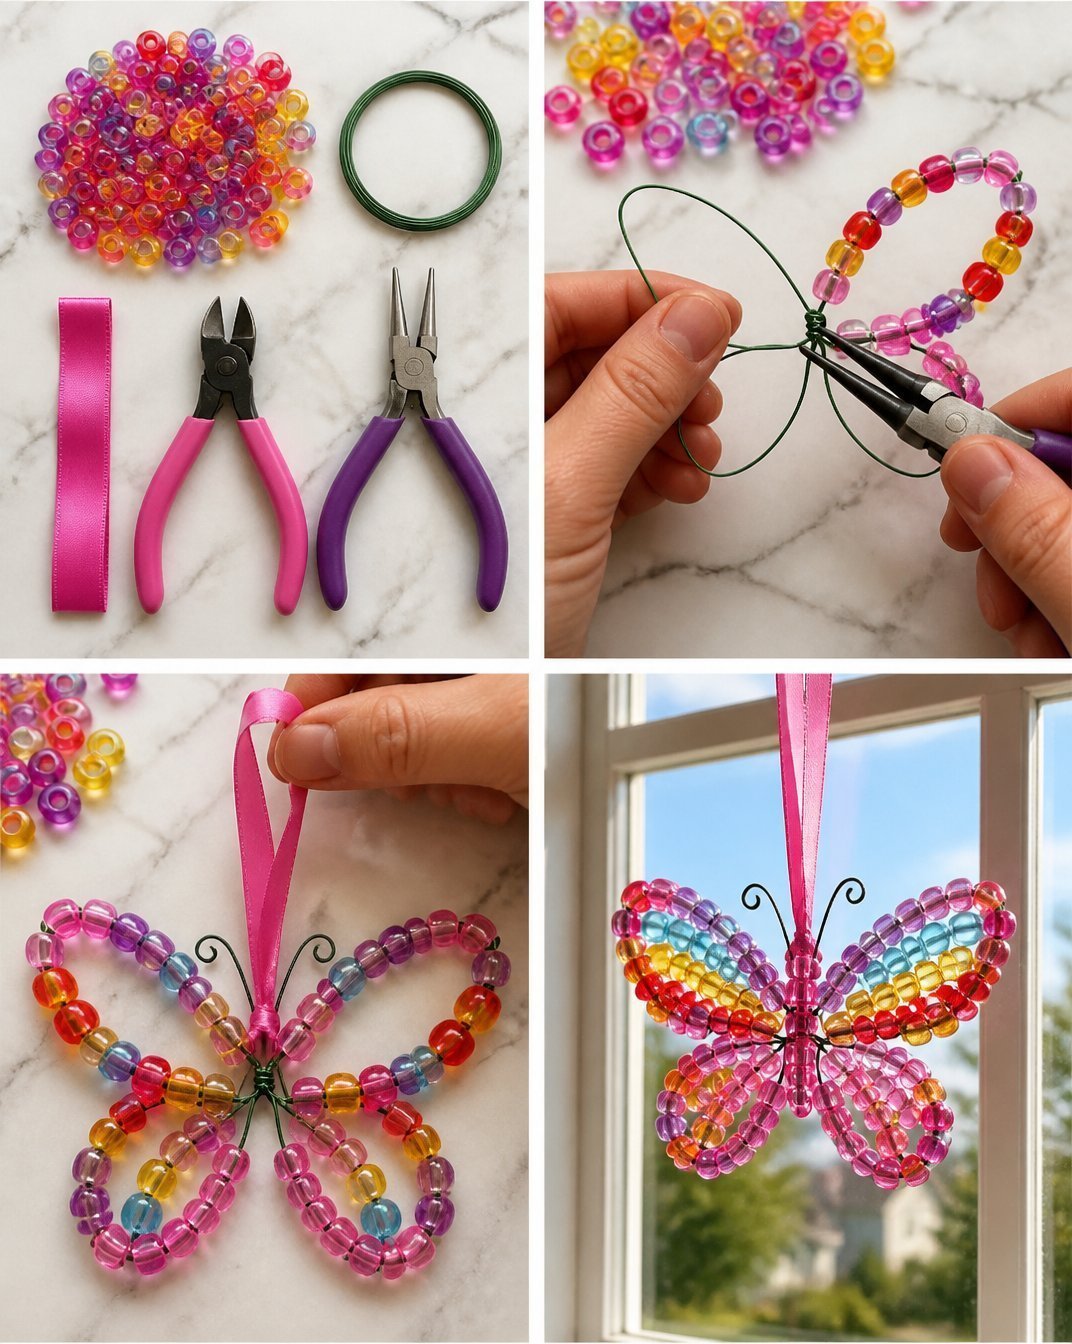
Materials You’ll Need
To make your Pony Bead Butterfly Suncatcher, gather the following materials: You may also find Clear Rainbow Ghost Shaker Suncatcher Craft For Kids useful.
- Pony beads (various colors)
- Clear plastic butterfly shape or cookie cutter
- String or fishing line
- Baking paper or parchment paper
- Iron (for adult use only)
How to Make Pony Bead Butterfly Suncatcher Easy DIY For Windows
- Arrange the Beads: Place your plastic butterfly shape on a baking sheet covered with baking paper. Arrange the pony beads inside the shape, filling it entirely with colorful beads.
- Layer with Baking Paper: Once you’re satisfied with your design, cover the beads with another piece of baking paper.
- Heat: Using an iron on a low setting, carefully press down on the top layer of baking paper. This will melt the beads together. Move the iron in a circular motion to ensure an even melt. Make sure an adult is handling this step for safety.
- Cool and Remove: Once the beads have melted together (it should take a few minutes), allow the butterfly to cool. Once cooled, gently lift it from the baking paper.
- Add String: Cut a piece of string or fishing line and tie it to the top of the butterfly, creating a loop for hanging.
Helpful Tips
- Keep it Simple: If you’re working with younger children, focus on a few colors rather than an intricate design. This keeps the project manageable and fun!
- Patience with Heat: When using the iron, take your time to ensure the beads melt properly without burning. It’s vital to monitor this process closely.
- Display Right: To hang your suncatcher, make sure to tie a secure knot on the string for a safe and lasting display.
Creative Variations
- Color Themes: Try experimenting with color themes like warm hues (reds, oranges, yellows) or cool tones (blues, greens, purples) for a different look.
- Size Variations: Use larger or smaller molds to create different-sized butterflies that can complement each other when displayed together.
- Seasonal Shapes: Consider using other cookie cutter shapes for different occasions, such as hearts for Valentine’s Day or stars for summer nights.
Making It With Kids
This project is a great way to encourage creativity and teamwork. While the younger ones can choose and place beads, older children can assist with melting the beads under adult supervision. Make sure to explicitly mention that safety comes first when handling hot objects. You may also find Diy Bottle Cap Monster Crafts For Kids useful.
How to Display, Use, or Gift It
Once your beautiful suncatcher is complete, hang it in a sunny window where it can shine brightly. These suncatchers also make lovely handmade gifts for family or friends, bringing a personal touch to your presentations.
Frequently Asked Questions
Can I use other beads instead of pony beads?
Yes! Just ensure that the beads can melt and fuse together while maintaining their shape.
What should I do if the beads didn’t melt completely?
You might need to iron a bit longer, ensuring your iron is set to a low temperature. Continue to check the beads periodically.
How can I clean the melted suncatcher if it gets dusty?
Use a soft cloth to gently wipe the surface. Avoid using any harsh chemicals that could damage the melted beads.
Is there an age limit for this craft?
It’s suitable for children, but as the melting process involves an iron, adult supervision is necessary.
Can we use the melted butterfly outdoors?
While it’s possible to display it outdoors, prolonged exposure to sunlight might affect the colors over time.
Where can I find more fun suncatcher ideas?
For additional inspiration, you might enjoy exploring a variety of other suncatcher crafts available online.
Conclusion
This Pony Bead Butterfly Suncatcher is not only a creative craft but also a wonderful way to spend quality time with your children. For more creative suncatcher ideas, check out these easy rainbow suncatcher craft ideas for kids. Happy crafting!
Print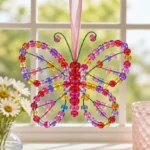
Pony Bead Butterfly Suncatcher
- Total Time: 20 minutes
- Makes: 1 suncatcher
Description
Create a vibrant Pony Bead Butterfly Suncatcher that brightens up any window and engages kids in a fun, educational craft activity.
Materials
- Pony beads (various colors)
- Clear plastic butterfly shape or cookie cutter
- String or fishing line
- Baking paper or parchment paper
- Iron (for adult use only)
Instructions
- Arrange the beads: Place your plastic butterfly shape on a baking sheet covered with baking paper and fill it with colorful pony beads.
- Layer with baking paper: Cover the beads with another piece of baking paper once the design is complete.
- Heat: Carefully press down with an iron on low to melt the beads together, moving in a circular motion.
- Cool and remove: Allow the butterfly to cool before gently lifting it from the baking paper.
- Add string: Tie a piece of string or fishing line to the top for hanging.
Notes
For younger children, use fewer colors to keep the project simple and manageable. Supervise when using the iron for safety.