

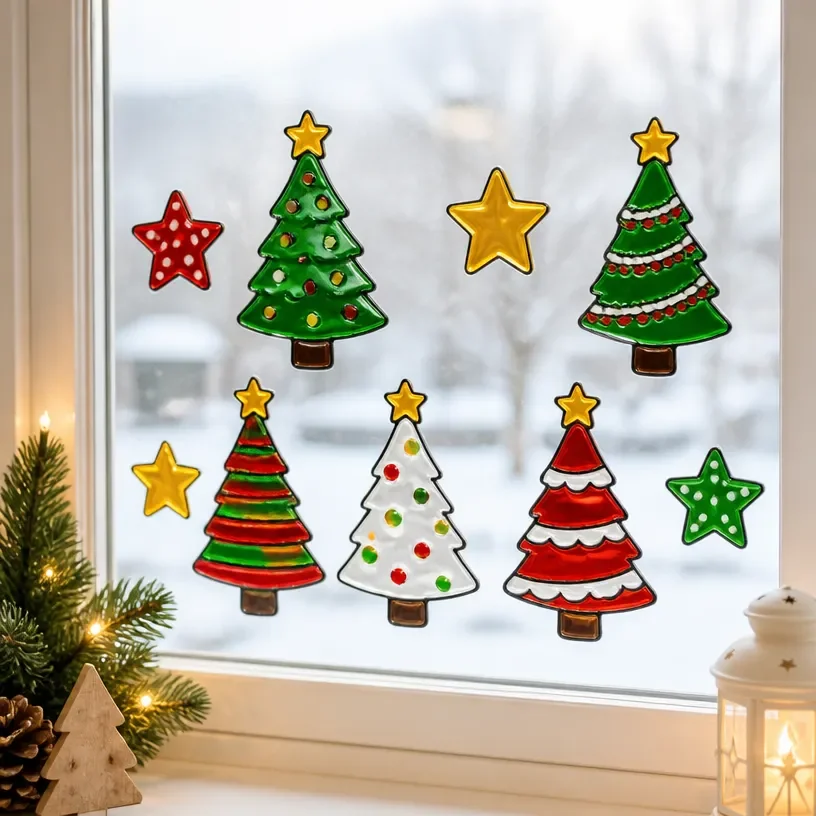
DIY Glue-Based Christmas Window Clings
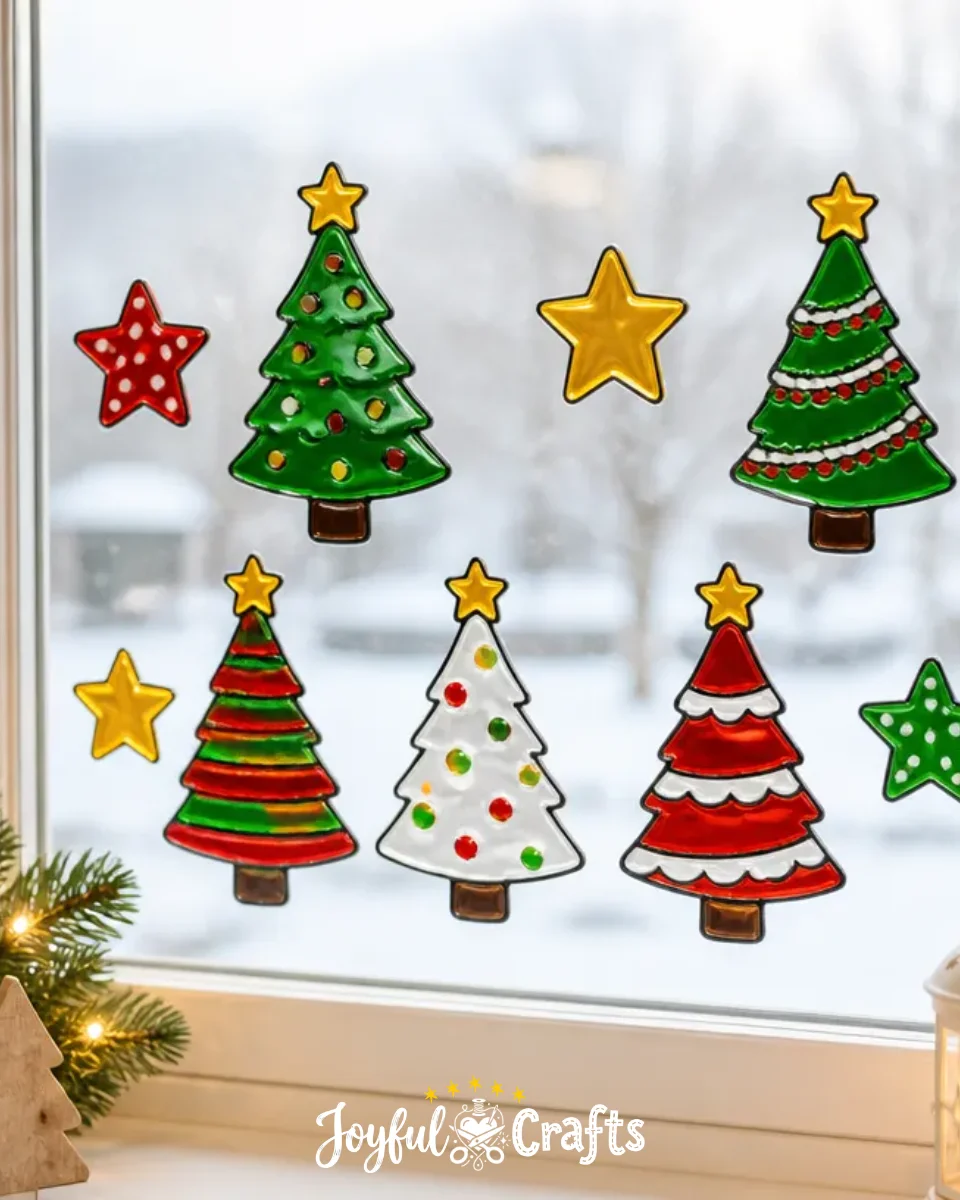
Creating festive decorations for your windows can be a delightful way to celebrate the holiday season, and DIY glue-based Christmas window clings are a joyful craft that brings a touch of whimsy and color into your home. This project is simple enough for kids and adults alike, allowing you to personalize your festive displays with ease. Plus, you can easily change them out whenever you want a fresh look. To get started on your craft adventure, check out the DIY Alphabet Window Garland for more fun ideas!
Why You’ll Love This Project
- Easy and Fun: This craft is perfect for all skill levels, making it a great family activity.
- Kid-Friendly: It’s a wonderful way for kids to express their creativity with minimal mess.
- Customizable: You can choose any holiday designs and colors that fit your theme, making each cling unique.
- Seasonal Charm: These clings add a festive touch to your home décor with little effort.
You may also find Colorful Alphabet Window Garland For Kids useful.
Materials You’ll Need
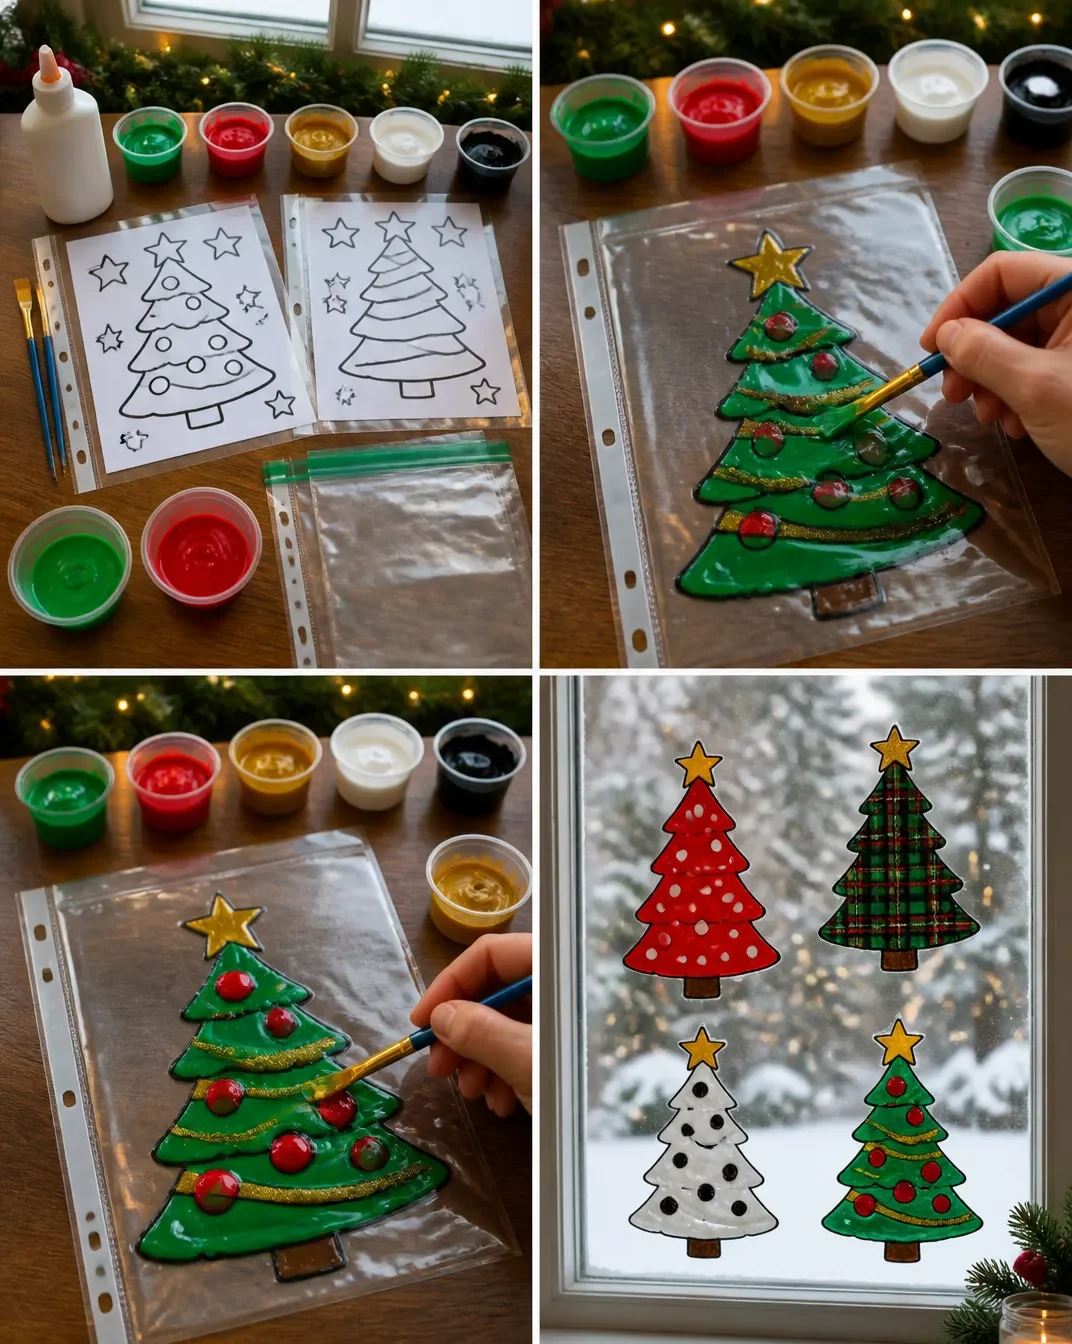
- White PVA craft glue
- Acrylic craft paint in festive colors
- Printed holiday design templates (stars and trees)
- Clear plastic sheet protectors or gallon zip-top bags
- Small paintbrushes and mixing cups
How to Make DIY Glue-Based Christmas Window Clings
- Slide your holiday design templates inside the clear plastic sheet protectors and lay them completely flat on a table.
- In small cups, stir together white PVA glue and several drops of acrylic paint until smooth, vibrant colors form.
- Paint a thick, even layer of the colored glue mixture directly onto the plastic sheet, following the lines of the template underneath.
- Let the designs dry undisturbed for 24 to 48 hours until they feel completely firm and peel easily.
- Carefully peel each cling off the plastic surface and press the smooth side onto a clean, dry window.
Helpful Tips
- To minimize mess, lay down newspaper or a plastic sheet where you’re working.
- If you find that the paint isn’t sticking well, a slightly thicker layer of glue might work better.
- Consider using additional colors for added flair or to create layered designs.
Creative Variations
- Experiment with different shapes beyond stars and trees, like snowflakes or candy canes.
- Try adding glitter to the glue mix for a sparkly effect when dry.
- You could create themed sets based on characters, colors, or festive patterns to switch out throughout the season.
Making It With Kids
Working with children can add an extra layer of fun to this project! Ensure they have supervision, especially when using glue, and guide them through mixing the colors. Encourage them to explore their own designs after all, their creativity knows no bounds! If using scissors or complex templates, be sure to assist them to keep the process safe and enjoyable. You may also find Cupcake Liner Dahlia Bouquet Diy Centerpiece Kids useful.
How to Display, Use, or Gift It
These window clings are not only great for decorating your own home, but they also make charming gifts! You can package a set of clings along with a note explaining how to apply them for a thoughtful present. Be sure to showcase your creations in well-lit areas, where the colors can shine through beautifully. You may also find Diy Acorn Kitten Family Rainbow Decor useful.
Frequently Asked Questions
How long do these window clings last?
If cared for properly, your window clings can last several seasons, stored flat in a cool, dry place when not in use.
Can I use any type of paint?
It’s best to use acrylic craft paint for vibrant colors that adhere well to the glue.
What if my clings are too flexible or not sticking?
Make sure they are fully dried for the recommended time and try adjusting the thickness of your glue application.
Can I use other templates?
Absolutely! Feel free to create your own designs or use printable templates online.
Are these clings safe for kids to use?
Yes! Just ensure that they use kid-friendly materials and that an adult supervises the process.
Conclusion
Making DIY glue-based Christmas window clings is a wonderful way to engage in festive crafting with loved ones. With just a few materials and a little creativity, you can bring holiday cheer into your home. If you’re interested in more crafting adventures, consider exploring this DIY Window Clings Recipe for additional inspiration!
Print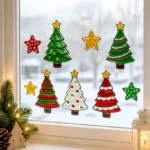
DIY Glue-Based Christmas Window Clings
- Total Time: 75 minutes
- Makes: Varies
Description
Create whimsical and colorful DIY glue-based Christmas window clings that can personalize your festive displays.
Materials
- White PVA craft glue
- Acrylic craft paint in festive colors
- Printed holiday design templates (stars and trees)
- Clear plastic sheet protectors or gallon zip-top bags
- Small paintbrushes and mixing cups
Instructions
- Slide your holiday design templates inside the clear plastic sheet protectors and lay them completely flat on a table.
- In small cups, stir together white PVA glue and several drops of acrylic paint until smooth, vibrant colors form.
- Paint a thick, even layer of the colored glue mixture directly onto the plastic sheet, following the lines of the template underneath.
- Let the designs dry undisturbed for 24 to 48 hours until they feel completely firm and peel easily.
- Carefully peel each cling off the plastic surface and press the smooth side onto a clean, dry window.
Notes
To minimize mess, lay down newspaper or a plastic sheet where you’re working. For a sparkly effect, add glitter to the glue mix.