

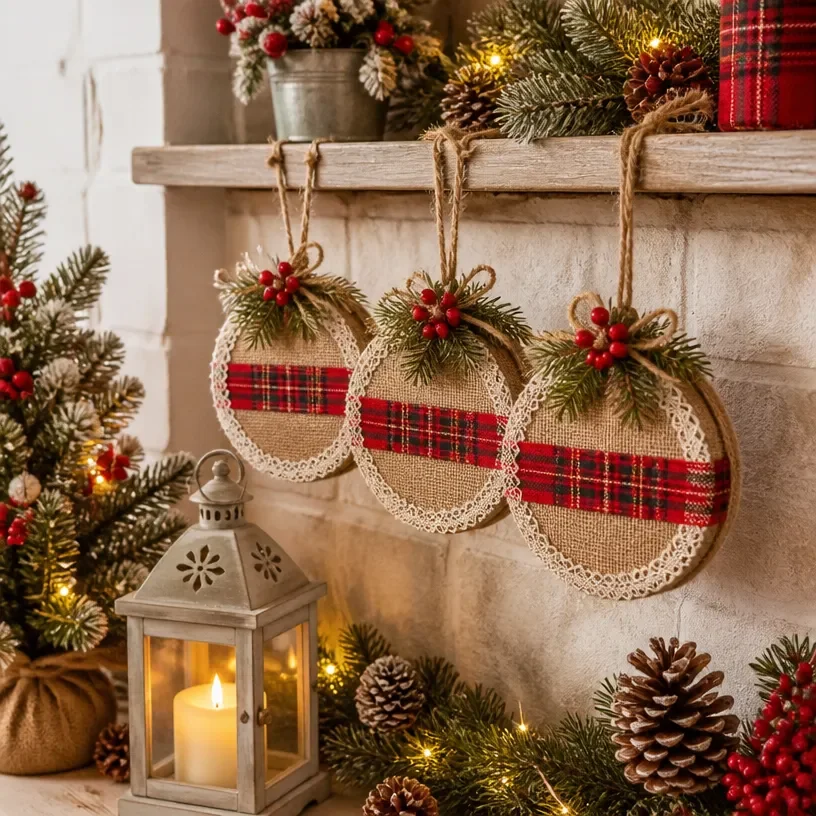
DIY Christmas Corner Decor for Festive Homes
Creating welcoming corner decor for your home during the festive season can bring joy and warmth not just to your space but also to your family. This DIY Christmas Corner Decor project is a delightful way to showcase your holiday spirit through creativity, bringing a personal touch to your holiday celebrations. With minimal materials and simple steps, you can transform ordinary corners into festive focal points that everyone will admire. You may also find Diy Bottle Cap Monster Crafts For Kids useful.
Why You’ll Love This Project
- Easy and Fun: This project is beginner-friendly, making it a great choice for both adults and kids looking for an enjoyable craft experience.
- Personal Touch: You get to customize the decor to match your home’s theme or your favorite colors, creating a unique vibe for the holidays.
- Family Bonding: Making this decor can create lovely bonding moments with family, as you can all participate in the crafting process.
- Affordable: Most materials are inexpensive or even repurposed items from around the house.
- Festive Cheer: Adding colorful decor to your space enhances the festive atmosphere, spreading joy to everyone who enters your home.

You may also find Diy Cardboard And Yarn Fish Decor useful.
Materials You’ll Need
To make your DIY Christmas Corner Decor, gather the following materials:
- Cardboard
- Colored paper (red, green, white)
- Scissors
- Glue or tape
- String lights (optional)
- Decorative accents (like mini ornaments or ribbons)
How to Make DIY Christmas Corner Decor for Festive Homes
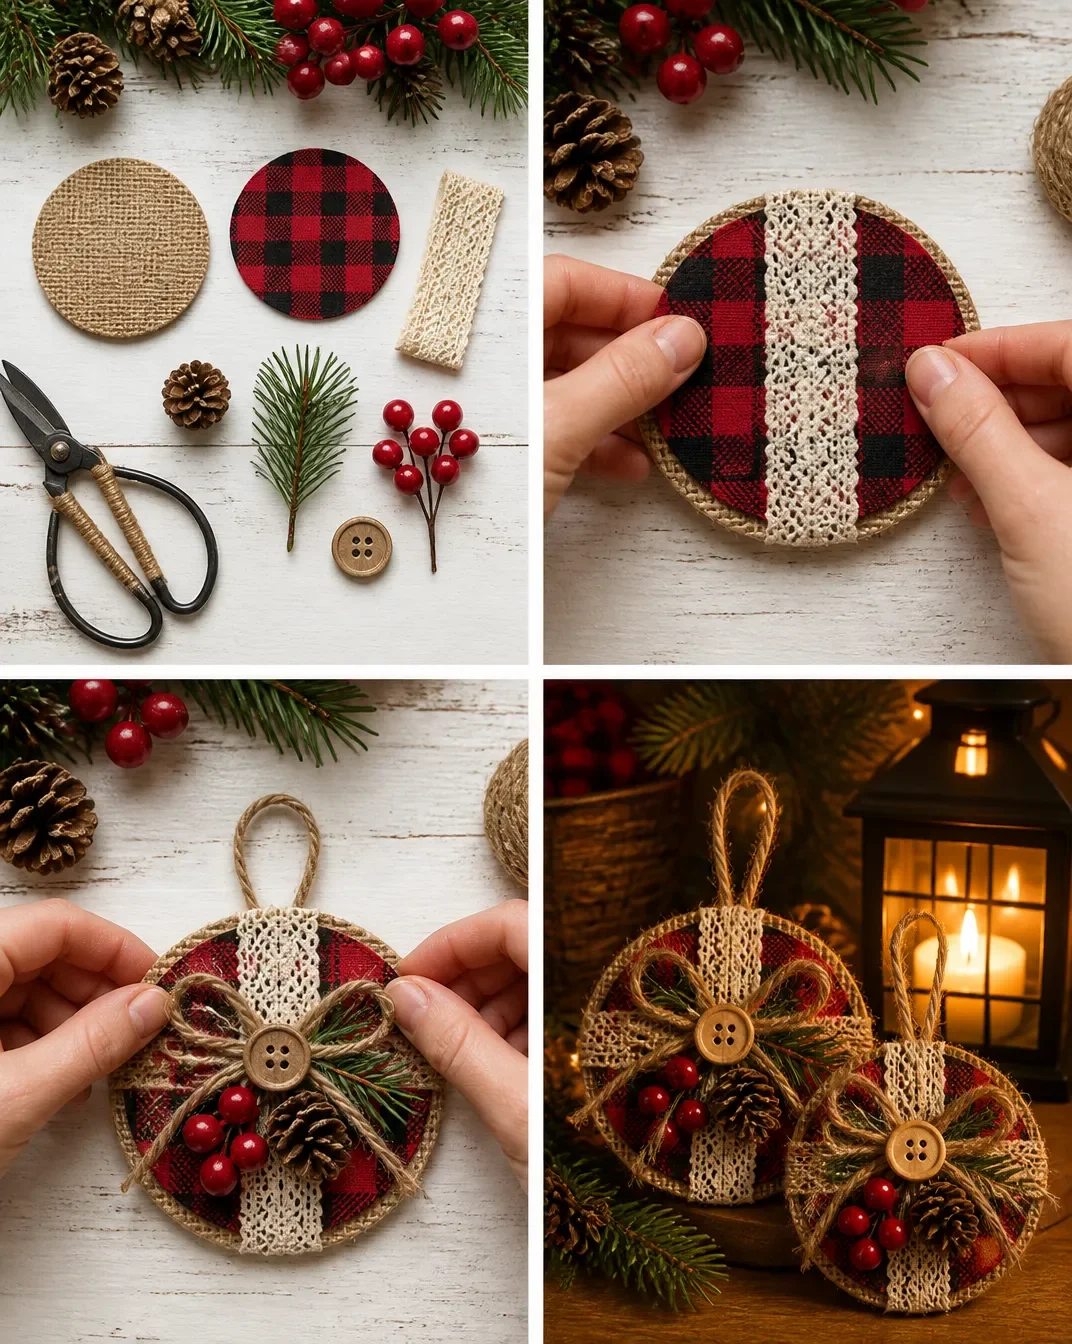
- Create Your Base: Start by cutting the cardboard into the shape of a triangle or a house, depending on your design choice.
- Cover with Color: Use colored paper to cover the cardboard, gluing it in place securely. The vibrant colors will add to the festive cheer.
- Add String Lights: If you want to light up your decor, carefully wrap string lights around your structure, ensuring they are securely attached.
- Decorate: Attach decorations like mini ornaments, ribbons, or any other festive items to your design for an eye-catching look.
- Display: Place your completed decor in a prominent corner of your home to brighten up the space.
Helpful Tips
- Use double-sided tape for a cleaner finish when attaching decorations; it allows for easier adjustments if needed.
- Consider using fabric scraps to create a more textured appearance.
- If children are helping, supervise them closely when using sharp scissors or glue guns.
Creative Variations
Feel free to personalize your decor! You could paint the cardboard instead of using colored paper for a different look. Also, you might consider crafting smaller pieces to create a mini display that fits on a shelf or table. Tying in themes from other projects such as an acorn kitten family can create a charming cohesive holiday theme throughout your home.
Making It With Kids
This project is fantastic for children to explore creativity, but ensure they have adult supervision, especially when handling scissors or glue. You can set up a crafting station with all materials organized, making it easier for kids to engage and enjoy the process.
How to Display, Use, or Gift It
Your completed DIY Christmas Corner Decor can be displayed proudly in your living room, providing an inviting holiday atmosphere for visitors. If you wish to gift it, consider wrapping it creatively with some festive paper or presenting it as a part of your holiday decorations for family gatherings.
Frequently Asked Questions
1. What size should the cardboard be?
You can choose any size that fits your space, but a smaller piece might be easier for kids to handle.
2. Can I use other materials?
Absolutely! Fabric and recycled materials can add great texture and a unique touch.
3. How long will it take to make?
The project can take about 1-2 hours, depending on the complexity you choose.
4. How do I secure the string lights?
Using tape or glue dots can help secure string lights so they stay in place while displaying your decor.
5. Can I store this for next year?
Yes, make sure to keep it in a safe spot where it won’t be crushed or damaged.
6. What age is this project suitable for?
This craft can be adapted for various age groups, but supervision is recommended for younger children using scissors or hot glue.
Conclusion
Making your own Christmas corner decor is a fun and fulfilling activity that brings the family together while filling your home with festive cheer. By incorporating creative twists or exploring other crafts, like adding a window garland, you can make the holiday season even more colorful and enjoyable. For more inspiration, check out options for a charming Christmas Door Corner Decoration to complete your festive decor collection!
Print
DIY Christmas Corner Decor
- Total Time: 75 minutes
- Makes: Varies by size
Description
Transform your corners into festive focal points with this easy DIY Christmas Corner Decor project, perfect for bringing holiday cheer to your home.
Materials
- Cardboard
- Colored paper (red, green, white)
- Scissors
- Glue or tape
- String lights (optional)
- Decorative accents (like mini ornaments or ribbons)
Instructions
- Create your base: Cut the cardboard into the shape of a triangle or a house.
- Cover with color: Use colored paper to cover the cardboard, securing it with glue.
- Add string lights: Wrap string lights around your structure if desired.
- Decorate: Attach mini ornaments, ribbons, or any festive items for an eye-catching look.
- Display: Place your completed decor in a prominent corner of your home.
Notes
Use double-sided tape for a cleaner finish when attaching decorations. Supervise children closely when using sharp scissors or glue guns.