

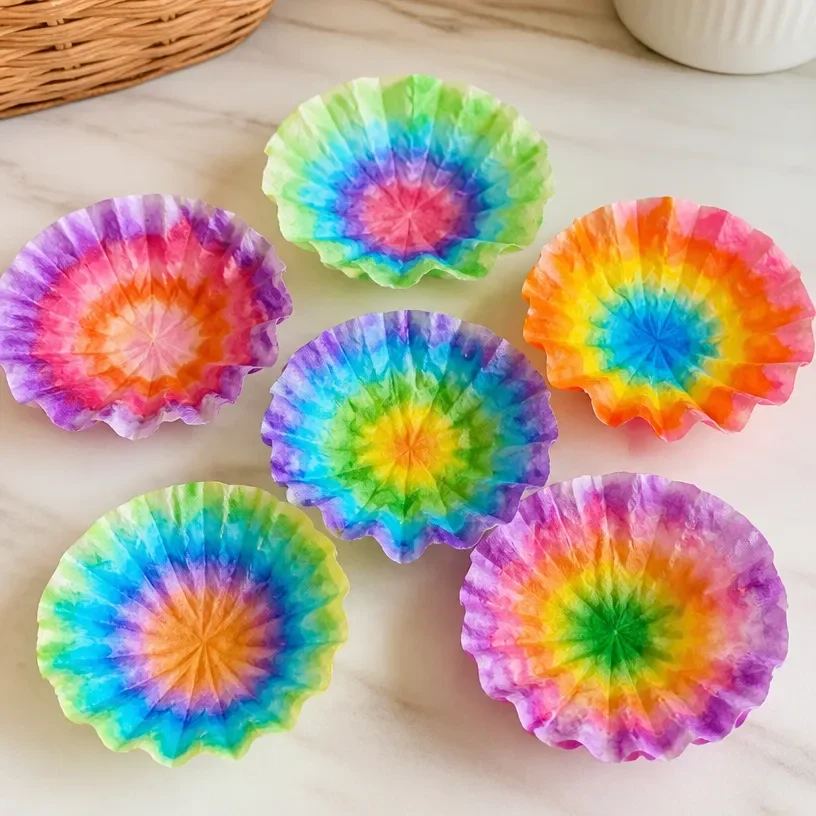
Coffee Filter Chroma-Bleed Flowers
Creating beautiful flowers from coffee filters is not only enjoyable but also an excellent way to add a pop of color to your home or as a thoughtful gift. This project is great for all ages and allows you to explore creativity while using simple materials that you likely already have. Plus, the chroma-bleeding effect is truly mesmerizing to watch! You may also find Diy Coffee Filter Tie Dye Butterflies For Garden useful.
Why You’ll Love This Project
- Simple Materials: You only need coffee filters, markers, and a few other basic supplies. This makes it an affordable craft for families and classrooms.
- Colorful Results: The chroma-bleeding technique creates vibrant, eye-catching flowers that look amazing when displayed.
- Versatile Applications: These flowers can be used for decoration, as gifts, or even as part of a larger craft project, such as a wreath or garland.
- Easy for All Ages: This project is beginner-friendly, making it suitable for both children and adults.

You may also find Diy Colorful Acorn Coffee Filter Garland useful.
Materials You’ll Need
- Coffee filters
- Markers (washable or permanent for better chroma-bleeding)
- Spray bottle with water
- Scissors
- Pipe cleaners or floral wire for stems
How to Make Coffee Filter Chroma-Bleed Flowers
Prepare Coffee Filters: Stack a few coffee filters together for a fuller flower. You can use anywhere from 2 to 5 filters, depending on how thick you want the flower to be. You may also find Paper Fireworks Made With Coffee Filters useful.
Color the Filters: Using your markers, color the outer edges of the coffee filters with vibrant colors. Be creative with patterns or color mixing there’s no wrong way to do this!
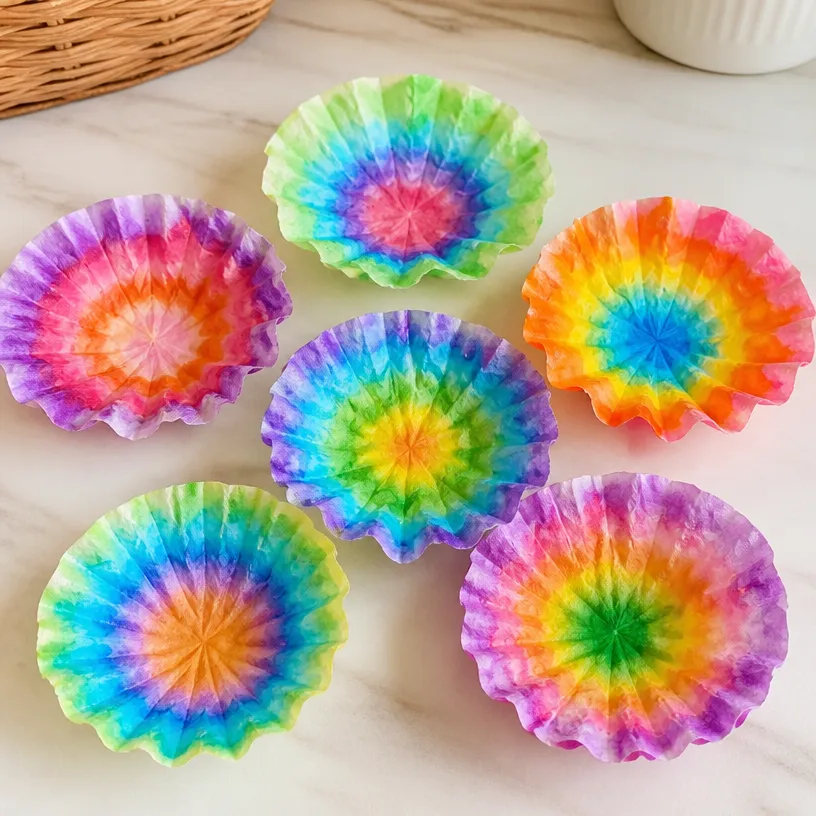
Spray with Water: Lightly mist the filters with water from the spray bottle. Watch as the colors begin to blend and bleed, creating beautiful effects. Allow the filters to fully dry.
Shape the Flowers: Once dried, carefully pinch the center of your filters together and secure them with a pipe cleaner or floral wire. Adjust the petals to make them look more flower-like.
Display Your Flowers: Stick your new flowers in a vase or use them to brighten up a room. They can even make wonderful handmade gifts.
Helpful Tips
- Mess Management: This project can get a little messy, so make sure to work on a protected surface, such as newspaper or a drop cloth.
- Color Experimentation: Encourage kids to try layering different colors. Creating gradients can add an extra special touch.
- Cutting Flowers: For a more intricate flower design, you can cut the edges of the filters into petal shapes before coloring and spraying.
Creative Variations
- Seasonal Themes: Adjust your color scheme according to the season think pastel colors for spring or vibrant hues for summer.
- Patterns & Designs: Use stamps or stencils to create unique designs on the filters before spraying them with water.
- Decorative Accents: After your flowers are dry, consider adding glitter or sequins for some added shine.
Making It With Kids
This project is perfect for kids of all ages. Adults may want to assist younger children with cutting or handling the spray bottle. It’s a great opportunity to not only encourage creativity but also to help them practice motor skills.
How to Display, Use, or Gift It
These colorful flowers can brighten up any space. Consider making a bouquet and gifting them to friends or family. They can also be used as unique decorations for parties or celebrations.

Frequently Asked Questions
Can I use regular markers or do they need to be special ones?
Washable markers work best for the chroma-bleed effect because they blend well with water.
How do I store my finished flowers?
Keep your completed flowers in a vase or a cool, dry place to maintain their shape and color.
Can I make these flowers in different sizes?
Absolutely! You can use larger coffee filters or stack more filters together for bigger blooms.
What’s the best way to clean up after this craft?
Since it can get messy, simply use damp cloths to wipe down surfaces and dispose of any paper towels used.
Conclusion
Making coffee filter chroma-bleed flowers is an enjoyable craft that yields vibrant and beautiful results. If you’re looking for more inspiring ideas, you might find this Coffee Filter Flowers Tutorial helpful as well!
Print
Coffee Filter Chroma-Bleed Flowers
- Total Time: 10 minutes
- Makes: 1 bouquet
Description
Create vibrant and colorful flowers from coffee filters using a mesmerizing chroma-bleeding technique. Perfect for all ages, this craft project is budget-friendly and fosters creativity.
Materials
- Coffee filters
- Washable or permanent markers
- Spray bottle with water
- Scissors
- Pipe cleaners or floral wire
Instructions
- Prepare coffee filters by stacking 2 to 5 together for a fuller flower.
- Color the edges of the filters with vibrant markers, being creative with patterns.
- Spray the filters lightly with water to watch the colors blend and bleed.
- Shape the dried filters by pinching the center and securing them with a pipe cleaner.
- Display your flowers in a vase or give them as gifts.
Notes
For a more intricate design, cut the edges of the filters into petal shapes before coloring. Encourage children to experiment with different color combinations.