

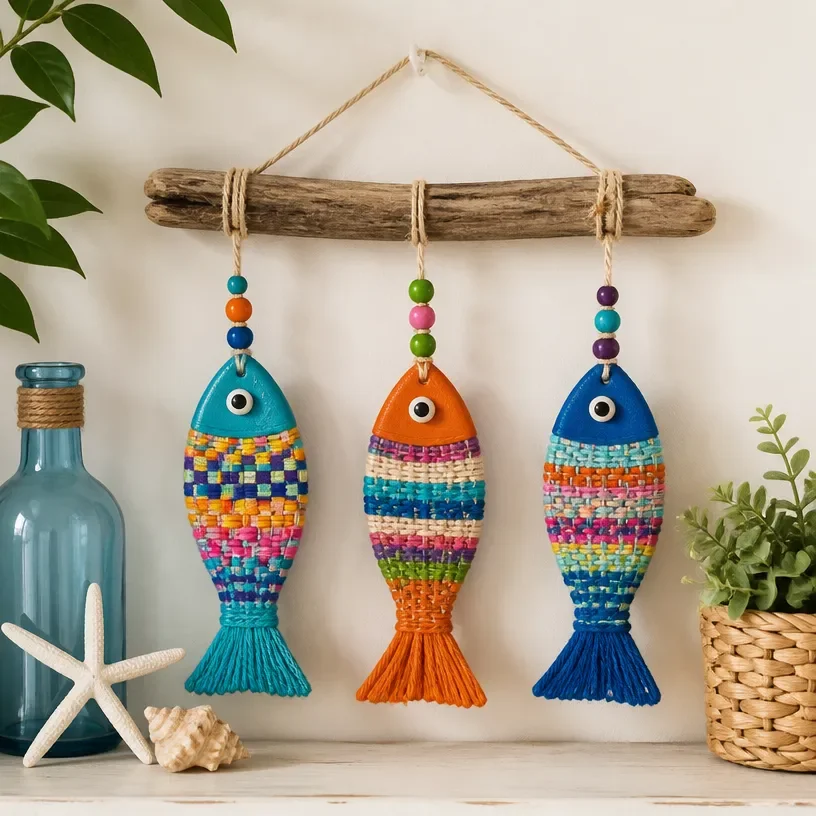
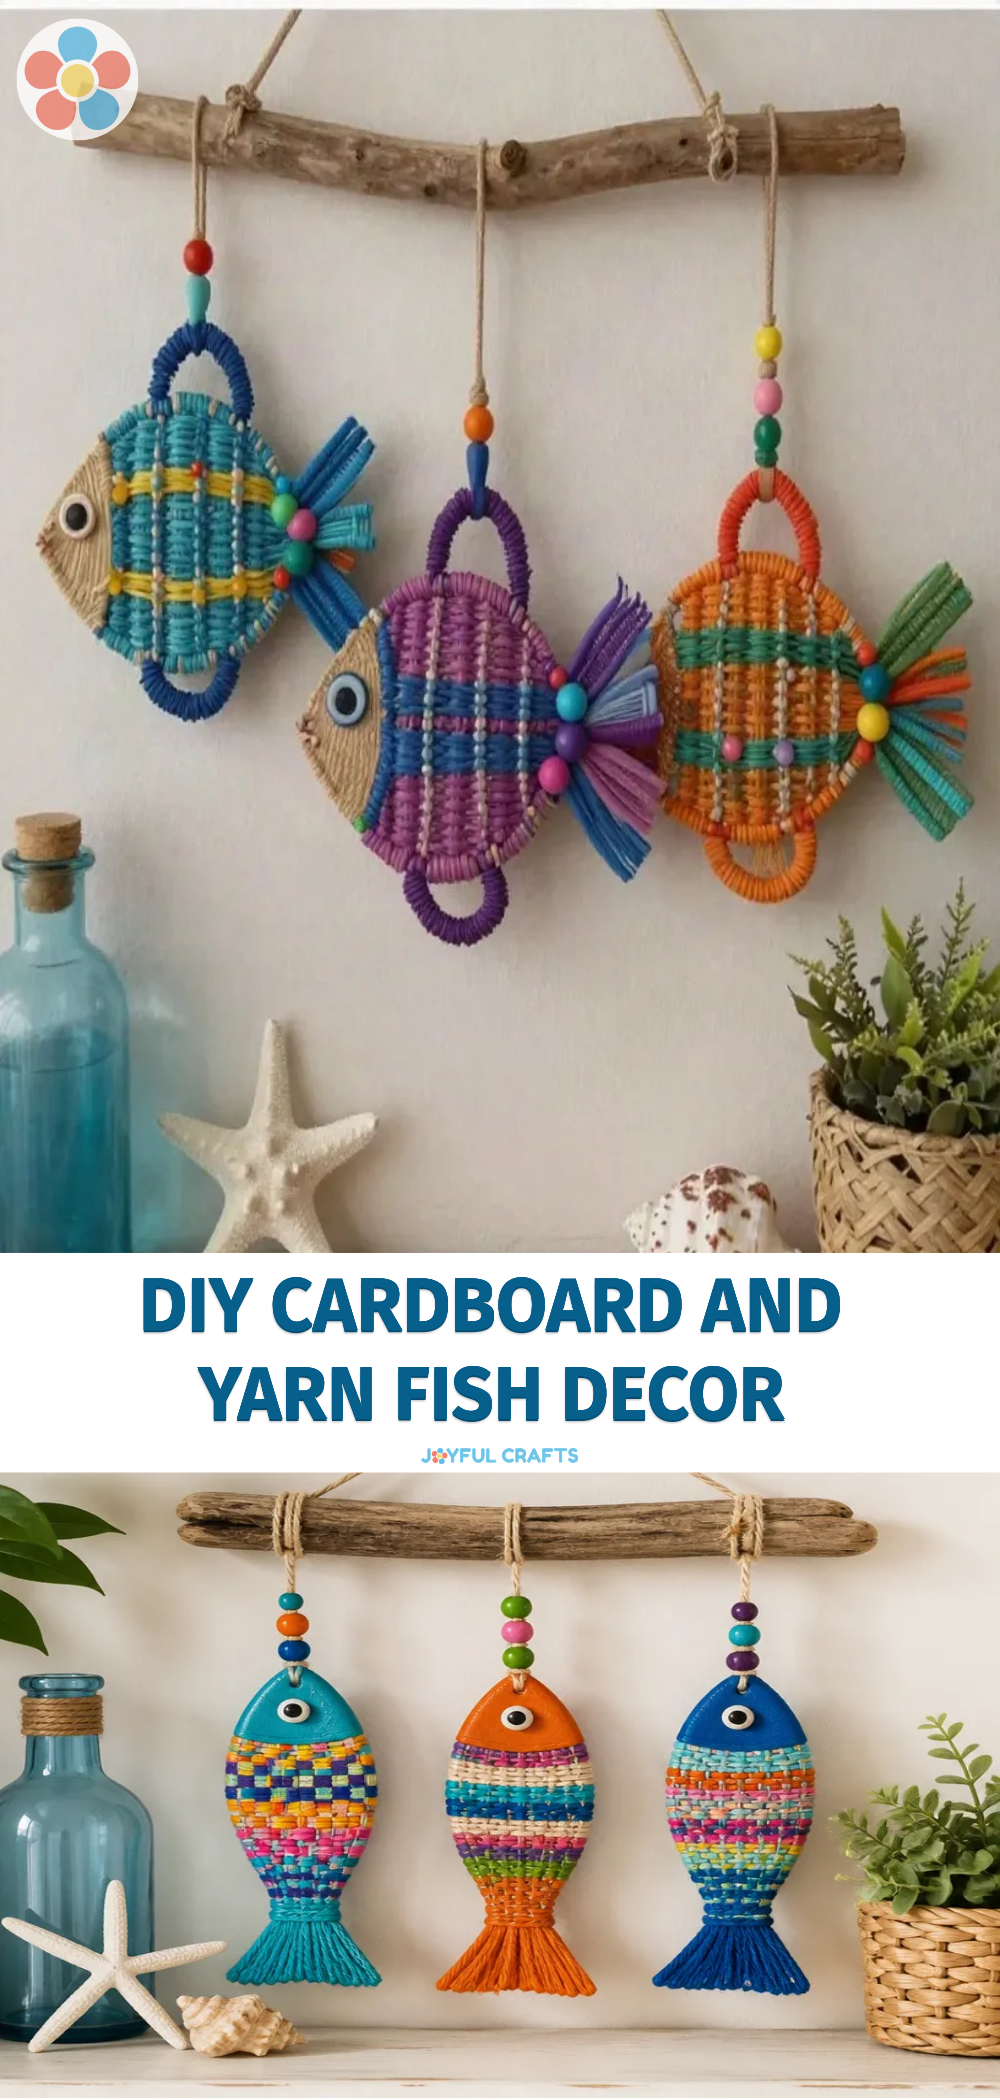
DIY Cardboard and Yarn Fish Decor Tutorial
Creating vibrant and playful fish decor using cardboard and yarn is a delightful project for families. It’s not only enjoyable but also a great opportunity to unleash creativity and personalize your space. This project brings a splash of color to any corner and can be a wonderful decoration for children’s rooms, playrooms, or even seasonal decor. You may also find Diy Colorful Acorn Coffee Filter Garland useful.
Why You’ll Love This Project
Here are a few reasons why this craft is perfect for you: You may also find Diy Crystal Butterfly Wings Tutorial useful.
- Easy and Affordable: Using materials you likely have around the house makes it a budget-friendly option.
- Creative Expression: Children and adults can explore color choices and patterns, showcasing their artistic flair.
- Skill Development: This project helps kids develop fine motor skills as they work with yarn and scissors.
- Fun for Everyone: It’s an activity that can be enjoyed together as a family, making for a memorable crafting experience.
- Versatile Decoration: These cardboard fish can be used for parties, classroom decorations, or as year-round decor.
You may also find Diy Rainbow Handprint Flower Frame Grandparents Day useful.
Materials You’ll Need
- Cardboard
- Yarn (various colors)
- Scissors
- Glue (white glue or hot glue)
- Pencil
- Ruler (optional)
How to Make DIY Cardboard and Yarn Fish Decor Tutorial
Prepare the Cardboard: Start by drawing the shape of a fish on a piece of cardboard. You can use a ruler for a more structured design or freehand it for a fun shape. Cut it out carefully with scissors. You may also find Rainbow Ghost Cupcake Liner Garland Halloween Decor useful.
Cut the Yarn: Decide on the colors of yarn you want to use for your fish. Cut several pieces of yarn in different lengths some longer for the tail and fins, and some shorter for the body.
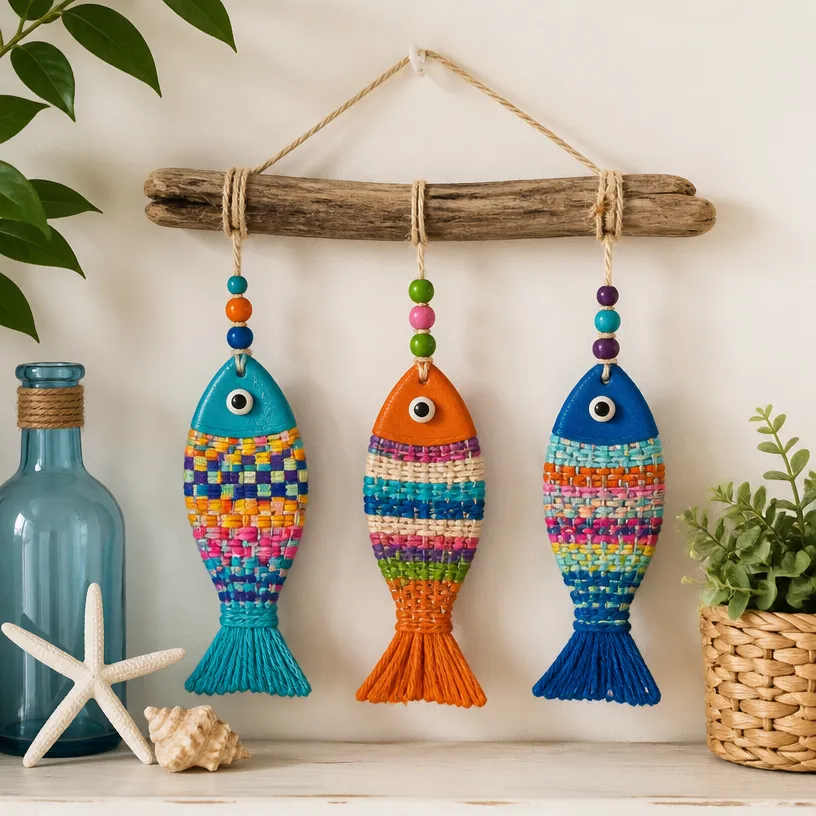
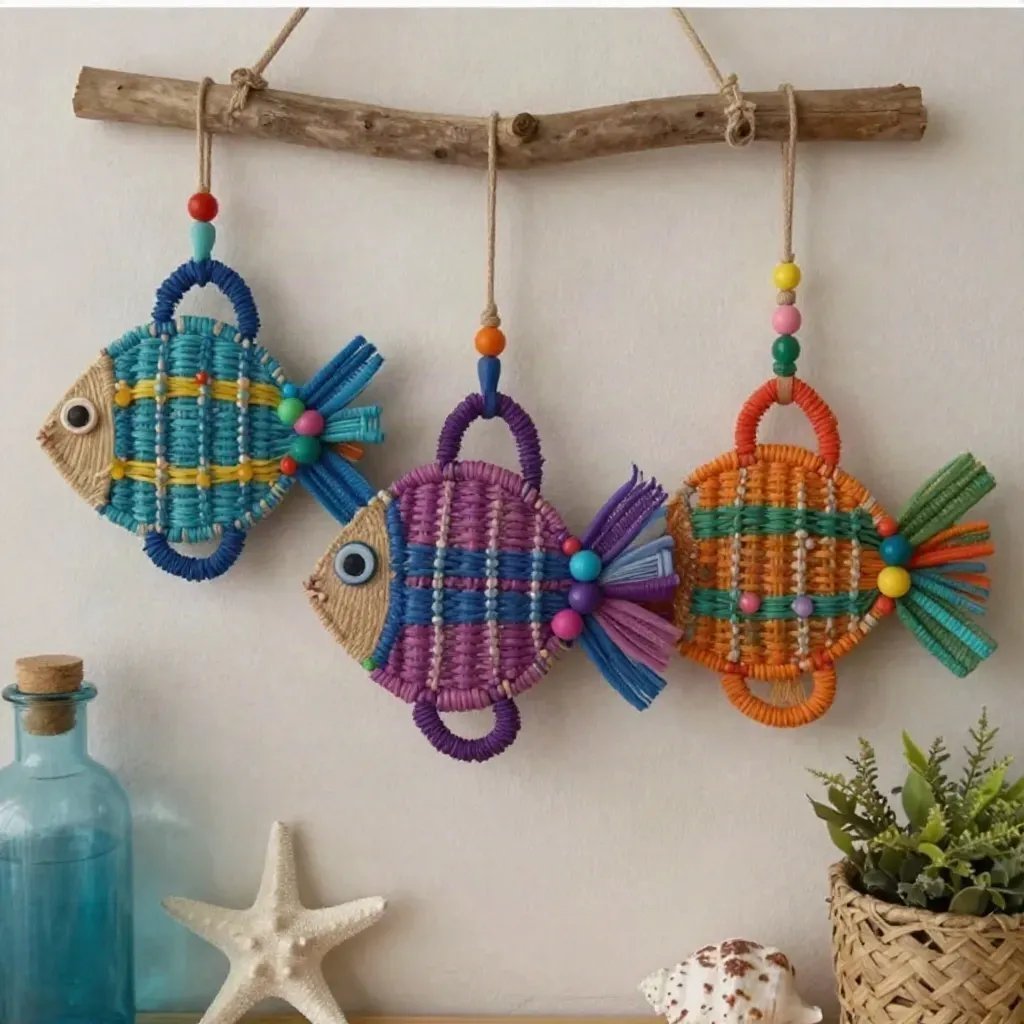
Attach the Yarn: Begin gluing the yarn onto the fish shape, starting from one end to the other. Make sure to layer the yarn comfortably so that the cardboard does not show through. You could also mix colors creatively along the fish’s body.
Finishing Touches: Once you have covered the fish completely, you can glue on additional pieces of yarn for fins and tails. Get creative with colors and patterns, enhancing your fish’s unique look!
Let It Dry: Allow the glue to dry completely before handling it. This ensures that all parts stay securely attached.
Helpful Tips
- Use Different Textures: Incorporating textured yarn can add an interesting dimension to your fish. Think about adding puffs or strands of ribbon for added flair.
- Design Variations: Feel free to experiment with shapes by creating a school of fish! Varying sizes and colors can create a whimsical effect when displayed together.
- Display Ideas: You can hang your fish decor on walls or string them up like a garland. Adding them to a mobile can also create a charming nursery decor element.
Creative Variations
To personalize your fish decor further, consider the following ideas:
- Seasonal Themes: Adapt the colors to match seasonal decor, such as pastels for spring or bold colors for summer.
- Patterns: Use fabric scraps to give your fish unique patterns or glue on sequins for a sparkly effect.
- Size Changes: Create a larger version for wall art or smaller ones as gift tags for special occasions.
Making It With Kids
This project is particularly enjoyable for kids, but adult supervision is recommended for using scissors and glue. Encourage children to express themselves with their choice of colors and patterns. Make it a collaborative effort, where everyone shares ideas and suggests designs.
How to Display, Use, or Gift It
Once your fish decor is complete, it can be a fantastic addition to any room. Hang them from the ceiling for a playful aquatic theme, or decorate a playroom wall for an inviting atmosphere. These delightful decorations can also be gifted to friends or family, bringing joy and creativity to someone else’s space.
Frequently Asked Questions
1. What age is this craft suitable for?
While kids of all ages can get involved, younger children will likely need assistance with cutting and gluing.
2. Can I use other materials?
Absolutely! You can substitute yarn with ribbons, fabric scraps, or even paper for different textures.
3. What kind of glue should I use?
For best results, a strong craft glue, like hot glue or school glue, will securely hold everything in place.
4. How do I store the finished fish?
To keep your fish intact, it’s best to hang them or place them in a sturdy box to avoid crushing them.
5. Can I paint the cardboard before adding yarn?
Yes! Painting the cardboard a solid color before applying yarn can be a great way to add an extra layer of color.
6. How do I secure the yarn to avoid fraying?
Applying a bit of glue to the ends of the yarn once you’ve cut them can help prevent fraying over time.
Conclusion
Crafting a cardboard and yarn fish decor can be a delightful project for families, blending creativity and fun. If you’re looking for similar crafts, you might enjoy exploring this Yarn Wrapped Cardboard Fish Kids Craft for more ideas!
Print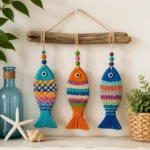
DIY Cardboard and Yarn Fish Decor Tutorial
- Total Time: 15 minutes
- Makes: 1 decorative fish
Description
Create vibrant and playful cardboard fish decor using yarn in a fun and creative crafting project.
Materials
- Cardboard
- Yarn (various colors)
- Scissors
- Glue (white glue or hot glue)
- Pencil
- Ruler (optional)
Instructions
- Prepare the cardboard by drawing the shape of a fish and cutting it out.
- Cut the yarn in various lengths for the tail, fins, and body.
- Attach the yarn to the cardboard fish, layering it to avoid showing the cardboard.
- Finishing touches include adding yarn pieces for fins and tails.
- Let the glue dry completely before handling.
Notes
Encourage kids to use different textures and colors. Adult supervision is recommended for using scissors and glue.