
Pressed Floral Glue Keepsakes
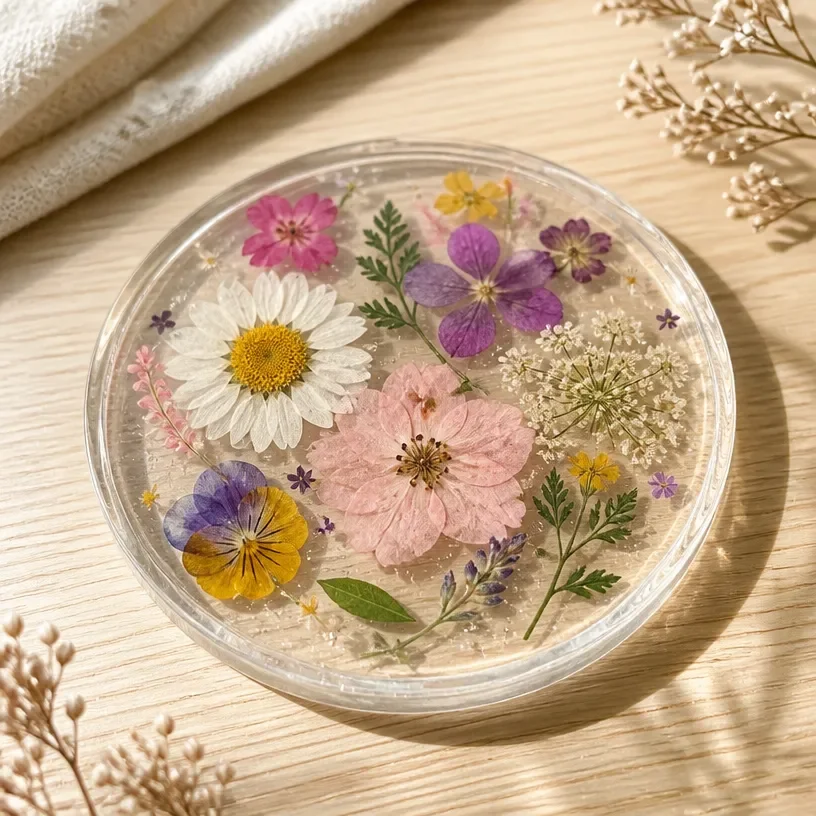
Creating beautiful keepsakes from dried flowers can be a wonderfully rewarding experience. Pressed floral glue keepsakes allow you to capture the beauty of nature and turn it into a piece of art that can be cherished for years. This project is not only creative but also a great way to commemorate special moments, such as weddings, anniversaries, or simply the beauty of a favorite flower. You may also find Easy Clear School Glue Craft For Kids useful.
Why You’ll Love This Project
- Personal Touch: Each keepsake is unique and can reflect your personal style.
- Eco-Friendly Crafting: Utilize flowers from your garden or during walks, making it a sustainable project.
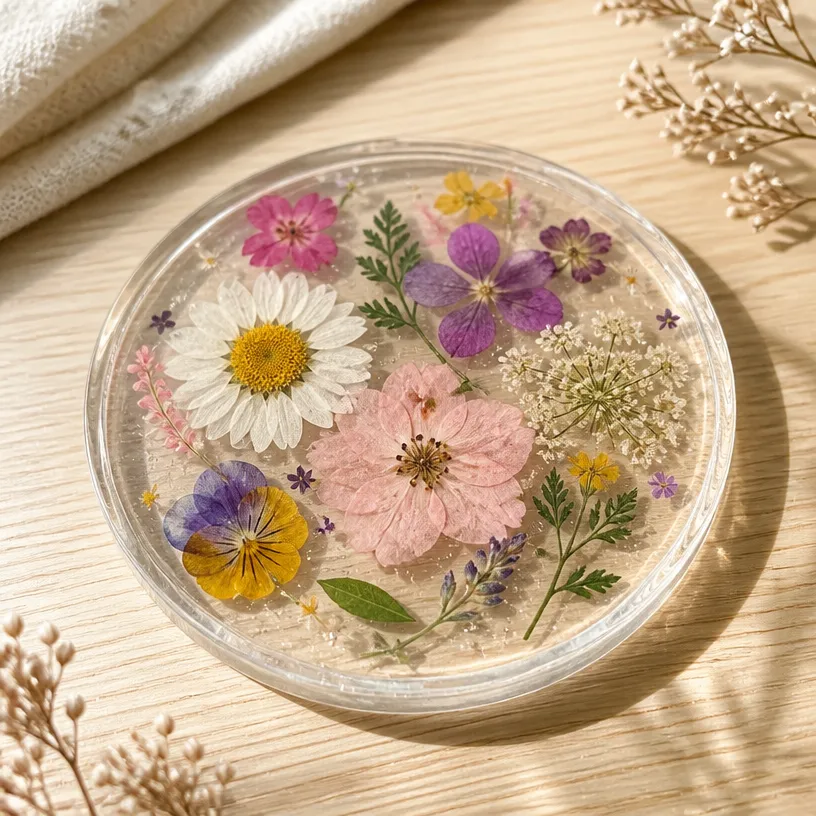
- Creative Display Options: The final pieces can be framed or displayed creatively around your home.
- Quality Time: This is a fantastic project to share with family or friends, enhancing bonding through crafting.
- Skill Development: It helps improve fine motor skills and provides an opportunity to learn about different flowers.
You may also find Easy Cornstarch Glass Floral Hearts Flowers useful.
Materials You’ll Need
- Dried flowers
- Clear-drying glue
- Cardstock or canvas
- Scissors
- Paintbrush
- Frame (optional)
How to Make Pressed Floral Glue Keepsakes
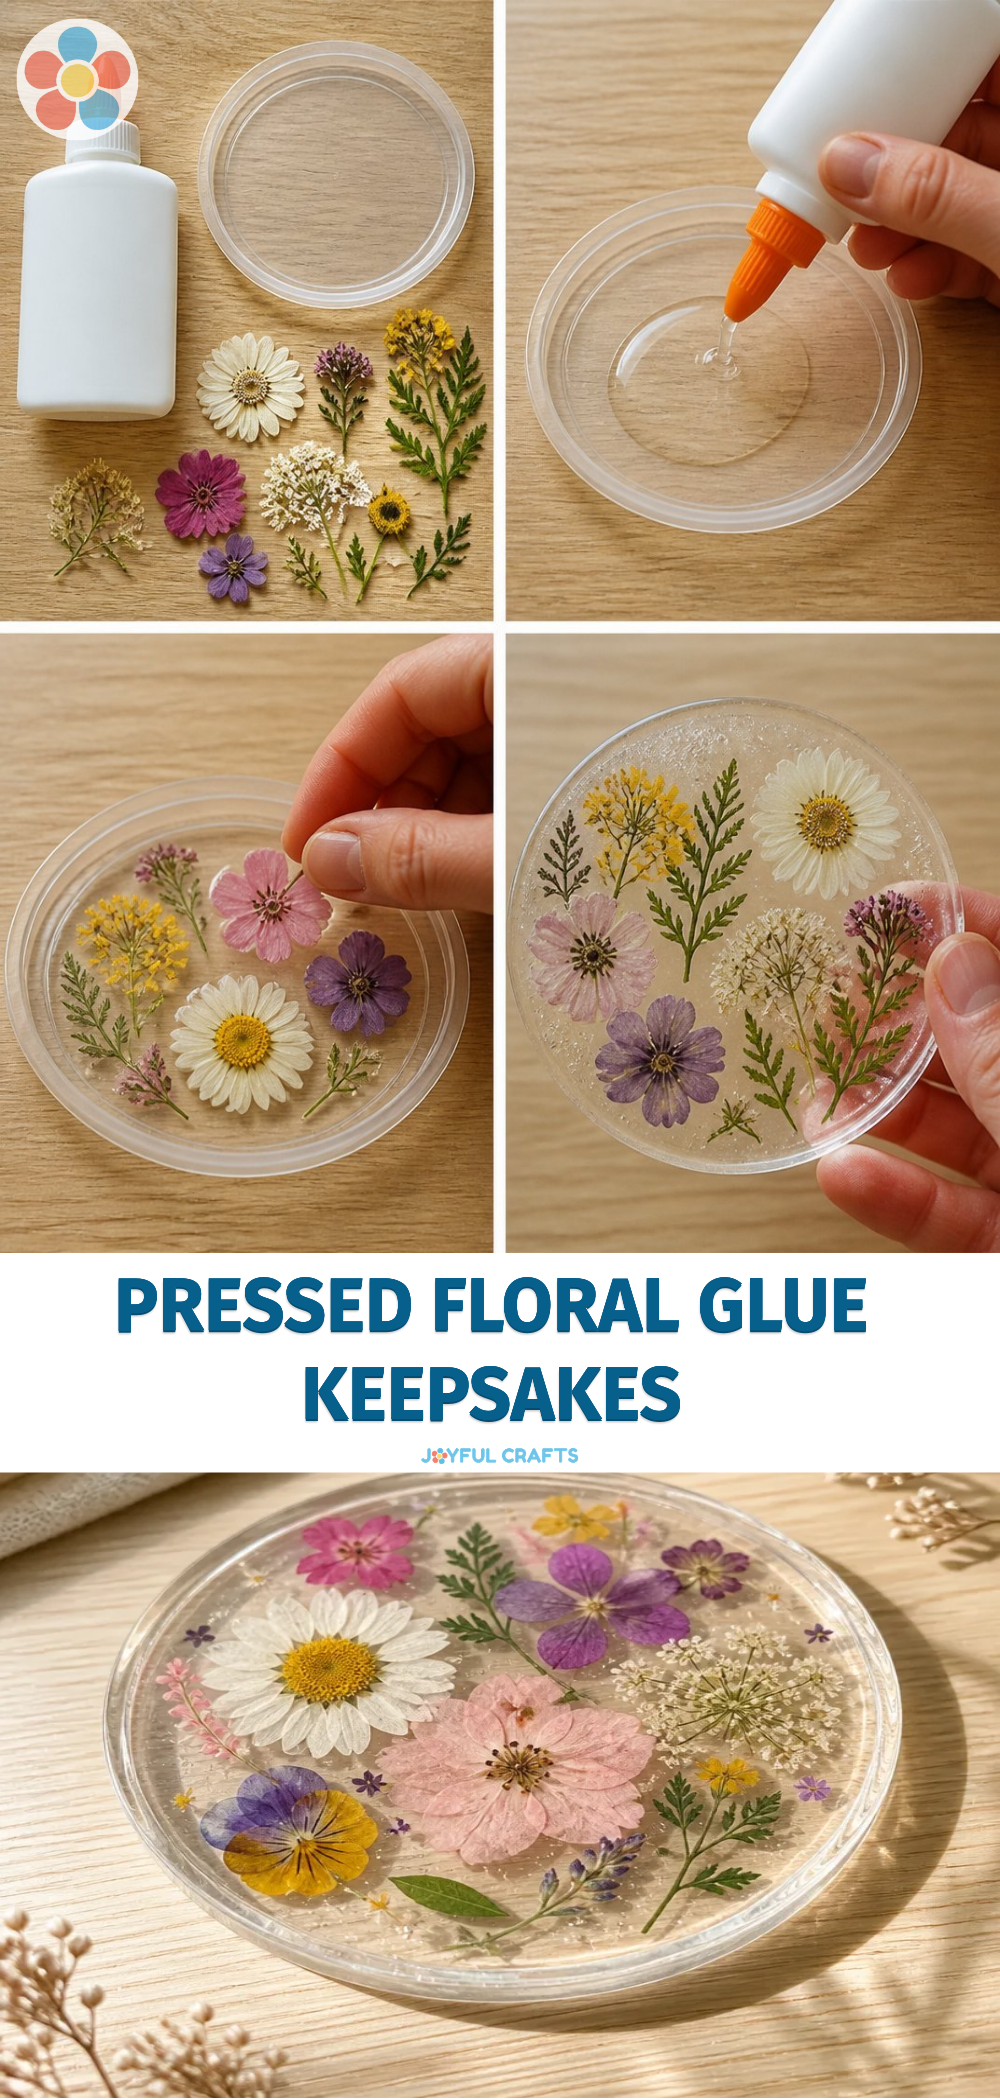
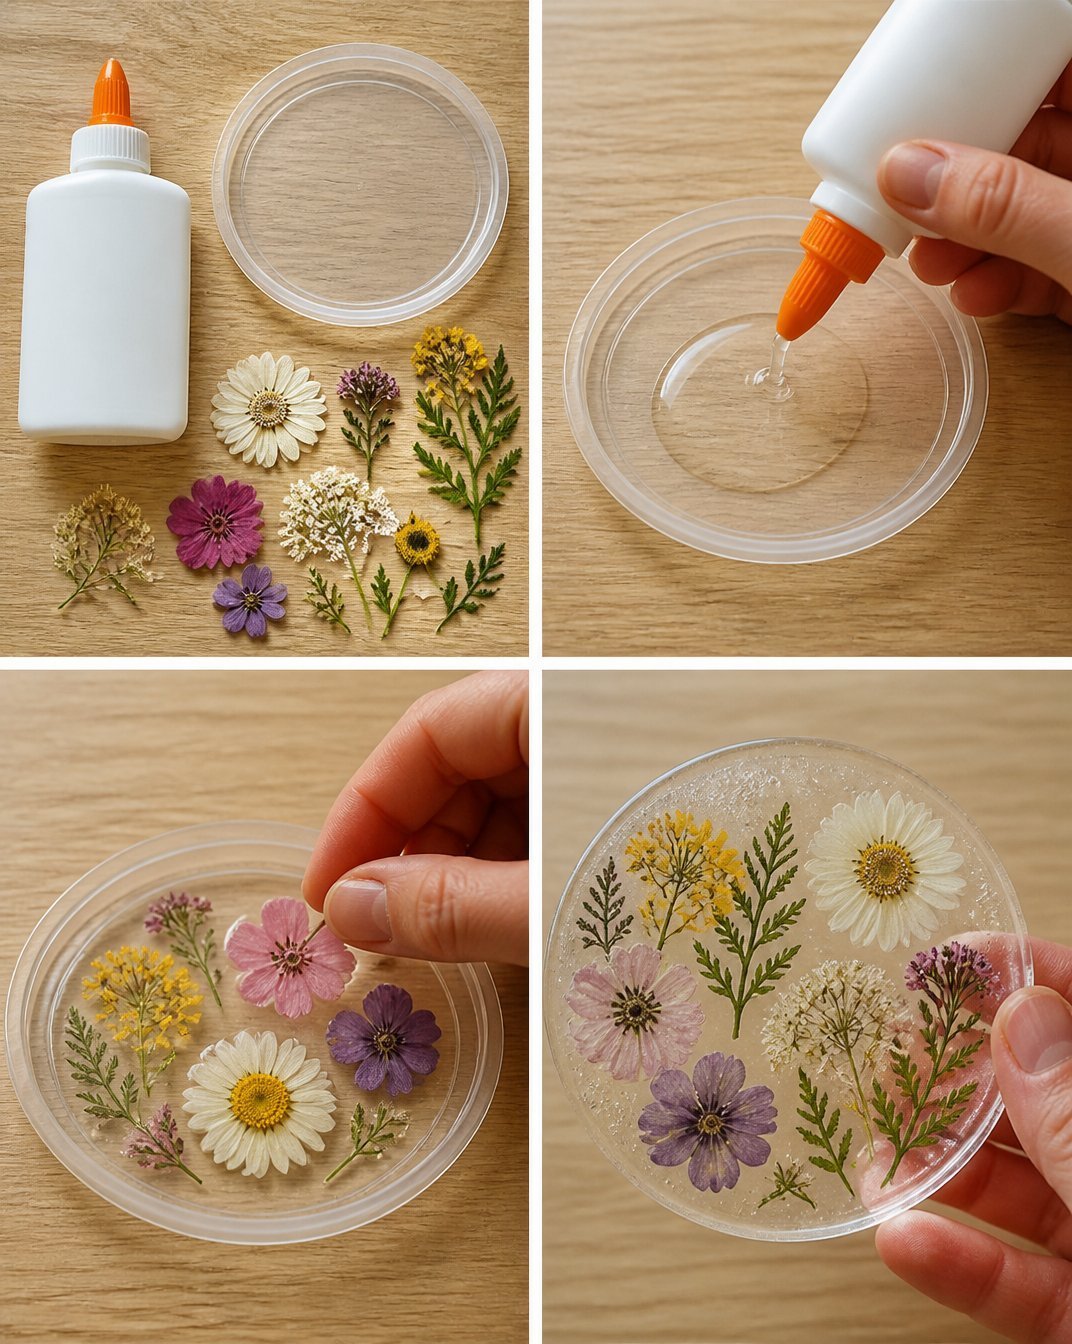
Collect and Dry Your Flowers: Start by selecting your favorite flowers and drying them. You can use a flower press or simply place them between sheets of heavy books for about a week. You may also find Easy Pressed Flower Cornstarch Charms useful.
Cut Your Cardstock or Canvas: Measure and cut your cardstock or canvas to the size you desire for your keepsake. You may also find Pressed Flower Rainbow Window Medallions useful.
Arrange the Dried Flowers: Before gluing, lay out the dried flowers on your cardstock or canvas to find the arrangement you like best.
Apply the Glue: Using a paintbrush, spread a layer of clear-drying glue over the flowers. This will secure the flowers in place.
Dry the Glue Completely: Allow the glue to dry thoroughly. This step is vital for durability and long-lasting beauty.
Frame Your Keepsake (Optional): If you choose, you can frame your finished artwork to enhance its appearance and protect it.
Helpful Tips
- When arranging your flowers, consider layering different shapes and sizes for added depth.
- Use a gentle hand when applying the glue to avoid disturbing the flower arrangement.
- If you’re crafting with children, supervising cutting and glue application is essential for safety.
- Make sure to let the glue dry in a stable, flat position to prevent the flowers from shifting.
Creative Variations
- Experiment with different types of flowers for various colors and textures.
- Use decorative scissors for a unique edge on your cardstock or canvas.
- Consider adding watercolor backgrounds or text to the keepsake to make it even more personal.
- For a seasonal look, create keepsakes using flowers characteristic of different times of the year.
Making It With Kids
This craft can be a delightful activity for kids with proper adult supervision. It’s a great way for children to learn about nature and art simultaneously. Ensure that the scissors are safe and appropriate for their age, and assist them in applying the glue.
How to Display, Use, or Gift It
Display your pressed floral keepsakes on walls or shelves, or consider gifting them to friends or family as a personalized present. Framing adds a beautiful touch and makes the keepsake versatile for home décor.
Frequently Asked Questions
1. How do I dry flowers properly?
To dry flowers, press them between heavy books or use a flower press. Ensure they are completely dried to maintain their shape and color.
2. Can I use fresh flowers instead?
No, it’s best to use dried flowers as they will maintain their shape and prevent mold growth.
3. What types of flowers work best?
Smaller, flatter flowers like daisy or pansy varieties tend to work well but experimenting is encouraged.
4. How long will the keepsake last?
If done correctly, your pressed floral keepsake can last for many years, especially if displayed out of direct sunlight.
5. Can I use colored glue?
While clear-drying glue is recommended for aesthetics, colored glue can also add a unique effect to your art.
Conclusion
Pressed floral art captures the delicate beauty of flowers, allowing you to create something truly special. For further inspiration on pressed flower techniques, check out this guide on DIY pressed flower art. Happy crafting!
Print
Pressed Floral Glue Keepsakes
- Total Time: 15 minutes
- Makes: 1 keepsake
Description
Create unique keepsakes from dried flowers using clear-drying glue, perfect for preserving special memories.
Materials
- Dried flowers
- Clear-drying glue
- Cardstock or canvas
- Scissors
- Paintbrush
- Frame (optional)
Instructions
- Collect and dry your flowers: Select your favorite flowers and dry them using a flower press or heavy books for about a week.
- Cut your cardstock or canvas: Measure and cut the cardstock or canvas to your desired size for the keepsake.
- Arrange the dried flowers: Lay out the dried flowers on the cardstock or canvas to find your preferred arrangement.
- Apply the glue: Spread a layer of clear-drying glue over the flowers using a paintbrush to secure them in place.
- Dry the glue completely: Allow the glue to dry thoroughly for durability and long-lasting beauty.
- Frame your keepsake (optional): Frame your finished artwork to enhance its appearance and protect it.
Notes
Use a gentle hand when applying glue and consider layering different shapes and sizes of flowers for added depth.