

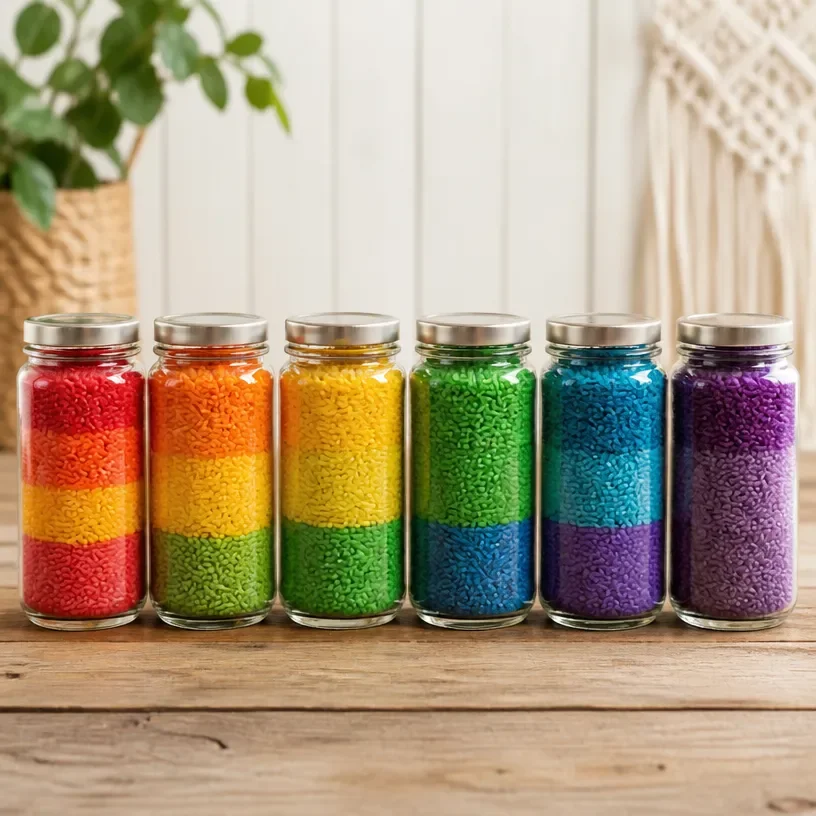
Rainbow Rice Kitchen Sensory Jars Become Art
Creating Rainbow Rice Kitchen Sensory Jars is a delightful activity that brings together color, creativity, and sensory play. This project is not only visually appealing but also serves as an art piece that can engage kids in imaginative play. The process of making these jars transforms simple rice into vibrant layers, showcasing beautiful colors that can brighten any space. You may also find Colorful Rainbow Tree Bubble Paint Artwork useful.
Why You’ll Love This Project
- Sensory Engagement: Children can enjoy the tactile experience of playing with the rice, making it an excellent sensory activity.
- Creative Expression: Each jar can be personalized, allowing kids to express their creativity through their color choices and designs.
- Easy to Make: This project requires simple materials and steps, making it perfect for a fun afternoon craft.
- Educational Value: Kids can learn about colors, measurements, and layering, all while having fun.
- Decorative Art: Once completed, these jars can be used as decorative pieces around the home.
You may also find Melted Crayon Rainbow Heart Suncatcher For Kids useful.
Materials You’ll Need
To create your Rainbow Rice Kitchen Sensory Jars, gather the following materials: You may also find Rainbow Crayon Window Art Haunted House Halloween Decor useful.
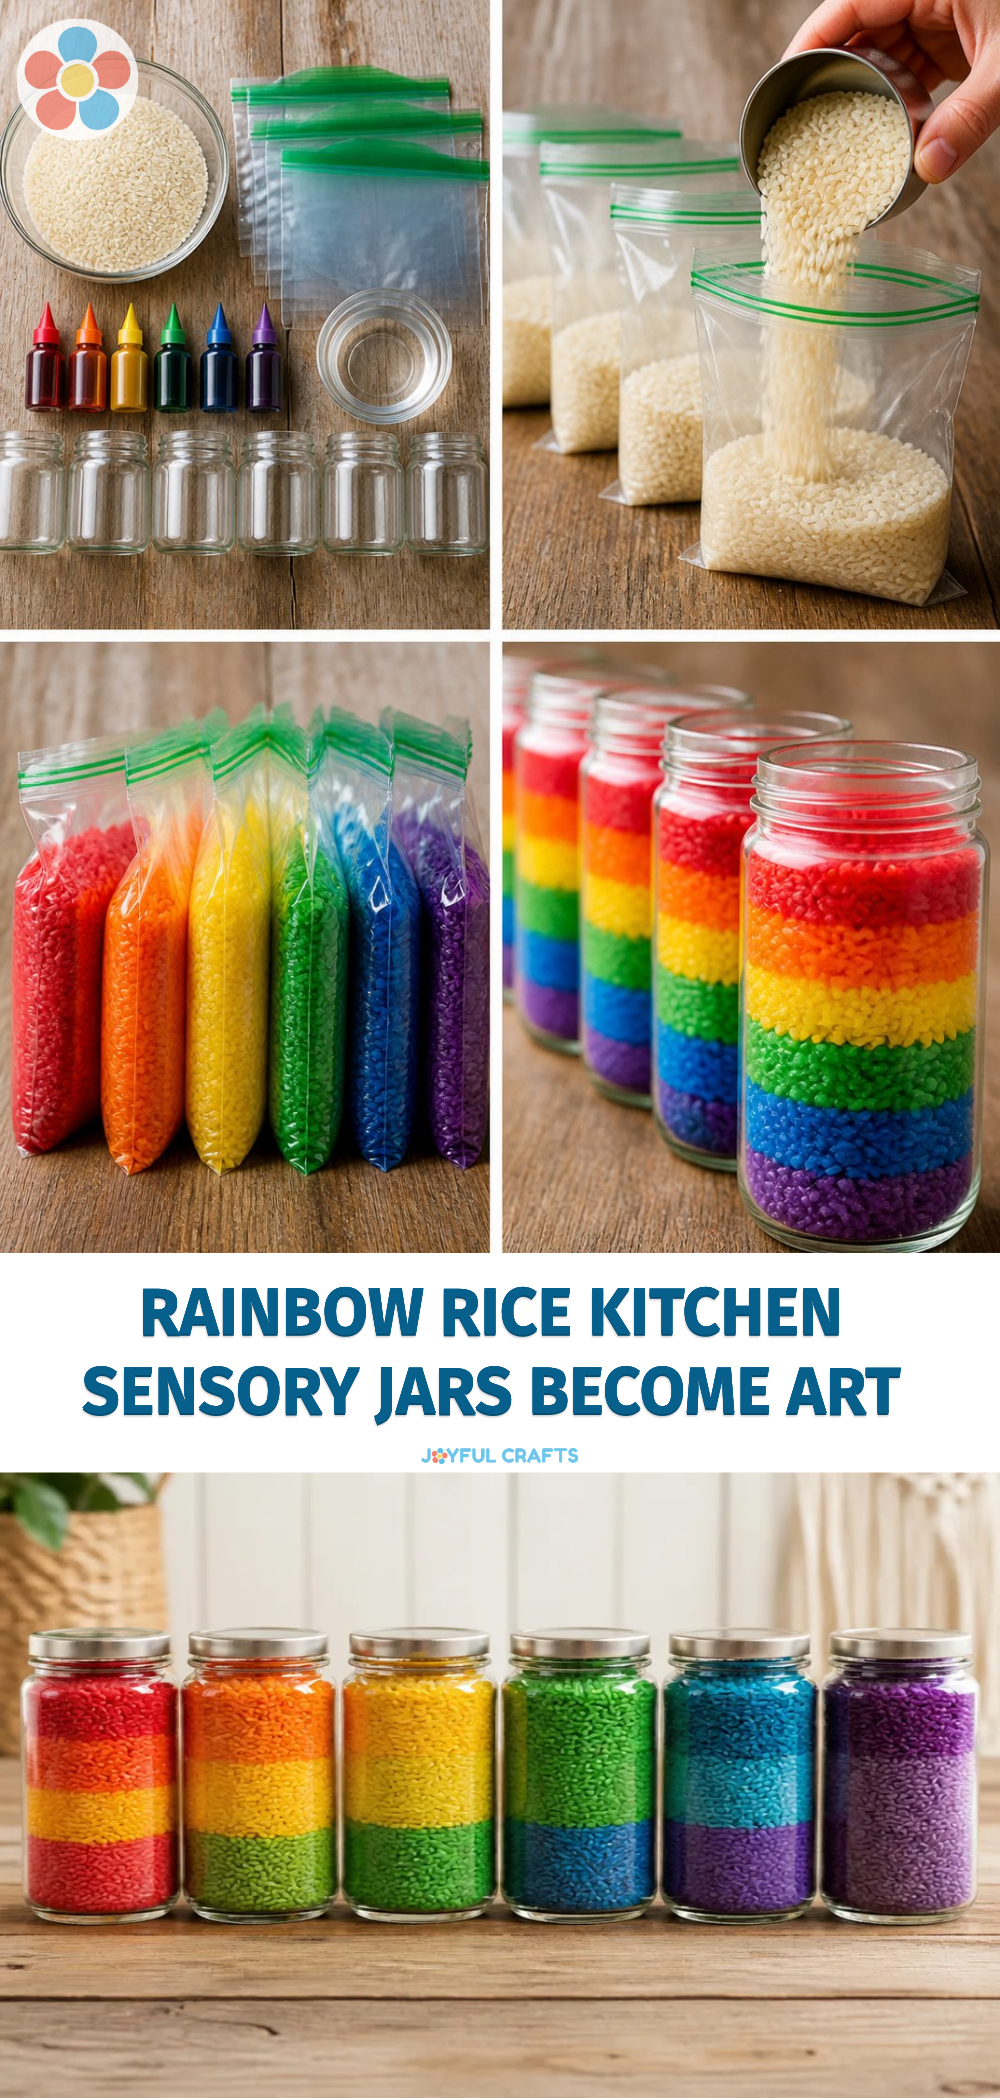
- Uncooked white rice
- Food coloring
- Small glass or plastic jars with lids
- Paper towel or a tray for drying
- Measuring cups
How to Make Rainbow Rice Kitchen Sensory Jars Become Art
Follow these simple steps to make your rainbow rice jars: You may also find 3D Raised Salt Painting Colorful Artwork For Kids useful.
Prepare the Rice: Start by dividing the uncooked rice into separate bowls based on how many colors you wish to use in your jars.
Color the Rice: Add a few drops of food coloring to each bowl of rice. Start with one color at a time, mixing well until the rice is evenly coated. Add more coloring for a deeper hue if desired.
Dry the Rice: Spread the colored rice on paper towels or a tray and let it dry for about 30 minutes. This step prevents any color from bleeding when layered.
Layer the Rice in Jars: Once the rice is dry, take your jars and begin layering the rice. Start with one color and add a scoop to the jar, pressing it down slightly. Continue adding layers of different colors until the jar is filled.
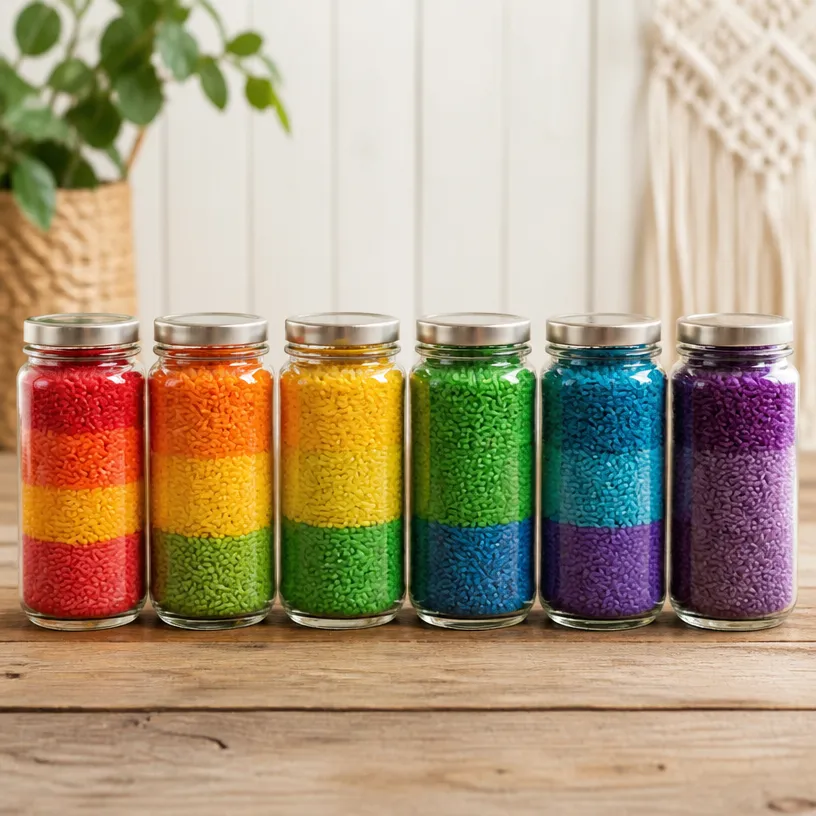
Seal and Display: Once filled, securely close the lids on your jars. They can be displayed on shelves, used as centerpieces, or even gifted to family and friends.
Helpful Tips
- When adding colors to the rice, experiment with mixing colors for unique shades.
- Remember to supervise children during the process to avoid any spills, especially if using glass jars.
- If you want to create themed jars (like for different holidays), choose colors accordingly.
Creative Variations
Personalizing your rainbow rice jars can enhance the craft experience. Here are some ideas:
- Seasonal Themes: Use colors that represent different seasons or holidays, like orange, brown, and purple for autumn.
- Layer Patterns: Instead of solid color layers, create patterns by alternating colors or using smaller jars within a larger one.
- Adding Decor: Incorporate small decorations inside the jar, such as glitter, beads, or small toys, for added fun.
Making It With Kids
This project is perfect for children of all ages, though adult supervision is recommended for younger kids, especially when using food coloring. Allow little hands to help with pouring and layering, enhancing their involvement in the crafting process.
How to Display, Use, or Gift It
Your finished Rainbow Rice Kitchen Sensory Jars can be displayed as beautiful decorations in living spaces, or they can be used for sensory play. They also make wonderful gifts for family members, adding a personal touch to any occasion.

Frequently Asked Questions
Can I use any type of rice?
While white rice is commonly used, you can experiment with brown rice for a different texture and finish.
What if I run out of food coloring?
You can use natural colorants like beet juice or turmeric, although results may vary.
How long do the jars last?
If stored in a cool, dry place, your sensory jars can last indefinitely without fading, as long as they are not exposed to moisture.
Are these jars safe for young children?
While the jars are generally safe, it’s important to supervise young kids to prevent any accidental spills or breakage.
Conclusion
Creating Rainbow Rice Kitchen Sensory Jars is a wonderful way to encourage creativity and sensory exploration in children. For additional inspiration on crafting colorful projects, consider checking out Layered Rainbow Colored Rice Jars – TinkerLab. Enjoy making art with your family!
Print
Rainbow Rice Kitchen Sensory Jars
- Total Time: 45 minutes
- Makes: 4 jars
Description
A delightful project that turns simple rice into vibrant layers, creating beautiful sensory jars for imaginative play and decoration.
Materials
- Uncooked white rice
- Food coloring
- Small glass or plastic jars with lids
- Paper towel or a tray for drying
- Measuring cups
Instructions
- Prepare the rice by dividing it into separate bowls based on how many colors you wish to use.
- Color the rice by adding a few drops of food coloring to each bowl and mixing until evenly coated.
- Dry the rice by spreading it on paper towels or a tray, letting it dry for about 30 minutes.
- Layer the rice in jars by adding scoops of different colors until the jar is filled.
- Seal the jars securely and display them as centerpieces or gifts.
Notes
Experiment with mixing colors for unique shades. Supervise children to avoid spills, especially with glass jars.