

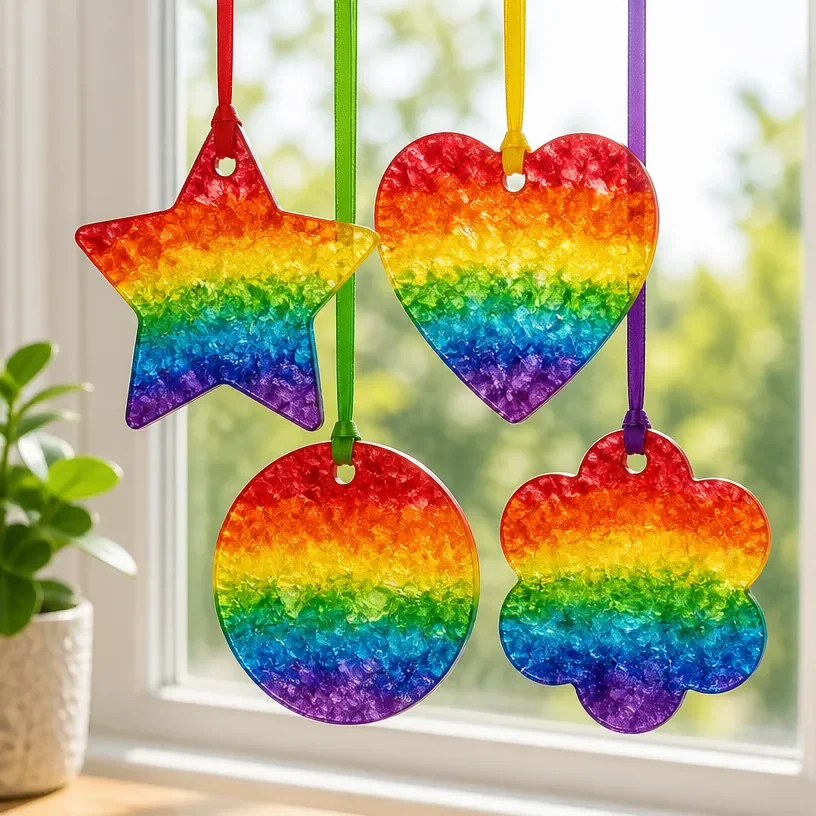
DIY Melted Rainbow Crayon Suncatcher for Kids
Creating vibrant, melted crayon suncatchers is a delightful way for kids to express their creativity while crafting beautiful decorations. This project is not only enjoyable and easy to do, but it also teaches kids about color mixing and the joy of transforming simple materials into something colorful and fun for the home. You may also find Melted Crayon Rainbow Butterfly Suncatcher For Kids useful.
Why You’ll Love This Project
- Fun and Engaging: Melting crayons allows kids to experiment with colors and designs in a hands-on way.
- Simple Materials: You likely already have most of the materials at home, making it an affordable craft option.
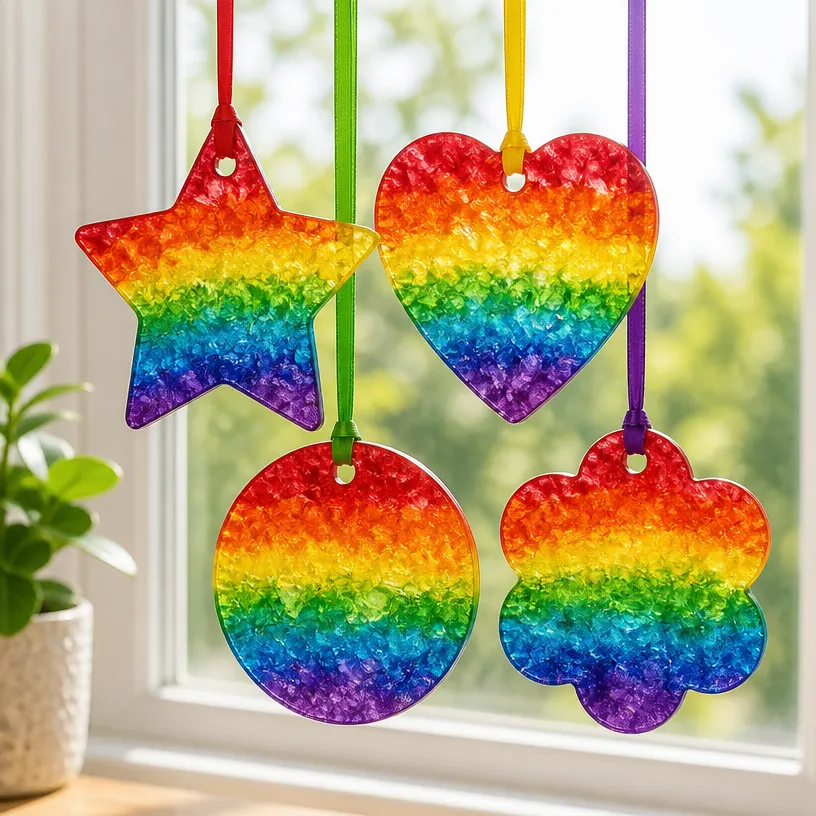
- Colorful Display: These suncatchers can brighten up any window, adding a cheery aesthetic to your living space.
- Skill Development: Kids can learn about patience and the process of crafting as they wait for the crayons to melt and cool.
- Perfect for All Ages: Whether for a rainy day or a weekend project, this craft is versatile enough for a variety of age groups.
You may also find Melted Crayon Rainbow Heart Suncatcher For Kids useful.
Materials You’ll Need
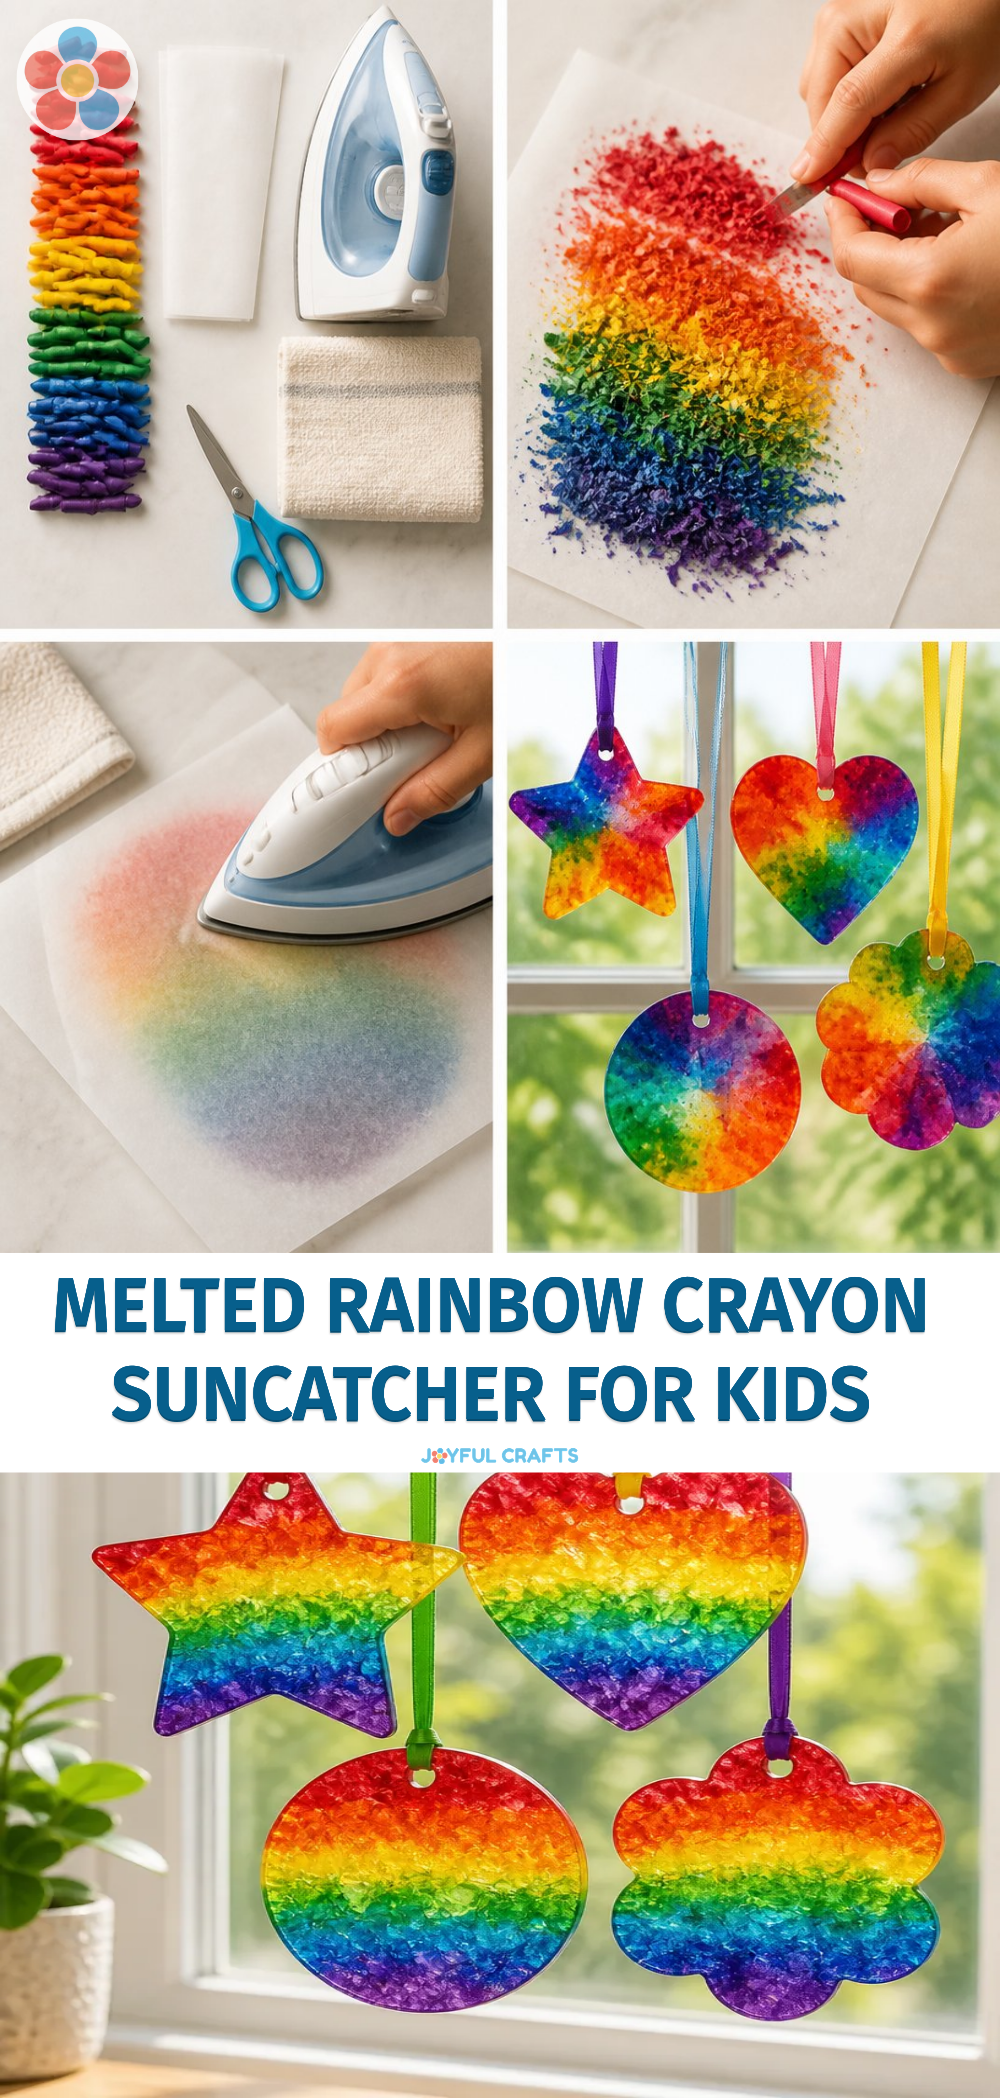
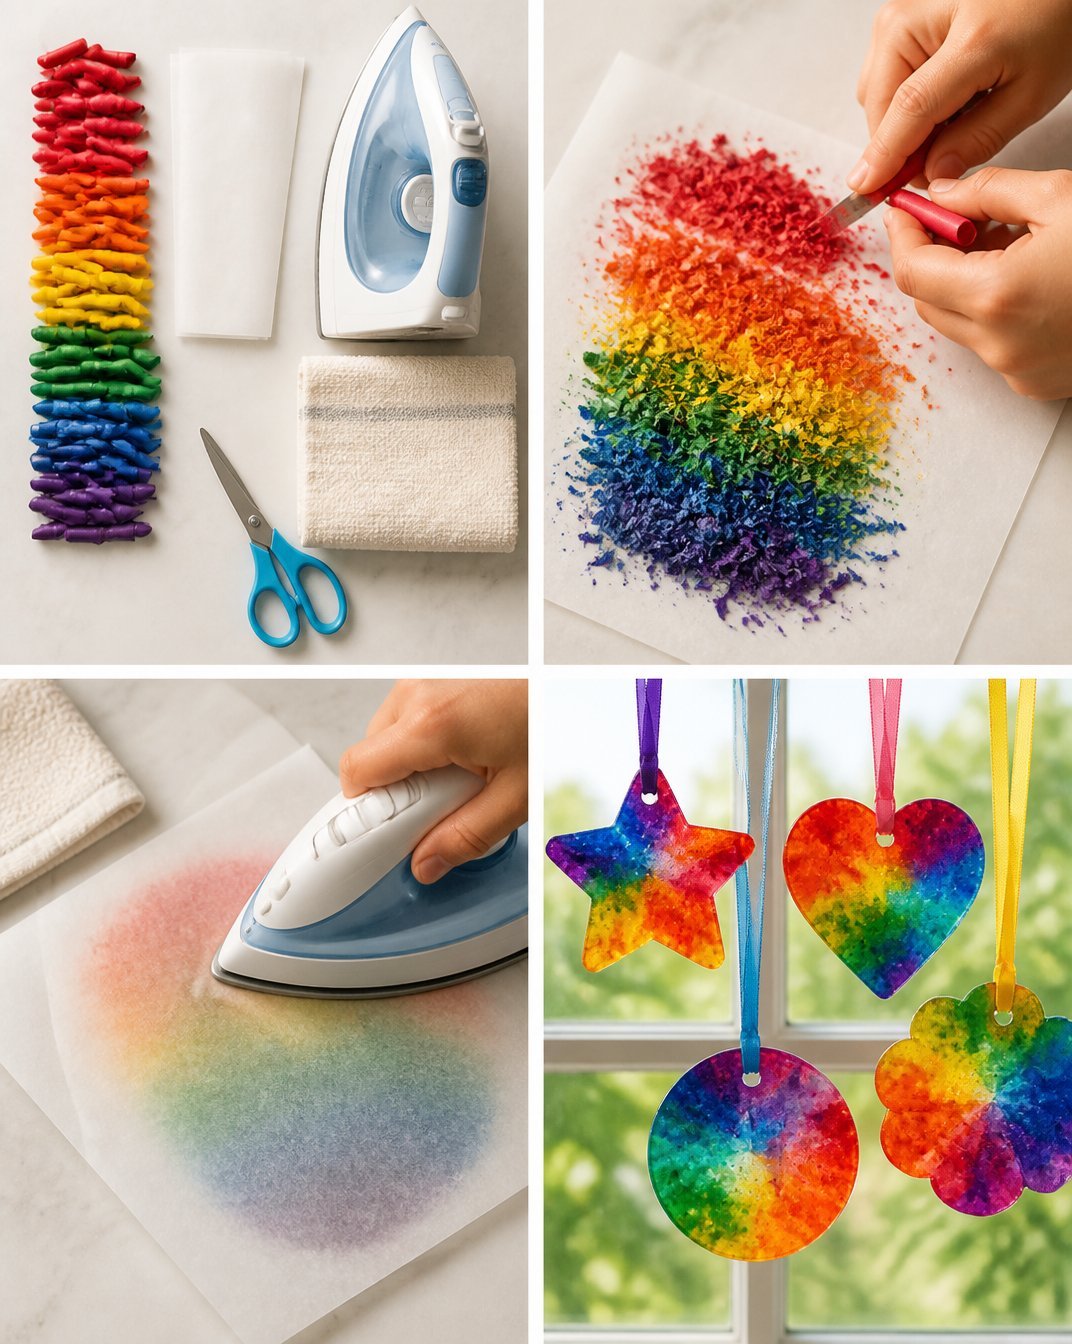
- Crayons (various colors)
- A baking pan (preferably silicone for easy removal)
- Oven
- Wax paper
- Parchment paper
- Craft knife or scissors
- String or ribbon (for hanging)
How to Make DIY Melted Rainbow Crayon Suncatcher for Kids
Preheat the oven to 200°F (95°C). It’s important to keep the temperature relatively low to avoid burning the crayons. You may also find Clear Rainbow Ghost Shaker Suncatcher Craft For Kids useful.
Prepare the crayons by peeling off the paper wrappers. This is a great task for kids to help with! You may also find Melted Crayon Rainbow Ghost Suncatcher Crayon Suncatcher useful.
Break the crayons into small pieces and fill the baking pan with the pieces, allowing for a mix of colors. You can create beautiful patterns or stick to a color scheme.
Place the pan in the oven and let the crayons melt for about 10-15 minutes. Stay close to keep an eye on them. If you want to create interesting designs, you can swirl the melted crayon with a wooden stick.
Once completely melted, carefully remove the pan from the oven (adults should handle this part!) and allow it to cool.
After it’s cooled, use a craft knife or scissors to cut the shapes you desire. You can trace shapes or create your own freehand designs.
Cut a piece of wax paper to the same size as your crayon cutouts and place it underneath. This adds a protective layer.
Finally, punch a hole at the top of the suncatcher and use a string or ribbon to hang it up.
Helpful Tips
- Color combinations can be exciting! Try mixing different shades for a gradient effect.
- If using a metal pan, consider placing parchment paper at the bottom to make the removal process easier.
- Make sure the area is well-ventilated while melting the crayons to avoid any unwanted smells.
Creative Variations
- Try using different shapes for your suncatchers, such as hearts or stars, to reflect personal styles or seasonal themes.
- Use transparent colors to create a stained-glass effect.
- Experiment with layering different colors to see which designs you love most.
Making It With Kids
Involve the kids in every step, from peeling the crayons to mixing the melted wax. Ensure adult supervision during melting, as the oven can be dangerous. This project is a great opportunity to teach them about safety in the kitchen as well!
How to Display, Use, or Gift It
Once completed, hang your creations in windows or give them as gifts to family and friends. These colorful suncatchers can create lovely light effects when sunlight shines through, brightening any room.
Frequently Asked Questions
1. What kind of crayons work best?
For the best results, use standard crayons rather than specialty or twistable crayons, as they melt more evenly.
2. Can I use a microwave instead of an oven?
Yes, you can melt crayons in a microwave-safe container. Just make sure to keep an eye on them to prevent overheating.
3. How long do the suncatchers last?
If stored away from direct sunlight and heat, your suncatchers can last for a long time.
4. What safety precautions should I take?
Always supervise children when using scissors or when the oven is on.
5. Can I mix crayon types?
While regular crayons melt well, mixing types can lead to uneven melting and unexpected colors.
6. What’s the best way to clean melted crayon from surfaces?
To clean, allow the wax to harden and then scrape it off gently with a plastic scraper.
Conclusion
Creating a melted crayon sun catcher is a great activity to share with kids, offering them a chance to explore their creativity while crafting something beautiful. For more ideas on kids’ art projects, check out this melted crayon sun catcher project.