

How to Make a Rainbow Paper Squishy Pumpkin Decor
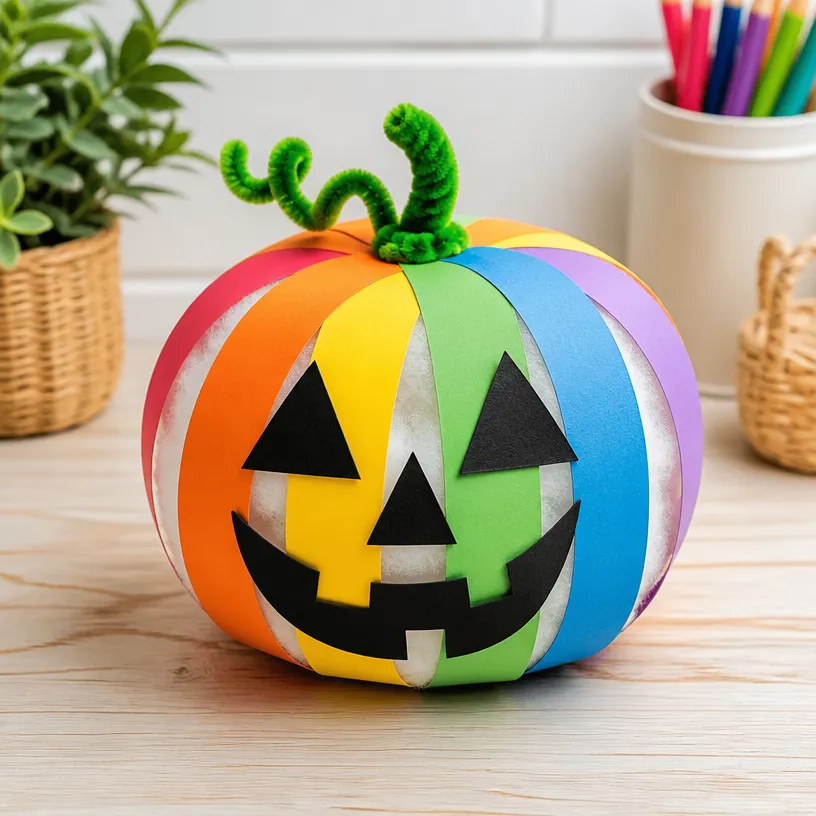
Creating delightful decorations can be a wonderful bonding time for families and friends. This Rainbow Paper Squishy Pumpkin Decor project is not only a fun autumn craft but also encourages creativity and personal expression. You’ll find it easy and enjoyable to make, providing a cheerful twist to your seasonal decor. You may also find Rainbow Button Apple Teacher Frame Classroom Decor useful.
Why You’ll Love This Project
- Encourages Creativity: Kids and adults can experiment with colors, patterns, and styles, making each pumpkin unique.
- Simple Materials: The supplies required are easy to find and budget-friendly.
- Hands-On Fun: This craft promotes fine motor skills through cutting and decorating.
- Festive Decor: These colorful pumpkins can brighten any space, making them perfect for fall decoration.
- Great for All Ages: It’s easy enough for young crafters but also provides enough creativity to keep teens and adults engaged.
You may also find How To Make Witch Hat Flowers Cupcake Liners useful.
Materials You’ll Need
- Colored paper (in rainbow shades)
- Scissors
- Pencil
- Glue stick
- Ruler
- Craft foam or felt (optional for extra decoration)
- Decorative markers or stickers (optional)
How to Make a Rainbow Paper Squishy Pumpkin Decor
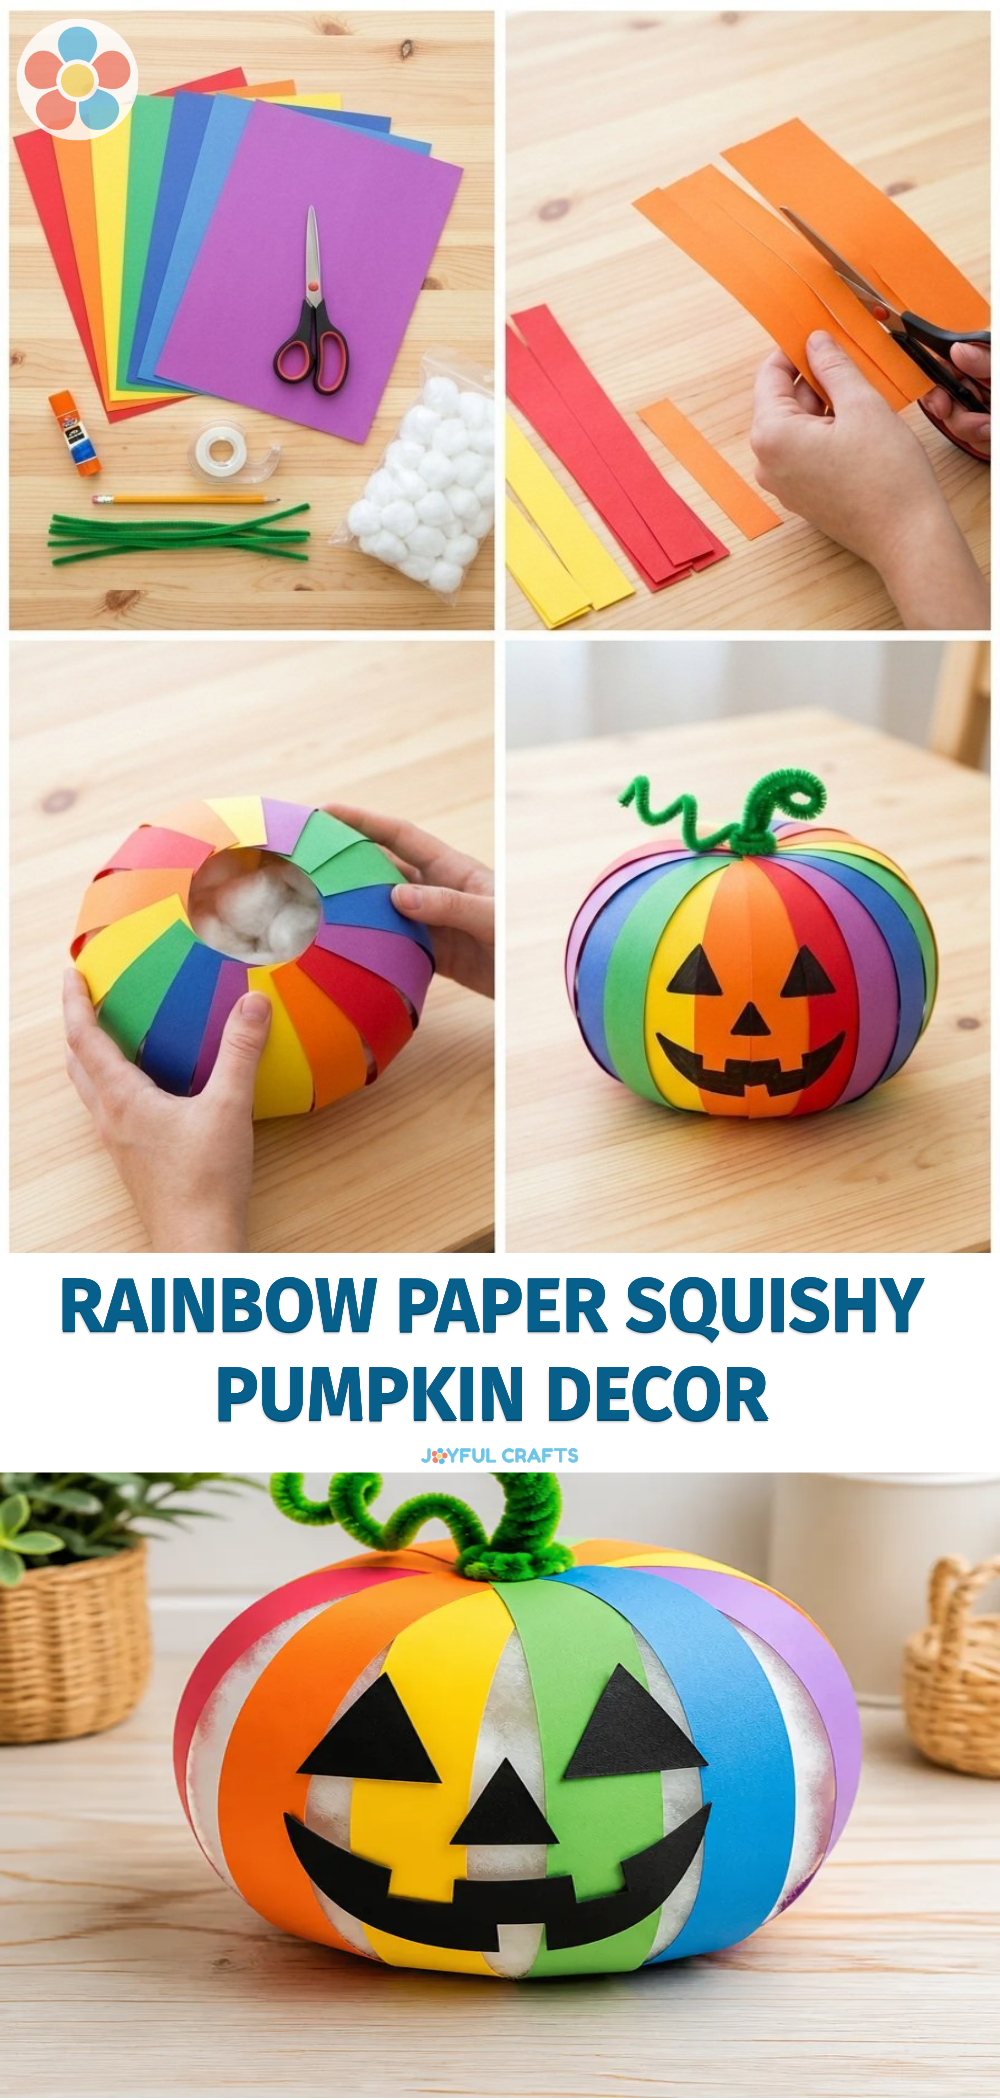
Trace the Template: Start by using a pencil and ruler to draw a pumpkin shape on a piece of colored paper. You can find various templates online for inspiration or create your own. You may also find Rainbow Crayon Suncatcher Classroom Decor useful.
Cut the Shape: Carefully cut out your pumpkin shape with scissors. If you need help, ask an adult or older sibling for assistance.
Cut Additional Layers: For a 3D effect, cut several similar pumpkin shapes in different sizes. You can mix them in various colors for a rainbow look.
Create the Squishy Design: Fold the shapes in half and glue them together, leaving one side open. This will create a pocket you can fill.
Fill It In: Once you have glued the shapes, gently stuff the open side with crumpled paper or cotton to give the pumpkin its squishy effect.
Seal It: Finally, glue the opening shut and add decorative markers, stickers, or foam for a personalized touch.
Helpful Tips
- Be sure to use colored paper that is thicker for durability.
- If you want a shiny finish, consider using metallic or glitter paper for some of the layers.
- When gluing, use a glue stick for a mess-free experience.
- If crafting with kids, supervise the use of scissors and hot glue.
Creative Variations
- Seasonal Themes: Change the colors and shapes to represent other holidays, such as ghosts for Halloween or flowers for spring.
- Display Options: Use string to hang them, or place them in handmade baskets for a lovely centerpiece.
- Patterns: Create patterns on your pumpkins using polka dots or stripes with markers before cutting.
Making It With Kids
This project is perfect for family crafting sessions. Be sure to have adult supervision while using scissors and any hot glue. Allow children to express their creativity freely, and don’t stress too much about perfection each squishy pumpkin will hold its unique charm.
How to Display, Use, or Gift It
Once finished, these delightful squishy pumpkins can become centerpieces for your dinner table or charming decorations on a mantel. They also make thoughtful gifts for friends or family who appreciate handmade crafts.

Frequently Asked Questions
What type of paper works best?
You can use craft paper, construction paper, or even scrapbooking paper for vibrant colors.
Can I use different shapes instead of pumpkins?
Absolutely! Feel free to change the shapes based on themes, such as stars for a night sky.
How do I make it more stable?
Consider adding a piece of cardboard at the bottom as a base to ensure your pumpkin stands upright.
What if I don’t have a glue stick?
Any white craft glue can work, but it might create a mess if spilled.
Can we add lights to this craft?
While it’s not typically done, you could potentially create a hollow version and place a small LED light inside for a glowing effect.
Is this project suitable for outdoor use?
The materials are better suited for indoor décor, as they may not withstand weather elements.
Conclusion
Crafting your own decorative items can bring joy and satisfaction to your home. Try creating a Rainbow Paper Squishy Pumpkin Decor while exploring other fun projects like this adorable DIY rainbow tissue paper balloons decoration for added flair! If you’re looking for more crafting inspiration, check out Paper Squishy – Etsy for unique ideas and supplies.
Print
Rainbow Paper Squishy Pumpkin Decor
- Total Time: 40 minutes
- Makes: 4 pumpkins
Description
A fun and creative autumn craft project for all ages, perfect for adding a cheerful touch to your seasonal decor.
Materials
- Colored paper (in rainbow shades)
- Scissors
- Pencil
- Glue stick
- Ruler
- Craft foam or felt (optional for extra decoration)
- Decorative markers or stickers (optional)
Instructions
- Trace the template by drawing a pumpkin shape on a piece of colored paper.
- Cut out your pumpkin shape with scissors.
- Cut several similar pumpkin shapes in different sizes for a 3D effect.
- Create the squishy design by folding the shapes in half and gluing them together.
- Fill the open side with crumpled paper or cotton for the squishy effect.
- Seal the opening shut and add decorative touches.
Notes
Use thicker colored paper for durability and consider metallic or glitter paper for a shiny finish.