

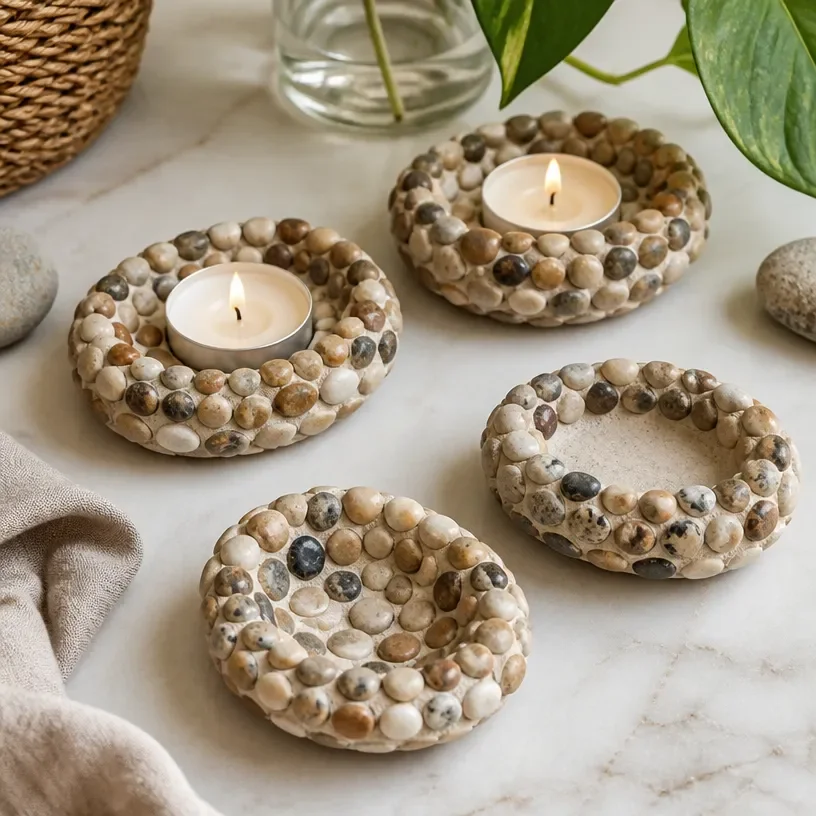
Textured Sensory Picot Stones
Creating textured sensory picot stones is a delightful and engaging craft project that can be enjoyed by both kids and adults alike. These sensory stones are not only fun to make, but they also provide tactile stimulation, enhance focus, and make a beautiful display piece for any setting. You can even use these stones as calming tools during moments of stress or anxiety. You may also find Baking Soda Sensory Tray useful.
Why You’ll Love This Project
- Sensory Benefits: These picot stones offer varying textures that stimulate touch, aiding in sensory development for children.
- Customizable: You can personalize the colors and textures, allowing for creative expression.
- Simple Instructions: The crafting process is straightforward, making it accessible even for beginners.
- Affordable Materials: You don’t need expensive supplies; simple and inexpensive materials will do.
- Great for Gifts: Handmade sensory stones make thoughtful, personalized gifts for family and friends.
You may also find Blue Lagoon Sensory Bottle Calm Relaxation useful.
Materials You’ll Need
- Air-dry clay
- Textured items (such as fabric swatches, food items, or natural elements)
- Acrylic paint (in various colors)
- Paintbrushes
- Clear sealant (optional)
How to Make Textured Sensory Picot Stones
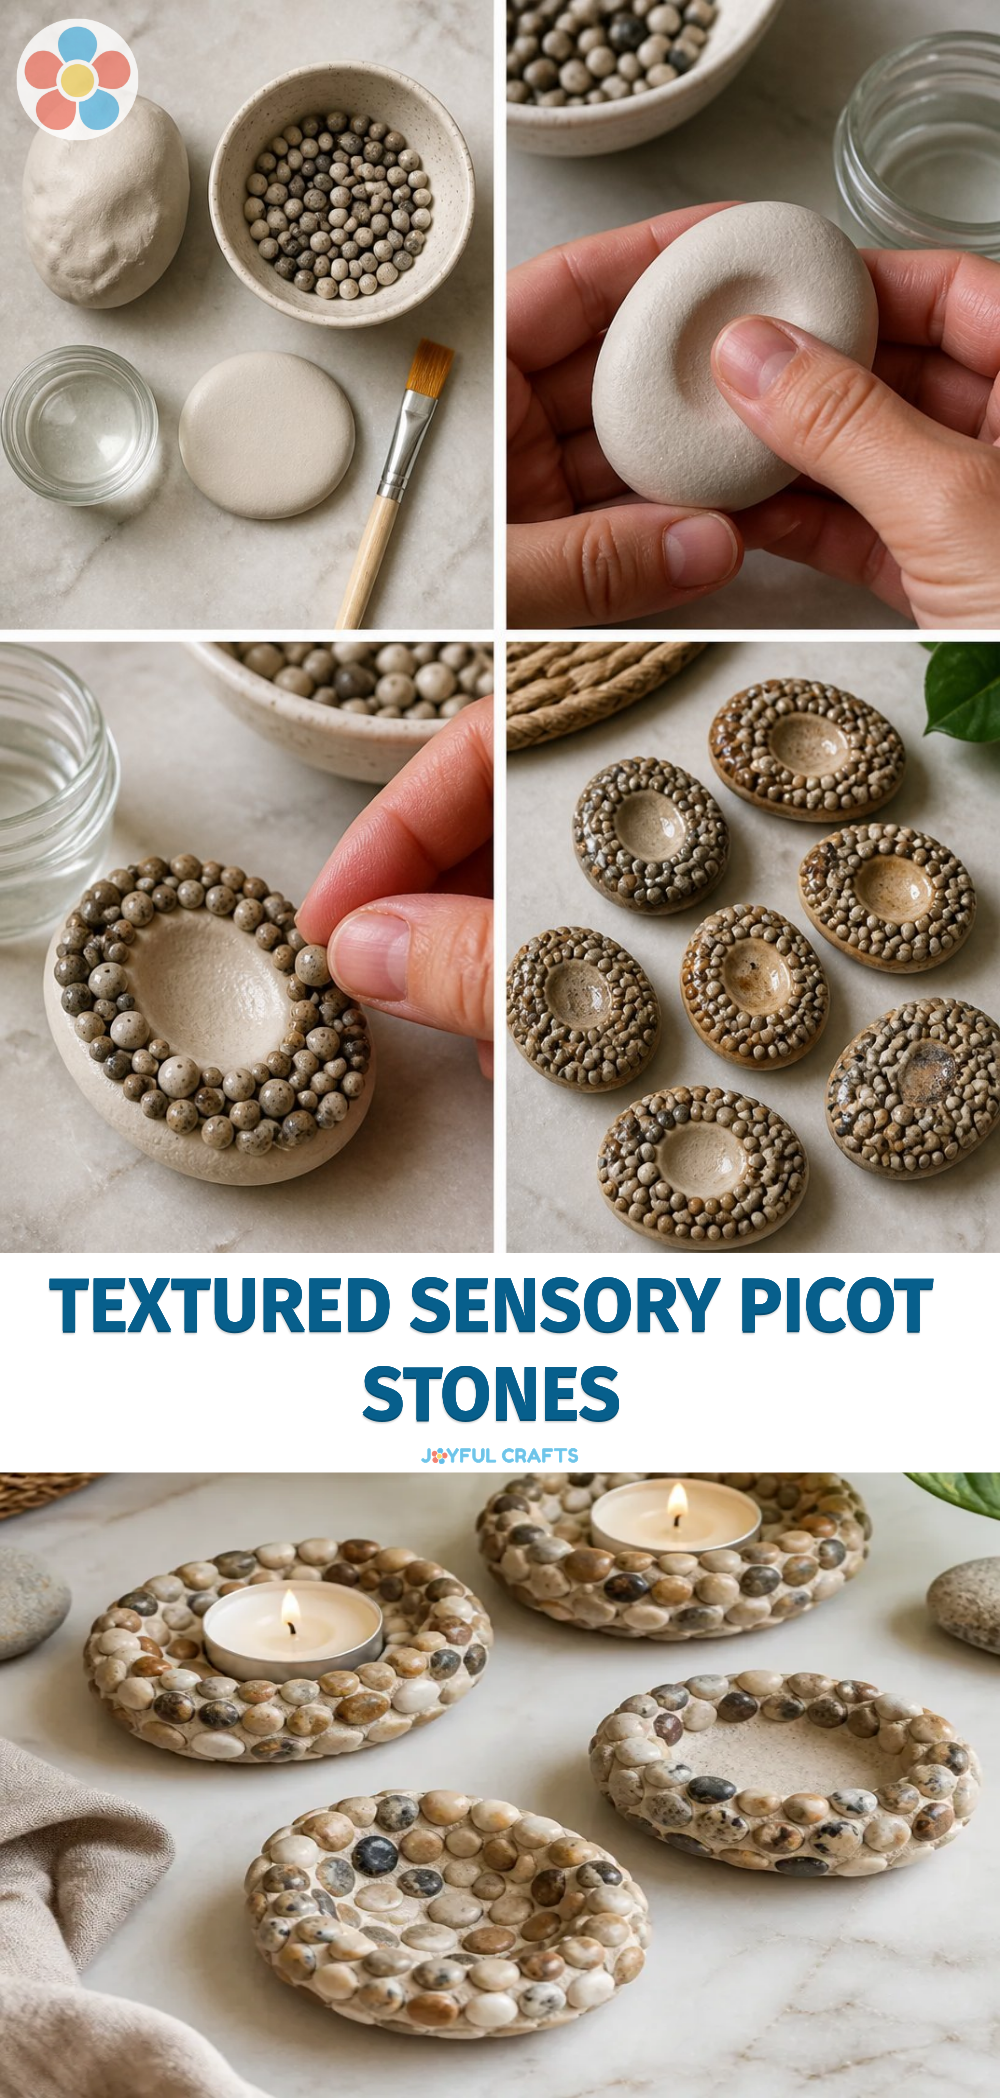
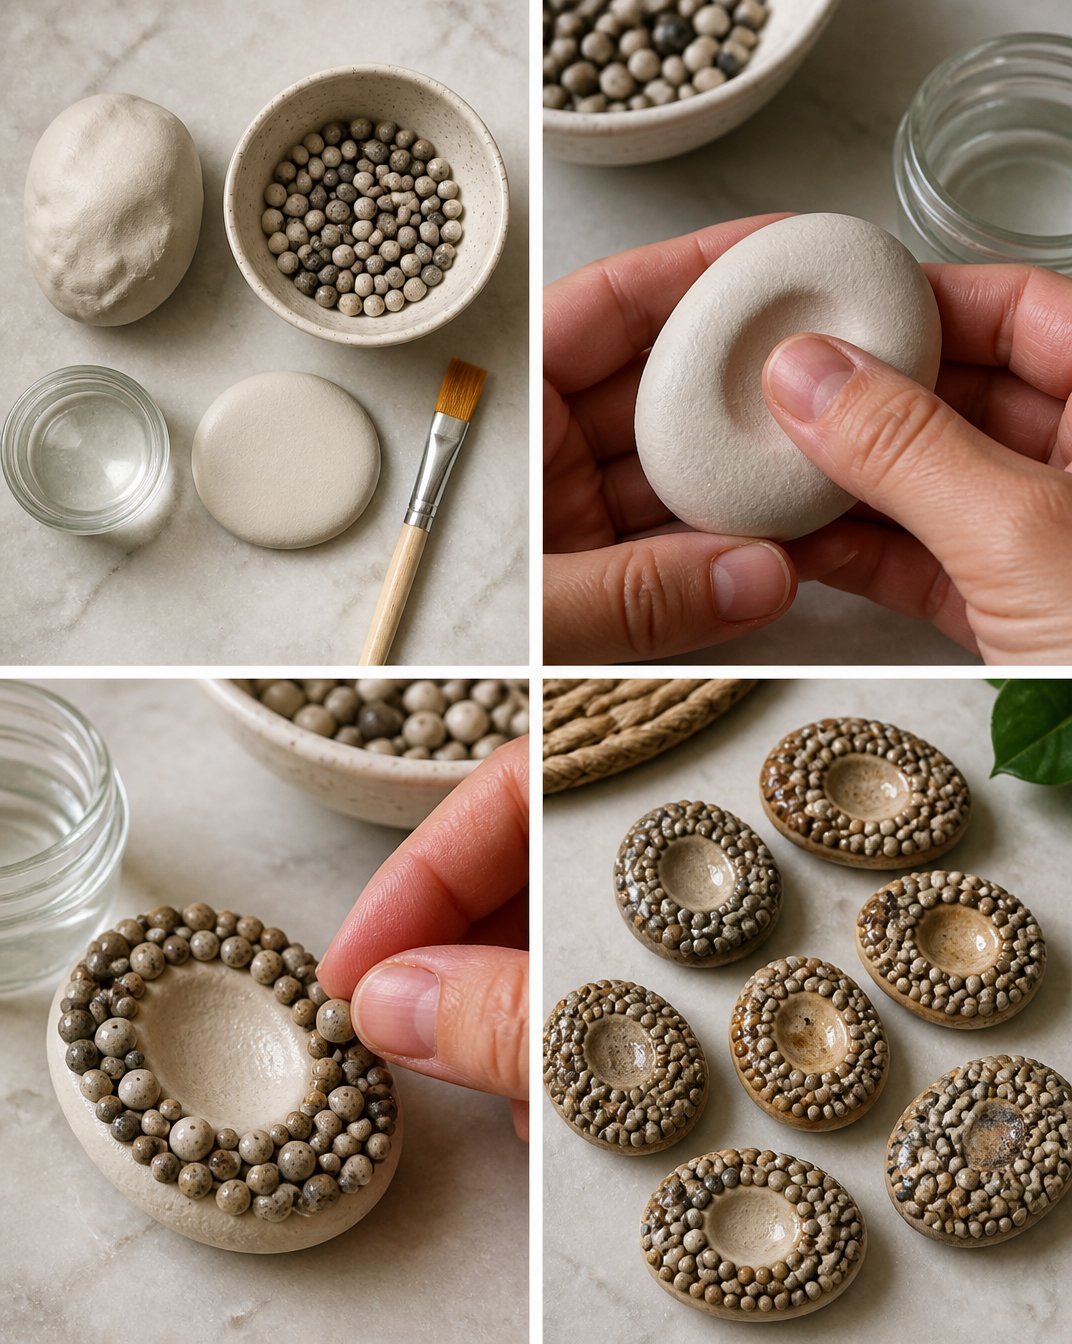
Prepare the Clay: Start by breaking off a manageable piece of air-dry clay. Knead it to soften for easier molding. You may also find Bubble Dough Sensory Play For Kids useful.
Shape the Stones: Form the clay into smooth, rounded shapes resembling stones. The size can vary, but a golf ball size works well for handheld stones. You may also find Bubbly Dough Sensory Activities For Kids useful.
Add Texture: Press textured items into the surface of the clay to create interesting patterns. You might use a piece of fabric or even a leaf to imprint unique textures.
Dry the Stones: Allow the stones to dry completely as per the instructions on your air-dry clay packaging. This may take several hours to a day, depending on thickness.
Paint the Stones: Once dry, use acrylic paint to add colors to your stones. You can opt for a single color or mix and match for a fun, multi-colored effect.
Seal (Optional): To ensure the stones last longer, consider applying a clear sealant over the painted surface once it is dry.

Helpful Tips
- Keep It Clean: Use a plastic sheet or newspaper underneath the crafting area to catch any clay debris or paint spills.
- Texture Variety: Gather different textured items beforehand to create diverse sensory experiences.
- Supervise Children: Always provide guidance when younger ones are working with paints or other delicate tasks.
Creative Variations
- Color Theming: Choose a color scheme (like pastels or bright primary colors) to make a themed collection.
- Seasonal Designs: Create stones with colors or textures representing different seasons, for instance, floral for spring or earthy tones for fall.
- Inspirational Quotes: Paint short motivational phrases on some of the stones to enhance their purpose as calming tools.
Making It With Kids
This project is perfect for children. It encourages creativity and fine motor skill development. Just remember to assist with any tasks that require precise cutting or supervision with paint. Children often enjoy rolling and molding the clay, so allow them to express their creativity freely.
How to Display, Use, or Gift It
Once completed, you can display your sensory stones in a beautiful bowl or tray to enhance your home décor. They can also serve as stress-relief tools; simply hold and rub them when feeling overwhelmed. Alternatively, these stones make heartfelt gifts when bundled together.
Frequently Asked Questions
1. Can I use other types of clay?
Yes, you can use polymer clay, but ensure to bake as instructed, unlike air-dry clay which simply hardens naturally.
2. How long does it take for air-dry clay to dry?
Drying time varies by thickness and humidity but generally takes about 24 hours.
3. What if I don’t have textured supplies?
You can also use your fingers to create interesting designs or simply leave them smooth.
4. Can I add glitter to my stones?
Absolutely! Adding glitter before sealing can create a sparkly effect that enhances the visual appeal.
5. Are these safe for young children?
Yes, as long as you supervise and ensure that the materials used are non-toxic.
6. How can I make this project more educational?
Incorporate colors and textures into a learning video lesson to encourage discussions on the senses and crafting.
Conclusion
Creating textured sensory picot stones is a wonderful way to explore crafting while benefiting from sensory play. These tactile stones not only offer a fulfilling crafting experience but can also be fun tools for relaxation. For additional ideas on sensory crafts, consider exploring Abilitations Textured Sensory MudBall Fidgets, which provides varied textures to stimulate the senses further.