

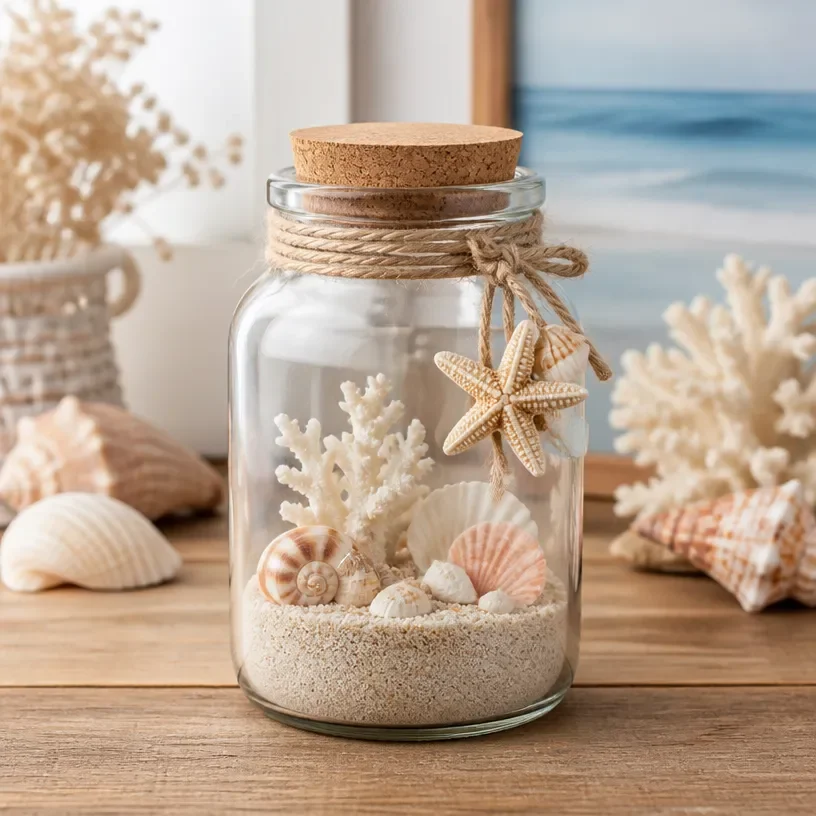
Beach Bottle Crafts: Ocean-Inspired Sand Keepsake Ideas
Embrace the beach vibes with this creative craft that transforms sand and seashells into beautiful keepsakes. Beach bottle crafts can capture the essence of your summer trips, making them perfect gifts or delightful home decor. Plus, they are a wonderful way to engage children in a fun and educational activity. This craft allows you to revisit the joyful memories of sun-soaked days at the beach while creating something lovely to display at home. Consider exploring other sensory crafts to enhance relaxation, like this blue lagoon sensory bottle.
Why You’ll Love This Project
- Personalization: These crafts allow endless customization. You can use various colored sands and decorative elements to make each bottle unique.
- Educational Value: This activity presents a fantastic opportunity to teach kids about beach ecosystems, marine life, and the importance of conservation.
- Easy to Craft: With minimal materials required, this project is simple enough for kids yet satisfying for all ages, including adults looking to unwind with a creative project.
- Beautiful Keepsakes: Finished bottles serve as gorgeous decor and wonderful reminders of family vacations or beach outings.
- Great Gift Idea: These crafts make heartfelt gifts for friends and family, sharing a piece of your beach adventures with loved ones.
You may also find Blue Lagoon Sensory Bottle Relaxation useful.
Materials You’ll Need
- Various colored sand (which you can collect during beach visits or purchase)
- Small decorative shells or pebbles
- Empty glass bottles or jars
- Funnel
- Tweezers (for arranging shells)
- Ribbon or twine (for decoration)
- Labels (optional for naming your beach adventure)
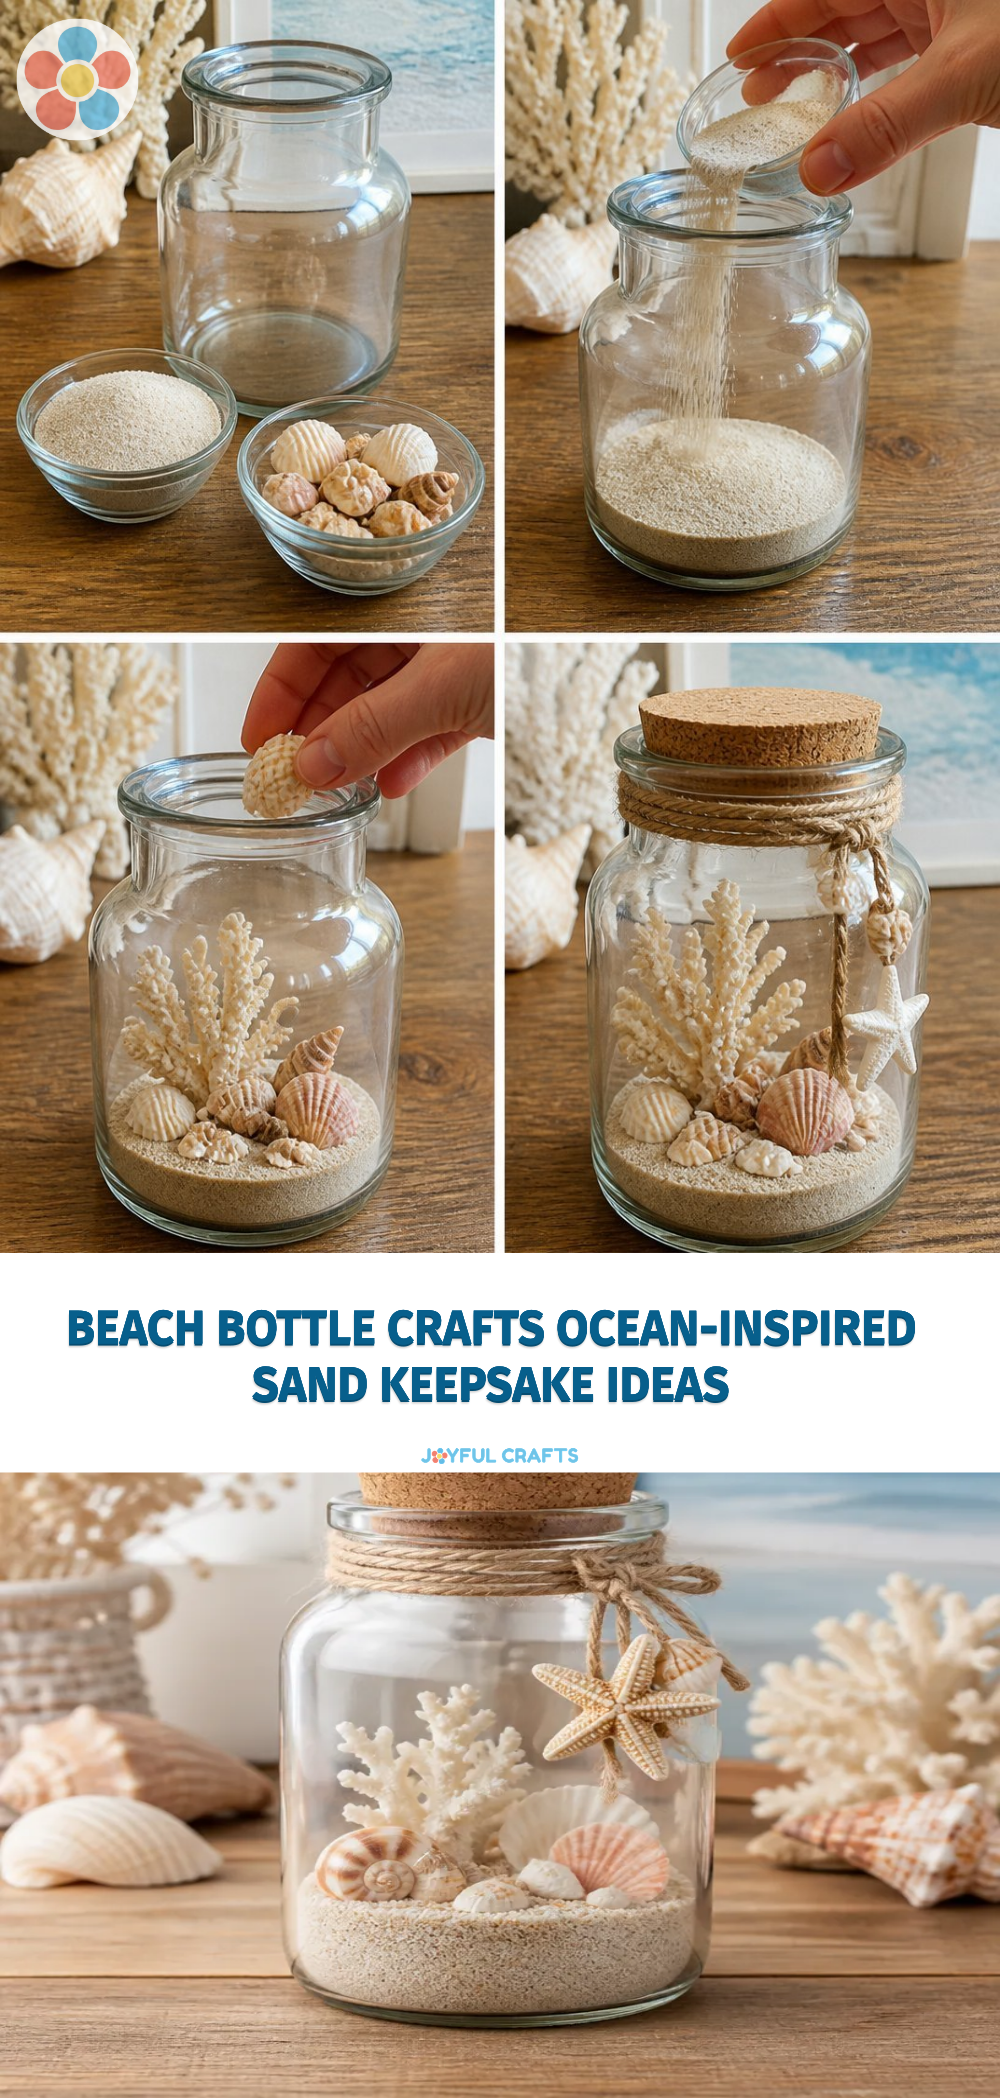
How to Make Beach Bottle Crafts: Ocean-Inspired Sand Keepsake Ideas
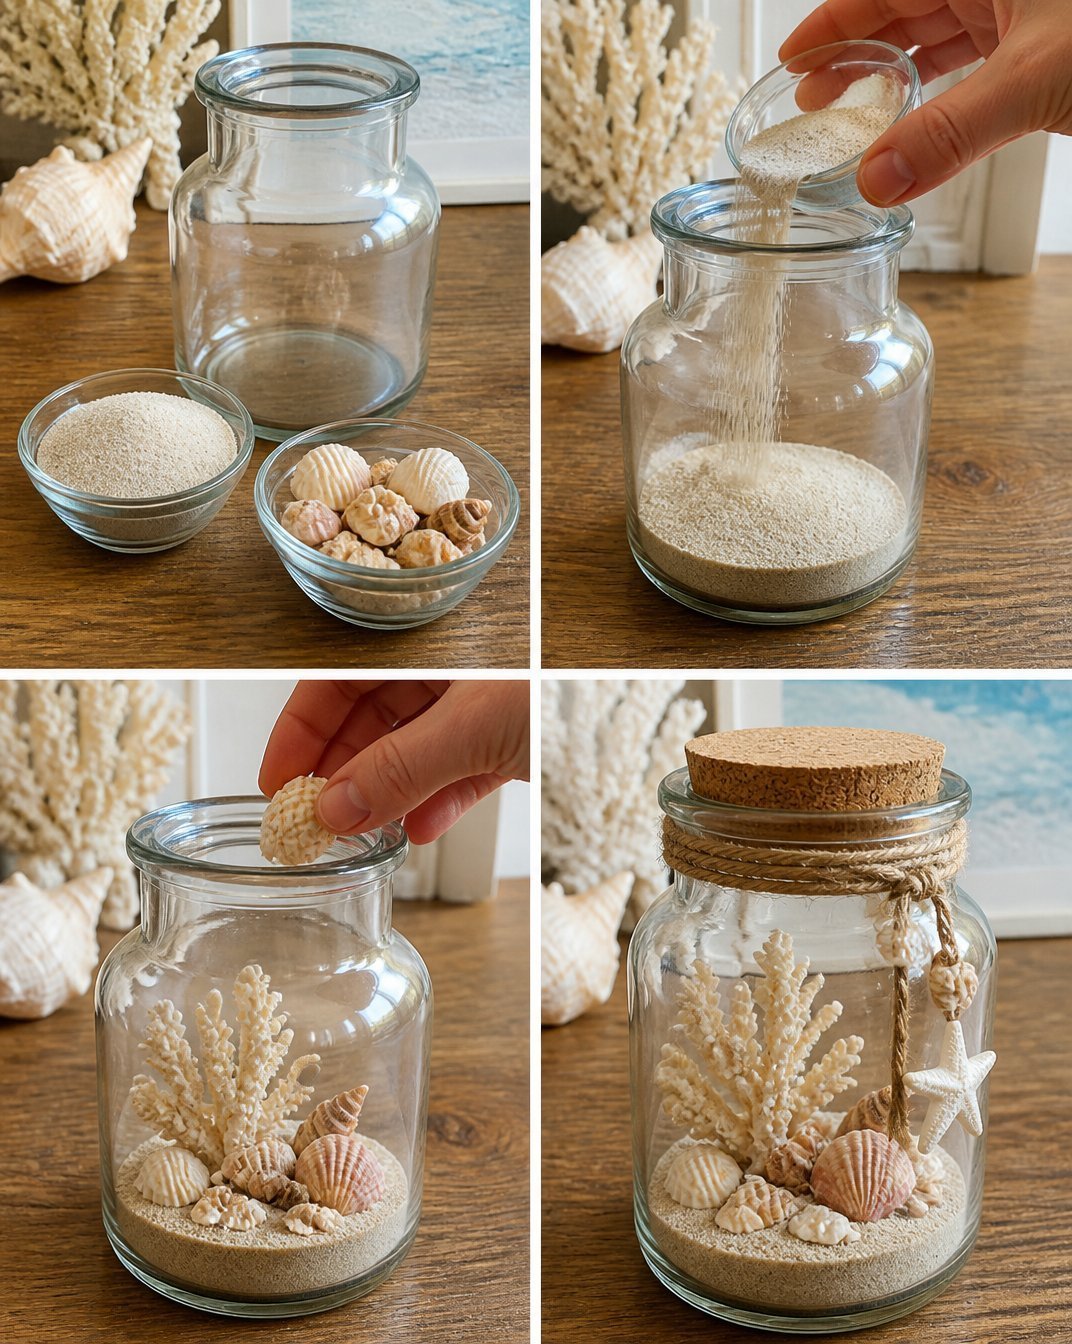
- Gather Your Materials: Start by collecting your sand and shells. Choose a variety of colors for an aesthetically pleasing design.
- Prepare the Bottles: Clean and dry your glass bottles. Remove any labels for a clear workspace.
- Layer the Sand: Using a funnel, pour sand into the bottle, starting with a base layer. Use different colors to create beautiful stripes or patterns.
- Add Shells and Decorations: Once you’ve reached your desired height, carefully place shells and other decorations inside the bottle with tweezers.
- Repeat Layers: Alternate layers of sand and decorations as needed. This creates visual interest and allows each element to be appreciated.
- Seal the Bottle: Once you’re satisfied with the arrangement, seal the bottle tightly. You can tie a ribbon or twine around the neck for an added decorative touch.
- Label (Optional): If you wish, add a label to the bottle stating when and where the sand was collected to make it even more special.
Helpful Tips
- Keep It Clean: Crafting with sand can get messy, so consider working on a tray or outside to make cleanup easier.
- Use Adult Help: When handling glass bottles, it’s wise for young children to have an adult supervising for safety.
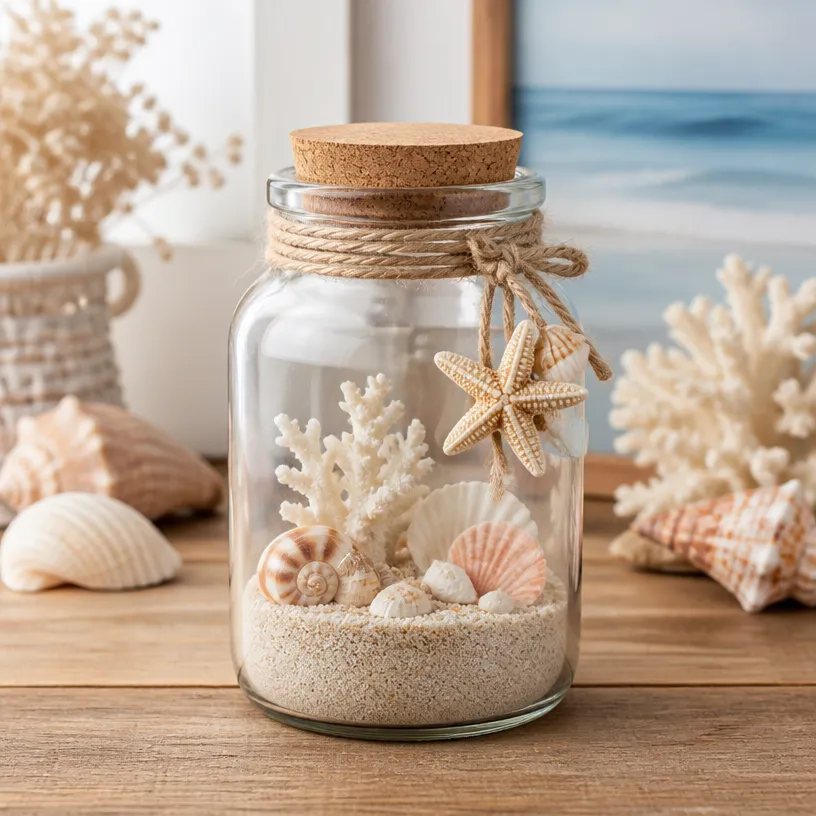
- Display Ideas: Place your finished bottles on a windowsill, shelf, or a summer-themed table for a delightful display.
- Experiment: If you want to get even more creative, consider making multiple bottles to create a matching set.
Creative Variations
- Seasonal Touch: Add seasonal decorations to change the theme of your bottles according to different times of the year (e.g., sand and shells in winter with a snowy touch).
- Color Blending: Blend different sands together to create a gradient effect within the bottle.
- Miniature Sea Scenes: Use mini figurines or toys to create small beach scenes within the bottles for an extra layer of creativity.
Making It With Kids
This craft is perfect for family bonding! Have children assist with pouring sand, arranging shells, and decorating the bottles. Just ensure adult supervision during the assembly of the bottles to keep everything safe and enjoyable. You may also find Diy Bottle Cap Monster Crafts For Kids useful.
How to Display, Use, or Gift It
Finished beach bottles can be displayed in your home as cheerful reminders of fun summer days, gifted to family and friends, or even used as centerpiece decorations for beach-themed parties. They also make lovely gifts when you want to send a piece of your beach adventures along with a loved one. You may also find Diy Glass Bottle Lanterns Spooky Ghost Lighting useful.
Frequently Asked Questions
Can I use synthetic sand for this project?
Yes, synthetic sands come in various vibrant colors and can create a stunning effect in your bottles. Just ensure it’s safe for your intended use.
What if I don’t have access to a beach?
No need to worry! You can purchase colored sand online or at craft stores, which works just as beautifully.
How do I clean and maintain my beach bottle?
Simply dust off the bottle with a soft cloth to keep it looking fresh. Ensure it’s kept away from direct sunlight to prevent fading.
Can I add other materials besides sand and shells?
Absolutely! You can include small sea glass, glitter, or even tiny decorative items or themed accessories that you find meaningful.
What is the best way to seal the bottle?
You can use a cork or a screw-top lid. If using a lid, you might want to apply a little craft glue to ensure it stays tightly sealed.
Is this project suitable for all ages?
While the crafting itself is safe for all ages, supervision may be needed for younger children, especially when using glass bottles.
Conclusion
Creating beach bottle crafts is an enjoyable way to preserve memories and spark creativity. Gather your supplies and dive into this enjoyable project. If you’re looking to enhance your craft experience further, be sure to check out this Beach Sand Souvenir Bottle on Amazon for more inspiration!
Print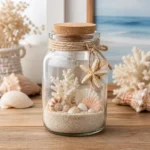
Beach Bottle Crafts: Ocean-Inspired Sand Keepsake Ideas
- Total Time: 10 minutes
- Makes: 1 keepsake bottle
Description
Create beautiful ocean-inspired keepsakes with beach bottle crafts using sand and seashells. A perfect activity for all ages that captures summer memories.
Materials
- Various colored sand
- Small decorative shells or pebbles
- Empty glass bottles or jars
- Funnel
- Tweezers
- Ribbon or twine
- Labels (optional)
Instructions
- Gather Your Materials: Start by collecting your sand and shells. Choose a variety of colors for an aesthetically pleasing design.
- Prepare the Bottles: Clean and dry your glass bottles. Remove any labels for a clear workspace.
- Layer the Sand: Using a funnel, pour sand into the bottle, starting with a base layer. Use different colors to create beautiful stripes or patterns.
- Add Shells and Decorations: Once you’ve reached your desired height, carefully place shells and other decorations inside the bottle with tweezers.
- Repeat Layers: Alternate layers of sand and decorations as needed. This creates visual interest and allows each element to be appreciated.
- Seal the Bottle: Once you’re satisfied with the arrangement, seal the bottle tightly. You can tie a ribbon or twine around the neck for an added decorative touch.
- Label (Optional): If you wish, add a label to the bottle stating when and where the sand was collected to make it even more special.
Notes
Crafting with sand can be messy; consider working on a tray or outside. Adult supervision is recommended when using glass bottles.