
Baking Soda Sensory Tray
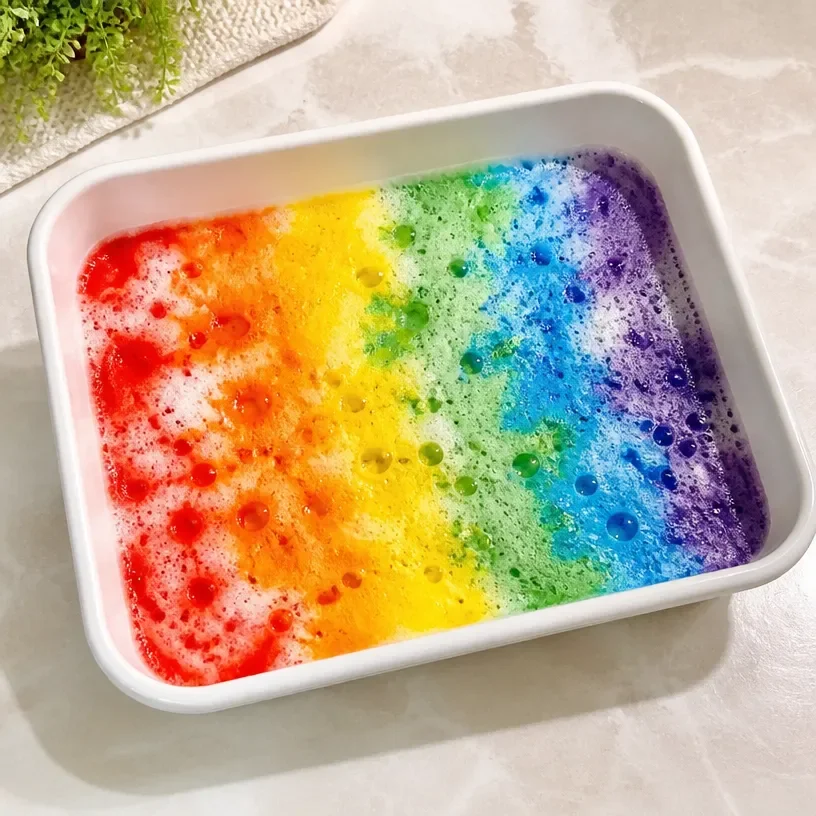
Creating a baking soda sensory tray is a delightful way to engage children in imaginative play while also providing a unique tactile experience. This project allows kids to explore textures and create interesting chemical reactions, making it both educational and fun! You may also find Blue Lagoon Sensory Bottle Calm Relaxation useful.
Why You’ll Love This Project
- Sensory Exploration: The soft texture of baking soda provides a satisfying tactile experience, allowing children to explore different sensations.
- Simple Ingredients: With just a few household items needed, this project is both accessible and affordable.
- Easy Cleanup: Baking soda can be easily swept away, making cleanup a breeze after playtime.
- Educational Fun: Children learn about basic science concepts through hands-on experimentation, sparking curiosity and creativity.
- Versatile Play: This sensory tray can be enhanced with various colors and materials, encouraging continuous play and discovery.
Materials You’ll Need
- Baking soda
- Water
- Food coloring (optional)
- Small toys or items for exploration (e.g., scoops, containers)
- A tray or shallow container
How to Make Baking Soda Sensory Tray
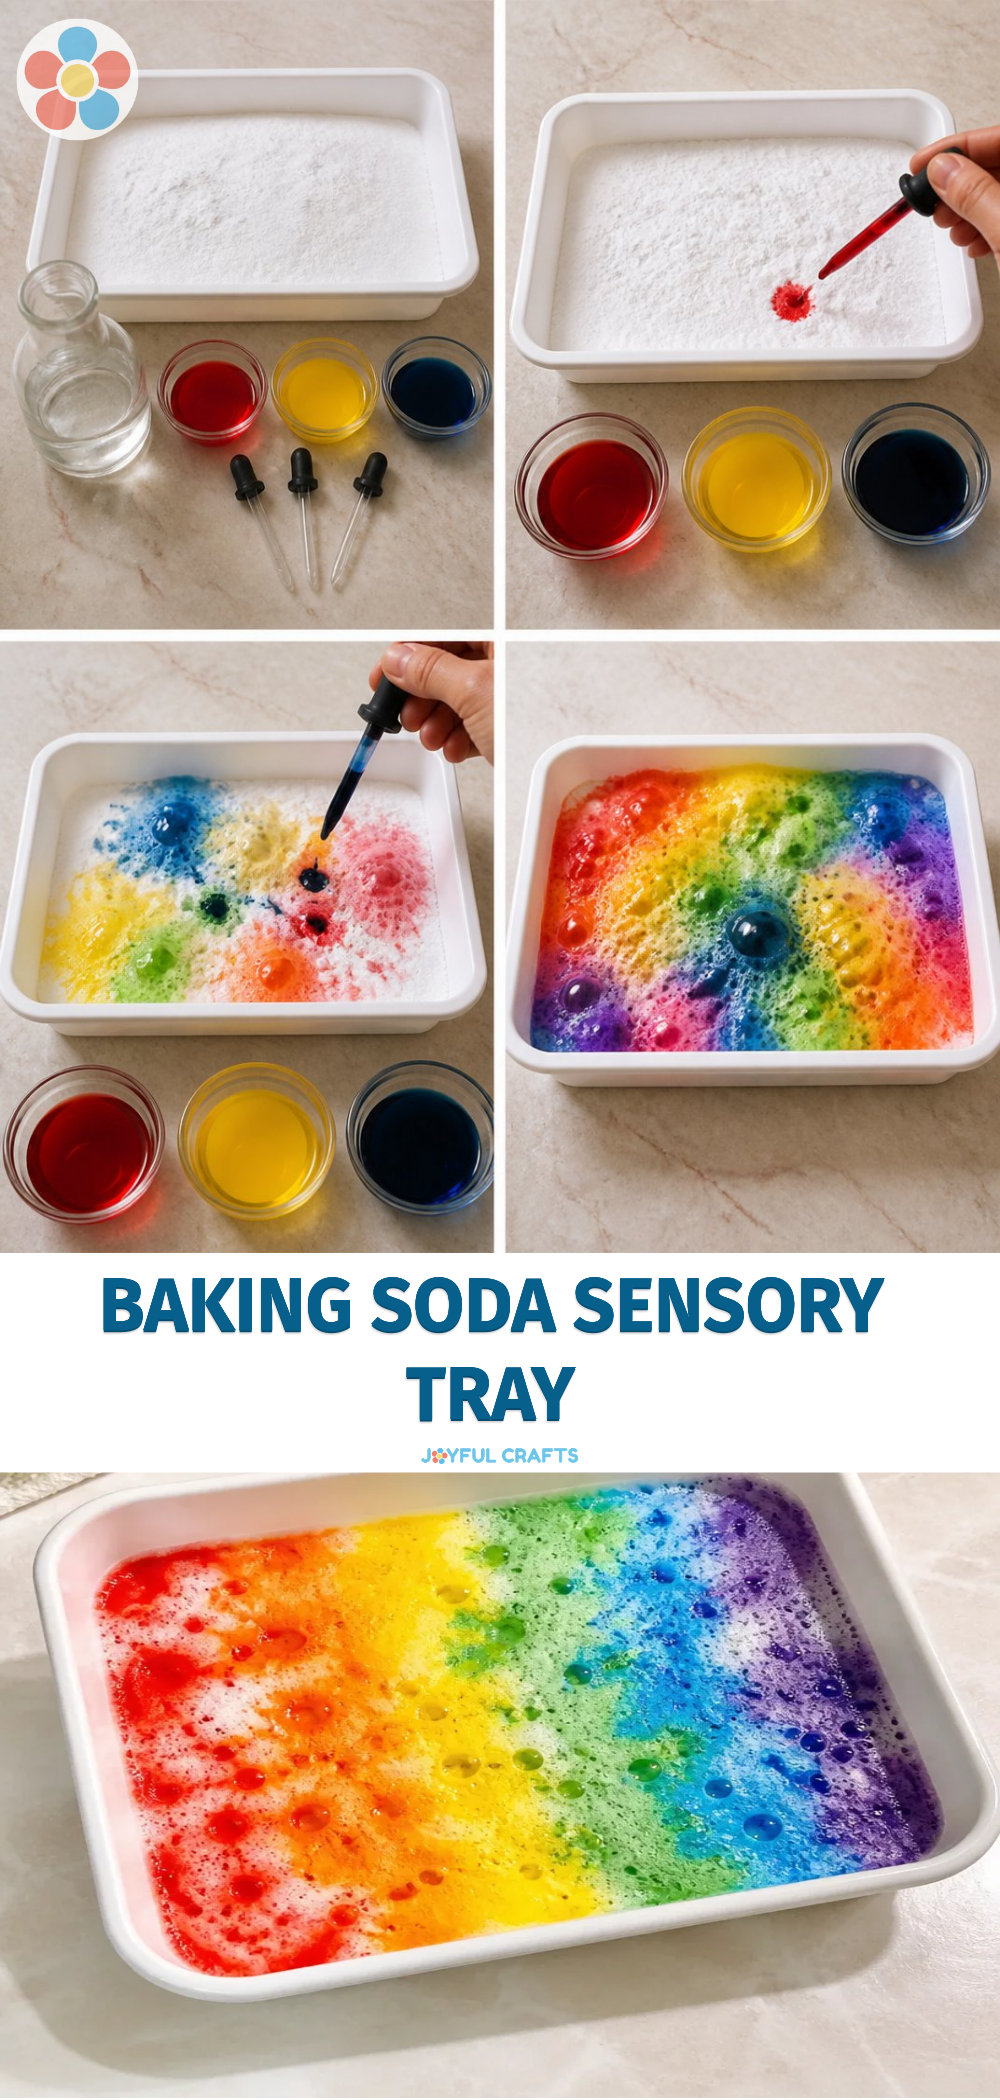
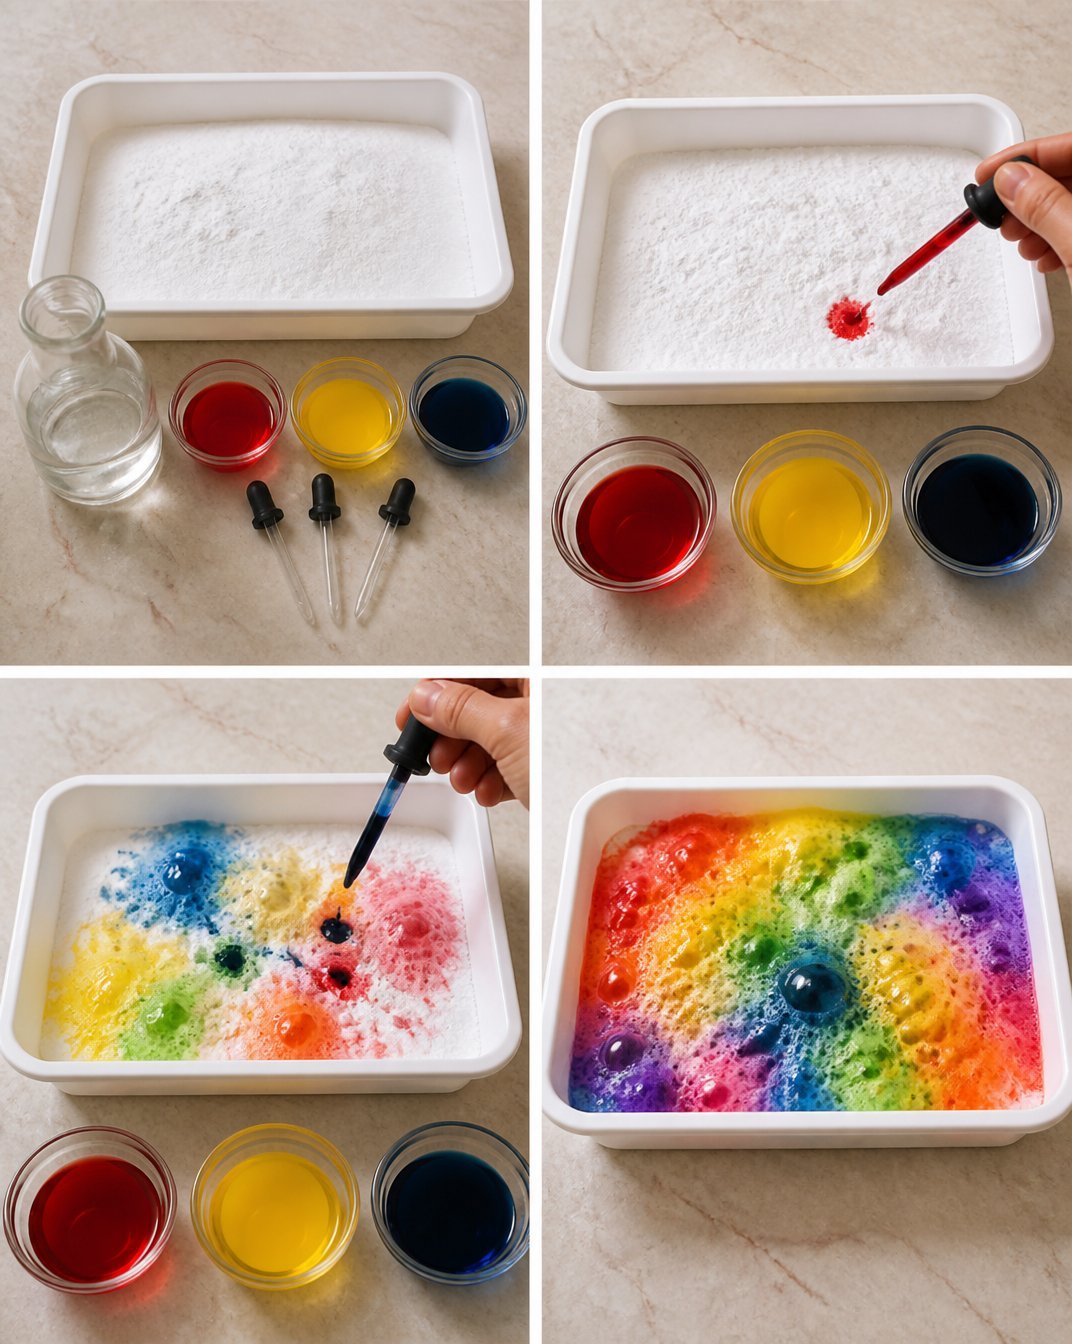
Prepare the Baking Soda Base: In a shallow container or tray, pour a generous amount of baking soda to create a soft base for sensory play.
Optional Coloring: If using food coloring, mix a few drops into a small bowl of water. Slowly drizzle the colored water over the baking soda. Watch as the colors brighten the base!
Arrange the Materials: Add small toys, scoops, or tools around the baking soda. This encourages children to explore and engage with different textures.
Invite Play: Encourage children to dig, scoop, and explore the baking soda. If you’re interested in a fun sensory experience with dough, check out these bubbly dough sensory activities for more ideas.
Helpful Tips
- Supervision: Always supervise young children during sensory play to ensure safety and guide their creativity.
- Experiment: Encourage your kids to experiment by adding different amounts of water or varying the toys they include.
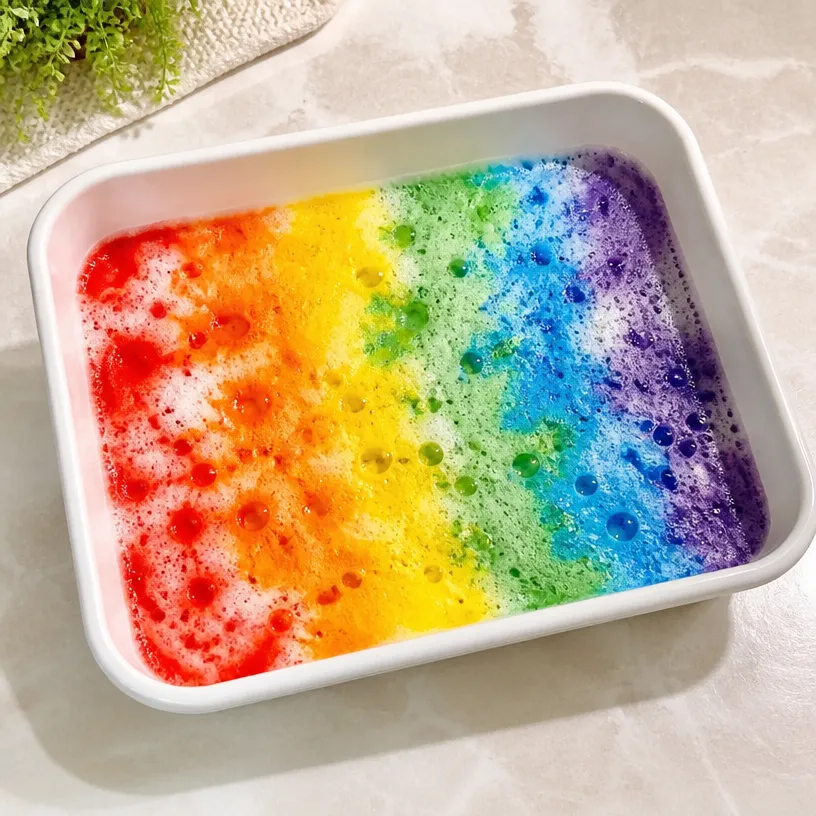
- Layering: For more fun, consider adding different layers of colored baking soda to create a rainbow effect.
Creative Variations
To personalize your sensory tray, think about incorporating various elements such as glitter, small stones, or even seasonal decorations (like leaves or snow for winter). This approach not only adds to the visual appeal but also engages different senses.
Making It With Kids
Kids of all ages can enjoy this project! For younger children or toddlers, ensure that any small objects are safe and appropriate for their age. You might need to assist them with mixing the colored water if spills are a concern.
How to Display, Use, or Gift It
The finished sensory tray can be placed on a table for kids to freely explore, or you can package smaller kits as gifts. Consider making several trays with different themes, such as ocean or space, for extended play possibilities!
Frequently Asked Questions
1. How long does the baking soda sensory tray last?
Typically, the tray can be used several times, but it’s best to refresh it with new baking soda if it becomes too wet or messy.
2. Can I use vinegar with the baking soda?
Absolutely! Mixing vinegar will create an exciting fizzing reaction, making science even more fun for kids.
3. What’s the best way to store leftover materials?
Store excess baking soda in an airtight container and keep any toys clean and dry to maintain freshness.
4. Is this project safe for toddlers?
Yes, with supervision, baking soda is safe for toddlers. Just be cautious of small parts that could be a choking hazard.
5. Can I incorporate this with other sensory projects?
Definitely! You can create a sensory adventure by linking this project with a bubble dough sensory play activity.
6. How do I clean up afterward?
Simply sweep up the baking soda into a dustpan and wipe down the tray with a damp cloth.
Conclusion
Making a baking soda sensory tray offers an exciting way for kids to explore their senses while learning through play. For more science-related activities, you can see this informative link about creating a fun Baking Soda Science Bin that will surely captivate their interest!
Print
Baking Soda Sensory Tray
- Total Time: 5 minutes
- Makes: 1 sensory tray
Description
Create a delightful baking soda sensory tray that engages children in imaginative play and provides a unique tactile experience.
Materials
- Baking soda
- Water
- Food coloring (optional)
- Small toys or items for exploration (e.g., scoops, containers)
- A tray or shallow container
Instructions
- Prepare the baking soda base in a shallow container or tray, pouring a generous amount to create a soft base for sensory play.
- Mix a few drops of food coloring into a small bowl of water and slowly drizzle it over the baking soda if using.
- Arrange small toys, scoops, or tools around the baking soda to encourage exploration.
- Invite children to dig, scoop, and explore the baking soda.
Notes
Always supervise young children during sensory play to ensure safety and guide their creativity. Experiment by adding different materials or creating layers for added fun.