

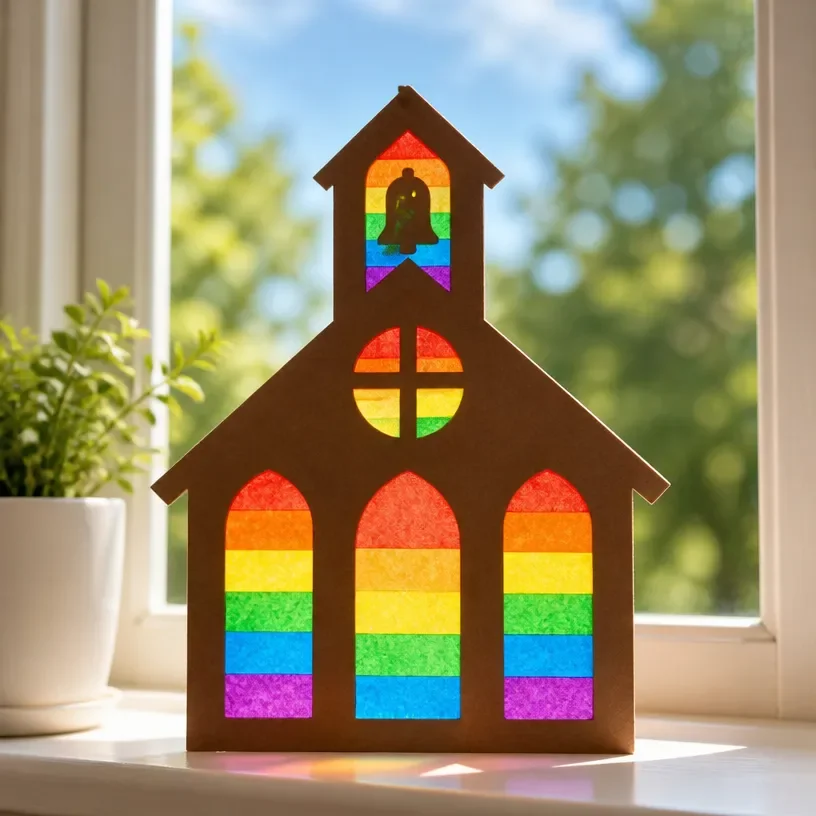
Rainbow Crayon Window Suncatcher for Classroom Decor
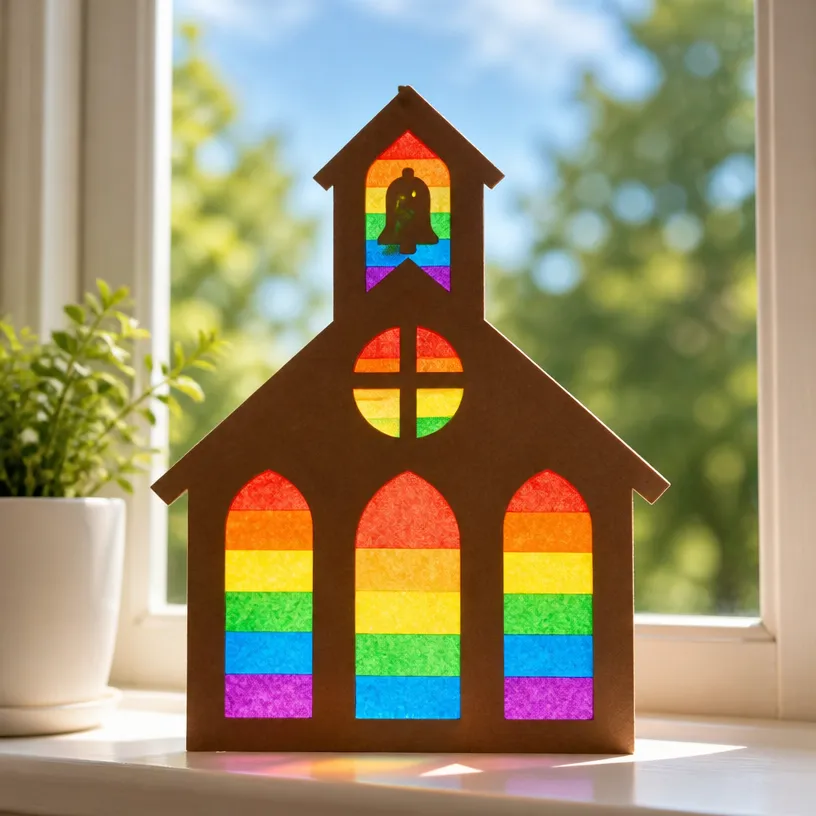
Bringing bright colors into your classroom can make a world of difference! The Rainbow Crayon Window Suncatcher is a delightful craft that not only brightens up the space but also allows children to express their creativity. This project is easy to make and involves melting crayons to create stunning window art that catches the light beautifully. You may also find Melted Crayon Rainbow Butterfly Suncatcher For Kids useful.
Why You’ll Love This Project
- Easy & Fun: The process of melting crayons is not only simple but also incredibly fun for kids. They will love watching the colors blend together.
- Colorful Display: These suncatchers add a vibrant touch to any classroom, creating a cheerful atmosphere.
- Creative Expression: Children can personalize their suncatchers, allowing them to showcase their individual styles.
- Hands-On Learning: This project provides a great opportunity to teach kids about color blending and light effects.

You may also find Melted Rainbow Crayon Suncatcher For Kids useful.
Materials You’ll Need
- Crayons (a variety of colors)
- Parchment paper
- Cookie sheet
- Baking pan
- Scissors
- A craft knife (for adult supervision)
- Optional: Glue for final touches
How to Make Rainbow Crayon Window Suncatcher for Classroom Decor
Preheat the Oven: Start by preheating your oven to 200°F (93°C). You may also find Rainbow Crayon Window Art Haunted House Halloween Decor useful.
Prepare the Crayons: Peel the labels off the crayons and break them into small pieces. This makes them easier to melt and helps them spread evenly.
Arrange the Crayon Pieces: Line a baking pan with parchment paper, spreading the crayon pieces evenly. Feel free to mix different colors to create unique patterns!
Melt the Crayons: Place the baking pan in the oven and let the crayons melt for about 10-15 minutes. Keep an eye on them to ensure they do not burn.
Let It Cool: Once melted, remove the pan from the oven and allow the crayon mixture to cool completely. This could take a few hours.
Cut Out Shapes: Once cool, carefully remove the hardened crayon from the pan. Use a craft knife (with adult help) to cut it into various shapes.
Display Your Art: Use glue to attach your beautiful creations to windows, letting the sunlight bring your colors to life!
Helpful Tips
- Mixing Colors: Don’t be afraid to experiment with color combinations. Mixing warm and cool colors can produce stunning effects.
- Cleaning Up: Melted crayons can be messy; have paper towels handy for quick cleanup.
- Safe Handling: Make sure an adult is present when using the oven and any sharp tools.
Creative Variations
- Seasonal Themes: Create Halloween or winter-themed suncatchers by using colors that represent those seasons.
- Different Shapes: Try making hearts for Valentine’s Day or stars for a nighttime theme, just like in the Rainbow Heart Suncatcher.
- Layering: You can layer the melted crayon shapes to create a more dimensional look.
Making It With Kids
This craft is ideal for children, but adult supervision is important, especially when handling hot items or sharp tools. Encourage kids to be creative and express their unique styles. Allow them to choose their favorite colors and designs!
How to Display, Use, or Gift It
Once completed, these suncatchers can be displayed on classroom windows, brightening up the space and creating a warm, welcoming environment. They can also be gifted to parents or used as thoughtful decorations for classroom events.

Frequently Asked Questions
1. Can I use any type of crayon?
Yes, any type of crayon will work, but remember that darker colors may overpower lighter ones.
2. How do I clean melted crayon off the baking pan?
After it cools, the crayon should pop off easily. For stubborn residue, use a non-abrasive sponge and some warm, soapy water.
3. What if my crayons don’t melt evenly?
Ensure the pieces are small and the oven temperature is consistent to achieve an even melt.
4. Can I make more than one at a time?
Absolutely! You can use multiple pans to create several suncatchers at once.
Conclusion
The Rainbow Crayon Window Suncatcher is a joyful craft that encourages creativity and brings color to any environment. Gather your supplies and have fun making these beautiful decorations. For additional ideas and inspiration, check out more creative options like window stickers for classrooms!
Print
Rainbow Crayon Window Suncatcher for Classroom Decor
- Total Time: 25 minutes
- Makes: Multiple suncatchers
Description
A delightful craft that utilizes melted crayons to create stunning window art that brings vibrant colors into any classroom.
Materials
- Crayons (a variety of colors)
- Parchment paper
- Cookie sheet
- Baking pan
- Scissors
- A craft knife (for adult supervision)
- Optional: Glue for final touches
Instructions
- Preheat the oven to 200°F (93°C).
- Peel the labels off the crayons and break them into small pieces.
- Line a baking pan with parchment paper and spread the crayon pieces evenly.
- Place the baking pan in the oven and let the crayons melt for about 10-15 minutes.
- Remove the pan from the oven and allow the crayon mixture to cool completely.
- Cut the hardened crayon into various shapes using a craft knife.
- Use glue to attach your creations to windows for a colorful display.
Notes
Ensure adult supervision when using ovens and sharp tools. Have paper towels handy for cleanup.