

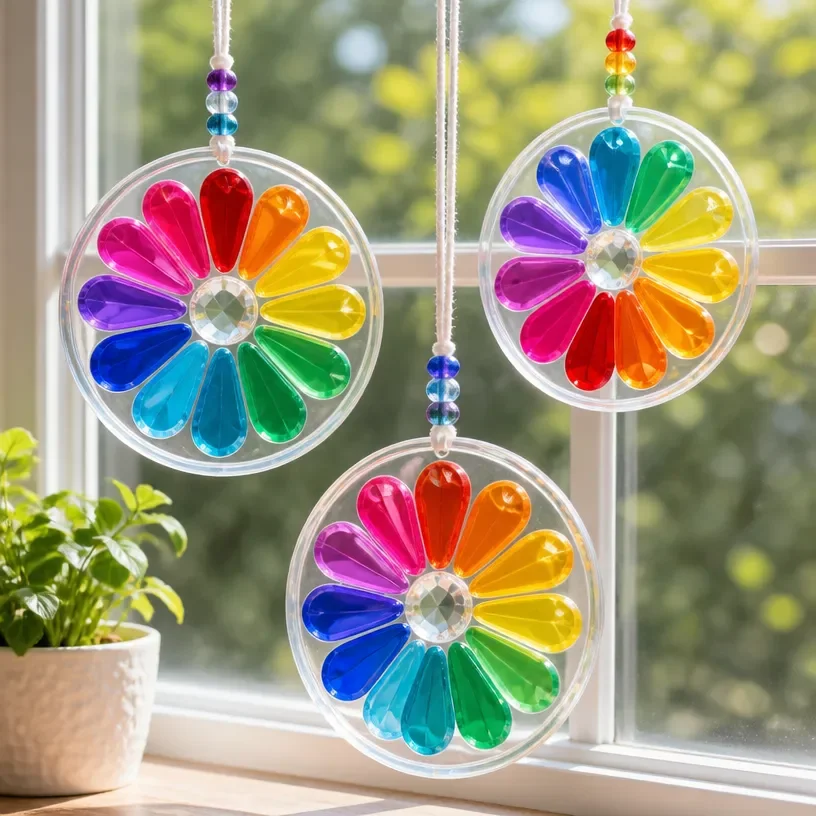
Rainbow Daisy Suncatchers Made from Plastic Lids
Creating beautiful decorations for your windows can be an enjoyable and rewarding project to undertake with your family. This craft is perfect for bringing a splash of color into your home while also teaching kids about the rainbow spectrum. Making rainbow daisy suncatchers from plastic lids is not only easy but also eco-friendly, as it allows you to repurpose materials you already have at home. You can even explore similar crafts like the clear rainbow ghost suncatcher for more colorful fun!
Why You’ll Love This Project
- Eco-Friendly Crafting: Utilizing plastic lids helps reduce waste while turning everyday items into art.
- Educational Element: Kids can learn about colors and shapes as they create their suncatchers.
- Easy to Personalize: Your children can create their own unique designs with various colors and shapes.
- Perfect for All Ages: This project can be enjoyed by kids of all ages, with varying levels of adult supervision depending on the materials used.
You may also find Rainbow Popsicle Stick Daisy Wheel Craft For Kids useful.
Materials You’ll Need
- Plastic lids (yogurt lids or similar)
- Transparent tape or contact paper
- Scissors
- Permanent markers or paint
- Black construction paper for the background
- String or yarn (for hanging)
- A hole punch (if needed)
How to Make Rainbow Daisy Suncatchers Made from Plastic Lids
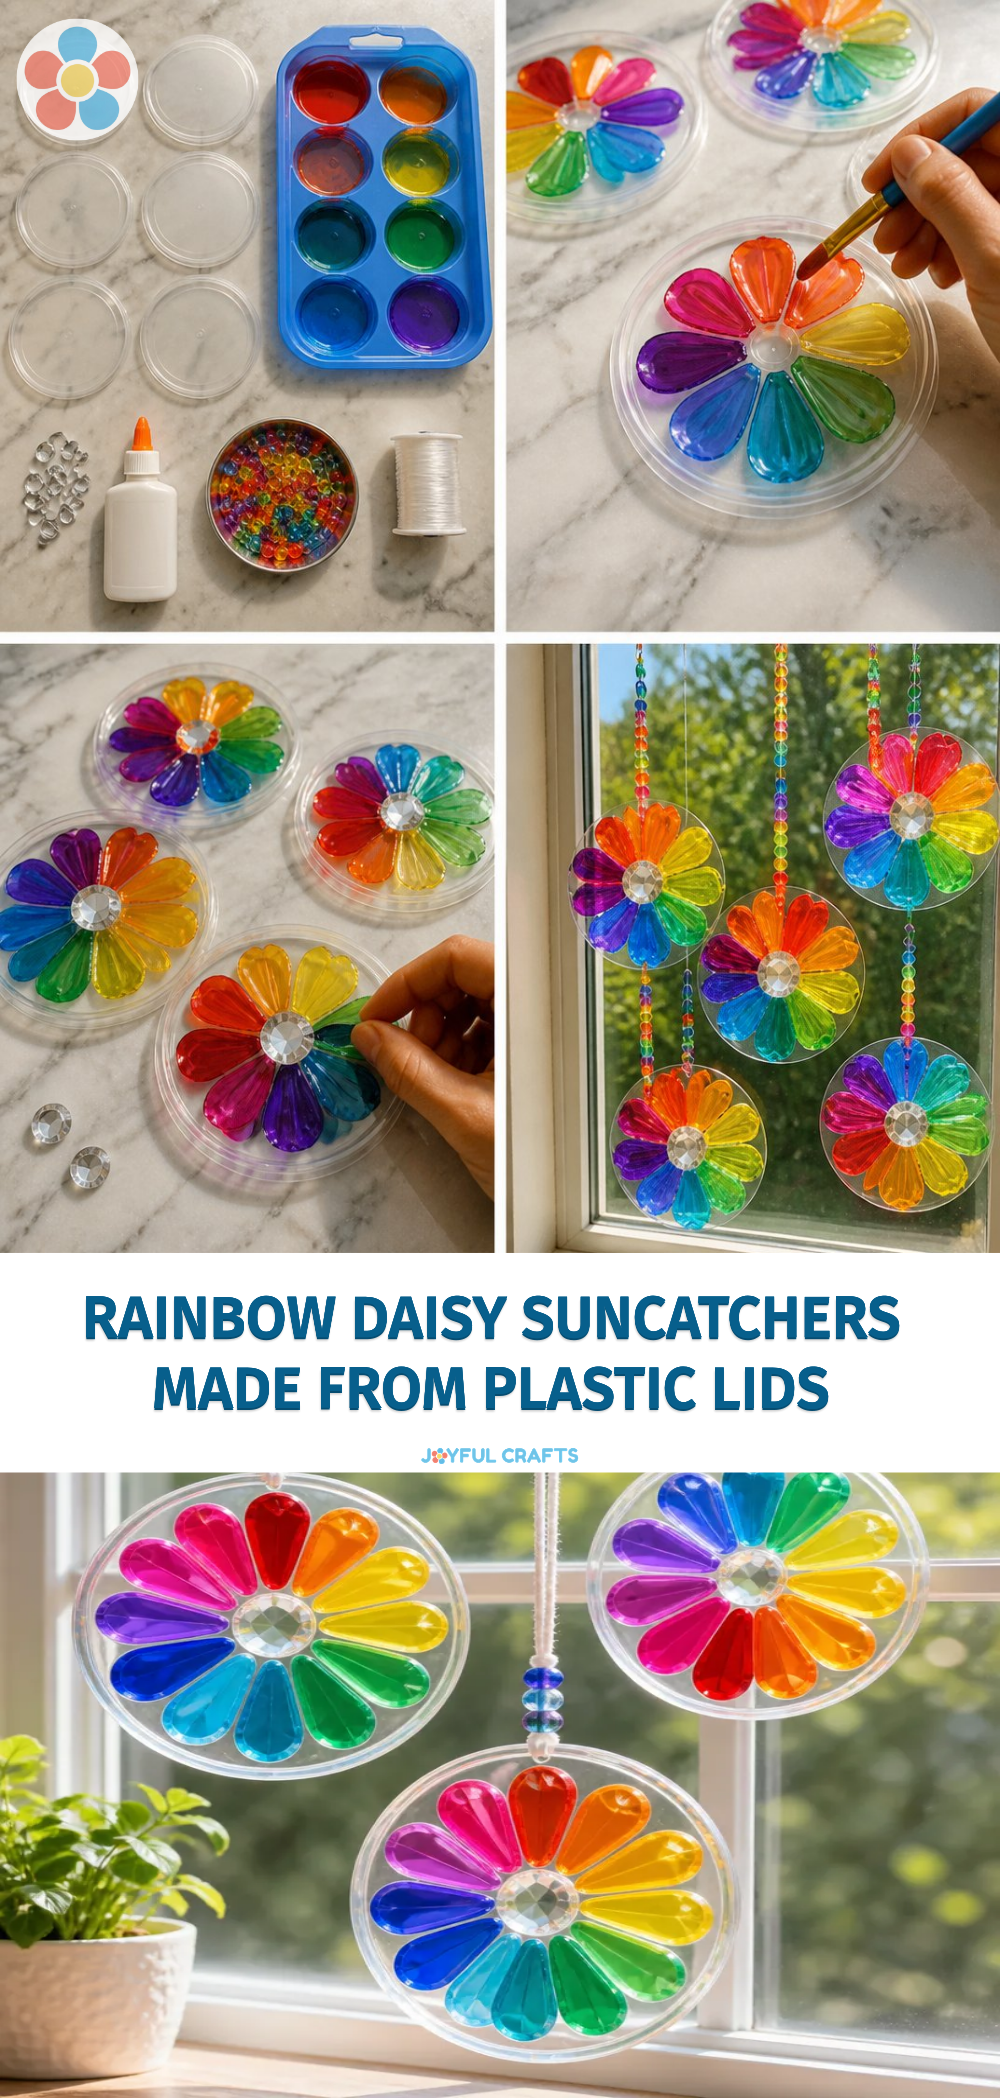
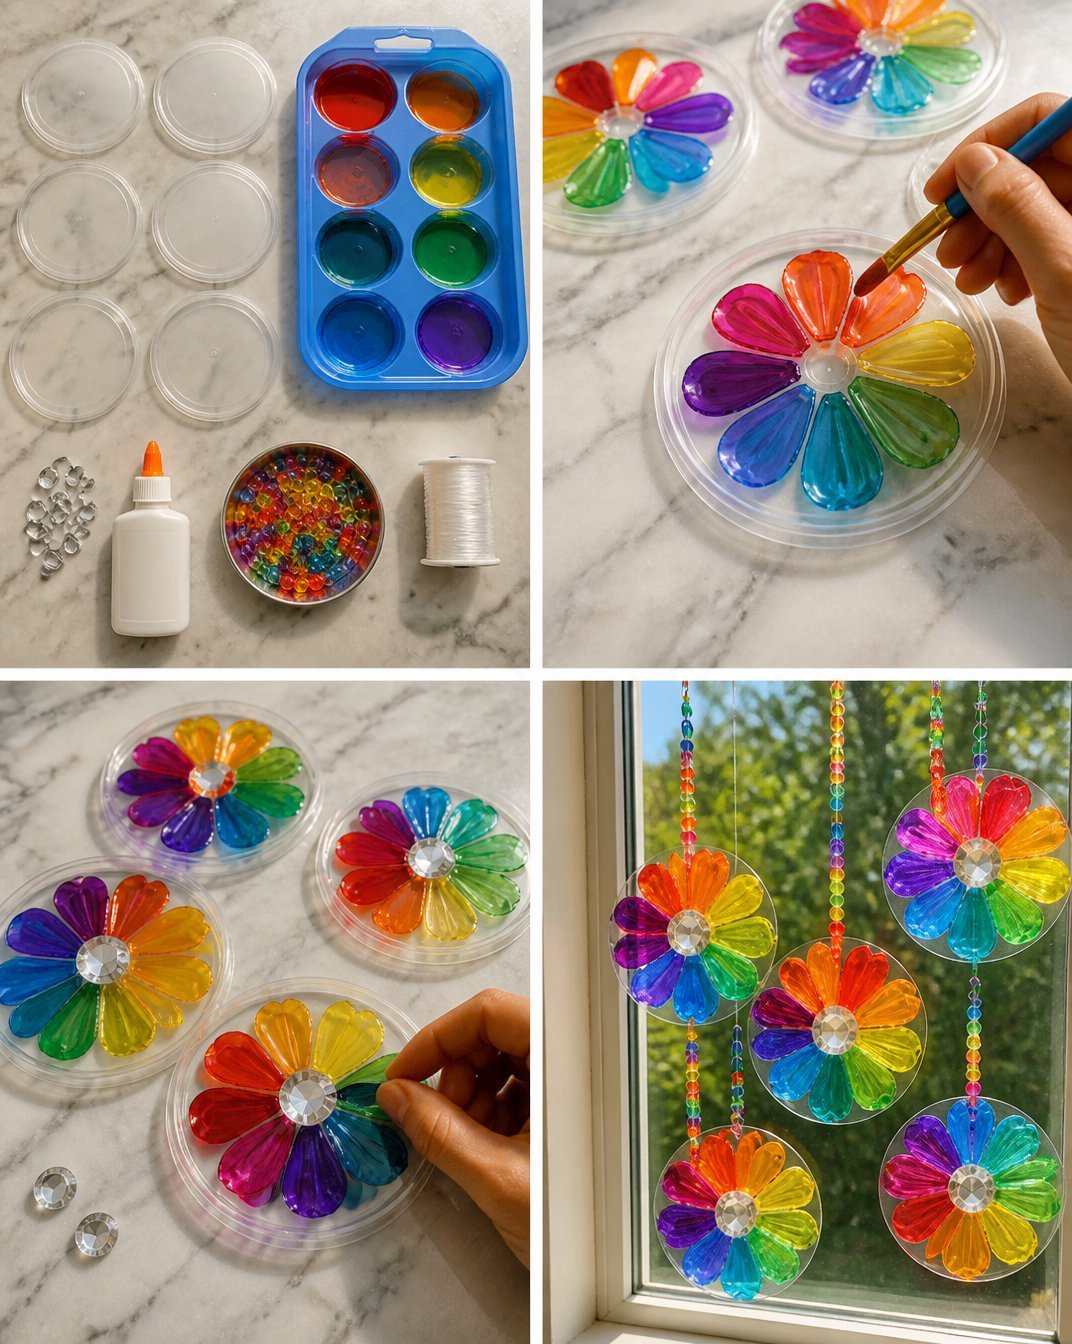
Prepare the Lids: Gather your plastic lids and clean them thoroughly. Let them dry completely before starting. You may also find Colorful Rainbow Monster Pencil Holder For Kids useful.
Coloring the Lids: Use permanent markers or paint to decorate the inside of each lid with your desired colors. Consider creating a daisy effect with a center and petals in joyful hues. You may also find Diy Rainbow Popsicle Stick Flower Wheel Craft useful.
Cut the Backing: From the black construction paper, cut out a circle or shape that matches the size of your lids. This will serve as the backing for your suncatcher.
Attach the Lids: Once the lids are decorated and dry, use transparent tape or contact paper to adhere the lids to the black construction paper. Arrange them in a way that resembles flowers, ensuring they are spaced out evenly.
Hole Punching: If you’re using string to hang your suncatchers, use a hole punch at the top of the black paper and thread your string or yarn through.
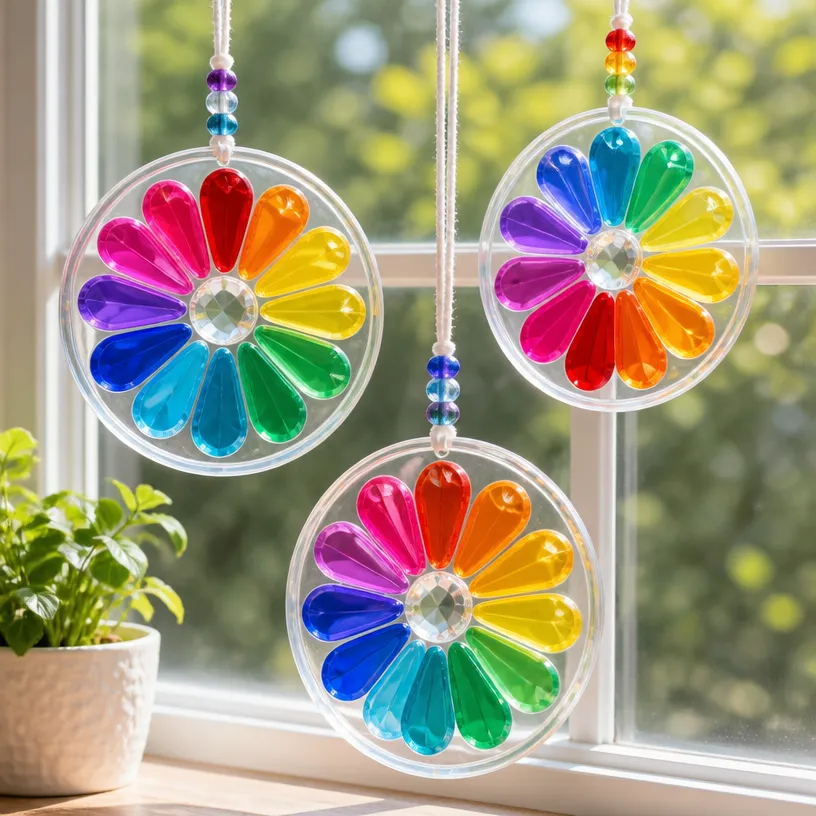
Display Your Artwork: Find a sunny spot in your home to hang your suncatcher. The sunlight will illuminate the colors beautifully!
Helpful Tips
- Adult Supervision: If using scissors or a hole punch, make sure adult supervision is provided for younger children.
- Avoiding Mess: Lay down newspapers or an old tablecloth to catch any spills while coloring.
- Drying Time: Allow adequate time for the paint to dry fully before handling the lids to avoid smudging.
- Hanging Options: You can also use sticky tack to display the suncatchers on windows without any holes.
Creative Variations
- Different Flower Designs: Experiment with different flower shapes or even other creatures like butterflies.
- Seasonal Themes: Change your colors to reflect different seasons, such as pastels for spring or warm oranges and reds for autumn.
- Add Glitter: For a magical touch, consider adding glitter to the wet paint as a finishing touch.
Making It With Kids
Working on this craft with kids can foster creativity and enhance their fine motor skills. Keep the atmosphere light and fun, encouraging them to express their ideas. Supervise when using scissors to ensure safety, and if required, help them with tricky parts like attaching the lids or cutting.
How to Display, Use, or Gift It
Once your suncatcher is complete, it makes a beautiful decoration that can brighten any room. Consider gifting these colorful creations to friends or relatives, or hanging them in the children’s playroom or bedroom. They can also be a lovely gift for special occasions such as birthdays or holidays.
Frequently Asked Questions
1. Can I use any type of plastic lid?
Yes, lids from yogurt containers or similar items work great for this project.
2. What type of paint should I use?
Permanent markers are easy for kids to handle, but acrylic paint is also a good choice for a more vibrant finish.
3. Is there a way to hang them outside?
You can hang them outside, but ensure they are in a sheltered area to avoid damage from rain or strong winds.
4. How can I clean up after this project?
Using newspapers underneath can help minimize clean-up, and any markings can be wiped with a damp cloth if they get onto tables or surfaces.
Conclusion
Creating rainbow daisy suncatchers is a delightful way to engage children in a fun and crafty activity while promoting recycling and creativity. To find unique materials perfect for this craft and other projects, explore options like Green Pyrex Clear Glass on Etsy. Enjoy crafting together as a family and transform your home with colorful decorations!
Print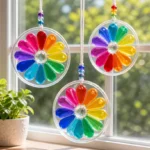
Rainbow Daisy Suncatchers Made from Plastic Lids
- Total Time: 15 minutes
- Makes: 4 suncatchers
Description
Create colorful decorations for your windows while teaching kids about the rainbow spectrum with these easy and eco-friendly rainbow daisy suncatchers made from plastic lids.
Materials
- Plastic lids (yogurt lids or similar)
- Transparent tape or contact paper
- Scissors
- Permanent markers or paint
- Black construction paper for the background
- String or yarn (for hanging)
- A hole punch (if needed)
Instructions
- Prepare the lids: Gather your plastic lids and clean them thoroughly. Let them dry completely.
- Coloring the lids: Use permanent markers or paint to decorate the inside of each lid.
- Cut the backing: From the black construction paper, cut out a circle or shape that matches the size of your lids.
- Attach the lids: Use transparent tape or contact paper to adhere the lids to the black construction paper.
- Hole punching: If using string to hang your suncatchers, use a hole punch at the top of the black paper.
- Display your artwork: Find a sunny spot in your home to hang your suncatcher.
Notes
Adult supervision is recommended when using scissors or a hole punch.