


DIY Tie-Dye Coffee Filter Butterflies for Your Garden
Creating beautiful tie-dye butterflies from coffee filters is a delightful craft that will brighten up your garden or home. This project is not only enjoyable for kids but also serves as a fantastic way to explore colors and creativity. The vibrant colors and simple structure of these butterflies make them easy to create, allowing your family to spend quality time together while making something special. You may also find Diy Rainbow Tissue Paper Balloons For Kids useful.
Why You’ll Love This Project
- Creative Expression: Each butterfly can be uniquely personalized with different colors and patterns, encouraging kids to express their artistic flair.
- Simple Materials: You only need a few basic supplies that you likely have at home, making this a budget-friendly project.
- Fun for All Ages: This craft is perfect for kids and adults alike. Younger children will need adult supervision for some parts, but everyone can join in the fun!
- Colorful Decoration: The finished butterflies can be used to decorate your garden, brighten up a room, or even be gifted to friends and family.
You may also find Rainbow Apple Bouquet Coffee Filters useful.
Materials You’ll Need
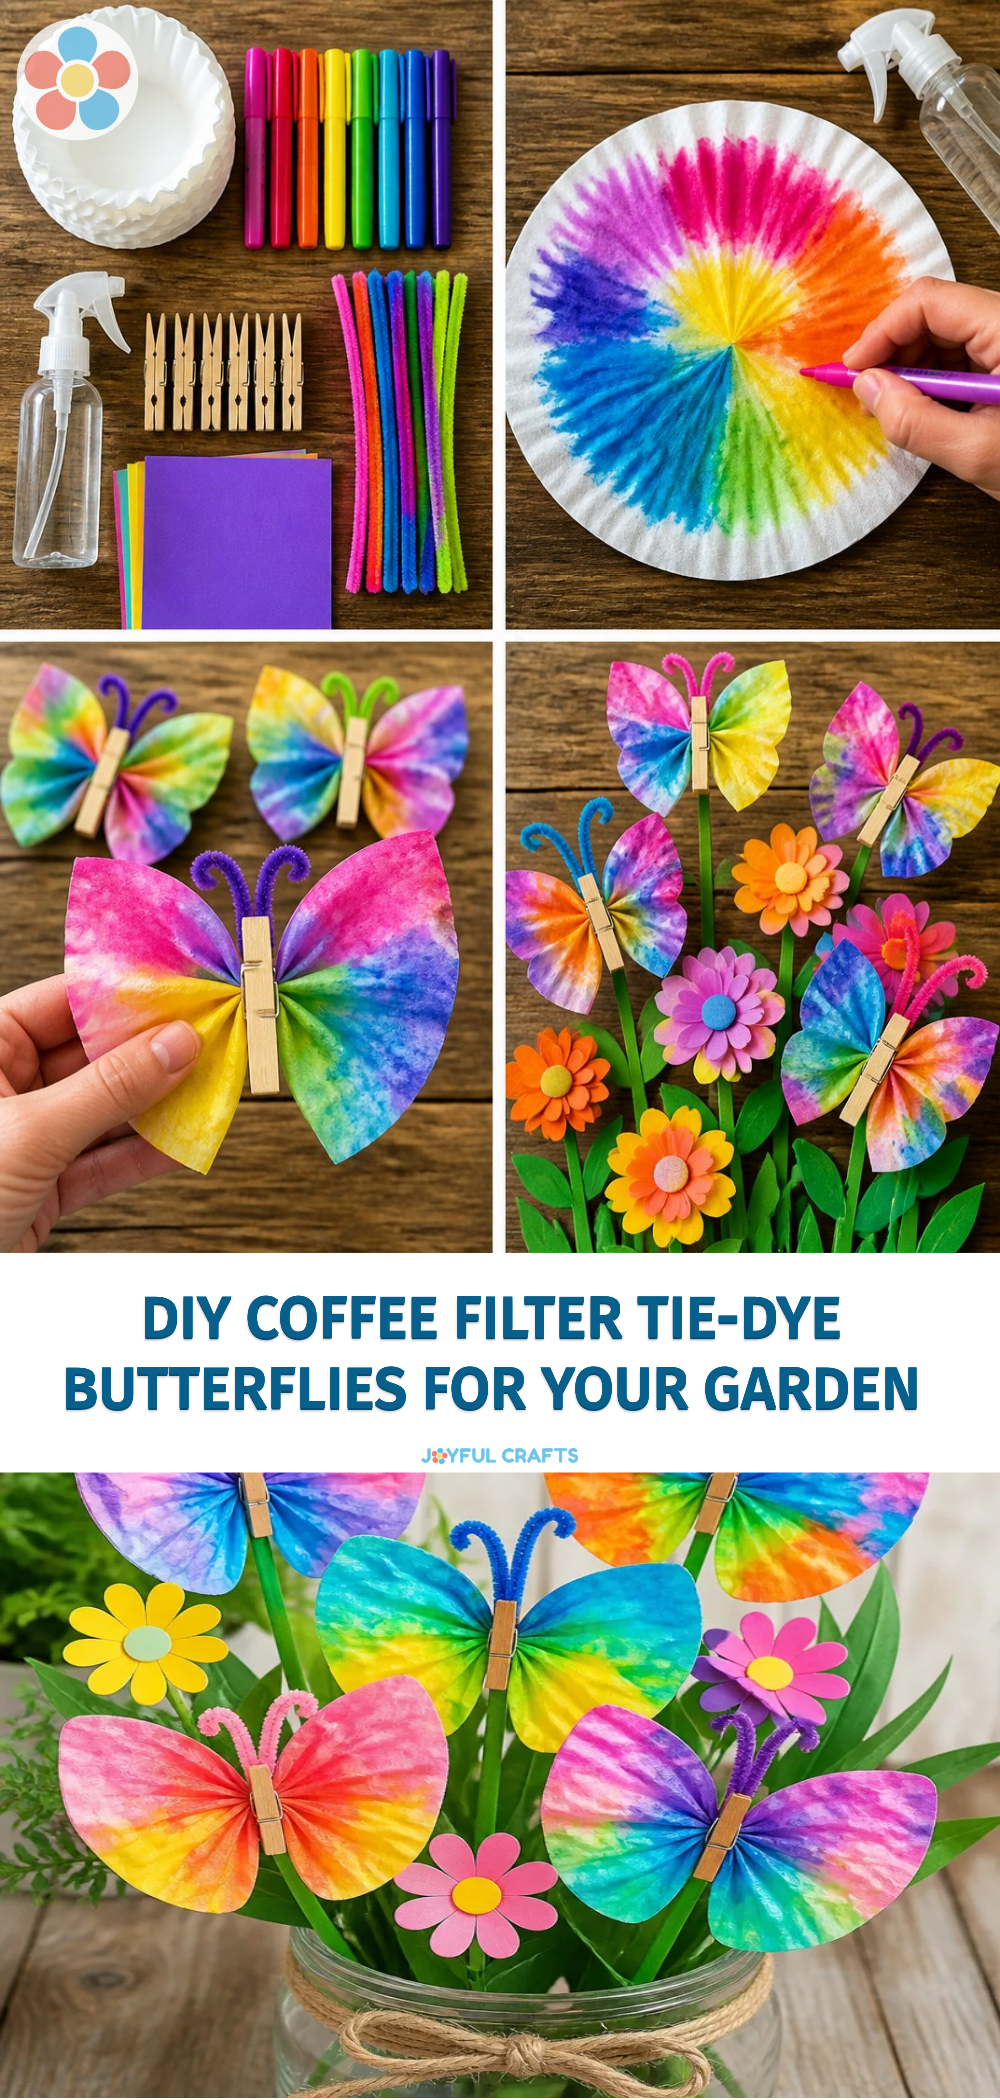
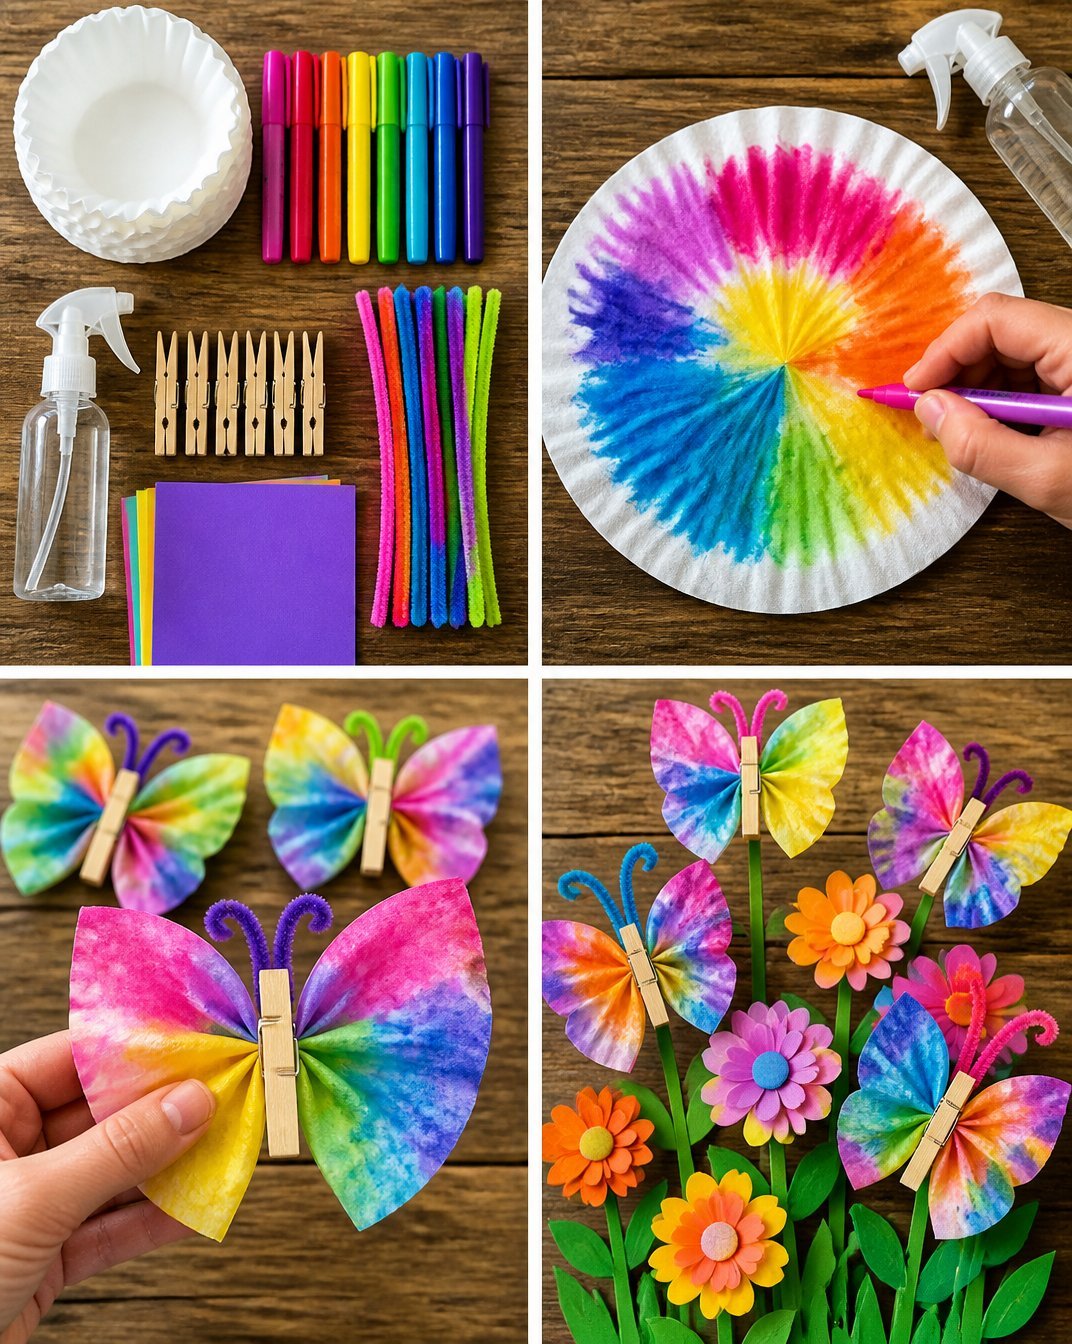
- Coffee filters
- Washable markers
- Water or a spray bottle
- Pipe cleaners
- Scissors (adult supervision recommended for young children)
- A tray or paper towel for drying
How to Make DIY Tie-Dye Coffee Filter Butterflies for Your Garden
Color the Filters: Use washable markers to color on one side of the coffee filter. You can create beautiful patterns by filling in large areas or making dots with different colors. You may also find Rainbow Coffee Filter Apple Wreath useful.
Spritz with Water: Lightly spray the colored filters with water. This will cause the colors to bleed and mix together, creating the tie-dye effect.
Dry the Filters: Place the damp filters on a tray or paper towel and let them dry completely. This usually takes about an hour, depending on humidity.
Shape the Butterflies: Once the filters are dry, carefully fold them in half and pinch the middle. Secure it with a pipe cleaner, twisting it tightly to hold the shape.
Add Antennae: Use the ends of the pipe cleaner to create antennae. You can bend and shape them to your liking.
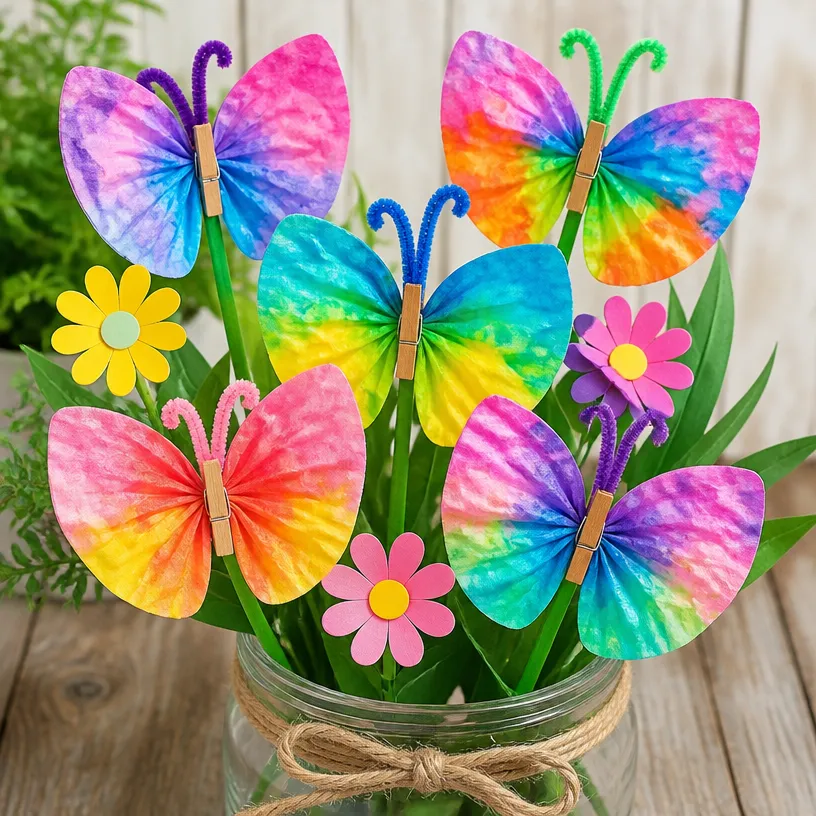
Display Your Butterflies: Now it’s time to show off your creations! You can hang them in your garden, place them in flower pots, or even decorate a room.
As you introduce this craft, consider exploring more creative projects like making a multicolor coffee filter flower wreath to complement your butterflies!
Helpful Tips
- Keep it Simple: For younger kids, limit the number of colors used to avoid creating a muddy look when the colors mix.
- Experiment: Try using different techniques such as swirling colors or making stripes for varied patterns.
- Mess Management: Set up a designated area covered with newspaper to contain any mess from the markers or the water spray.
- Display Options: Consider hanging your butterflies with fishing line or attaching them to sticks for a garden display.
Creative Variations
Personalize your butterflies by trying out different techniques:
- Use glitter to add some sparkle to your butterflies after coloring.
- Experiment with different sizes of coffee filters; smaller ones can create mini butterflies.
- Try themed colors for holidays or seasons, such as pastels for spring or warm tones for fall.
Making It With Kids
This project is wonderful for family bonding. Make sure to have adult supervision for using scissors and handling water. Younger children can focus on coloring while older kids can take more responsibility for assembling the butterflies.
How to Display, Use, or Gift It
The finished butterflies can add a whimsical touch to any outdoor area or indoor space. You can also place them in gift bags for a charming surprise or sprinkle them around at birthday parties.
Frequently Asked Questions
Can I use regular markers instead of washable ones?
It’s best to use washable markers to prevent permanent stains on surfaces.
How long will the butterflies last outside?
The colors may fade over time due to sunlight exposure, but they can last for several weeks.
What if I don’t have pipe cleaners?
You can use string, ribbon, or even twist-ties as an alternative to secure the center of the butterflies.
Can I use food coloring instead?
Yes, food coloring mixed with water can create beautiful effects, but be cautious as it can stain surfaces.
Are these butterflies safe for pets?
While the materials are generally safe, it’s always a good idea to keep crafts out of reach of curious pets.
Can I make these butterflies in larger sizes?
Yes! You can experiment with larger coffee filters or even other paper types to create bigger butterflies.
Conclusion
Creating DIY tie-dye coffee filter butterflies is a fun and engaging activity for the whole family. Whether you’re displaying them in your garden or using them as decorations in your home, these butterflies add a splash of color and whimsy. For an additional creative project, consider checking out this guide on how to make coffee filter butterflies. Enjoy crafting!
Print
DIY Tie-Dye Coffee Filter Butterflies for Your Garden
- Total Time: 75 minutes
- Makes: 10 butterflies
Description
Create colorful tie-dye butterflies from coffee filters to brighten up your garden or home. A fun craft for all ages that encourages creativity and artistic expression.
Materials
- Coffee filters
- Washable markers
- Water or a spray bottle
- Pipe cleaners
- Scissors (adult supervision recommended)
- A tray or paper towel for drying
Instructions
- Color the filters using washable markers to create beautiful patterns.
- Spritz the colored filters lightly with water to create the tie-dye effect.
- Dry the filters on a tray or paper towel until they are completely dry.
- Shape the dried filters by folding them in half and securing them with a pipe cleaner.
- Add antennae using the ends of the pipe cleaner.
- Display your butterflies in your garden or inside your home.
Notes
Keep younger children supervised. Experiment with different coloring techniques and display options.