

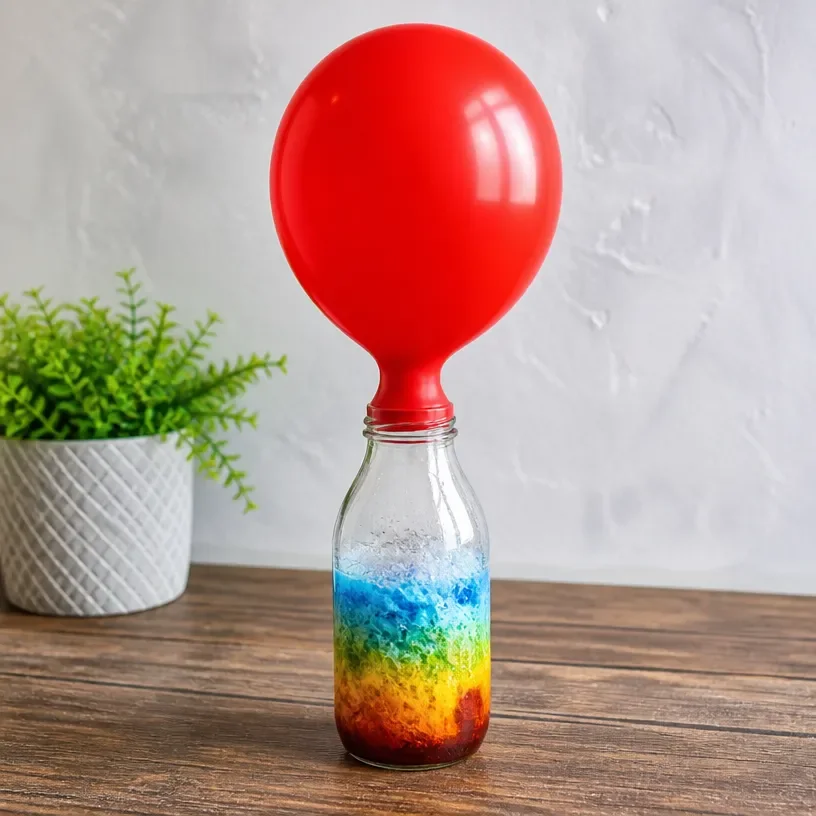
DIY Rainbow Balloon Self-Inflating Experiment for Kids
Creating a fun and colorful DIY Rainbow Balloon Self-Inflating Experiment is an exciting way to introduce kids to the concepts of science and creativity! In this project, children can watch balloons come to life through a simple chemical reaction, all while expressing their artistic flair. You may also find Rainbow Monster Pencil Holders Diy Craft For Kids useful.
Why You’ll Love This Project
- Engaging Learning Experience: This project combines science with art, allowing children to learn while having fun.
- Easy to Execute: With quick and straightforward instructions, kids can easily follow along, fostering independence and confidence.
- Creative Expression: Kids can personalize their balloons, making them unique and special.
- Interactive Fun: The self-inflating aspect keeps children engaged, making them excited to see the results.
- Great for Group Activities: Perfect for classroom settings or family gatherings, encouraging teamwork and collaboration.
Materials You’ll Need
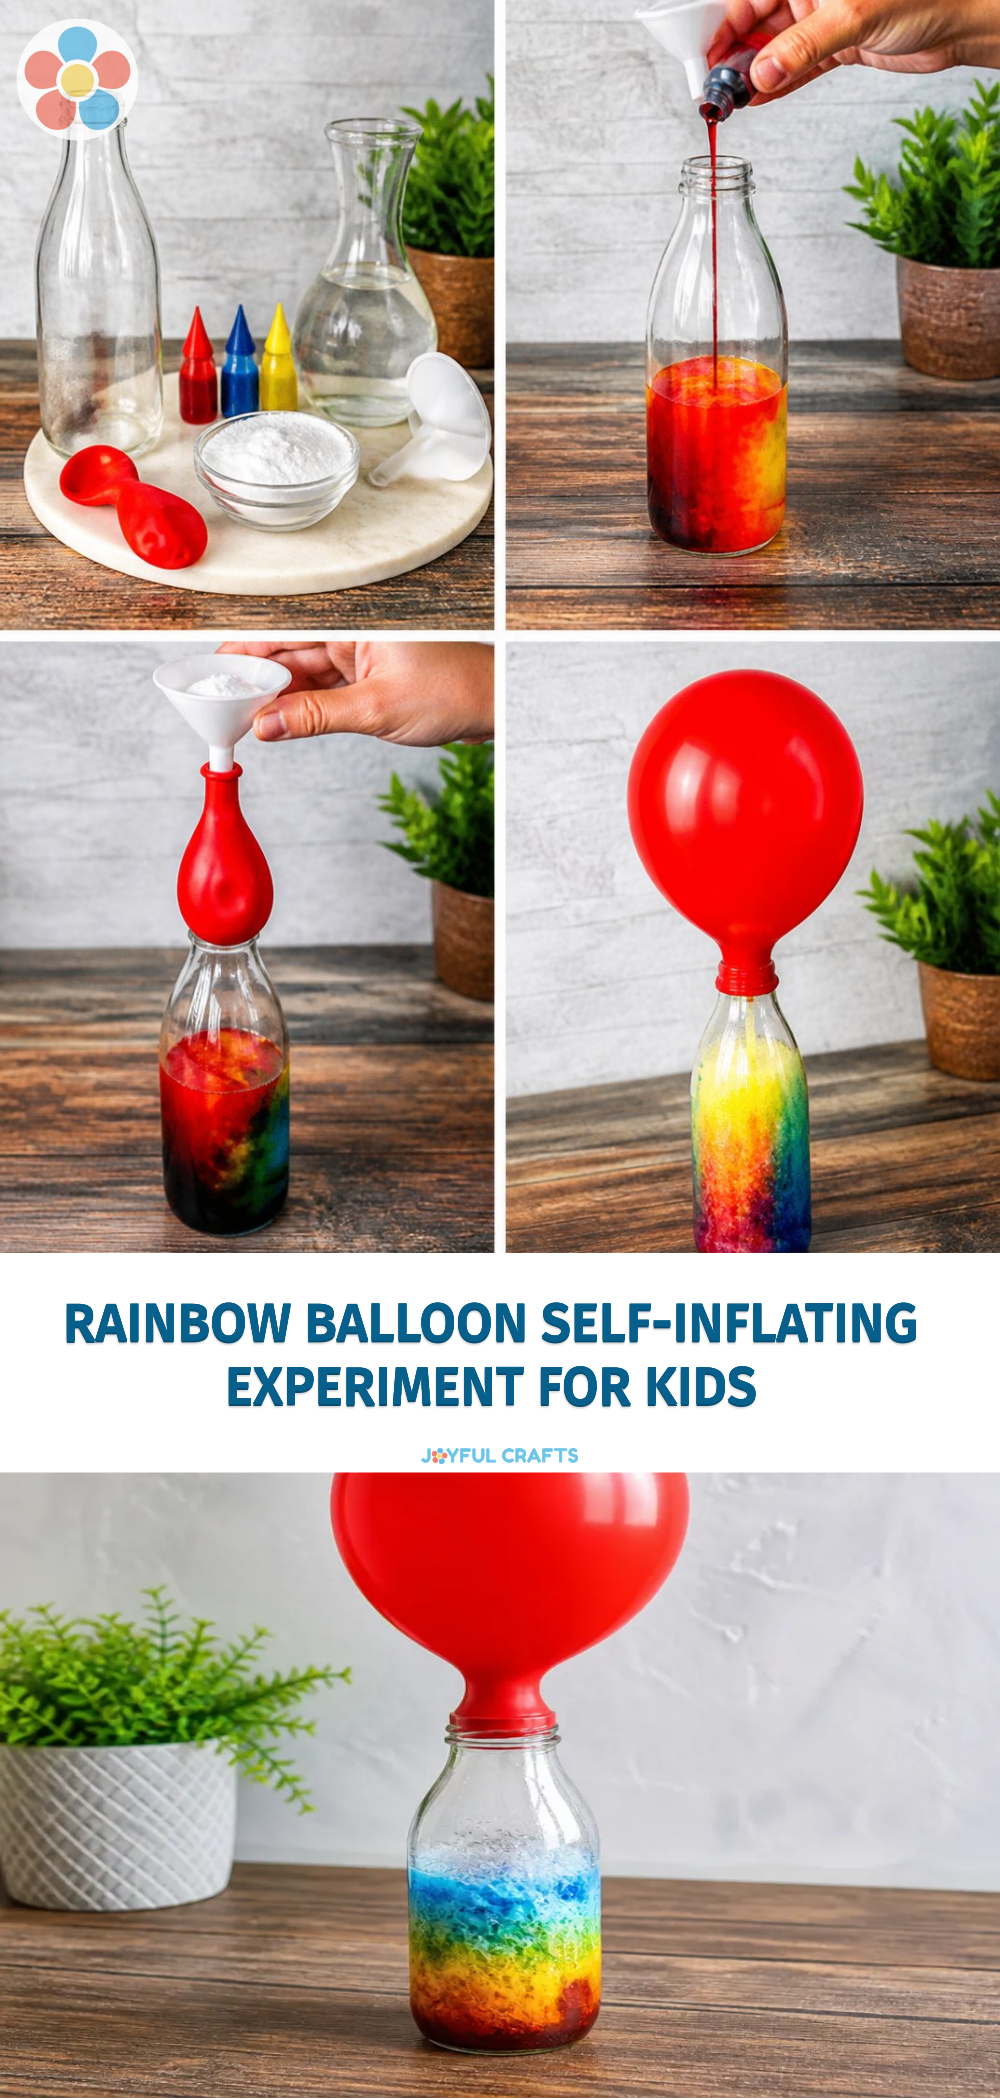
- Balloons (regular-sized or water balloons)
- Baking soda
- Vinegar
- Small plastic bottles or cups
- Food coloring (for bright rainbow colors)
- Funnel (optional for easier pouring)
How to Make DIY Rainbow Balloon Self-Inflating Experiment for Kids
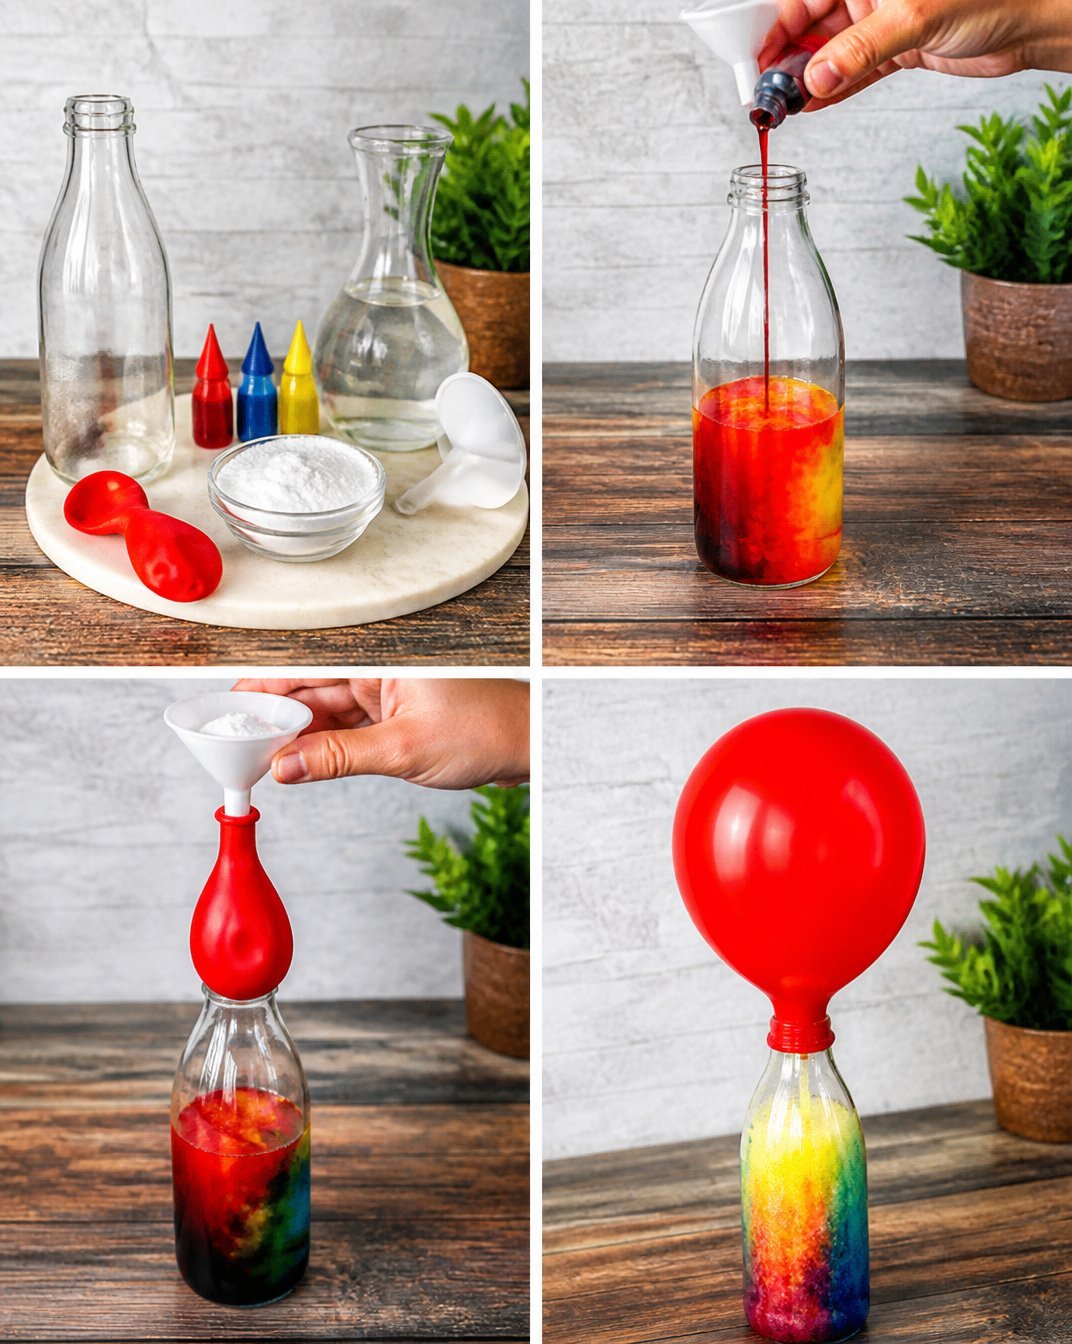
Prepare the Balloon: Stretch the balloon by inflating it a few times. This makes it easier to blow up later.
Mix the Ingredients: In a small plastic bottle, combine about 2 tablespoons of baking soda with a few drops of food coloring for a vibrant effect.
Add Vinegar: Pour some vinegar into the bottle with the baking soda mixture. You can use a funnel to avoid mess. Observe the fizzing reaction as the ingredients mix!
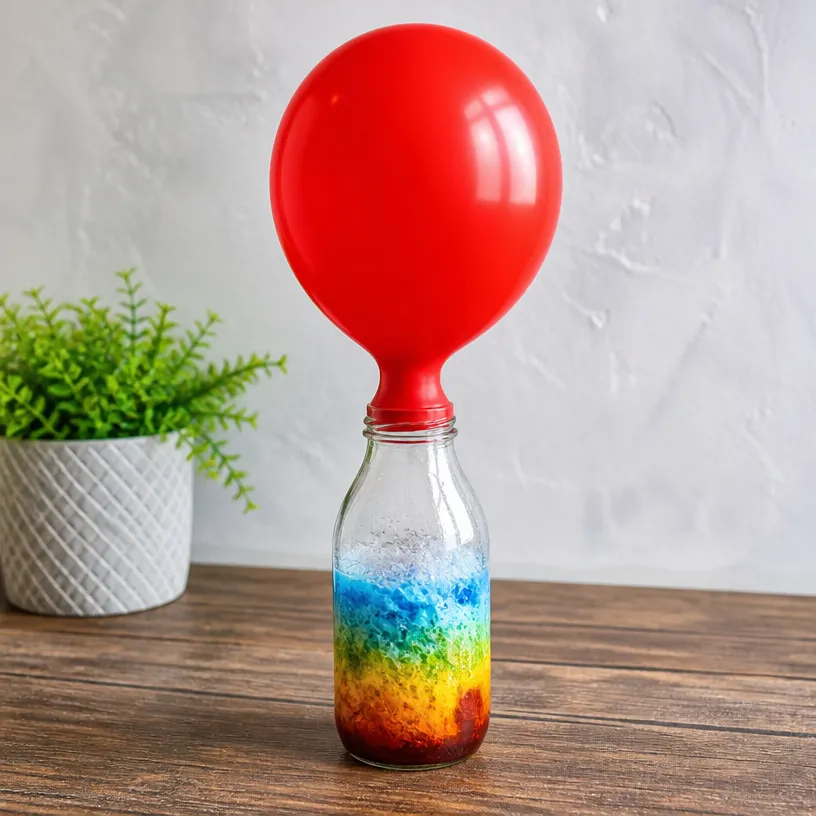
Inflate the Balloon: Carefully place the neck of the balloon over the mouth of the bottle without spilling the mixture inside. The balloon will start to inflate as the reaction releases gas.
Get Creative: You can decorate the inflated balloons by using markers or stickers. For more fun, check out some additional craft ideas like DIY rainbow tissue paper balloons!
Helpful Tips
- Supervision: Make sure an adult is present, especially when using vinegar and baking soda. This ensures safety during the experiment.
- Experiment with Different Colors: Test out various food coloring combinations to create beautiful balloon effects.
- Cleanup: Prepare for a bit of mess, especially if using a larger bottle; clear away any spills quickly to make cleanup easier.
Creative Variations
- Theme Your Balloons: Create seasonal decorations using different colors for spring, summer, or festive occasions.
- Customized Shapes: Experiment with different sizes and shapes of balloons to create unique displays.
- Include Decorations: Once the balloons are inflated, let kids add beads, sequins, or glitter to personalize their creations.
Making It With Kids
Encourage teamwork by allowing children to take turns pouring, mixing, and decorating their balloons. If younger kids are involved, always supervise and assist with the pouring of vinegar and baking soda to ensure safety. This is a wonderful opportunity for kids to collaborate and learn from one another.
How to Display, Use, or Gift It
Once the balloons are fully inflated, they can be displayed as part of a festive décor, used as playful decorations for parties, or gifted to friends and family. The vibrant colors and fun shapes will surely bring smiles to everyone!
Frequently Asked Questions
What happens if the balloon doesn’t inflate?
Ensure the baking soda and vinegar are fresh, as expired products may not react well. Also, check that the neck of the balloon is securely placed over the bottle.
Can we reuse the balloons?
Once the balloons have been inflated for this experiment, they may not hold air for long; consider this a one-time fun craft.
Will the reaction damage surfaces?
While the mixture is generally safe, it’s best to work on a surface that’s easy to clean, like a table covered with newspaper or a plastic sheet.
What other crafts can we do with balloons?
For more balloon fun, explore projects like rainbow tissue paper flower lanterns or these clear rainbow ghost shaker suncatchers!
How do we safely dispose of the materials?
You can simply throw away the used balloons and leftover mixtures; it’s biodegradable but always check local disposal regulations.
Conclusion
This DIY Rainbow Balloon Self-Inflating Experiment not only encourages creativity but also teaches kids about simple chemical reactions in a fun and engaging way. For additional ideas on balloon crafts, you might find this resource on hands-free inflating balloons particularly inspiring. Enjoy crafting together!
Print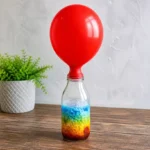
DIY Rainbow Balloon Self-Inflating Experiment for Kids
- Total Time: 15 minutes
- Makes: 1 experiment
Description
A fun and colorful DIY project that teaches kids about chemical reactions while allowing them to express their creativity.
Materials
- Balloons (regular-sized or water balloons)
- Baking soda
- Vinegar
- Small plastic bottles or cups
- Food coloring (for bright rainbow colors)
- Funnel (optional for easier pouring)
Instructions
- Prepare the Balloon: Stretch the balloon by inflating it a few times.
- Mix the Ingredients: In a small plastic bottle, combine about 2 tablespoons of baking soda with a few drops of food coloring.
- Add Vinegar: Pour some vinegar into the bottle with the baking soda mixture.
- Inflate the Balloon: Carefully place the neck of the balloon over the mouth of the bottle.
- Get Creative: Decorate the inflated balloons using markers or stickers.
Notes
Supervision is recommended for safety. Encourage teamwork and creativity among kids.